

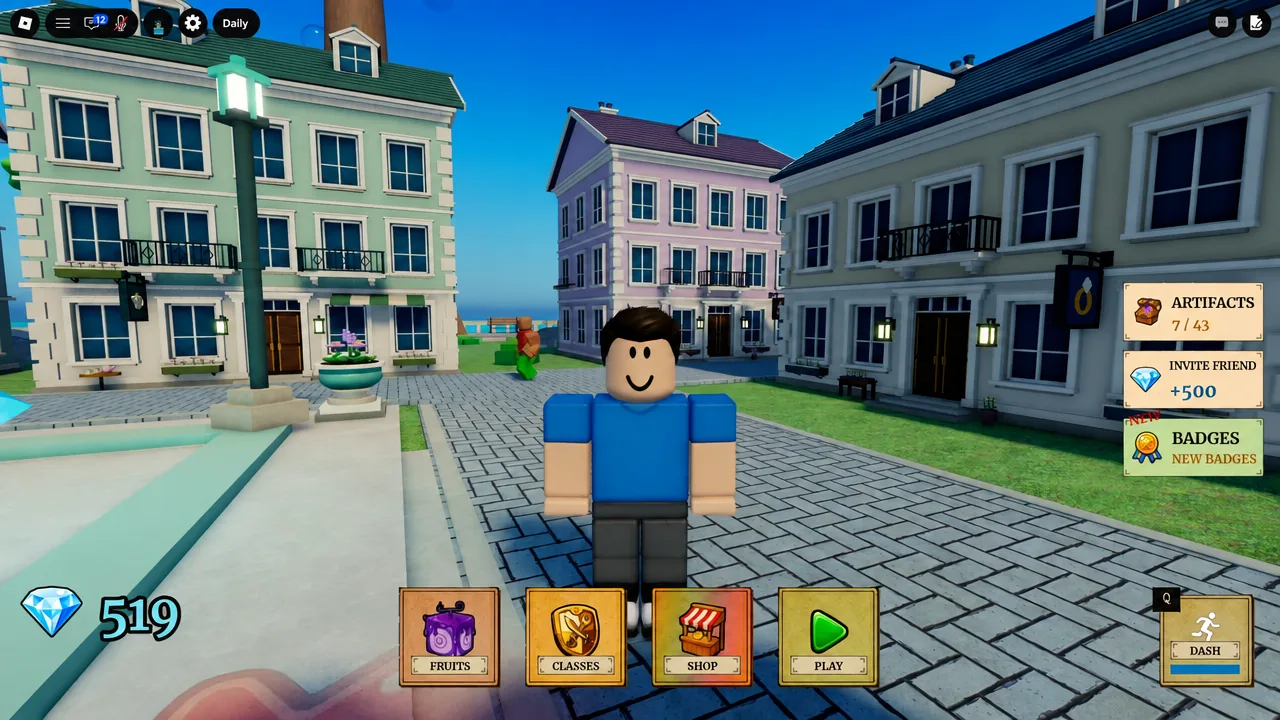
Fruit Zombie Survival is a co-op wave defense game from Vibed Games where you eat a Devil Fruit, pick a One Piece character that drops special builds, and hold off zombie waves with up to three friends. The early hours look simple, but progression is gated almost entirely by Diamonds, and most new players spend hours grinding waves that pay far less than a short, repeatable loop.
Quick answer: Set party size to 1, turn Auto-Skip on, clear waves 1–9 in Corida Colosseum, buy health before Wave 10, kill the Dune Marauder, then reset immediately. A clean run pays around 320 Diamonds and takes a fraction of the time a deep wave push does.
Berries vs Diamonds: what each currency actually buys
Everything in the game splits along one line. Berries live and die with the run you are in. Diamonds stay on your account forever. Confusing the two is the single most expensive mistake a new player makes, because hoarding Berries for a late wave that never arrives is the same as throwing them away.
| Currency | Where it is spent | Persists after a run? |
|---|---|---|
| Berries | In-run upgrades: health, damage, cooldowns | No — resets every run |
| Diamonds | Fruit shop, unlocks, long-term progression | Yes — permanent |
Spend Berries as you earn them. A health or damage upgrade bought on Wave 3 compounds through every wave after it, while the same Berries sitting in your pocket on Wave 9 do nothing at all.
The Wave 10 Diamond loop in Corida Colosseum
This is the fastest repeatable Diamond method in the game, and it works because Wave 10 pays well relative to how little time it takes. Deep runs feel more impressive; they do not pay better per minute.
You will know the run counted when the Diamond total on your account jumps by roughly 320 and the Achieve Wave 10 badge registers on your first clear.
12 hidden Diamond pickups on the map
Before you start farming, sweep the map. There are 12 hidden Diamond pickups scattered around, and they are a one-time head start that costs nothing but a few minutes of walking. Grab them all before you buy your first fruit, since they can close the gap to a meaningful purchase on day one.
Best Devil Fruits to buy first
There are 20 Devil Fruits across several rarity bands, and they are ranked on four things: raw damage, how well they clear a horde, how they handle bosses, and how much they contribute in a four-player team. A fruit that carries solo farming is not automatically the best co-op pick.
| Fruit | Role | When to buy it |
|---|---|---|
| Sand | Crowd control | Budget pick for your first fruit and early Wave 10 loops |
| Phoenix | Utility and sustain | High-end pickup once Diamonds are flowing |
| Dragon | Premium Mythical | Long-term target, not an early purchase |
| Light | Wave clearing | Strong endgame alternative to Dragon |
| Darkness | Damage and control | Strong endgame alternative to Dragon |
Build around one strong fruit before you start collecting. A single well-invested fruit clears content faster than four half-upgraded ones, and the meta shifts with balance patches, so re-check rankings after each update rather than committing Diamonds the day a patch lands.
Tip: test every skill on your fruit during the first few waves of a run. You want to know which ability shreds a group and which one is worth saving for the boss before the boss is standing on top of you.
Best characters and build classes
Your character determines the builds you can place during a run, and some carry secret passives on top of that. Two stand out at the top, with a handful of cheaper options that hold up perfectly well while you are still farming.
| Character | Strength | Builds to place |
|---|---|---|
| Enel | Highest solo damage | Lightning Rod, Mantra, El Thor |
| Aokiji | Control and team play | Ice Wall, Ice Turret, Pheasant Beak |
| Chopper | Budget support | Team sustain in co-op |
| Nami | Budget all-rounder | Early wave clearing |
| Franky | Budget all-rounder | Early wave clearing |
Enel is the pick if you are running the Wave 10 loop alone. Aokiji earns his place in four-player lobbies, where walls and turrets keep the horde funnelled and the team alive long enough to revive anyone who goes down.
Artifacts: the second power layer
Artifacts sit alongside fruits and characters as a separate source of power. They run from Common to Mythic, slot into your loadout, and provide utility effects rather than replacing your main damage — extra damage on top of what you already do, slows, and control tools. The collection counter tracks 65 in total, with set badges added on 7 September 2026.
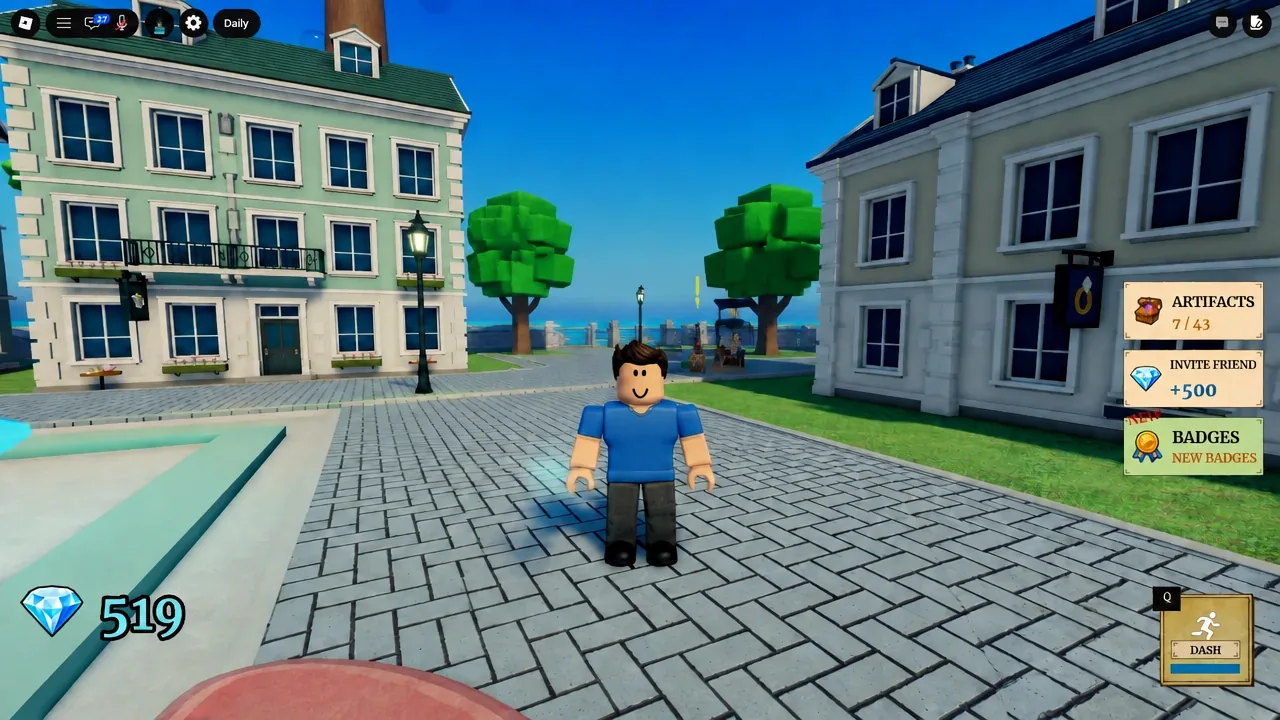
Treat artifacts as something you accumulate while farming, not something you chase early. They matter most when you start pushing past the waves your fruit alone can handle.
Progression order from first run to Wave 50
The order matters more than the individual choices. Do these in sequence and you skip most of the grind that stalls people around the Wave 25 badge.
| Order | What to do | Why it comes here |
|---|---|---|
| 1 | Sweep the 12 hidden Diamonds | Free starting capital, one time only |
| 2 | Buy a budget fruit such as Sand | Enough clearing power to reach Wave 10 |
| 3 | Learn to clear Wave 10 reliably | Unlocks the farming loop and its badge |
| 4 | Farm Wave 10 loops | Roughly 320 Diamonds per clean run |
| 5 | Upgrade your fruit collection | Higher-rarity fruits shorten every loop |
| 6 | Buy a premium class | Enel or Aokiji, once Diamonds allow it |
| 7 | Collect artifacts | Adds damage and control on top of your kit |
| 8 | Push higher waves | Wave 25 and Wave 50 badges, deeper bosses |
Why runs collapse before the boss
Most failed runs come down to the same handful of habits, and all of them are fixable inside a single session.
- Saving Berries instead of buying health, damage, or cooldown upgrades during the run.
- Standing still when a crowd closes in, instead of kiting it around the arena while attacking.
- Firing off every big cooldown on trash zombies, leaving nothing for the boss wave.
- Leaving downed teammates on the floor in co-op, which cuts team damage right when the waves get harder.
- Pushing past Wave 10 during a farming session and losing the payout to a wipe.
Codes
These currently reward Diamonds, revives, and artifact crate rolls. Open the Settings gear in the top-left corner, paste one entry into the code field with no extra spaces, and press Redeem. Entries are case-sensitive and mix zeros with letters, so copy them exactly.
| Code | Reward |
|---|---|
| w0w8kCCU | 1 artifact crate roll with x2 luck |
| 1kDiscordGG | 1 artifact crate roll |
| Up5ndc0ming | 1 artifact crate roll |
| FiveKccU | 2,500 Diamonds |
| Disc0rd | 1,500 Diamonds |
| VibeStarter | 1 free revive |
The loop rewards discipline more than reflexes. Farm Wave 10 until a premium fruit and a premium class are both paid for, then start pushing depth — the Wave 25 and Wave 50 badges are far less punishing once your kit is doing the work instead of your positioning.





