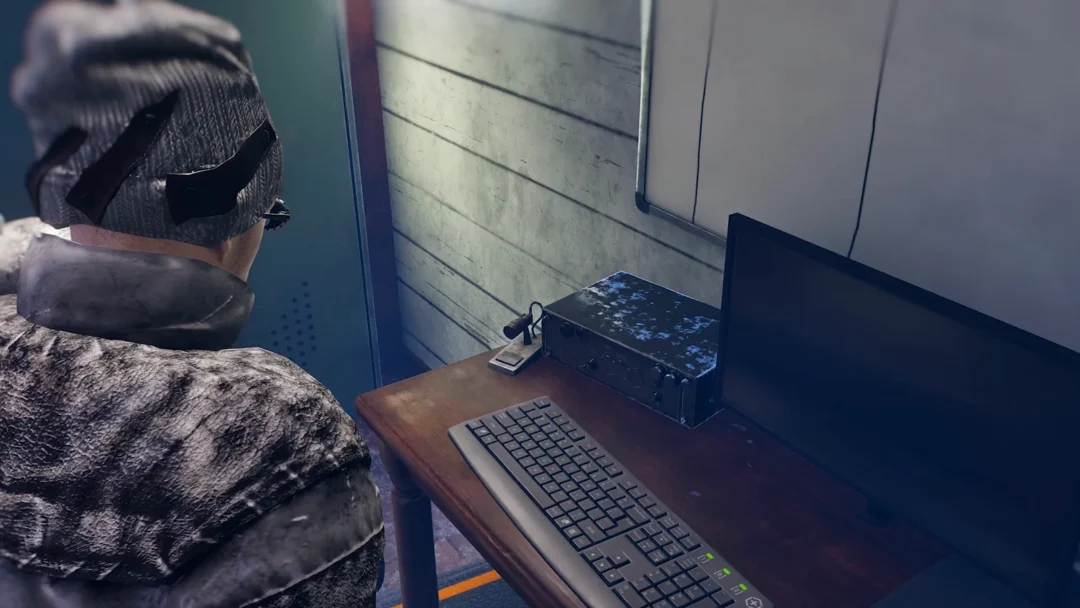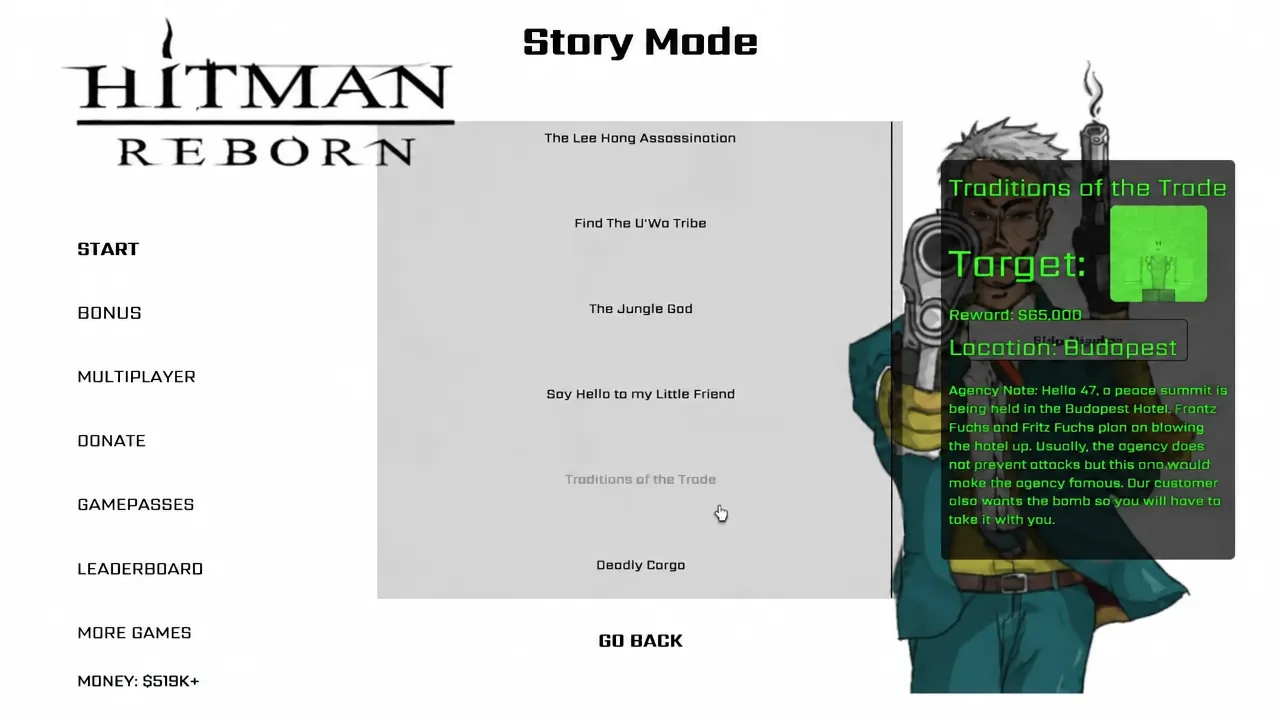
Hitman: Reborn is a Roblox remake of Hitman: Codename 47, built by Zombie2358 with a tutorial and ten story missions spread across Hong Kong, Colombia, Budapest, Rotterdam, and Romania. Each mission ends the same way — hit every objective on the list, then reach the marked escape point. What changes between them is the tool you are handed and the disguise you have to take.
Quick answer: Hold B to read the objective list, take the disguise the mission wants you in, complete every listed task in order, then reach the getaway car, plane, helicopter, or bridge to trigger the “Mission Passed!” screen.
Controls and mission structure you need before starting
Every mission opens with a briefing card showing the location, the mission name, the cash reward, and an Agency Note explaining the contract. After that you get a Select Weapon screen where you pick one item to carry in — or hit Skip Selection. Loadout options include the Silverballer, Sown-Off Shotgun, Magnum, M60, M4A1, MP5, WA2000, Minigun, Knife, Fiber Wire, and Syringe.
| Key | Action |
|---|---|
| B | Hold to open Mission Objectives |
| E | Actions, pickups, doors, elevators |
| Right Click | Aim (required to scope with snipers) |
| Left Shift | Sprint |
| V | Settings |
| Backspace | Drop weapon |
Disguises are taken from bodies, and they are what get you past guards. In missions with a weapon frisk at the door, the game checks what you are carrying — leave the gun somewhere on the other side of the checkpoint and pick it up again once you are inside.
Objectives can change mid-mission. When “INFO: Agency changed your Briefing” or “INFO: Objective Status Changed” appears on screen, hold B again — new tasks have been added to the list.
Training (Tutorial): Suit, parkour, and the guard disguise
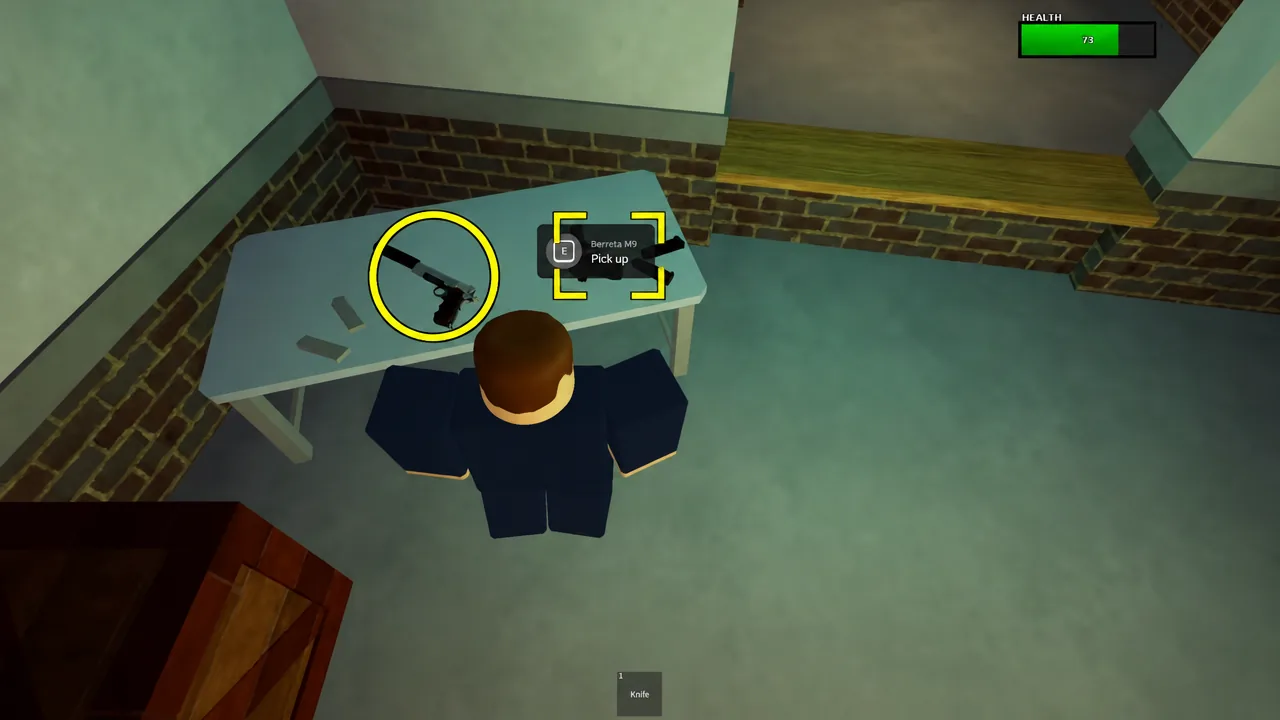
The tutorial teaches the three systems the rest of the game runs on: interaction prompts, weapons, and disguises. Agent 47 starts in a padded cell.
Hong Kong missions 1–4: Sniping, car bombs, and poison
The four Hong Kong contracts all end at the same green sedan, and each one introduces a different kill method. Take the Silverballer into missions 1, 3, and 4; the Knife works best for mission 2.
Mission 1: Kowloon Triads in Gang War
The target is a Red Dragon member attending a meeting in the middle of the city. Find the sniper building’s exterior elevator, ride it to the roof, and pick up the WA2000 waiting on the ledge.
Scope the pagoda park and wait. Two limousines pull in — the on-screen text calls out the first and second arrival — and the target steps out after the second. He is outlined in red inside the pavilion. Fire once, then take the elevator down as the chopper warning appears and run to the getaway car through the alleys. Guards and police will shoot at you on the way out, so keep moving rather than trading fire.
Mission 2: Ambush at the Wang Fou Restaurant
Four objectives here: get the limo driver’s clothing, place the car bomb, blow the limo once it leaves the city, and escape. Wait in the alley behind the dumpsters until the limousine arrives, lure the driver into the alley, and take him out with the knife for his suit.
Only as the driver can you plant the C4 — walk to the rear of the limousine and use the Place option. Back off around the alley corner, wait for the Blue Lotus target to get in and drive off, then switch to the Detonator and activate it. The green sedan is your exit.
Mission 3: The Massacre at the Cheung Chau Fish Restaurant
The contract is on the Police Chief, and the objective list includes an explicit restriction: do not eliminate the Lotus Guard.
Mission 4: The Lee Hong Assassination
Two things have to happen before you leave: Lee Hong dies from the poisoned food, and the Jade Figurine comes with you. The street sewer manhole is a useful covert route to the restaurant’s back entrance, and it also doubles as a body-disposal spot.
Get into the kitchen, take out the chef, and wear his white uniform. Grab the Poison and the Safe Combination from the counters, then poison the soup bowl. Before serving it, use the combination on the safe in the private office and take the Jade Figurine. Carry the Poisoned Soup to Lee Hong’s table, wait for him to eat and collapse, then escape to the green sedan.
Colombia missions 5–7: The jungle, the tiger, and Pablo’s compound
Colombia strips away your usual advantages. Mission 5 opens with “ENGINE: Agency Loadout not available!” so there is no weapon selection screen, and mission 6 disables the minimap entirely.
Mission 5: Find The U’wa Tribe
You spawn in jungle camouflage with a single instruction to locate the crashsite. Open the nearby wooden crate for a machete and a rifle, then push through the trees to the plane wreck and pick up the Golden Statue.
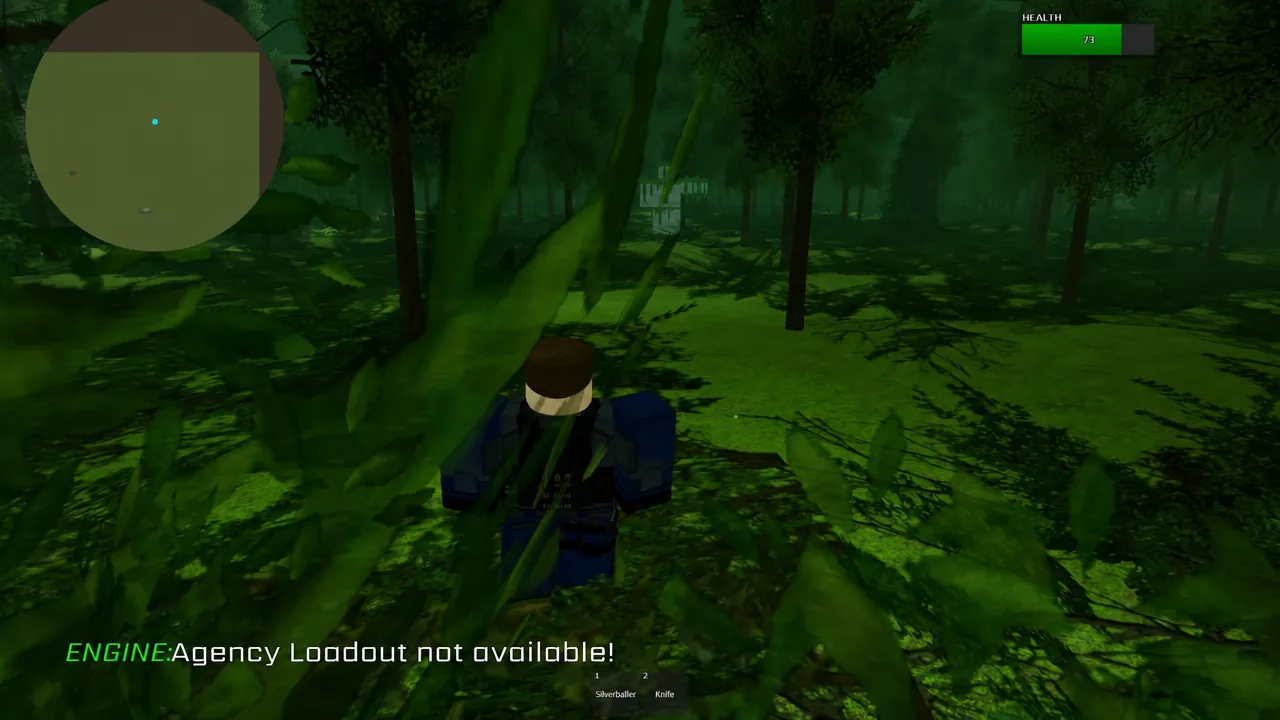
Deliver the statue to the tribe leader at the village huts. The briefing then updates with three more tasks — rescue the villager, return him to the village, and escape to the bridge. Armed guards hold the villager captive near the crash site; clear them out, cut the ropes, and let him follow you home. Once “INFO: Objective Status Changed” fires, run to the rope bridge over the canyon to finish.
Mission 6: The Jungle God
Short but easy to overthink. A tiger guards the path to Pablo’s compound and cannot be walked past. The objectives are to collect a wild boar and distract the tiger away from the exit.
Cross the suspension bridge, hunt a boar in the forest with the knife or pistol, and pick up the carcass. Carry it to the stone altar near the tiger and place it there. With the animal feeding, slip past into the cave and the mission completes. Patrolling guards in this stretch can be knifed for a camouflage soldier outfit if they get in the way.
Mission 7: Say Hello to My Little Friend
Five objectives run in a strict order: locate Pablo’s mansion, eliminate him and take his bomb, plant it in the lab, detonate it with the detonator, and escape with the plane.
Move around the outer perimeter of the fenced compound rather than through the front gate. Inside the wooden mansion, quiet takedowns on the hallway guards keep the alarm down. Pablo Ochoa is upstairs — kill him and pick up the C4 from the table.
The military camp between the mansion and the lab has snipers in the watchtowers, and there is a minigun stashed in one of the tents if you would rather clear it loudly. Enter the fortified laboratory bunker, plant the charge on the lab table, then reach the hangar. Equip the Detonator from inside the hangar, blow the lab, and board the propeller plane to fly out.
Mission 8: Traditions of the Trade (Budapest hotel)
Franz Fuchs and Fritz Fuchs plan to bomb a peace summit at the Budapest hotel. Both brothers die, and the chemical bomb leaves with you. Bring the Fiber Wire.
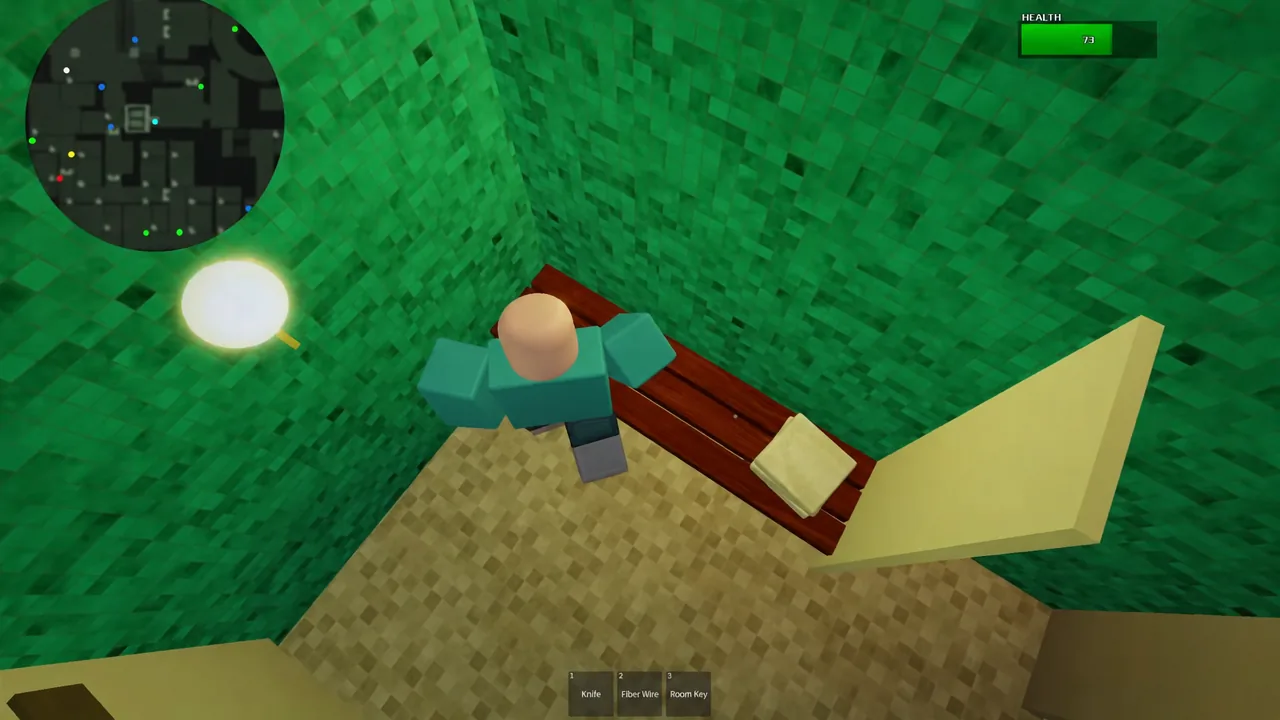
The hotel corridors are patrolled by police officers. A police uniform taken from one of them makes the trip back down through the building far less eventful.
Mission 9: Deadly Cargo (Rotterdam harbor)
Boris is hiding on a cargo ship with a nuclear bomb, and the failure condition is letting him arm it. The objective list marks the transmitter as optional, and it gives you a choice — join the SWAT team or the enemies.
Start at the neon-lit club and talk to Sandy. Ask her to keep the man watching your car busy, and while he is distracted, plant the Transmitter on the blue sedan out front. “Transmitter placed.” confirms it.
Next, cut the wires on the power box behind the warehouse to knock out the harbor’s security. From there, take out a police officer for his uniform, then get inside the warehouse and knock out a SWAT officer for his tactical gear.
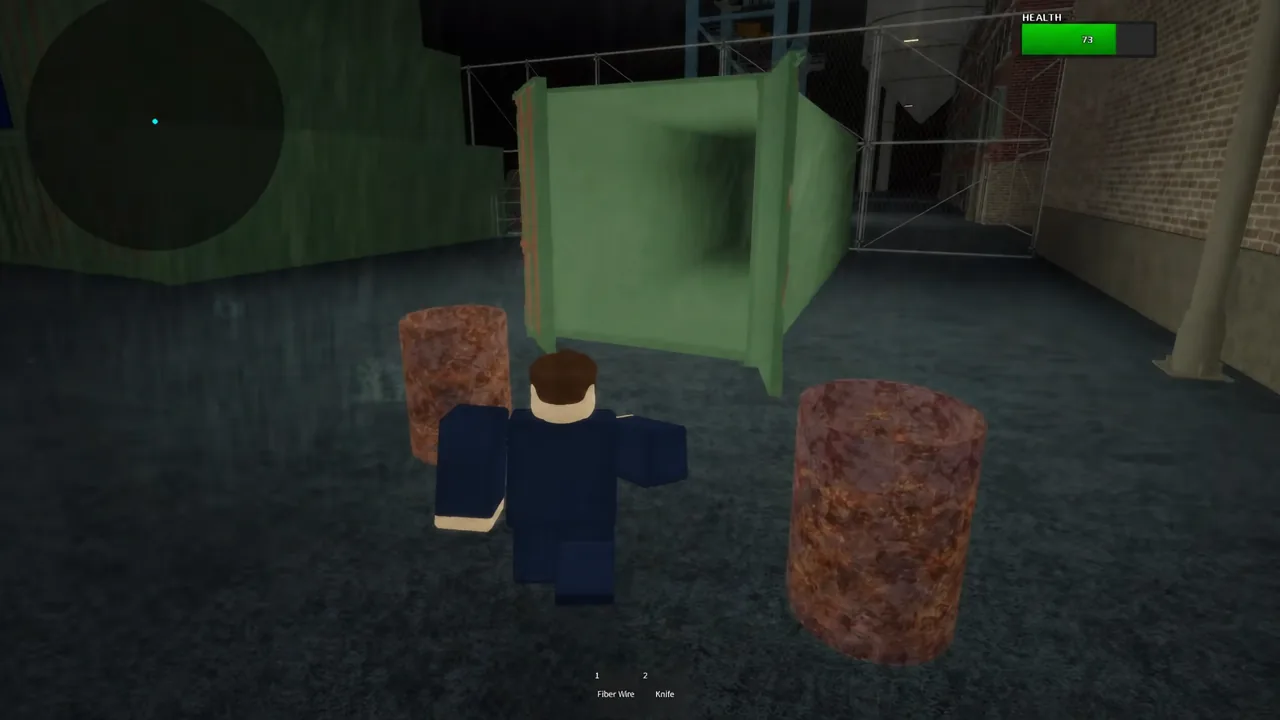
In SWAT gear, you move with the assault team when “SWAT is assaulting the ship!” appears. Board the container ship, push through to the bridge control tower, and shoot Boris before he reaches the detonator. Exfiltrate by helicopter.
Mission 10: The Setup (Romania sanatorium)
Two objectives, and the second one is the point: eliminate Doctor Kovacs, and stay calm no matter what happens. The Syringe is the natural pick here.
Arrive at the sanatorium gates and speak to the front desk guard, who sends you to Kovacs’ office. Kill Kovacs there, take the Sanatorium Key, and put on a doctor’s uniform.
A SWAT team then breaches the hospital. Ignore the noise and search the cells for Agent Smith, who is locked up inside. He tells you about the hidden basement entrance and opens the elevator shaft so you can descend. Going down ends the mission.
Final mission: Meet Your Brother and the clone fight
The Agency Note for the finale is two words long, and the mission plays out that way. Take the Shotgun in, but the underground laboratory also stocks an MP5 and a minigun.
Waves of clones are released into the corridors — the on-screen text reads “Releasing Clone” each time. Hold a corridor with the minigun and keep firing until “All Clones have been eliminated.” confirms the room is clear.
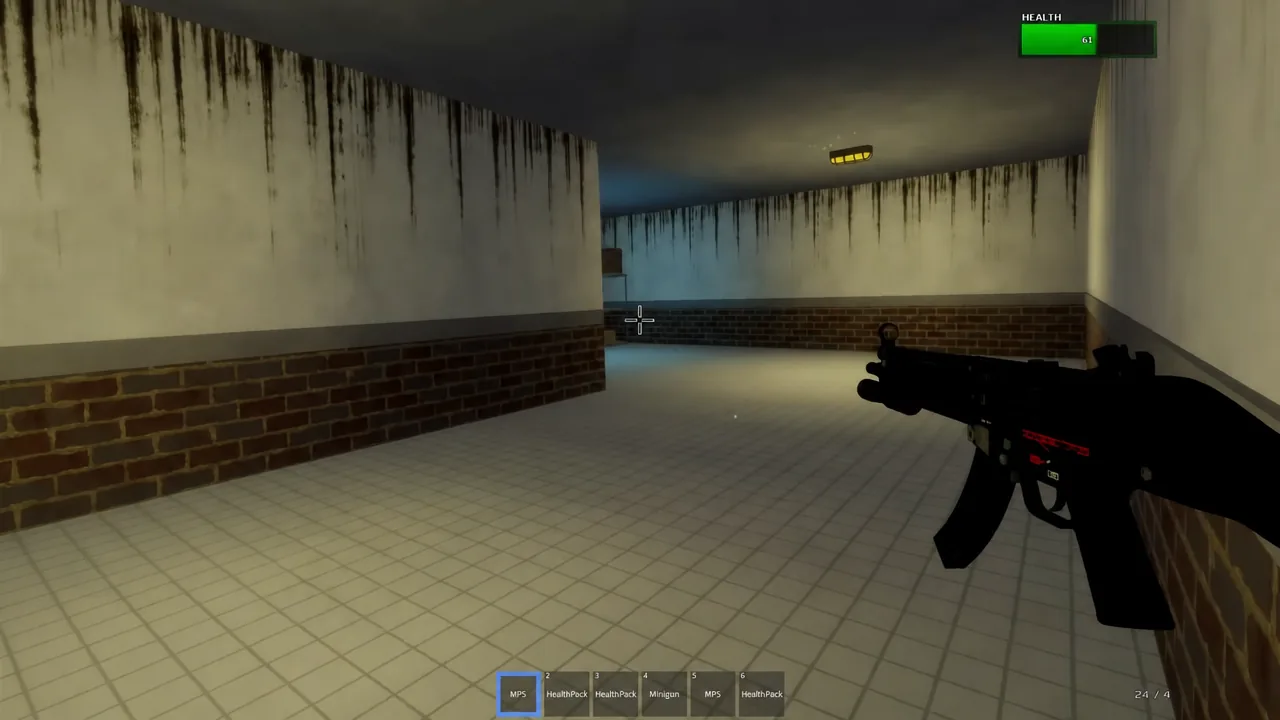
The final door will not open on its own. Drag one of the dead clones onto the floor scanner — the scanner reads the body and unlocks the inner laboratory. Walk through, shoot Dr. Ort-Meyer as he approaches, and a cutscene has 47 snap his neck. Credits roll after that.
Mission rewards and locations
| Mission | Location | Reward |
|---|---|---|
| Kowloon Triads in Gang War | Hong Kong | $5,000 |
| Ambush at the Wang Fou Restaurant | Hong Kong | $10,000 |
| The Massacre at the Cheung Chau Fish Restaurant | Hong Kong | $15,000 |
| The Lee Hong Assassination | Hong Kong | $30,000 |
| Find The U’wa Tribe | Colombia | $5,000 |
| The Jungle God | Colombia | $5,000 |
| Say Hello to My Little Friend | Colombia | $30,000 |
| Traditions of the Trade | Budapest | $55,000 |
| Deadly Cargo | Rotterdam | $75,000 |
| The Setup | Romania | $100,000 |
| Meet Your Brother | Romania | $100,000 |
Why missions fail to complete
Most stalled runs come down to a small number of repeatable mistakes rather than difficulty.
- Carrying a weapon into a frisked entrance triggers “WARNING: Weapons found!” — stash it and retrieve it past the checkpoint.
- Trying to plant the C4 in mission 2 before you are wearing the limo driver’s clothes will not register.
- Killing the Lotus Guard in mission 3 breaks the objective list, which specifically forbids it.
- Leaving mission 4 without opening the safe means the Jade Figurine objective is still outstanding.
- In mission 6, walking toward the exit before placing the boar on the altar leaves the tiger blocking the path.
- In the finale, the inner door stays shut until a clone body is on the scanner.
Completion is easy to confirm. Each mission ends with a “Mission Passed!” screen offering Next Mission and Return to Main Menu, and the corresponding badge is awarded on your Roblox profile — the Training badge sits at 24.9 percent rarity, so plenty of players never get past the tutorial. If a mission refuses to close out, hold B and check for an objective that never turned over.