

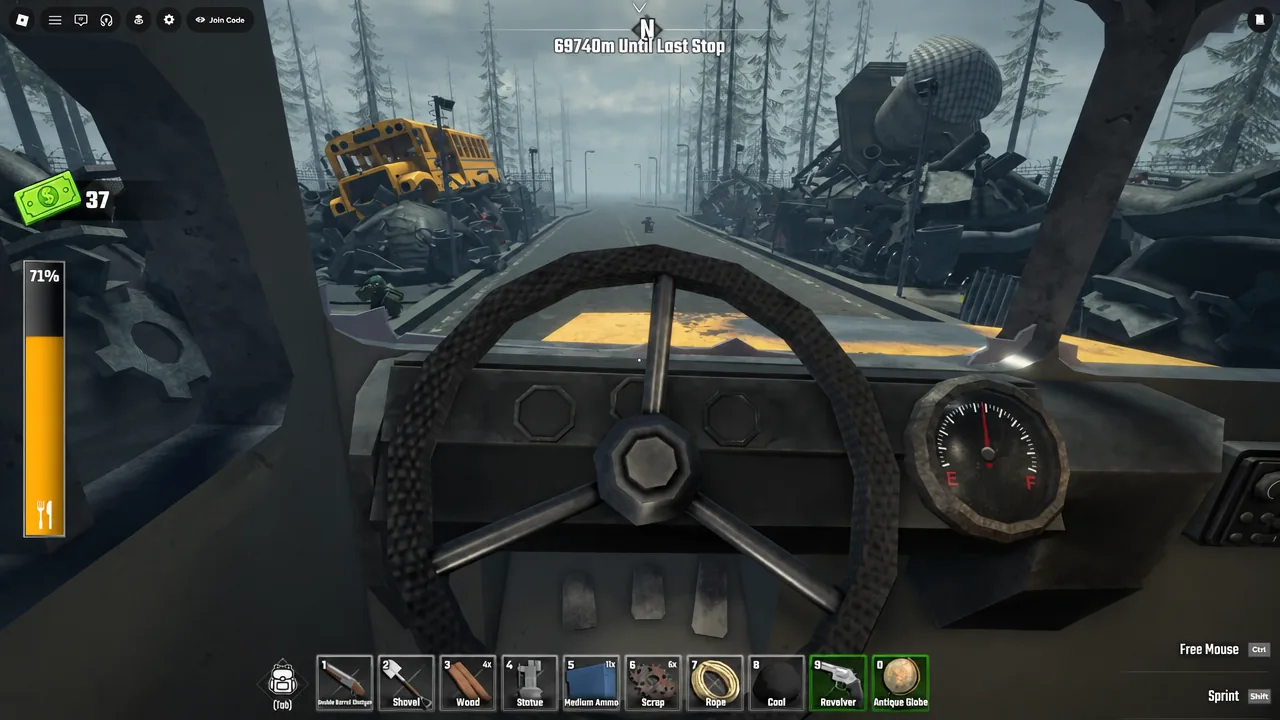
The spiked plate that shreds zombies off the front bumper of your school bus in Last Stop is called the Log Grill. It is one of several front attachments, and it turns the bus itself into a weapon instead of just a moving base you have to defend.
Quick answer: Craft the Log Grill at the bus workbench, or pick up a pre-made one at a Scrapyard stop. Carry it to the front of the bus, line it up with the placement controls, and drop it. Once it is welded on, zombies die on contact as you drive through them.
What the Log Grill shredder does
The Log Grill is a front-mounted grill covered in spikes. Zombies that the bus runs into while it is fitted are killed outright, so a road packed with walkers becomes something you can drive through rather than stop and fight. It does nothing while the bus is parked, which is why fuel matters as much as the attachment itself.
It is not the only grill in the game. The workbench also lists a Saw Grill, a Flame Grill, a Snow Plough Grill, and a Spike Trap Grill, and the front mount holds one at a time.
Bus requirements: wheels, fuel, and a driver
None of the front attachments matter until the bus can actually move. The opening tutorial walks you through it. Attach all four Basic Wheels to the bus, then find the red gas can and feed it into the furnace at the back. The last tutorial prompt tells you to take the wheel and drive, and the game confirms it with a “You can now drive, good luck!” message.
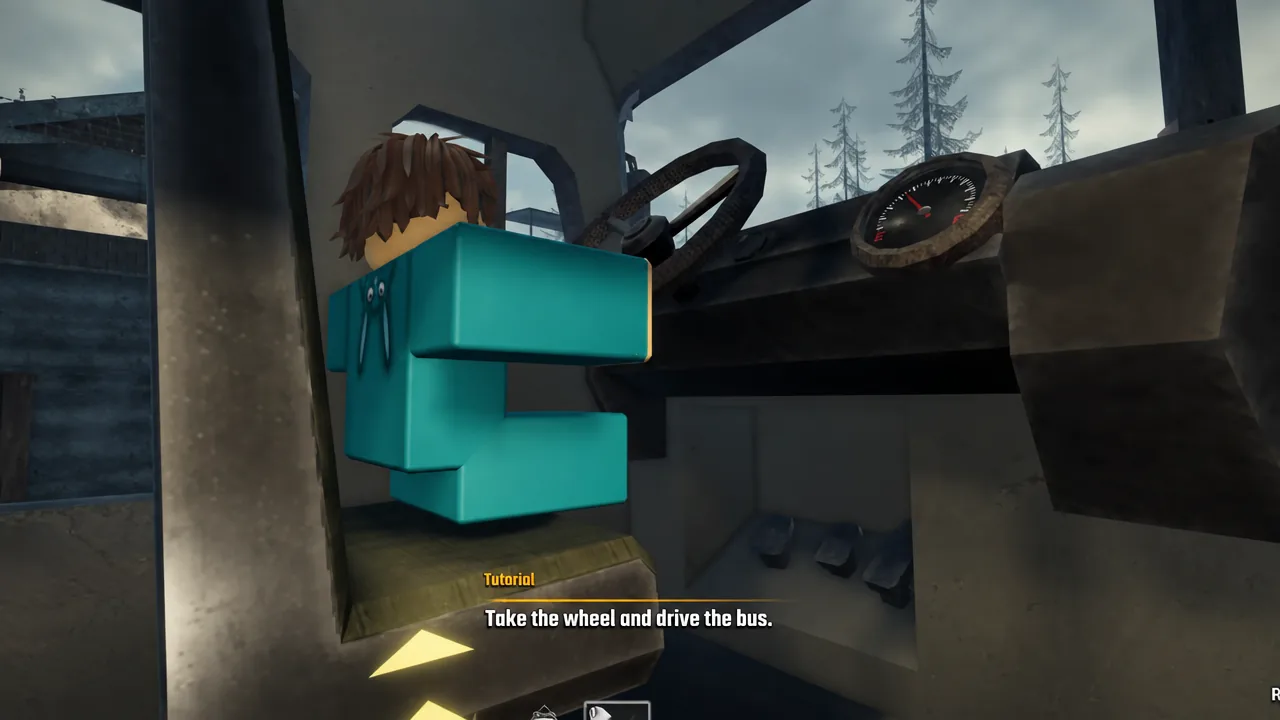
Yellow arrow waypoints on the road point you toward the wheels, the fuel, and the buildings worth searching, so the first few minutes rarely need any hunting.
Where to get a Log Grill: workbench or Scrapyard
There are two routes to one. The first is the workbench on the bus, which opens a full recipe list including every grill type. Building a grill costs materials you scavenge on the way, so wood, scrap, springs, and coal from looted houses all feed into it.
The second route skips crafting entirely. Scrapyard stops can hold a pre-made Log Grill lying in the yard, ready to be picked up and carried straight to the bus. Scrapyards are also guarded, so expect a giant zombie between you and the loot. A shovel handles one if you have nothing better equipped, and clearing it opens up the rest of the yard.
Other bus upgrades on the same workbench
The grill shares a menu with the rest of the bus build. It is worth knowing what else is on the list before you spend materials.
| Category | Workbench entries |
|---|---|
| Front grills | Log Grill, Saw Grill, Flame Grill, Snow Plough Grill, Spike Trap Grill |
| Wheels | Basic Wheel, Spiked Wheel, Golden Wheel |
| Armor and walls | Metal Wall, Metal Half-Wall, wooden walls, Bulletproof Window |
| Traps | Wooden Spike Trap, Metal Spike Trap, Spike Barricade, Bear Trap, Landmine |
| Utility | Double Wooden Chest, Sleeping Bag, Wooden Ladder, Chain, Generator Card, Lamp, Lantern, Turret, VIP Spoiler |
How to mount the Log Grill on the front of the bus
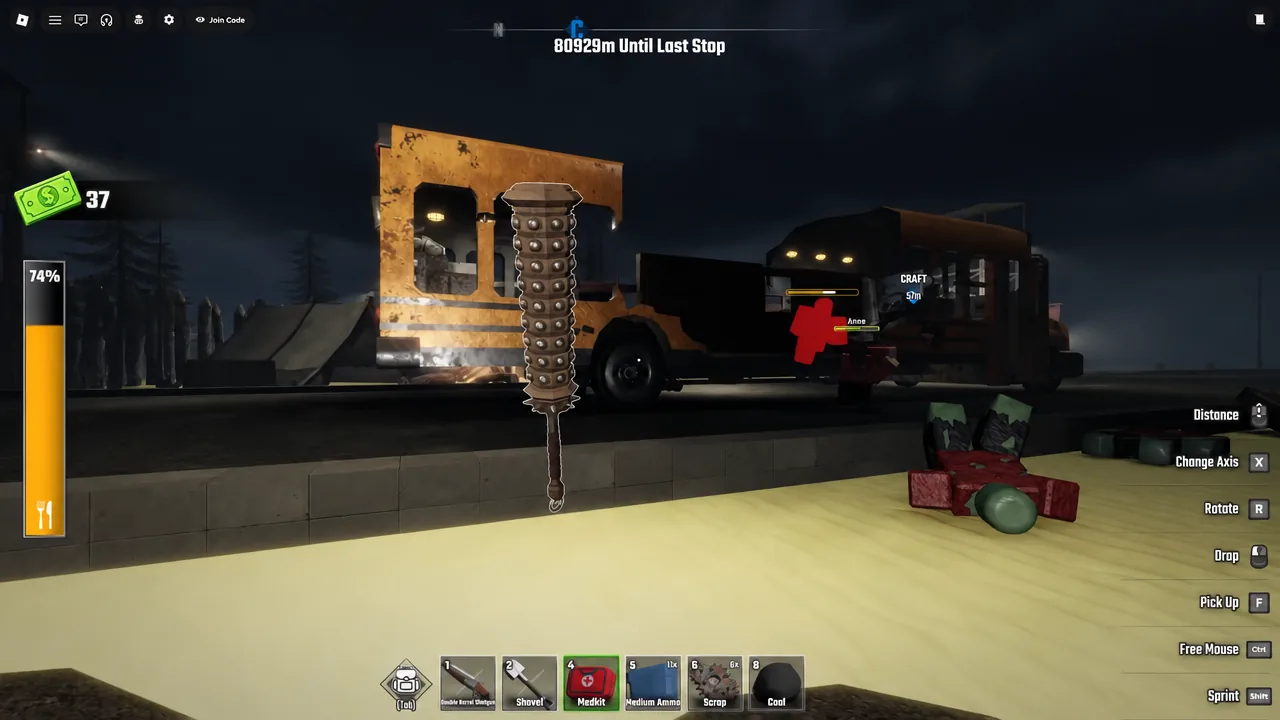
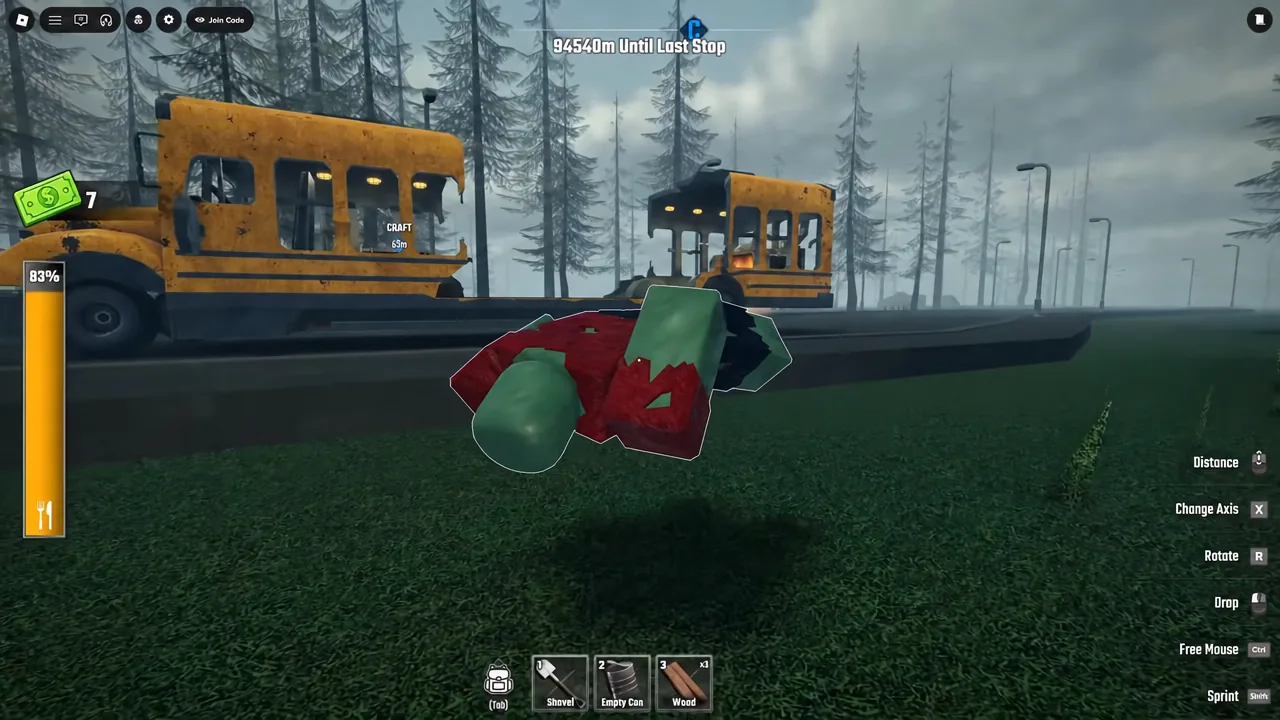
You know it worked when the bus kills zombies on contact instead of bumping them aside. If the piece will not stick, it is usually because the preview is still red, the angle is off, or you are trying to seat it somewhere other than the front mount. Reposition and drop again rather than dropping it on the ground and re-approaching.
Keeping the bus fuelled so the shredder keeps working
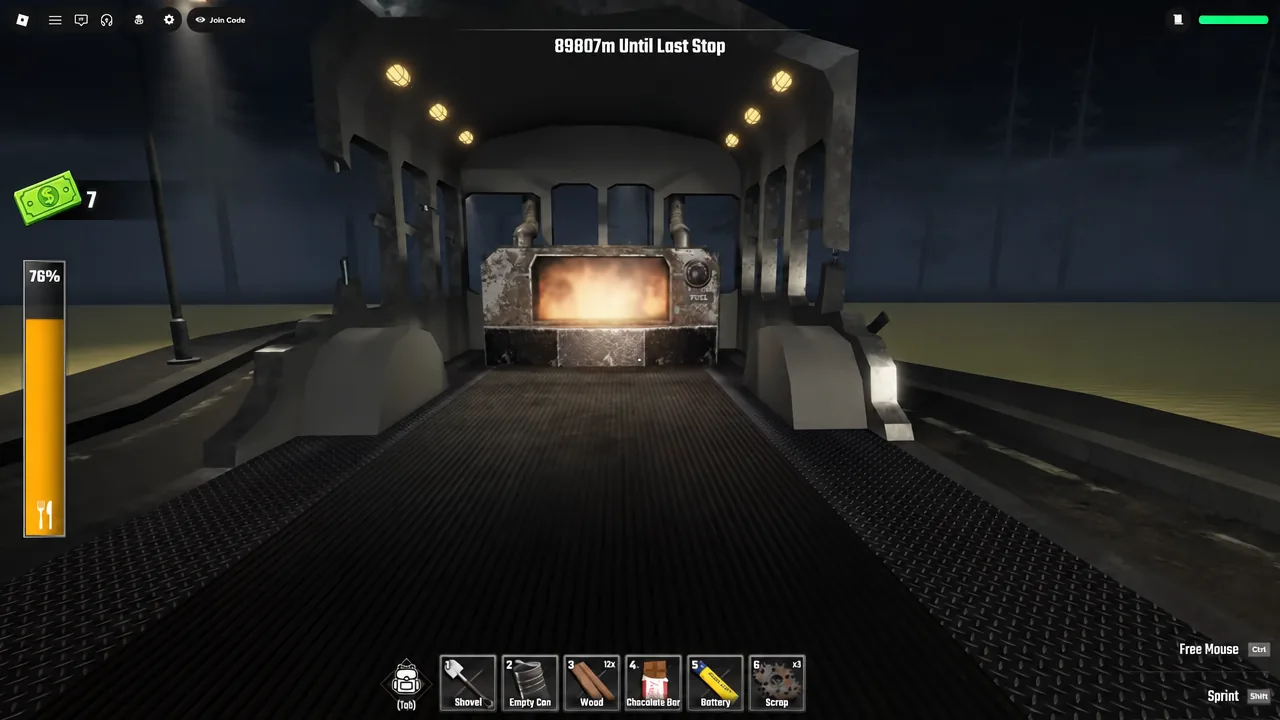
A shredder on a stationary bus is just decoration. The furnace burns through fuel constantly, and the game warns you twice on the way down, first with “The bus is down to 10% fuel!” and then with “The bus is out of fuel!” once you have stalled. Running dry in open desert with a horde inbound is the failure state to avoid.
| Fuel source | Where it comes from |
|---|---|
| Gas can | Roadside and the tutorial area, fed directly into the furnace |
| Coal | Looted from houses and buildings along the route |
| Zombie corpses | Bodies from your own kills, loaded into the furnace and burned |
| Wishing well | Sacrifice items at the desert well for random returns including fuel and ammo |
Tip: corpses can be welded together into a single bundle, which makes them far easier to haul back to the furnace than dragging bodies one at a time. Night is the best moment to stockpile, since more zombies spawn and the supply of bodies goes up.
Terminal stops: selling loot and buying gear
Terminals are safe zones where you can upgrade the bus, vault items, and talk to NPCs before continuing. Scavenged junk goes onto a conveyor belt to be sold, and the cash pays for armor, helmets, and weapons. It is the cleanest place to convert a full inventory of scrap into something that keeps you alive at the next checkpoint.
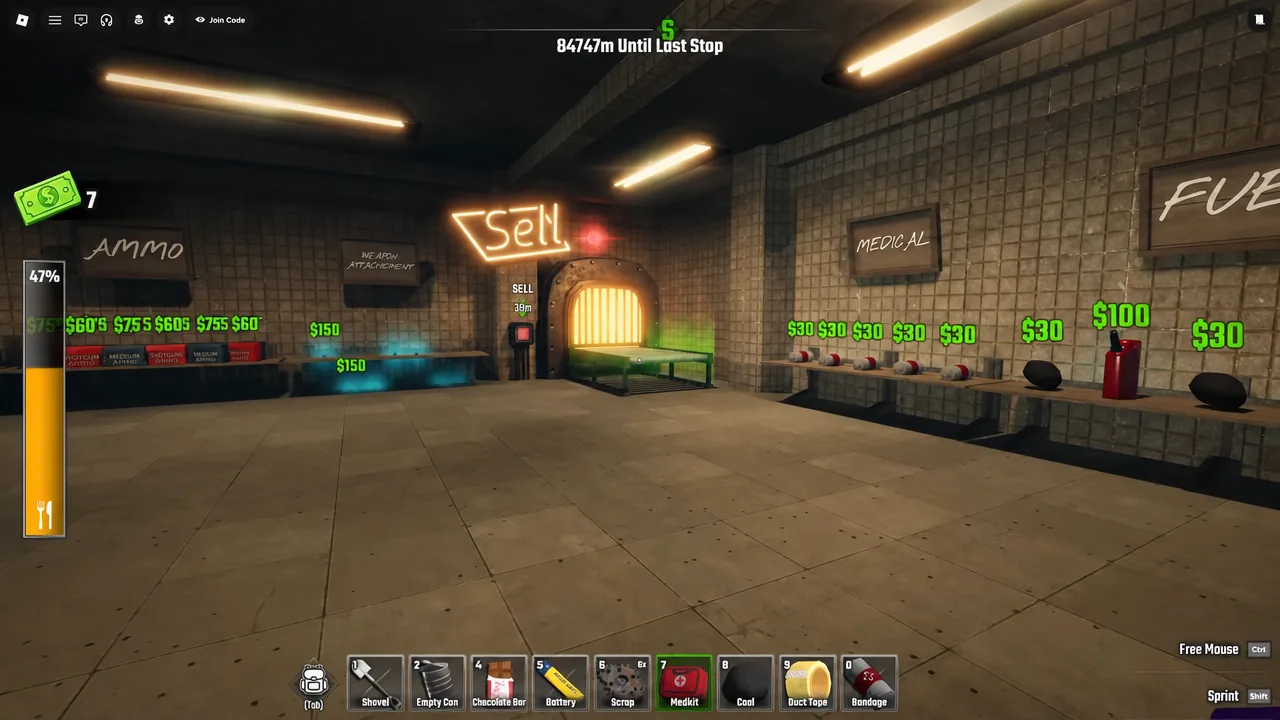
If you would rather buy firepower than craft it, a Weapon Airdrop costs 80 Robux and drops a crate containing a high-tier weapon such as the Double Barrel Shotgun along with matching ammo. That is a shortcut, not a requirement, and the Log Grill covers most of the same ground for free once the bus is moving.
With the grill welded on, a stocked furnace, and walls up the sides, the run becomes a question of pacing rather than survival. Keep enough coal and corpses in reserve to reach the next Terminal, and the front of the bus handles most of what walks into it.





