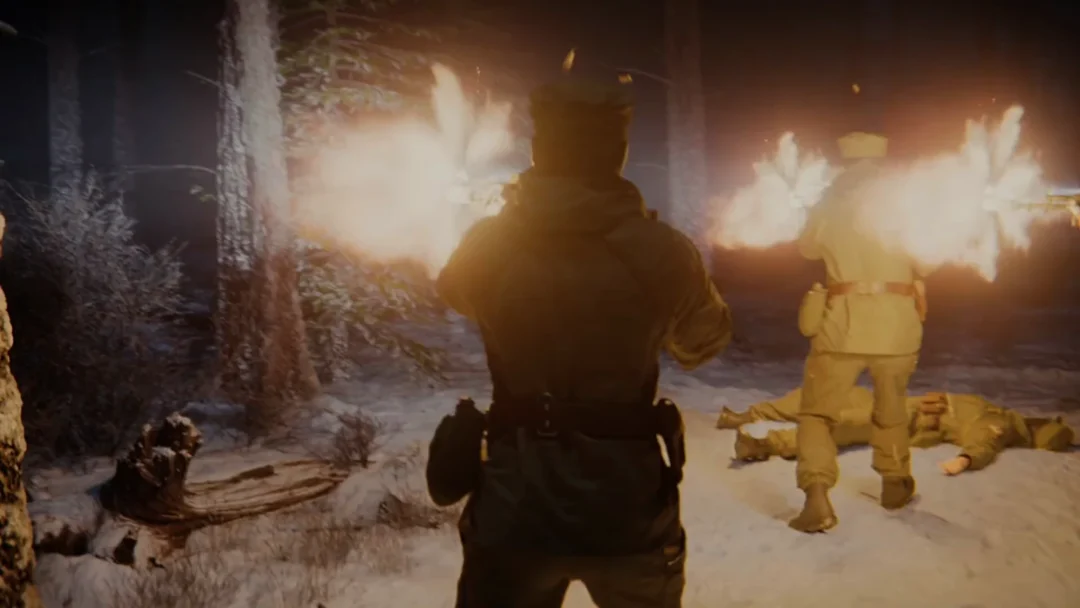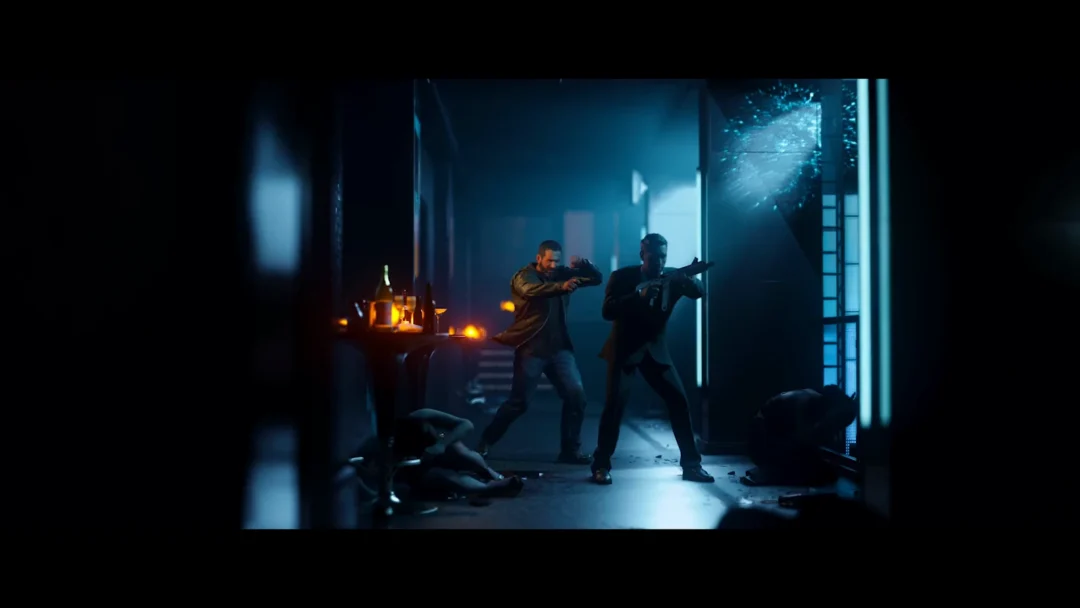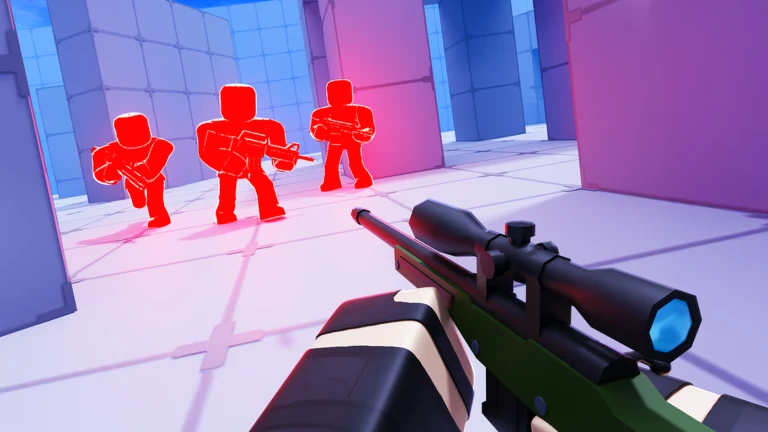
Zombie Tower is the limited-time PvE mode in Roblox Rivals, and it’s back for the 2026 Spooky Event almost unchanged from its 2025 debut. You climb a 17-floor tower, clear every wave on each floor to open the way up, and fight a 5,000 HP boss at the top. Ammo is scarce, health comes only from drops, and a single Explosive Zombie can end a solo run.
Quick answer: Start with the Revolver and aim for headshots. Swap to a crowd-clearing primary like the Shotgun or Assault Rifle from weapon drops. Use Fists on Ghosts and Reapers, then punch the Giant Chombie when it collapses after three slams.
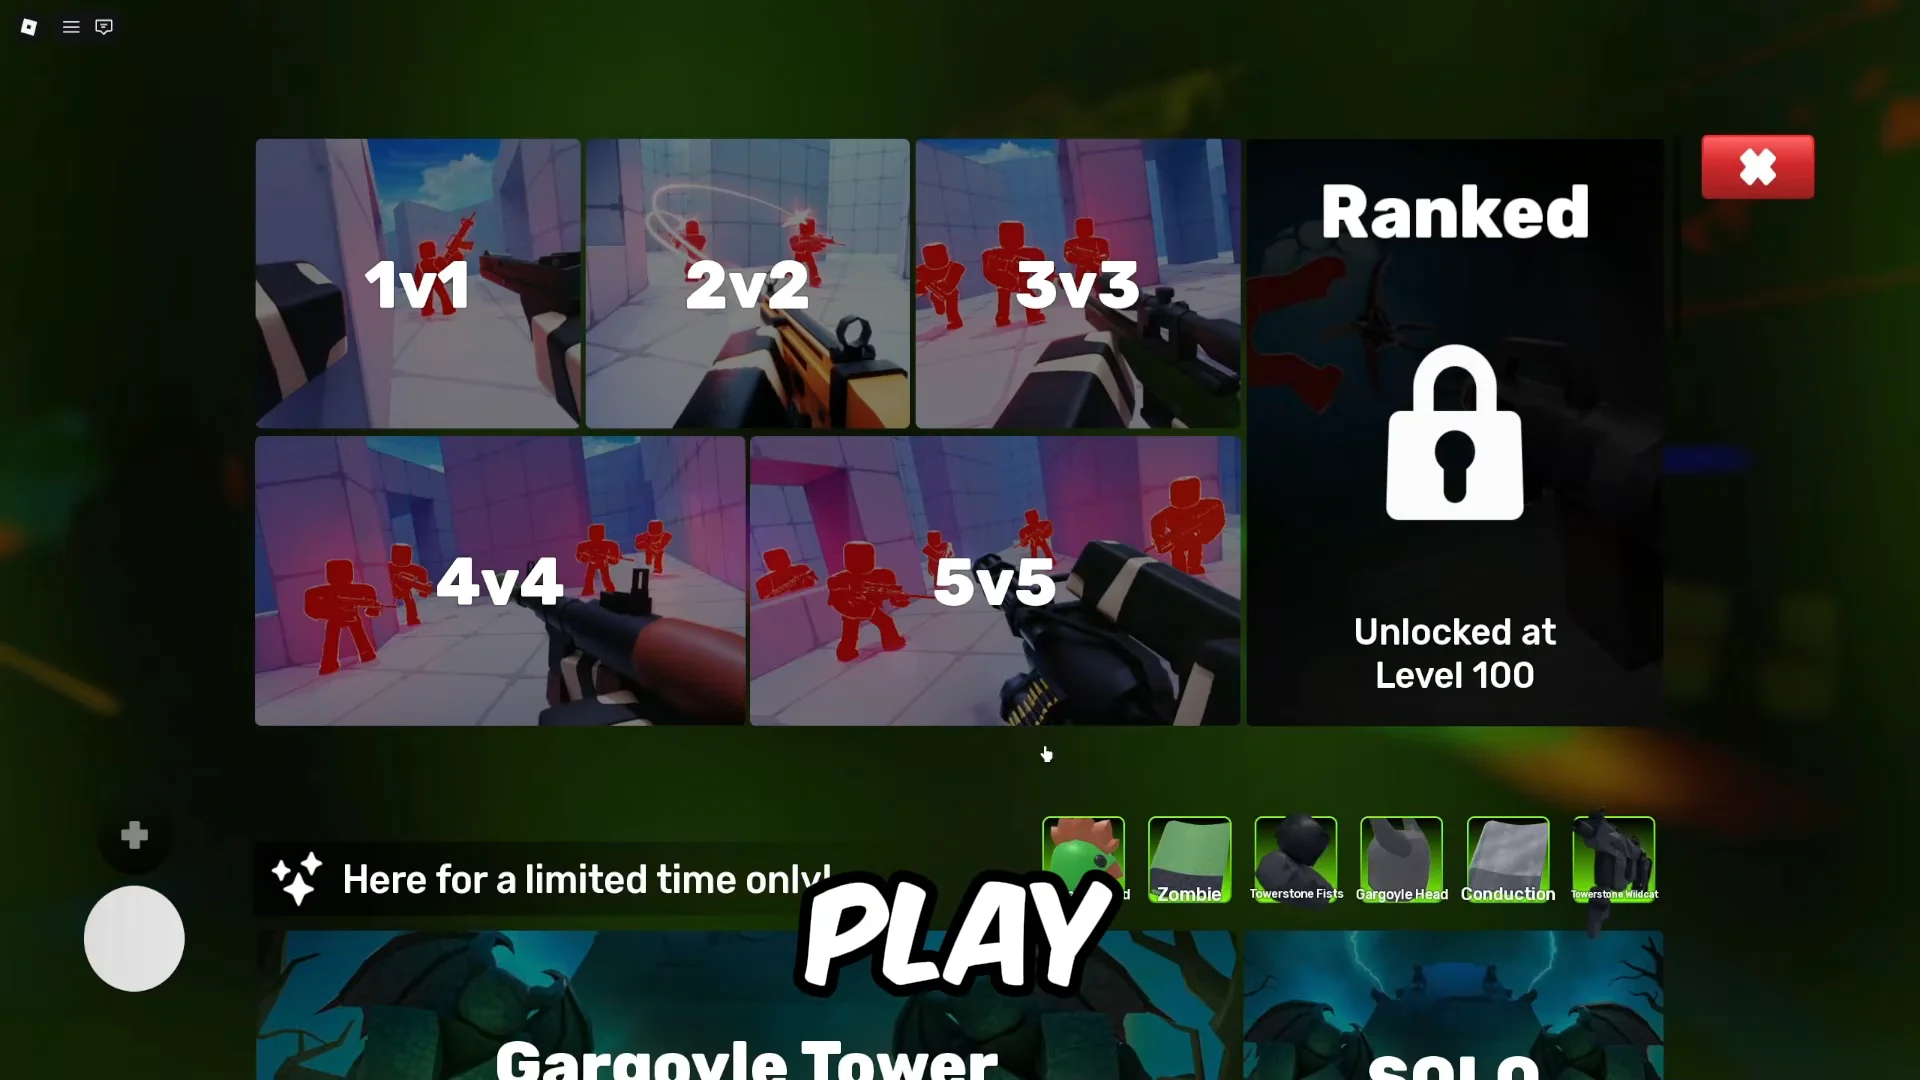
How to start a Zombie Tower run
Zombie Tower rules: Waves, drops, and ammo
Every floor holds several waves. The opening to the next floor stays shut until each wave is dead, so you can’t skip a straggler hiding in a corner. There’s no shop and no free resupply between floors. Everything you need comes from what enemies drop.
- Ammo drop: refills all ammo on the weapon you’re currently holding.
- Heal drop: a green plus that restores 50 HP on contact.
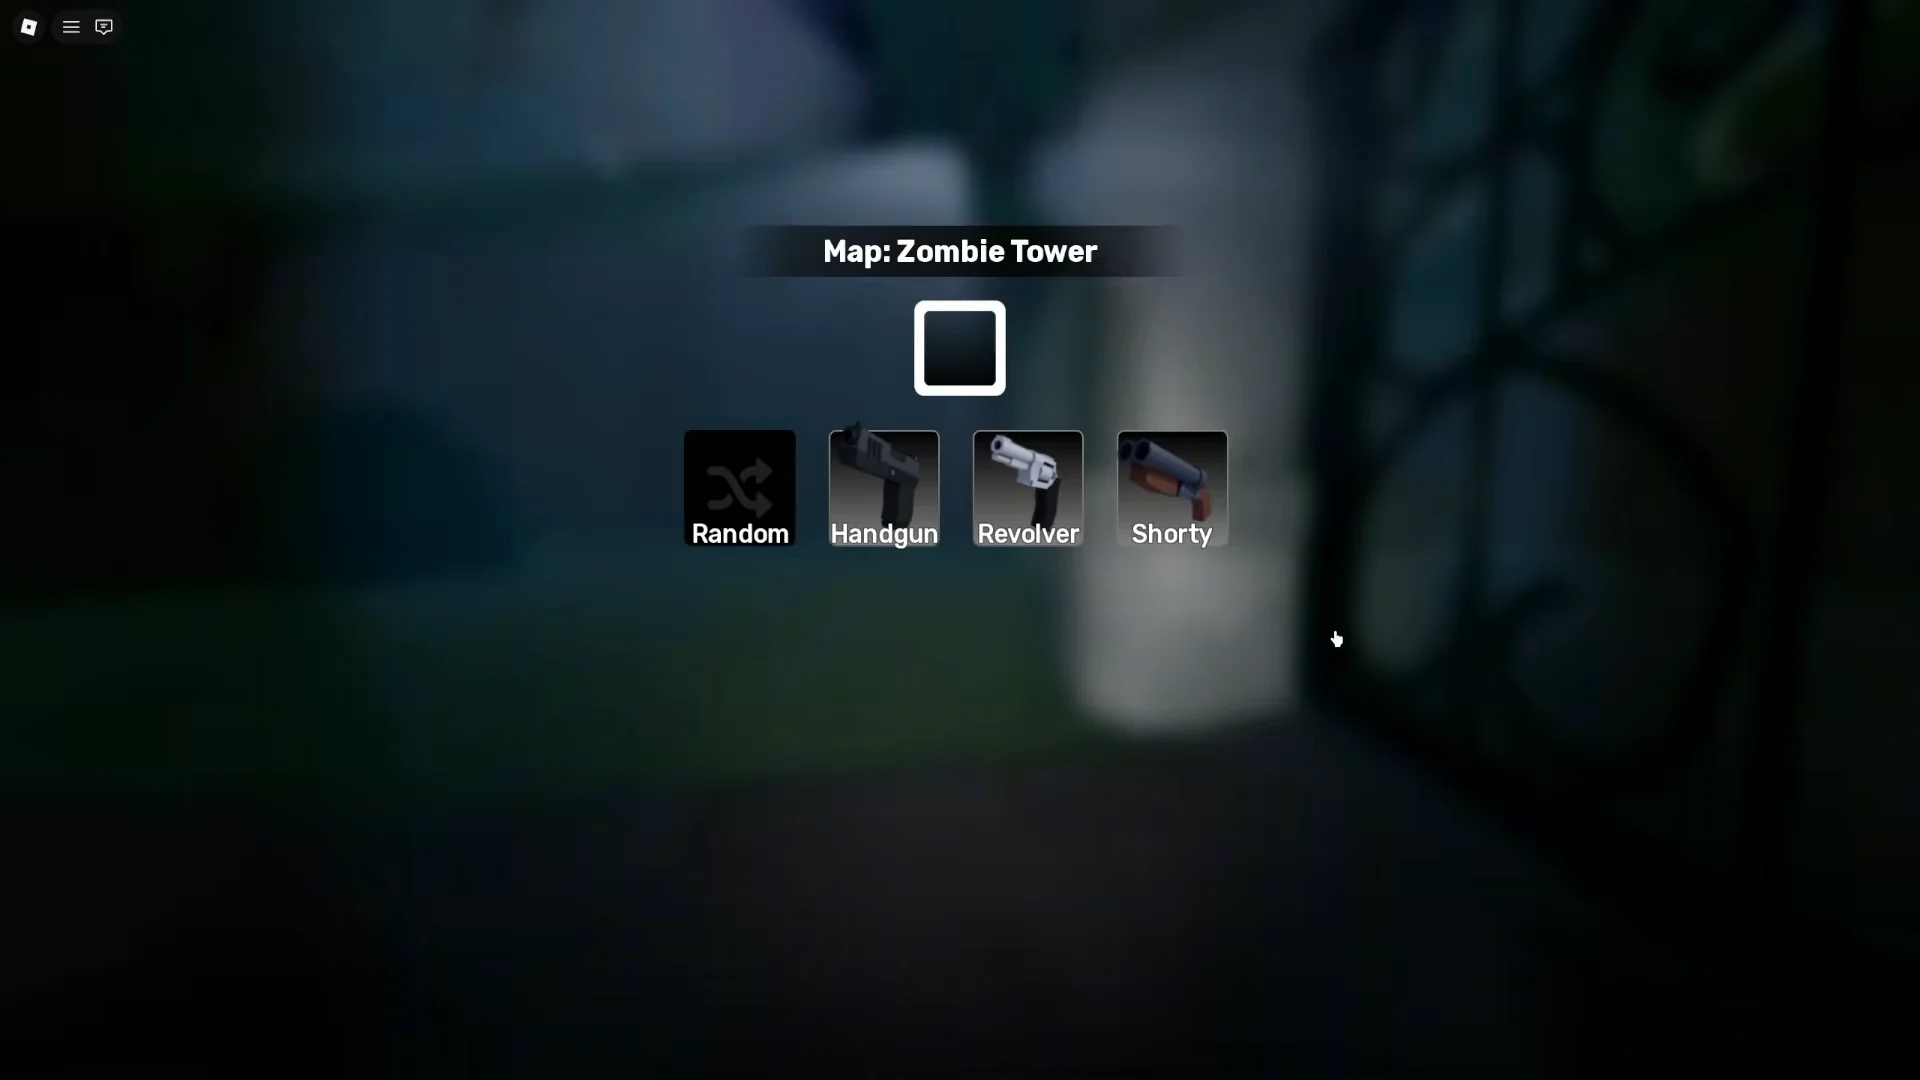
- Weapon drop: a floating weapon icon. Press
Qto claim it and pick from three weapons or Random. - Team heal drop: revives every dead teammate. It never drops in solo.
Because ammo drops only refill the gun in your hands, switch to the weapon that’s emptiest before you walk over one. Sliding and slide-jumping are your main defense. Zombies spawn in scattered spots, so keep circling to bunch them up instead of backing into a dead end.
Falling more than three floors behind your team lets Reapers spawn on any floor, not just floor 10 and up.
Best weapons to pick from Zombie Tower drops
Weapon drops pull from a fixed pool. Primaries include the Distortion, Grenade Launcher, Minigun, Paintball Gun, Assault Rifle, Bow, Burst Rifle, Crossbow, Gunblade, RPG, Shotgun, and Sniper. Secondaries include the Exogun, Slingshot, Flare Gun, Handgun, Revolver, Shorty, Spray, and Uzi.
Your first drop usually lands after the opening waves. An automatic like the Minigun is a big upgrade over the Revolver for mowing down groups on the early floors.
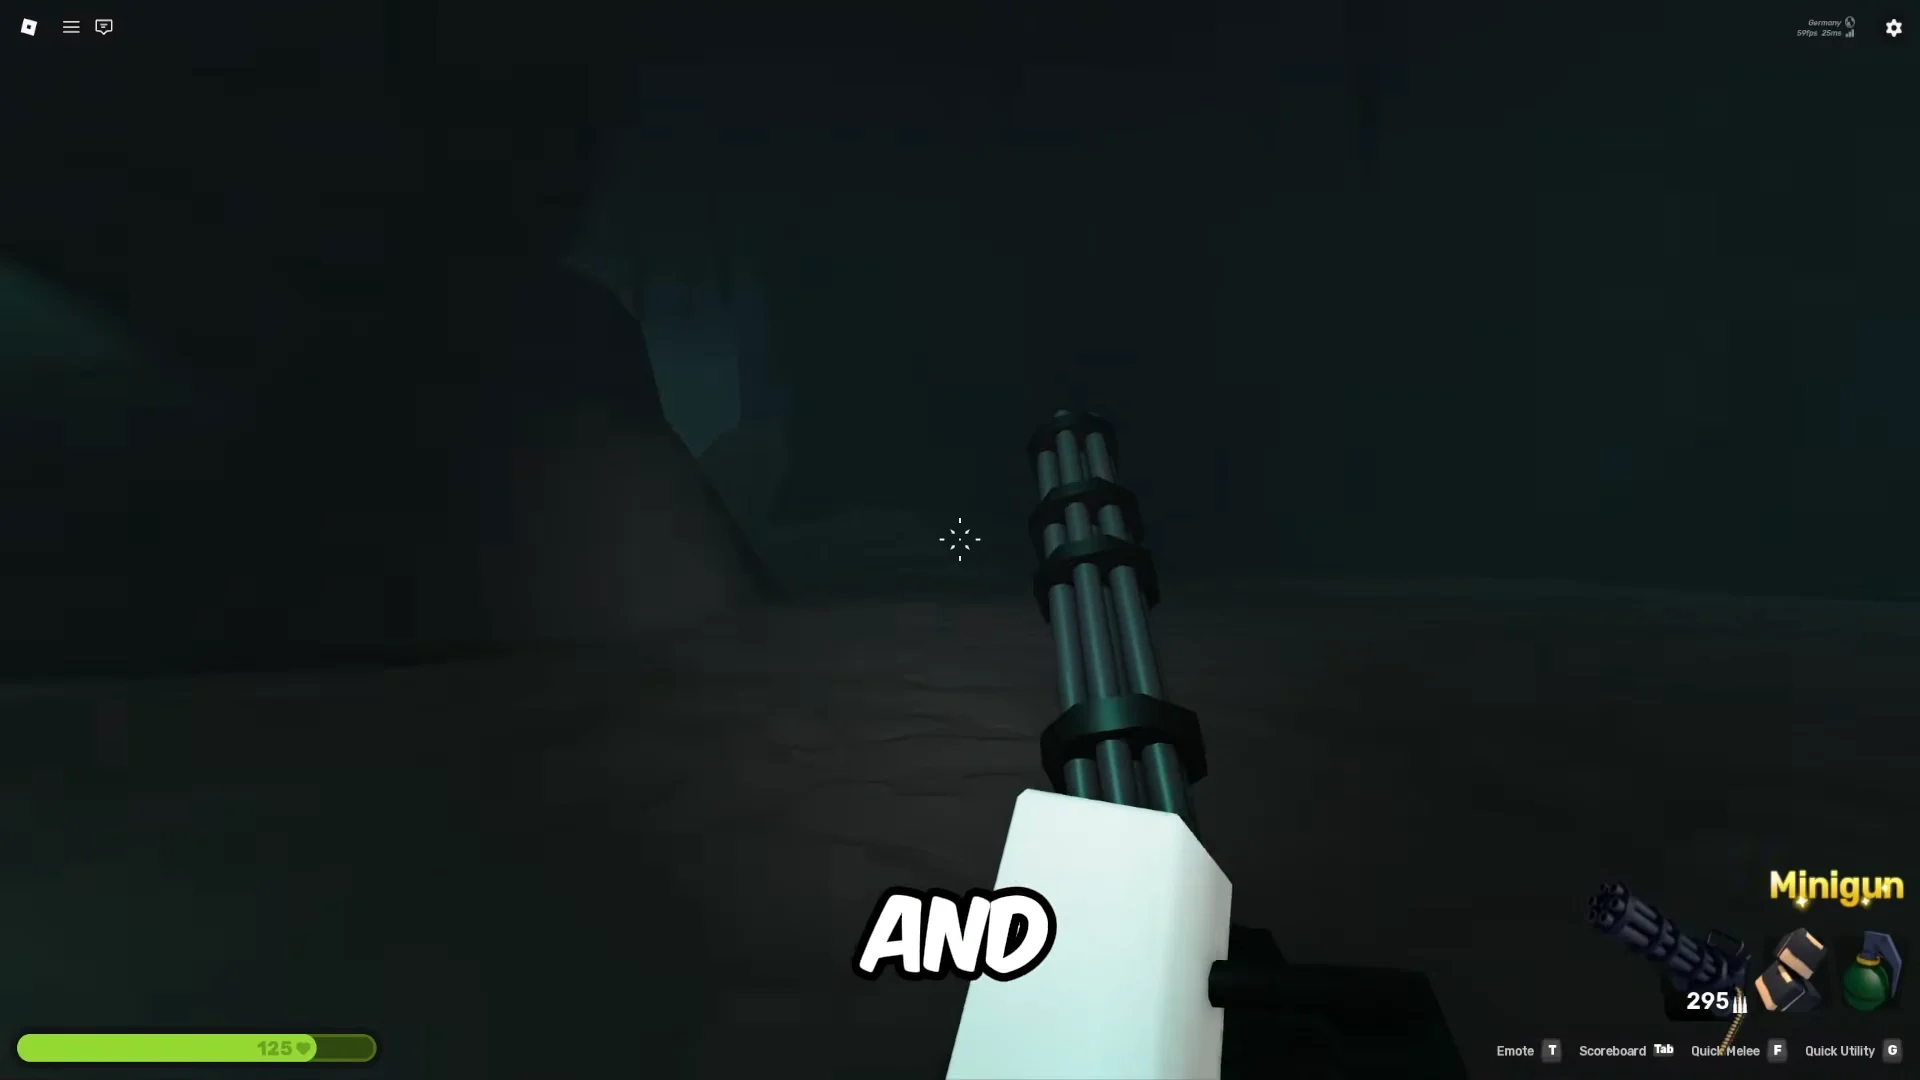
For the long haul, aim to finish with the Shotgun or Distortion, which drop multiple enemies fast even on late floors. The Assault Rifle is the most flexible all-rounder. The RPG and Grenade Launcher hit hard but struggle later in the climb, so treat them as backups rather than your final weapon.
Zombie Tower enemy list
Nine enemy types live in the tower, including one boss. Health is listed in two tiers for each enemy.
| Enemy | Health | Damage | First floor |
|---|---|---|---|
| Zombie | 75 / 150 | 25 | 2 |
| Helmet Zombie | 75 / 150 | 25 | 2 |
| Brute Zombie | 300 / 600 | 40 | 3 |
| Explosive Zombie | 75 / 150 | 150 | 4 |
| Ghost | 50 / 100 | 25 | 5 |
| Skeleton | 100 / 200 | 25 | 6 |
| Hunter Zombie | 75 / 150 | 25 | 6 |
| Reaper | 250 / 500 | 50 | 10 |
| Giant Chombie | 5000 / 10000 | 70 | 17 |
Helmet Zombies block headshots, so aim for the body unless your weapon can get through a Riot Shield. Brute Zombies are faster than regular zombies and close distance quickly, so shoot them first and from range; a Shorty blast finishes them fast. Explosive Zombies sprint at you and blow up for enough damage to one-shot anyone nearby, so kill them at a distance. Ghosts fly through walls but are fragile, and Fists handle them fine. Skeletons barely move and throw bones from the back of rooms. Hunter Zombies leap straight at your position, so keep space or use a grenade. Reapers are tougher, harder-hitting Ghosts and the most dangerous regular enemy in the tower.
Flag zombies also show up in the later floors. When one dies, it gives nearby zombies a speed boost, so take it out early before the crowd around it gets dangerous.
Zombie Tower floor-by-floor strategy (floors 1–16)
The climb isn’t a smooth difficulty curve. Some floors are breathers, and a few are walls. Knowing which is which tells you when to save ammo and when to spend it.
| Floor | What spawns | How to play it |
|---|---|---|
| 1–2 | Regular zombies | Fists are enough |
| 3 | First special zombies | Body-shot Helmet Zombies |
| 4 | Explosive Zombies in wave 3 | Shoot from range |
| 5 | Ghosts only | Fists, moving in a line |
| 6 | Hunter Zombies, Skeletons | Grenades or keep distance |
| 7 | Early Explosive Zombie rush | Keep moving, use grenades |
| 8 | Ghosts, zombies, Skeletons, flag zombies | Position carefully |
| 9 | Ghosts | Fists |
| 10 | Piñata, first Reapers | Control distance, Shotgun |
| 11 | Zombies rising from water | Watch the water |
| 12 | Hunters from both sides, Reapers | Kill Hunters first |
| 13 | Lava zone, Skeletons, Reapers | Back-step and punch Reapers |
| 14 | Wide map, Reapers in wave 1 | Survive the first wave |
| 15 | Heavy Reaper waves | Fists, clear Skeletons fast |
| 16 | Many waves, Reapers last | Guns early, Fists at the end |
Floor 1 is a gentle start. Zombies don’t attack as they climb out of their spawn point, so you can walk up and punch them. On floor 10, breaking the Piñata spills out every kind of zombie at once, and the map is large enough that you can kite them while you work through the pack.
Floors 13 and 15 are where most runs die. Reapers tend to cut diagonally toward where you’re heading. A single step backward straightens their path, and then you can swing your Fists while moving forward, the same way you’d handle a Ghost. If you’re out of bullets on 13, keep back-stepping and punching Reapers until ammo drops appear, then grenade the leftover Skeletons. On floor 15, waves 1 and 2 are Reapers only. Wave 3 adds Skeletons at the back of the map, so clear those before the Reapers reach you. Knocking Skeletons into the lava works too.
Floor 16 eases off. Reapers show up only in the final wave, alongside Ghosts, so you can spend ammo freely on the earlier waves and switch to Fists at the end. The alley sections here are narrow, so watch your movement.
How to beat the Giant Chombie on floor 17
The Giant Chombie has 5,000 HP, which is more than you can realistically shoot through with the ammo you’ll have left. Its attack is a leap into the air followed by a slam where you’re standing, and each hit costs 70 health.
Keep moving to dodge the slams. After the third slam, the boss collapses and stays down for a short recovery window. That’s when you rush in and punch. Back off before it gets up, dodge the next three slams, and repeat. Don’t get greedy outside those windows.
Zombie Tower rewards and how to earn them
Each reward is tied to a different way of escaping the tower. Zombie Tower doesn’t pay out Candies or keys, so these cosmetics are the only payoff.
| Reward | Type | Requirement |
|---|---|---|
| Chombie Head | Charm | Escape the tower |
| Zombie Wrap | Wrap | Escape the tower alive |
| Towerstone Fists | Skin | Escape the tower solo |
The 2026 event lists the solo skin as Towerstone Fists. In the 2025 run, the solo clear awarded a Towerstone Handgun instead. A team clear is enough for the charm, but you need to be alive at the end for the wrap, and only a solo escape unlocks the skin. Practicing with a team first is the easiest way to learn the later floors before attempting it alone.
If you die, the run ends on a “ROUND LOST” screen that names what killed you, with Rematch, Play Again, Leave, and To Hub buttons. Progress doesn’t carry over, so a new attempt starts again from the cave entrance.