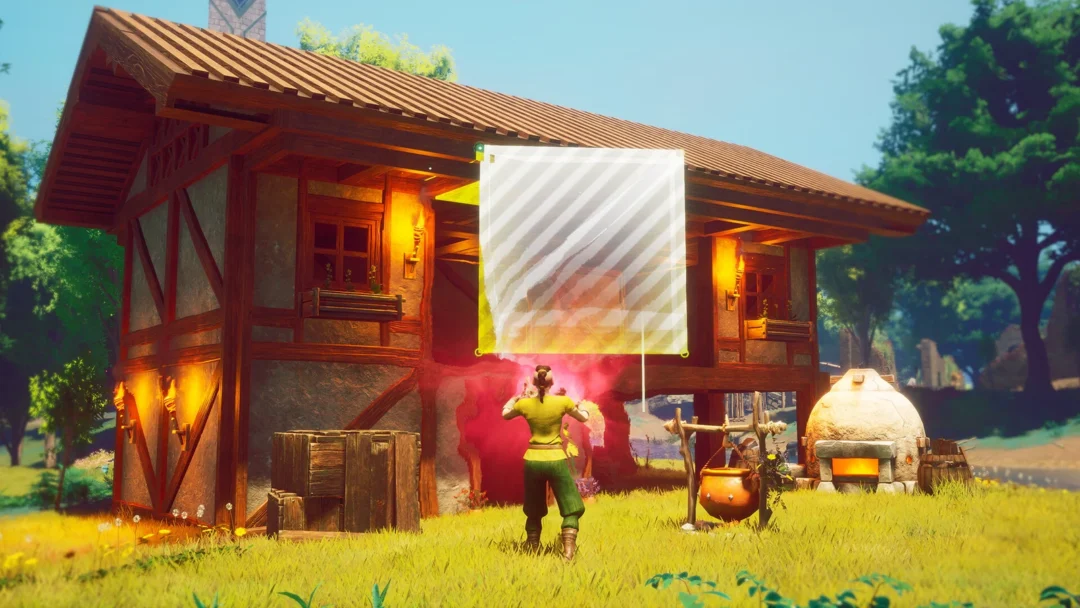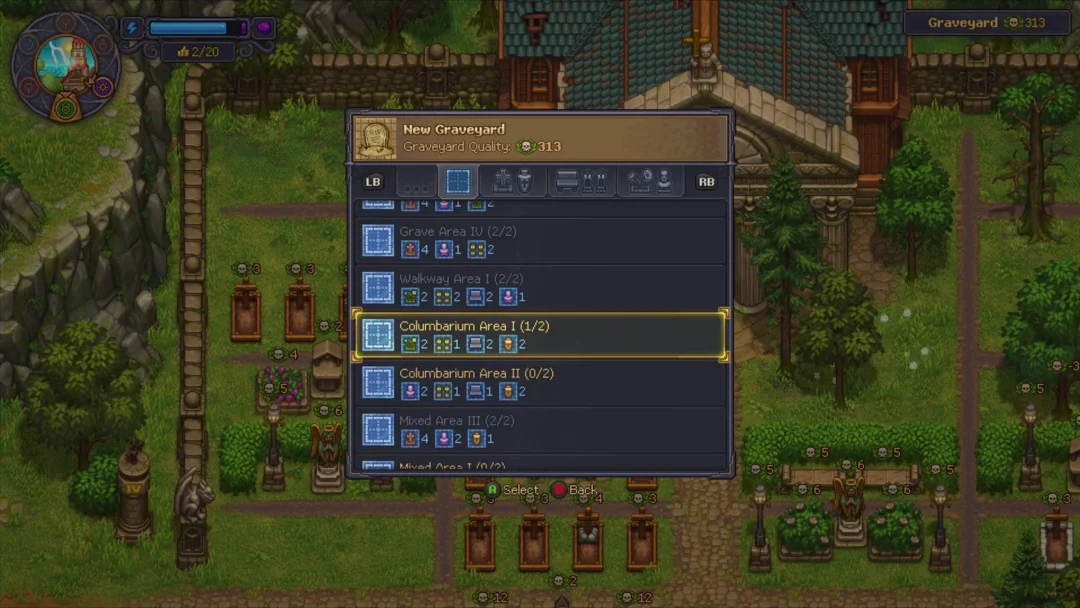
Sword RNG X runs on a short, repeatable loop. You roll for swords, equip the strongest one you own, kill mobs to level up, and spend what drops on a skill tree that makes the next round of rolls better. Everything else in the game — auras, crafting, rebirth, AFK farming — hangs off that loop.
Quick answer: Leave Auto Roll on, press Equip Best after each batch of pulls, and put early coins into Luck and Drop Rate. Zone 2 Desert opens almost immediately; Zone 3 Arctic needs level 10.
The roll, equip, and fight loop in Sword RNG X
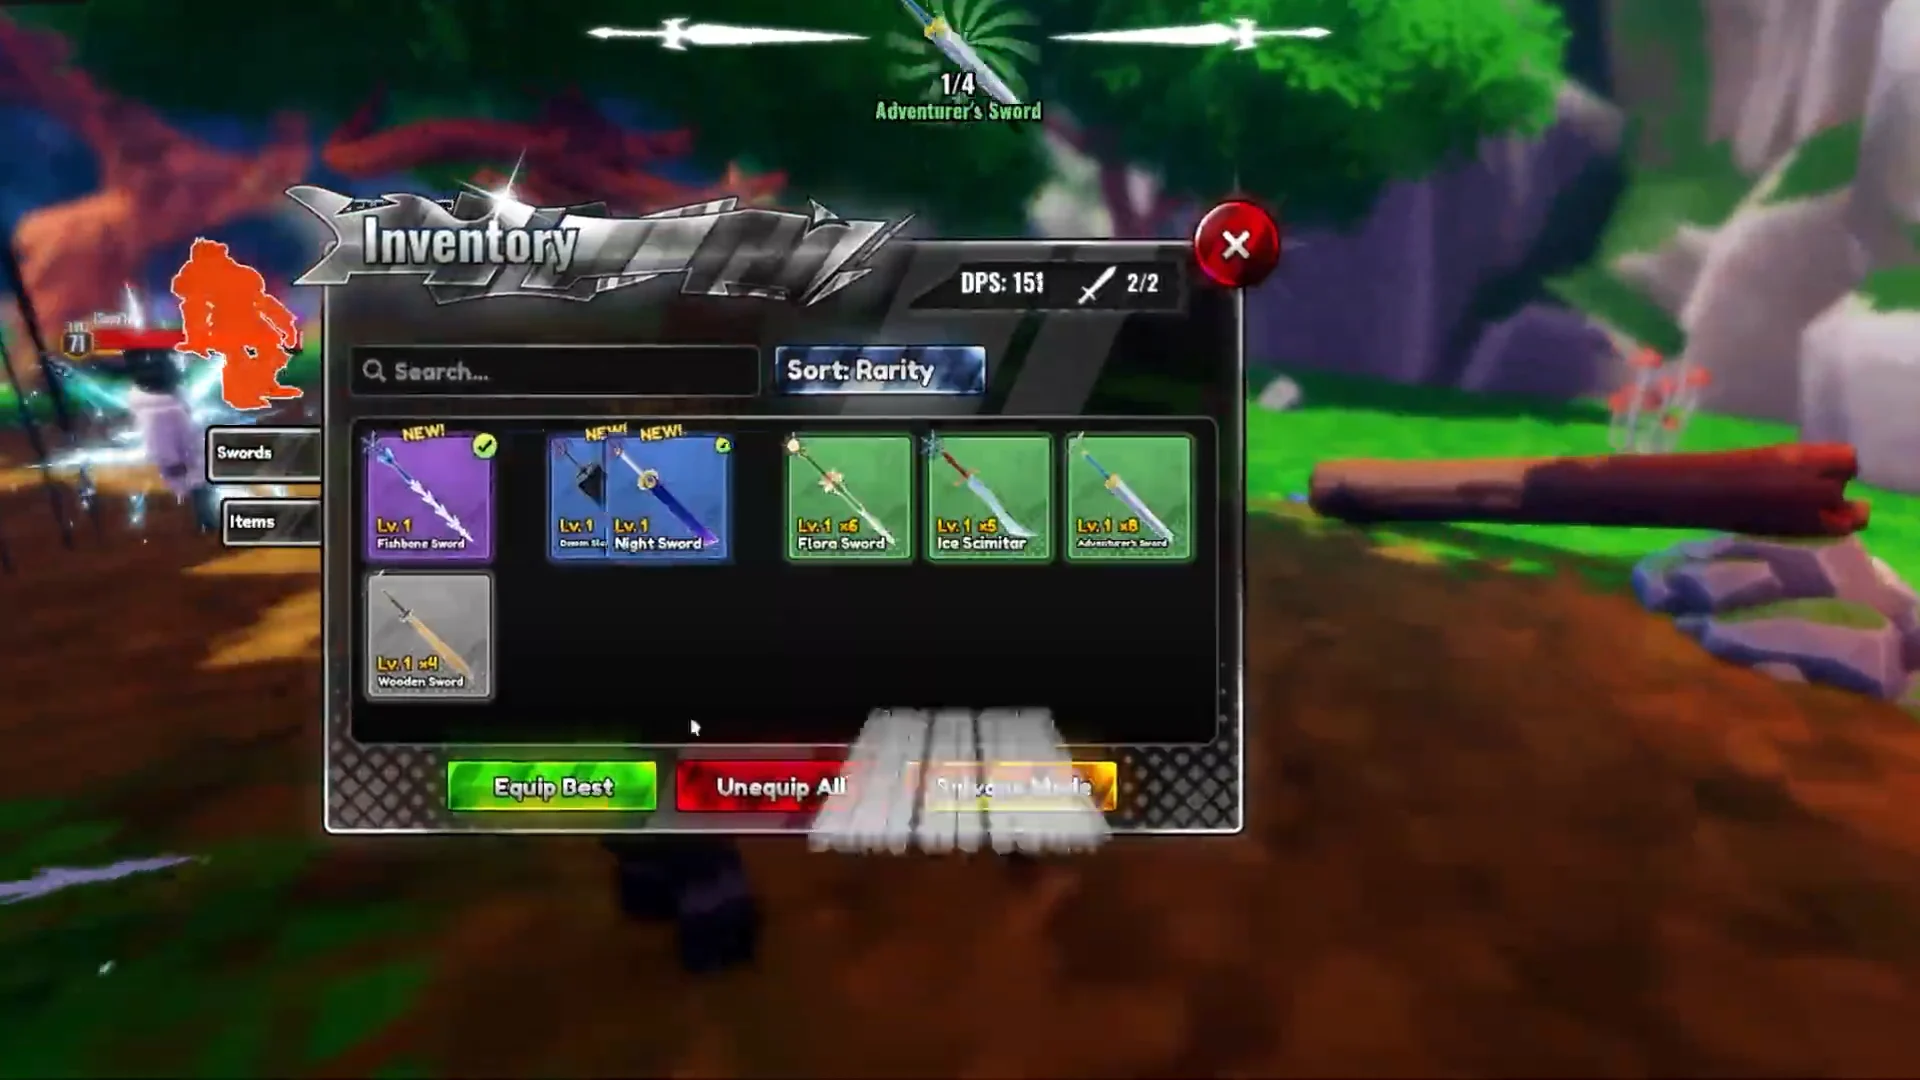
Re-press Equip Best after every long Auto Roll session. Rolls keep landing while you fight, and a better sword sitting unequipped in the inventory does nothing for your clear speed.
Best upgrade nodes to buy first
Upgrades are bought from a node tree rather than a flat shop list. Nodes unlock outward from the center, so early purchases are cheap and each one compounds with the rolling loop you are already running.
Luck and economy nodes
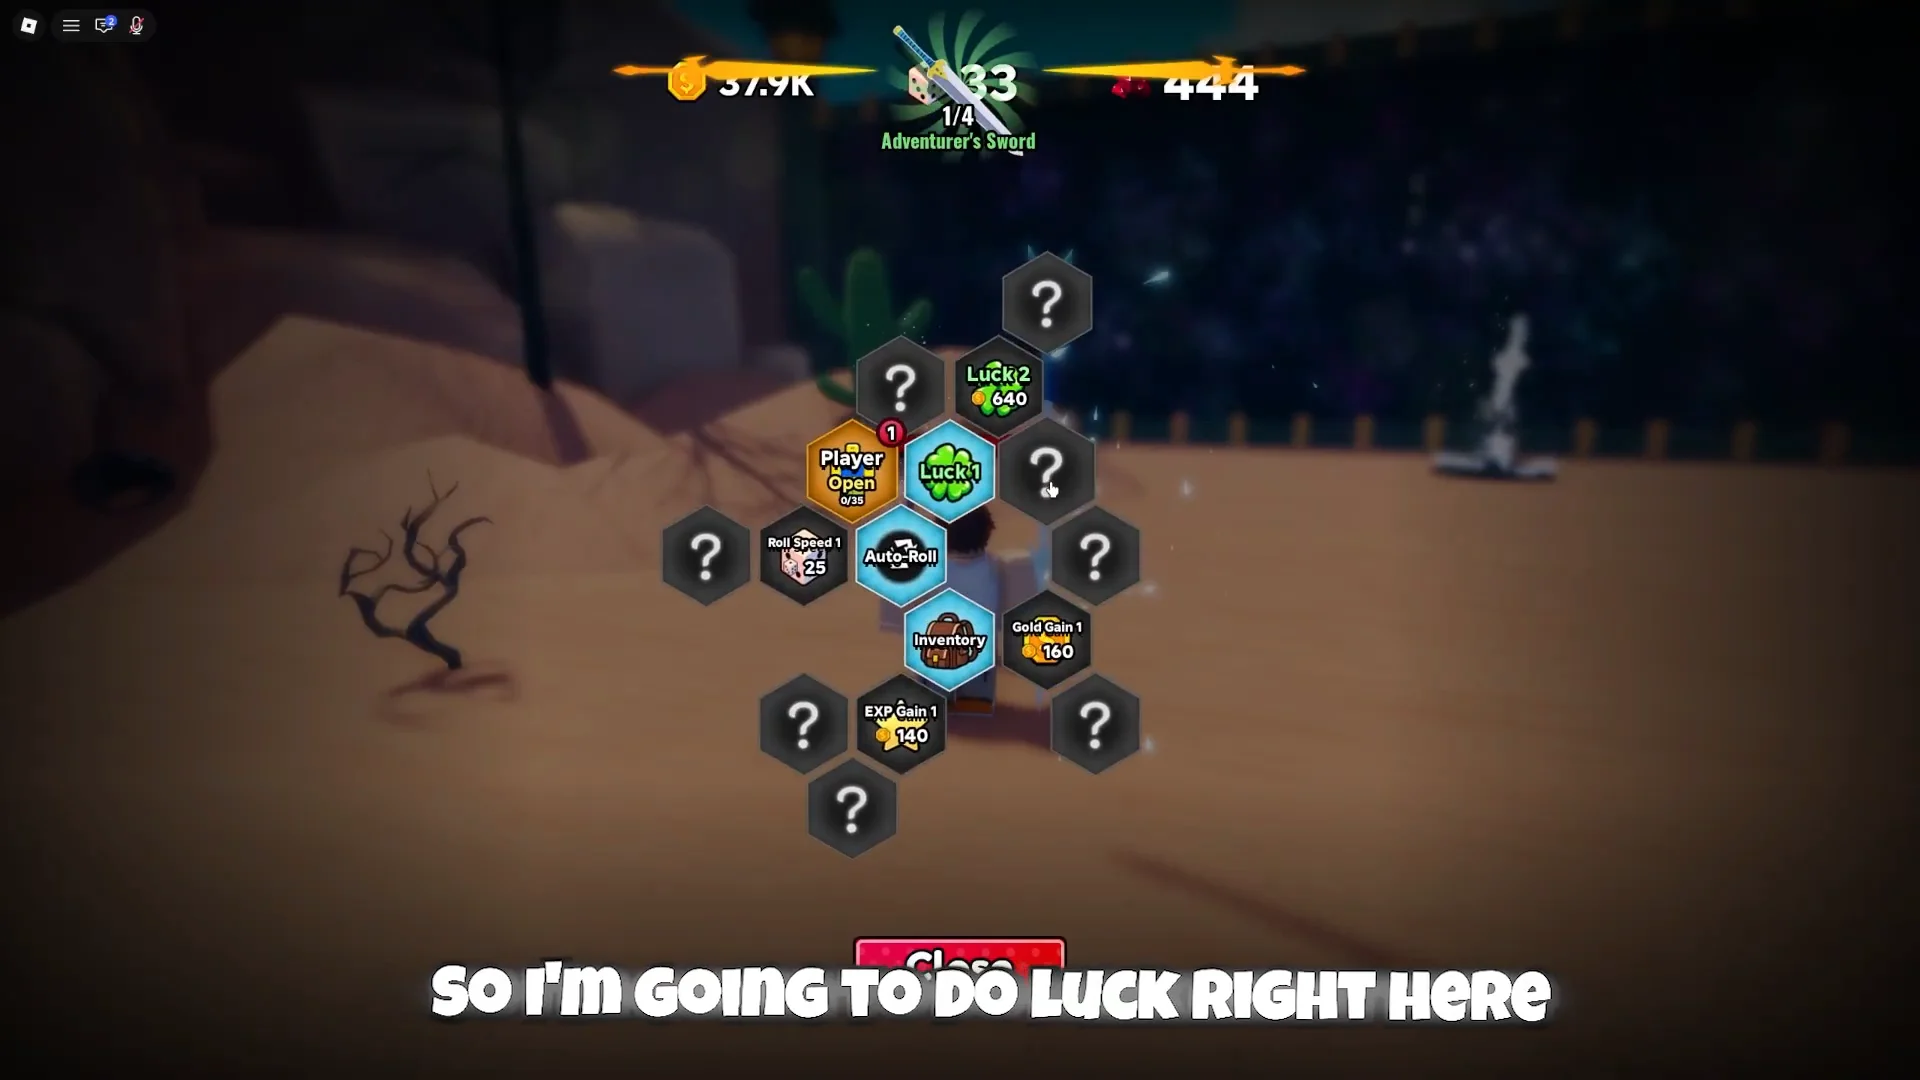
The first cluster worth clearing is the one that feeds itself. Luck widens your shot at rarer swords, the drop nodes increase what mobs leave behind, and the gold and EXP nodes shorten the gap to the next zone.
- Luck — improves the odds on every roll, so it compounds with Auto Roll.
- Drop Rate — more mobs actually drop something.
- Drop Quantity — larger stacks per drop.
- Gold Gain — pays for the rest of the tree.
- EXP Gain — the fastest route to the level gates on new zones.
- Idle Gold — income while you are parked and not swinging.
Reading the node tree
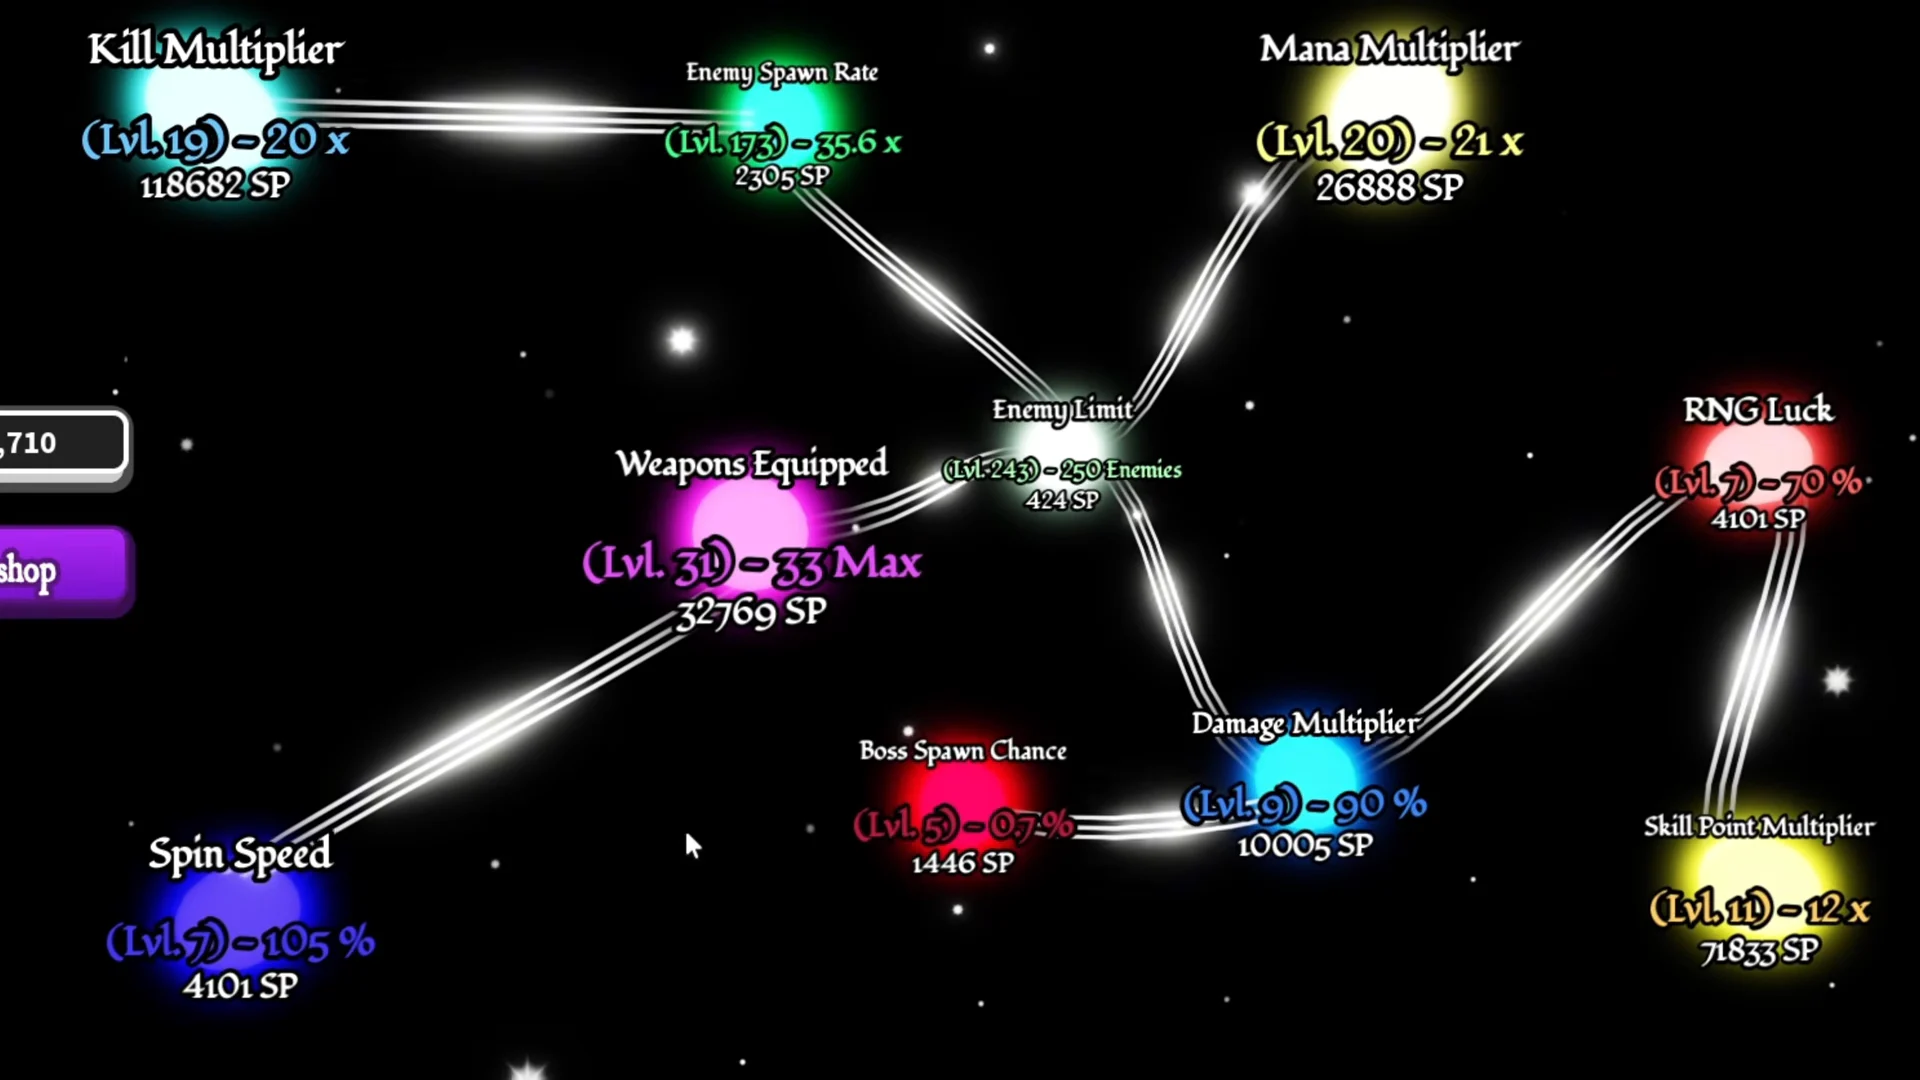
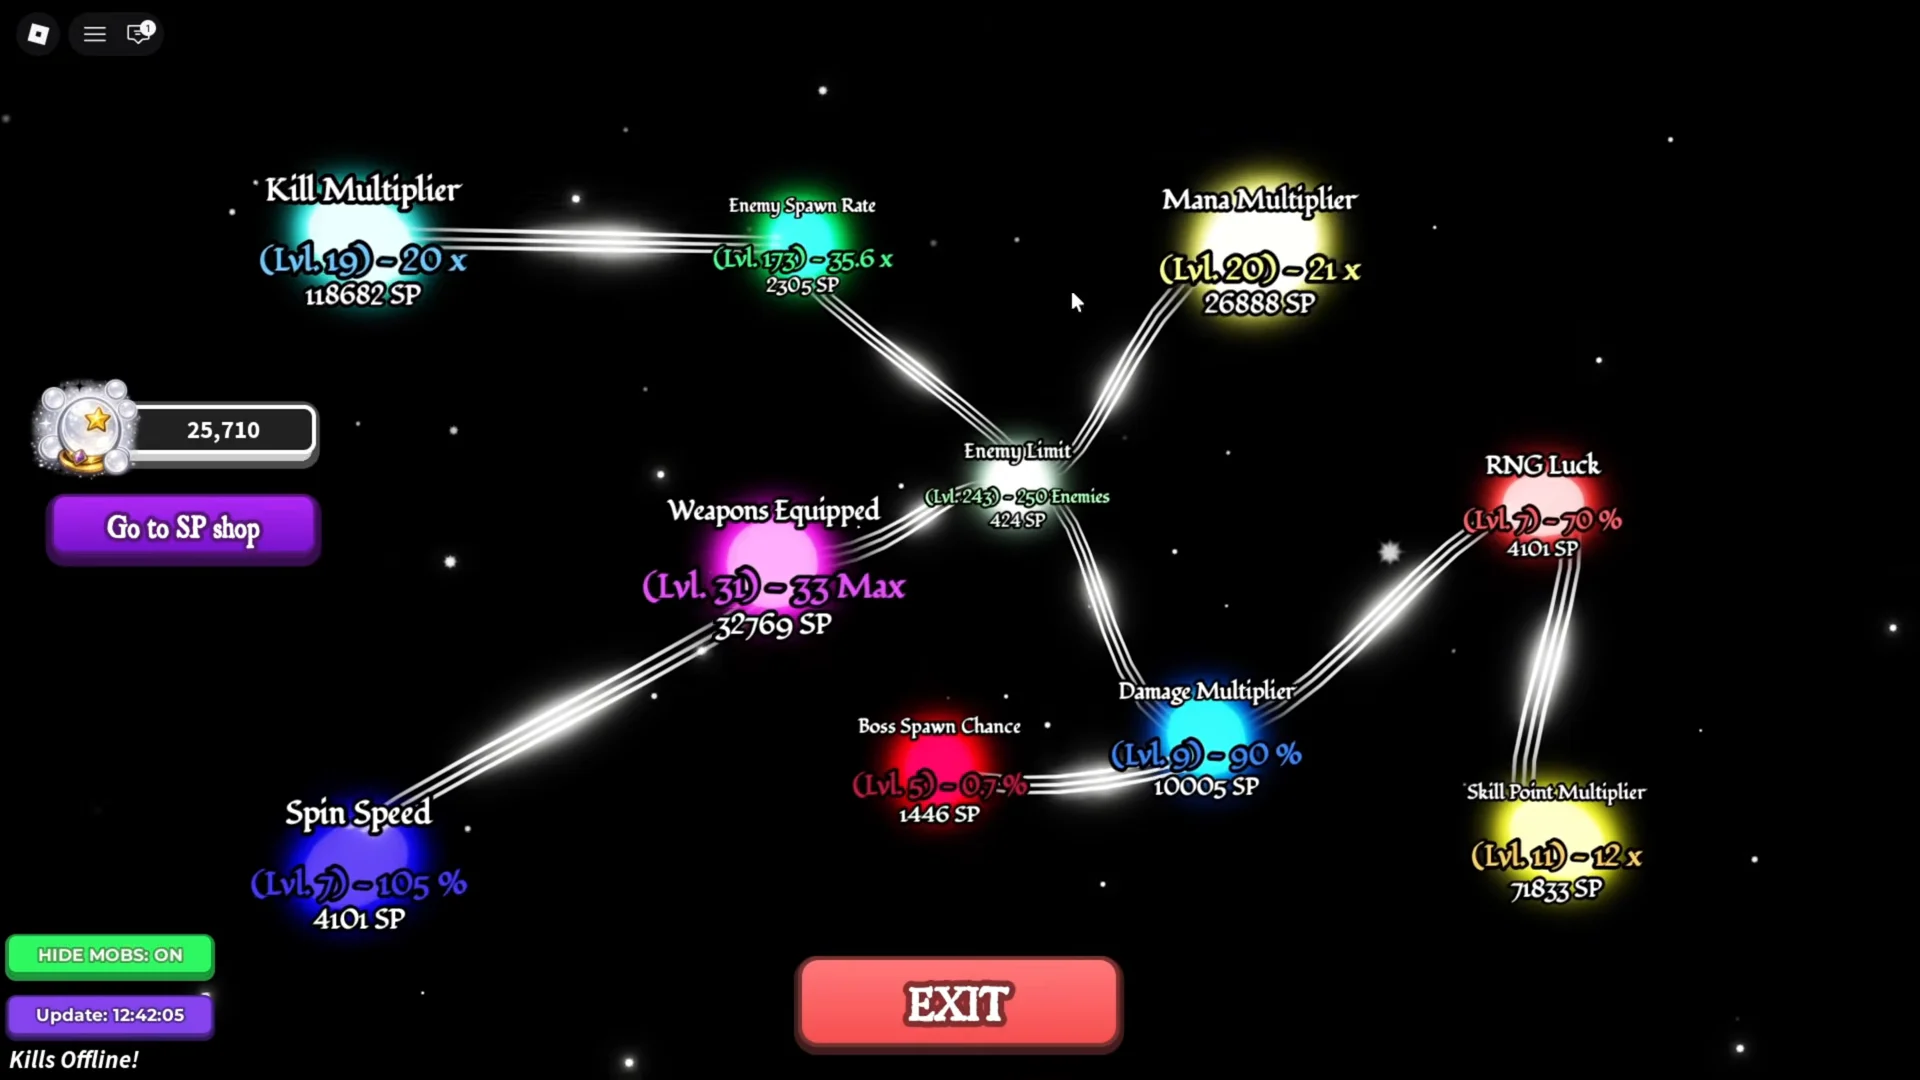
The tree is laid out as a constellation with your equipped weapons at the center and branches radiating out. Each branch groups a theme, so you can trace a line from the middle to whichever effect you are saving for instead of hunting through a menu.
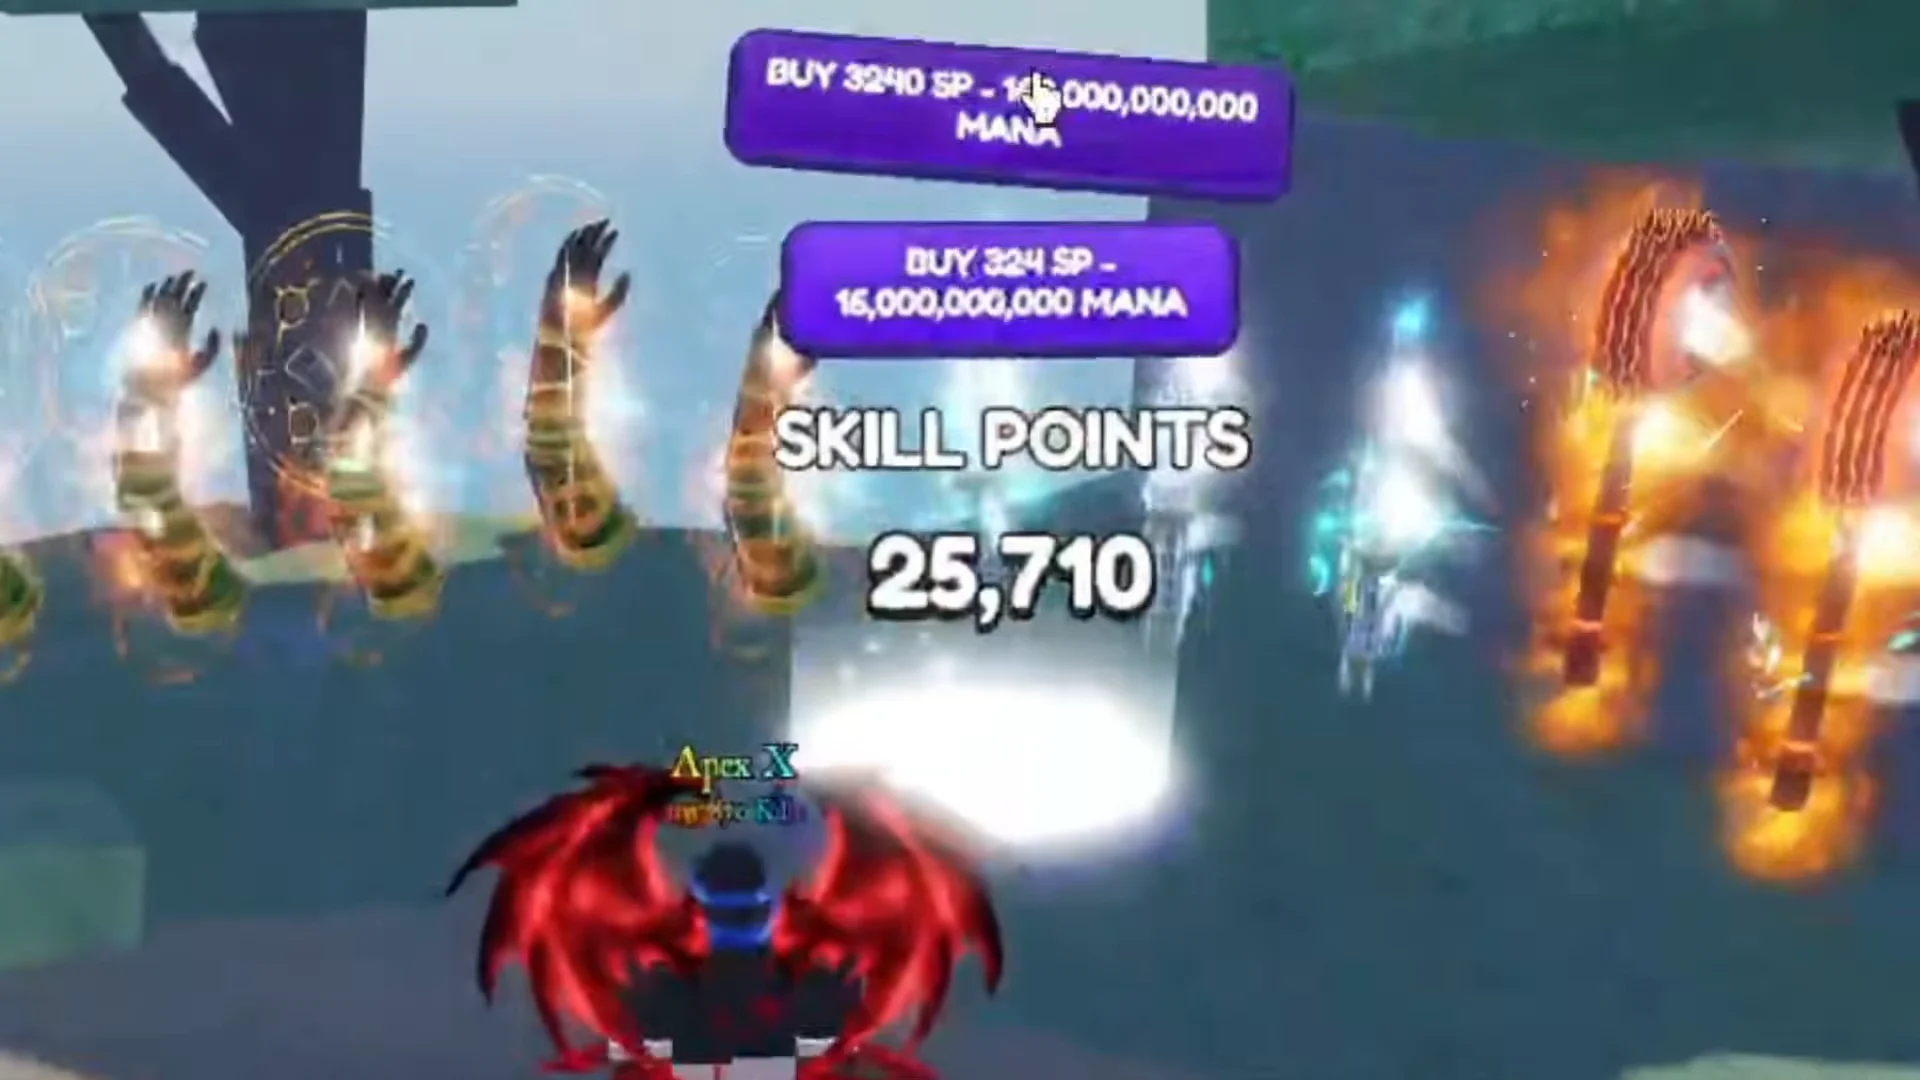
Points for the tree are bought from the currency you farm, and the purchase buttons sit directly under your point total so you can see how many you can afford before committing.
Combat and multiplier nodes
Once income is running, move coins into the damage side of the tree. Sharpness and Close Combat both raise how quickly you clear packs, which matters more than raw luck the moment enemies start outscaling your current sword. Deeper in, multiplier nodes such as Mana Multiplier and Kill Multiplier scale the returns on the mobs you are already farming.
Zone unlocks and level requirements
Zones are gated by character level and opened from the Teleport menu. The menu shows your current level against the requirement, so a green entry means you can travel there right now.
| Destination | Requirement | What is there |
|---|---|---|
| Zone 1 (starter) | None | Starter enemies |
| Zone 2 Desert | Low level, met within minutes | False Sun boss, living cacti, skeletons |
| Zone 3 Arctic | Level 10 | Next combat tier |
| Lobby Hub | None | Blacksmith, quests, dummies |
Desert is where the early grind actually happens. The False Sun boss sits alongside regular cacti and skeleton spawns, so you can farm the trash mobs for drops and take the boss whenever your equipped sword can handle it. The Lobby Hub is not a combat zone — it is the service area you return to between runs.
Auras: rarity tiers and summoning
Auras are a separate roll pool from swords, summoned from the Auras menu. They scale up through the standard rarity ladder and top out at Celestial and Divine, which are the tiers worth chasing once your luck nodes are built up.
Most early summons land in the common-to-Epic range — an Epic result such as the Water aura is a realistic first keeper rather than a rare event. Because aura rolls and sword rolls both benefit from Luck, there is no reason to split your upgrade priorities between them.
A summoned aura only helps once it is selected in the Auras menu. Check that the equipped marker sits on the aura you want before heading back into a zone.
Blacksmith crafting in the Lobby Hub
The Blacksmith gives you a deterministic alternative to rolling. Instead of waiting on the odds, you spend materials on a fixed weapon, which is useful when a rarity tier keeps refusing to drop. The craftable list includes:
- Wyvernslayer
- Bolt
- Drake Sword
- Necroth Hell Blade
- Kikoku
Anything you craft lands in your inventory like a rolled sword, so press Equip Best afterwards to see whether it beats what you are already carrying.
Free luck, gems, and dice worth claiming
Three recurring reward sources cost nothing and are easy to forget once you are deep in a farming session.
- Group Rewards — joining the game’s Roblox group grants +1 Luck and +15% Gold, plus a chest containing dice, gems, potions, and the Dragonbone sword.
- Daily Login — a rotating weekly track of gems and specialized dice.
- Quests — talk to Serana in the Lobby Hub to hand in Main and Daily Quests.
Quest rewards only appear after you claim them from the Quests menu. A completed objective shows as claimable next to the quest line, and the entry clears once the payout lands.
Rebirth: what you keep and what resets
Rebirth trades your current progression for permanent multiplier bonuses. The menu lists exactly what carries over, what is wiped, and the requirement you need to meet before the Rebirth button becomes usable, so read those lines before confirming.
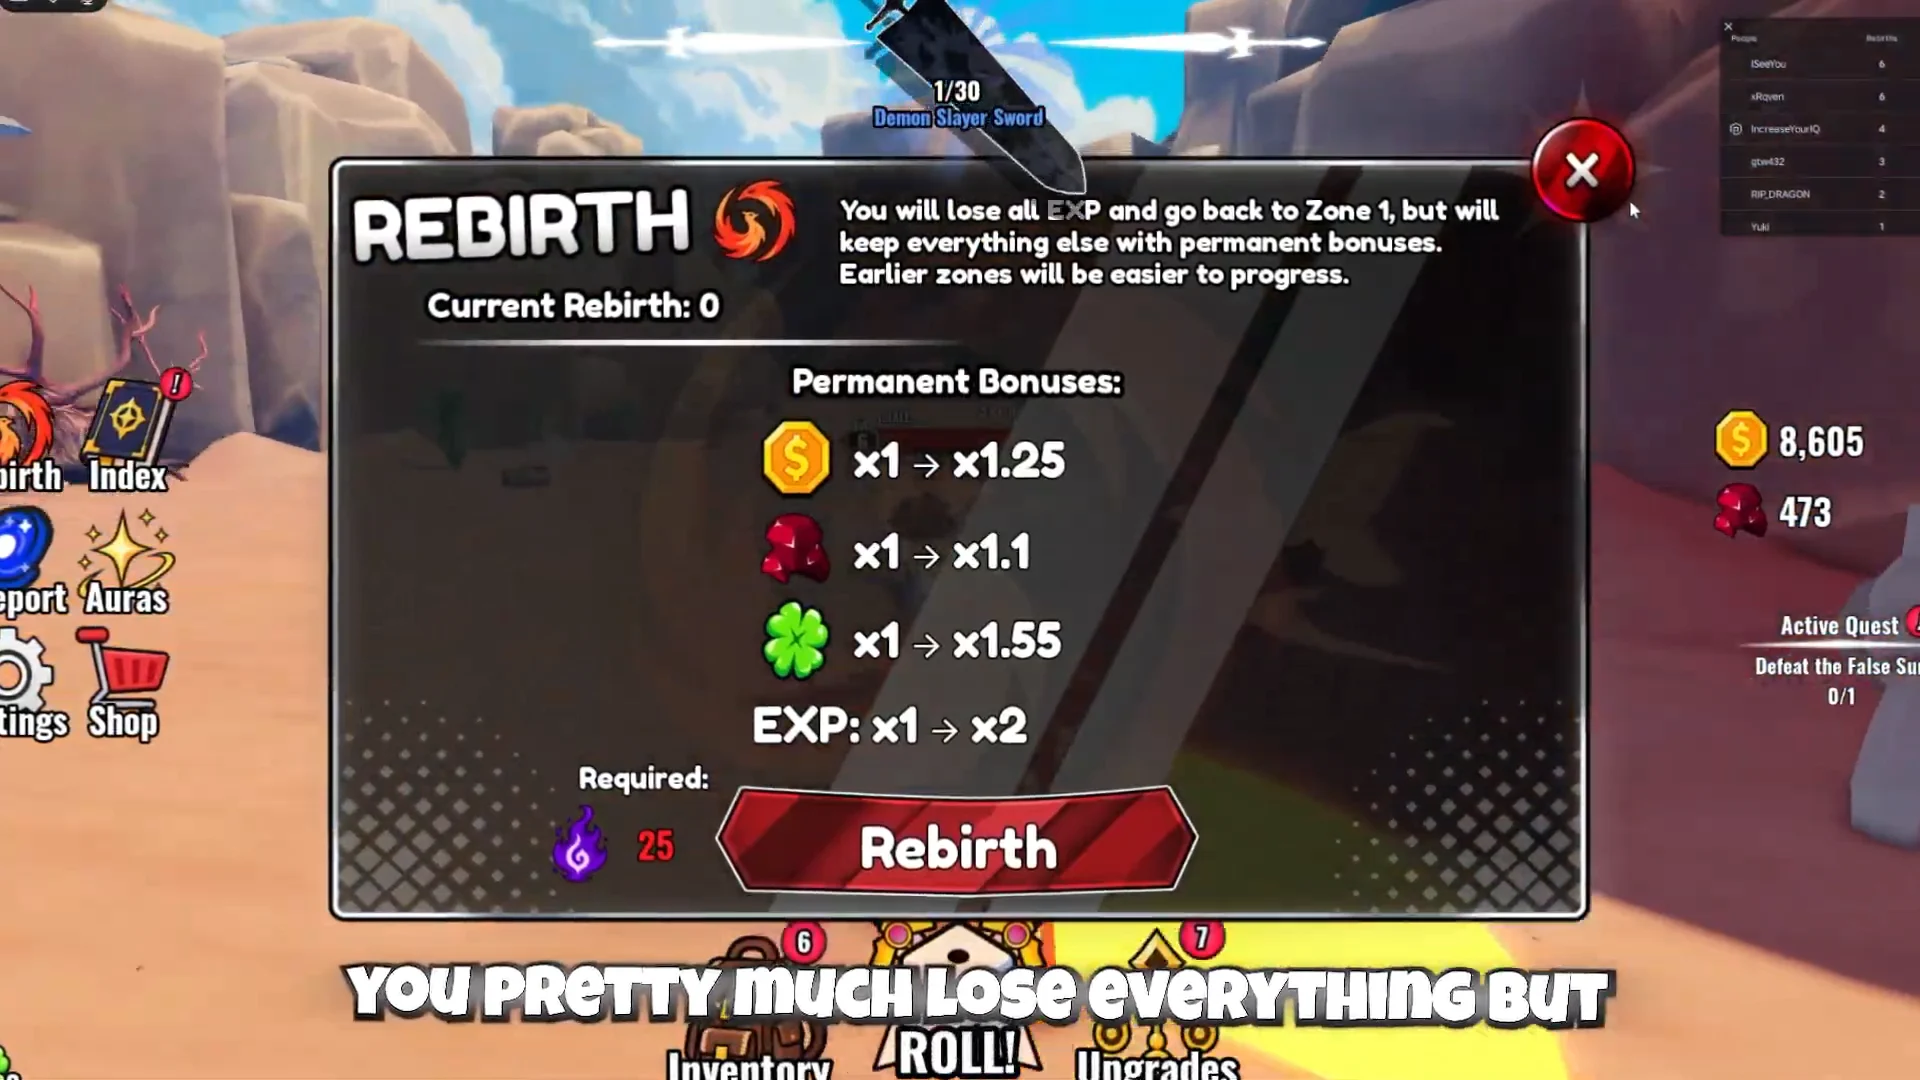
Because the multipliers are permanent, a reset that feels expensive in the moment usually pays back over the next run — the same zones clear faster and the same rolls return more. Your multiplier total updates on the Rebirth screen once the reset completes, which is the clearest confirmation it worked.
Idle leveling and AFK farming
Two options keep the numbers moving while you are away from the keyboard. The Training Dummies in the Lobby Hub exist for idle leveling, and inside a combat zone you can stand on the edge of the map where mobs funnel toward you and let your equipped sword and Idle Gold node handle the rest.
Desert is the practical choice for AFK sessions once you have cleared it manually a few times, since the cacti and skeleton spawns are dense and predictable. Come back, press Equip Best on whatever Auto Roll produced, spend the coins in the node tree, and the loop starts again one tier higher.