

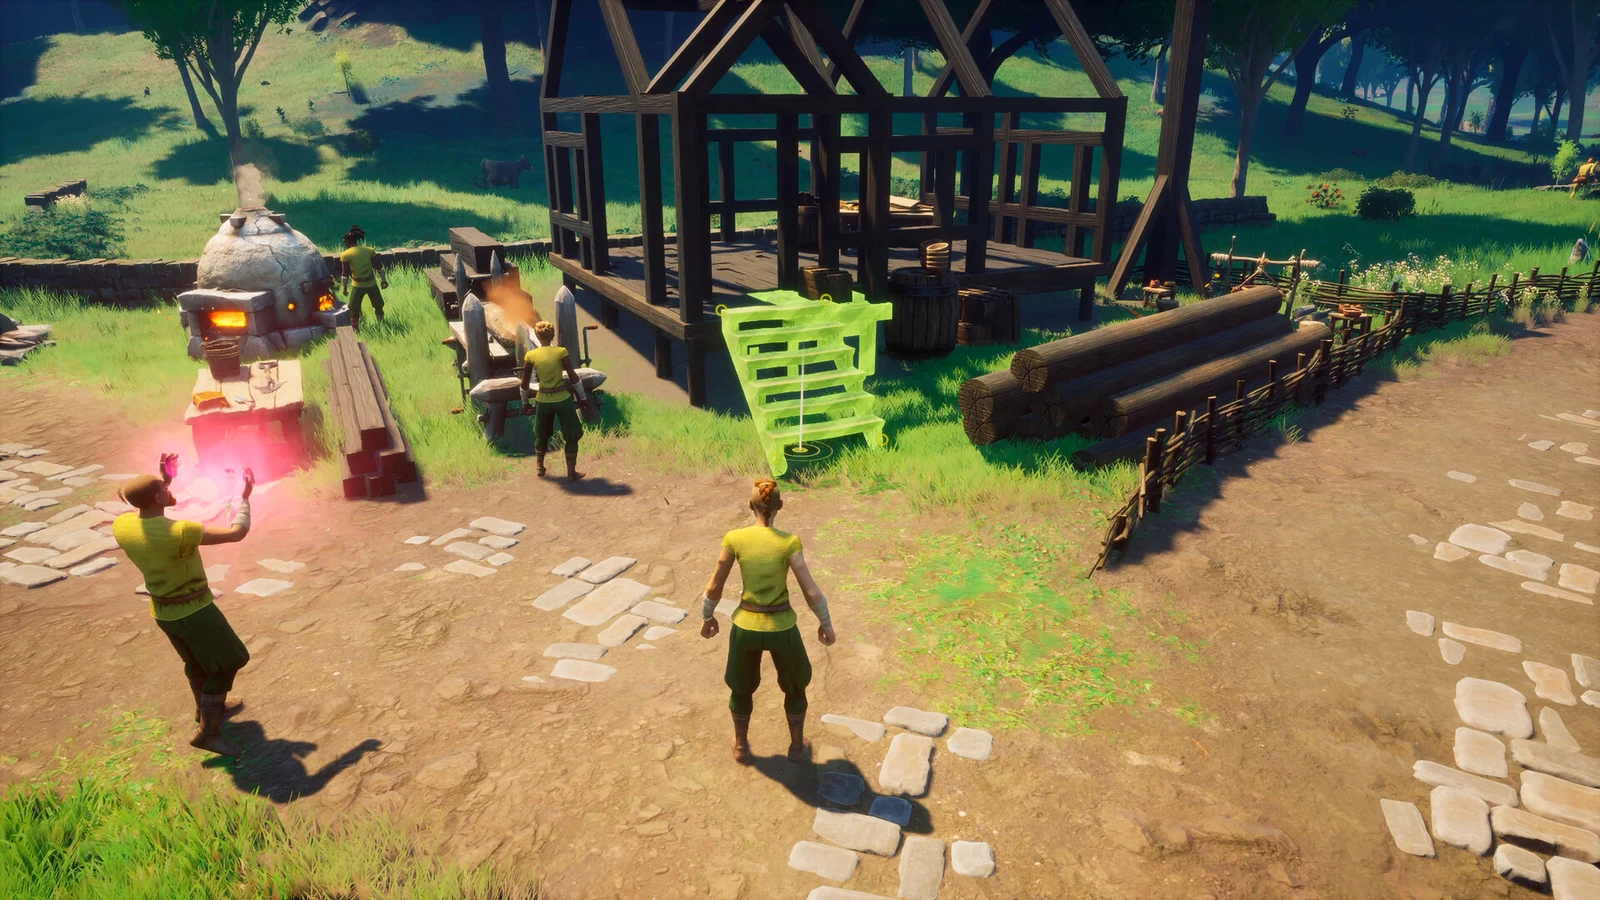
In RuneScape: Dragonwilds, establishing a lasting base is far more demanding than putting up the one-room shack that carries you through the opening quests. When advanced stations, large-scale smelting, a complete farm and a wall of storage all compete for room, nearby copper matters less than raid danger, practical water access, level terrain and the site’s distance from your teleport network.
Quick answer: Choose a level site beside usable water in a region without raids — Dowdun Reach, Temple Woods or the Library Courtyard — while keeping enough open sky for campfires and farming plots.
Best endgame base locations in Dragonwilds 1.0
Raid behaviour is the variable that changes everything else. Goblin war bands and dragons will chew on your walls across most of Ashenfall, and a handful of areas skip base raids entirely — which is exactly why the big showcase builds keep landing in the same few places.
| Location | Raids | Water and fishing | Main draw |
|---|---|---|---|
| Dowdun Reach | None | — | No walls or repairs; close teleport access |
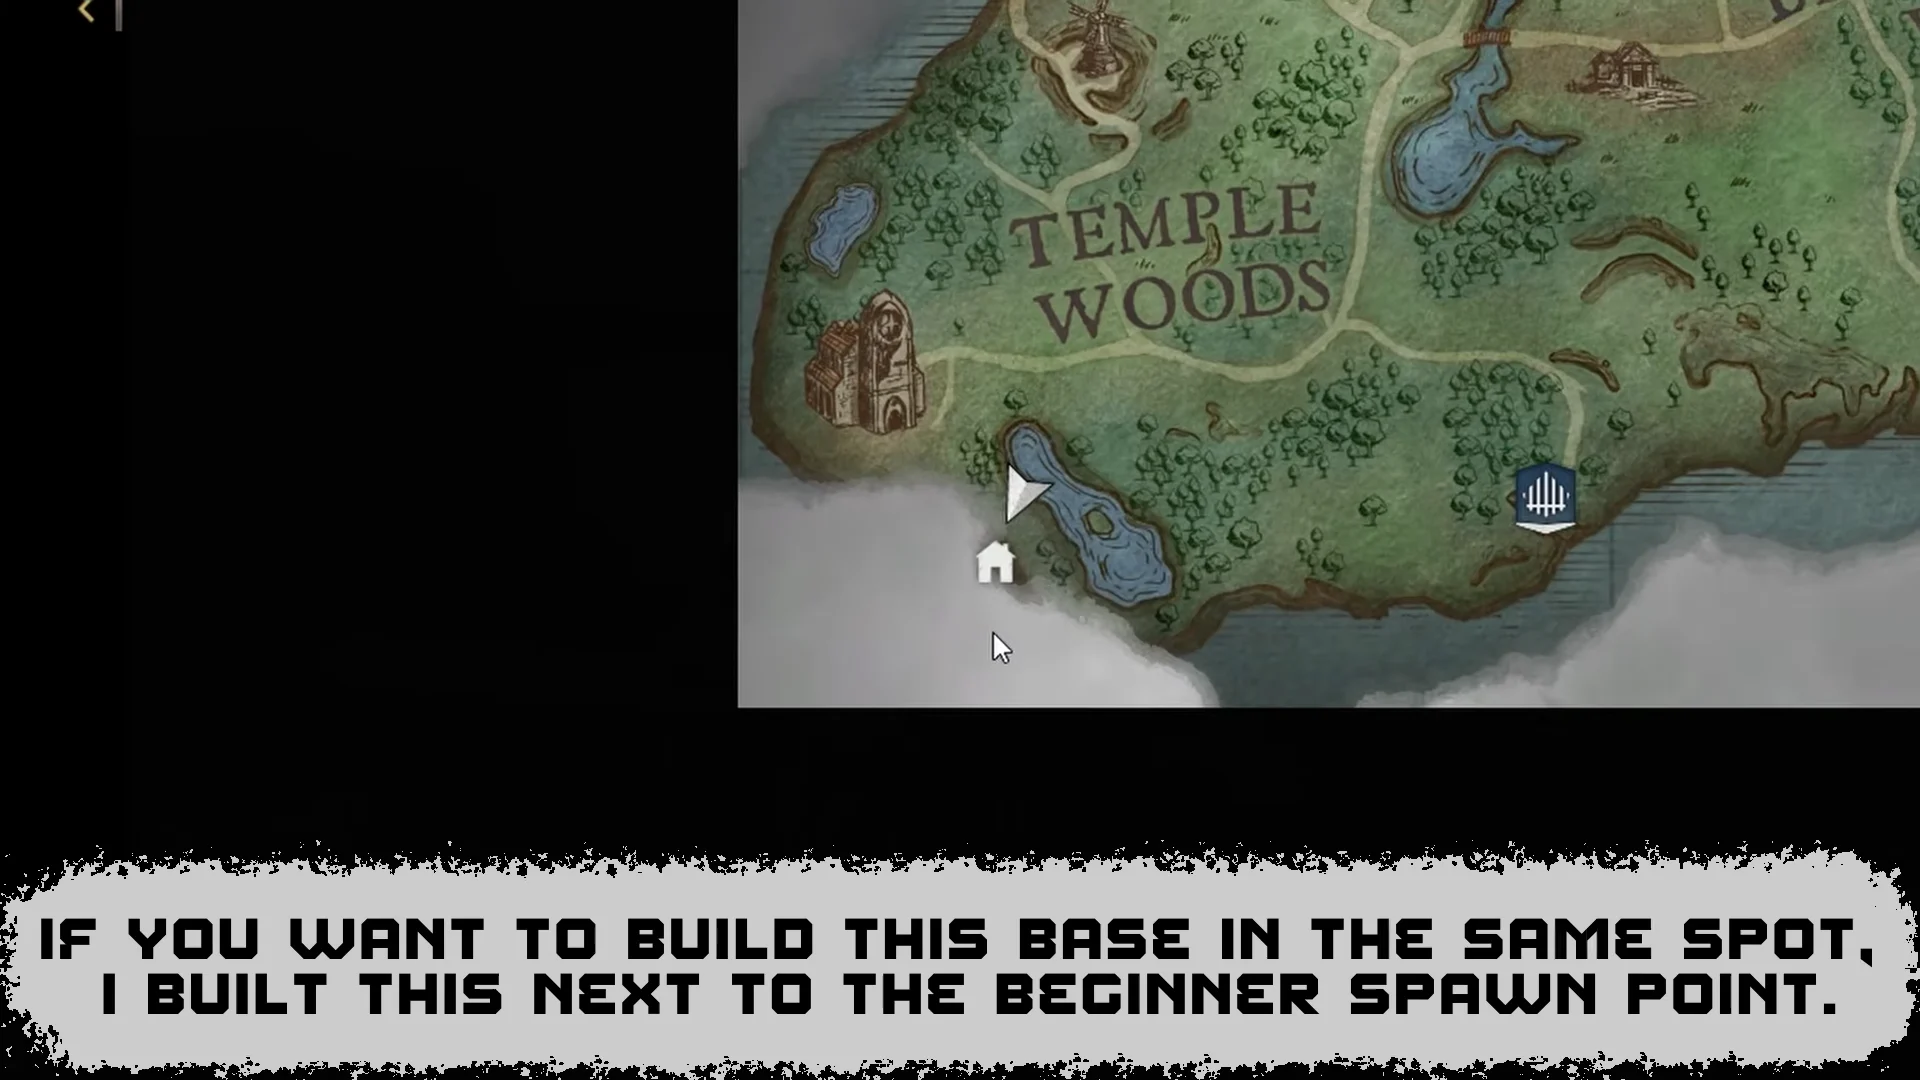
| Temple Woods (lake north of the church) | None | Lake, multiple spots | Safest permanent address |
| Library Courtyard | No spawns inside | Usable, 4 net spots | Huge flat space inside existing stonework |
| Twiscorn Wilderness | None | Fishing nearby | Rain for crops; cliffs and waterfalls |
| Witch Willow Range | Harder regional raids | Pond, 2 net spots | Rune-free Kebbit Burrow travel, coal, iron |
Dowdun Reach
This is the usual pick for a pure showcase build, because base raids never fire here. Defensive walls become optional, nothing needs repairing after a dragon passes overhead, and teleport access sits closer than it does around Fellhollow. You can lay out a castle without bending the floor plan around choke points.
Temple Woods lake
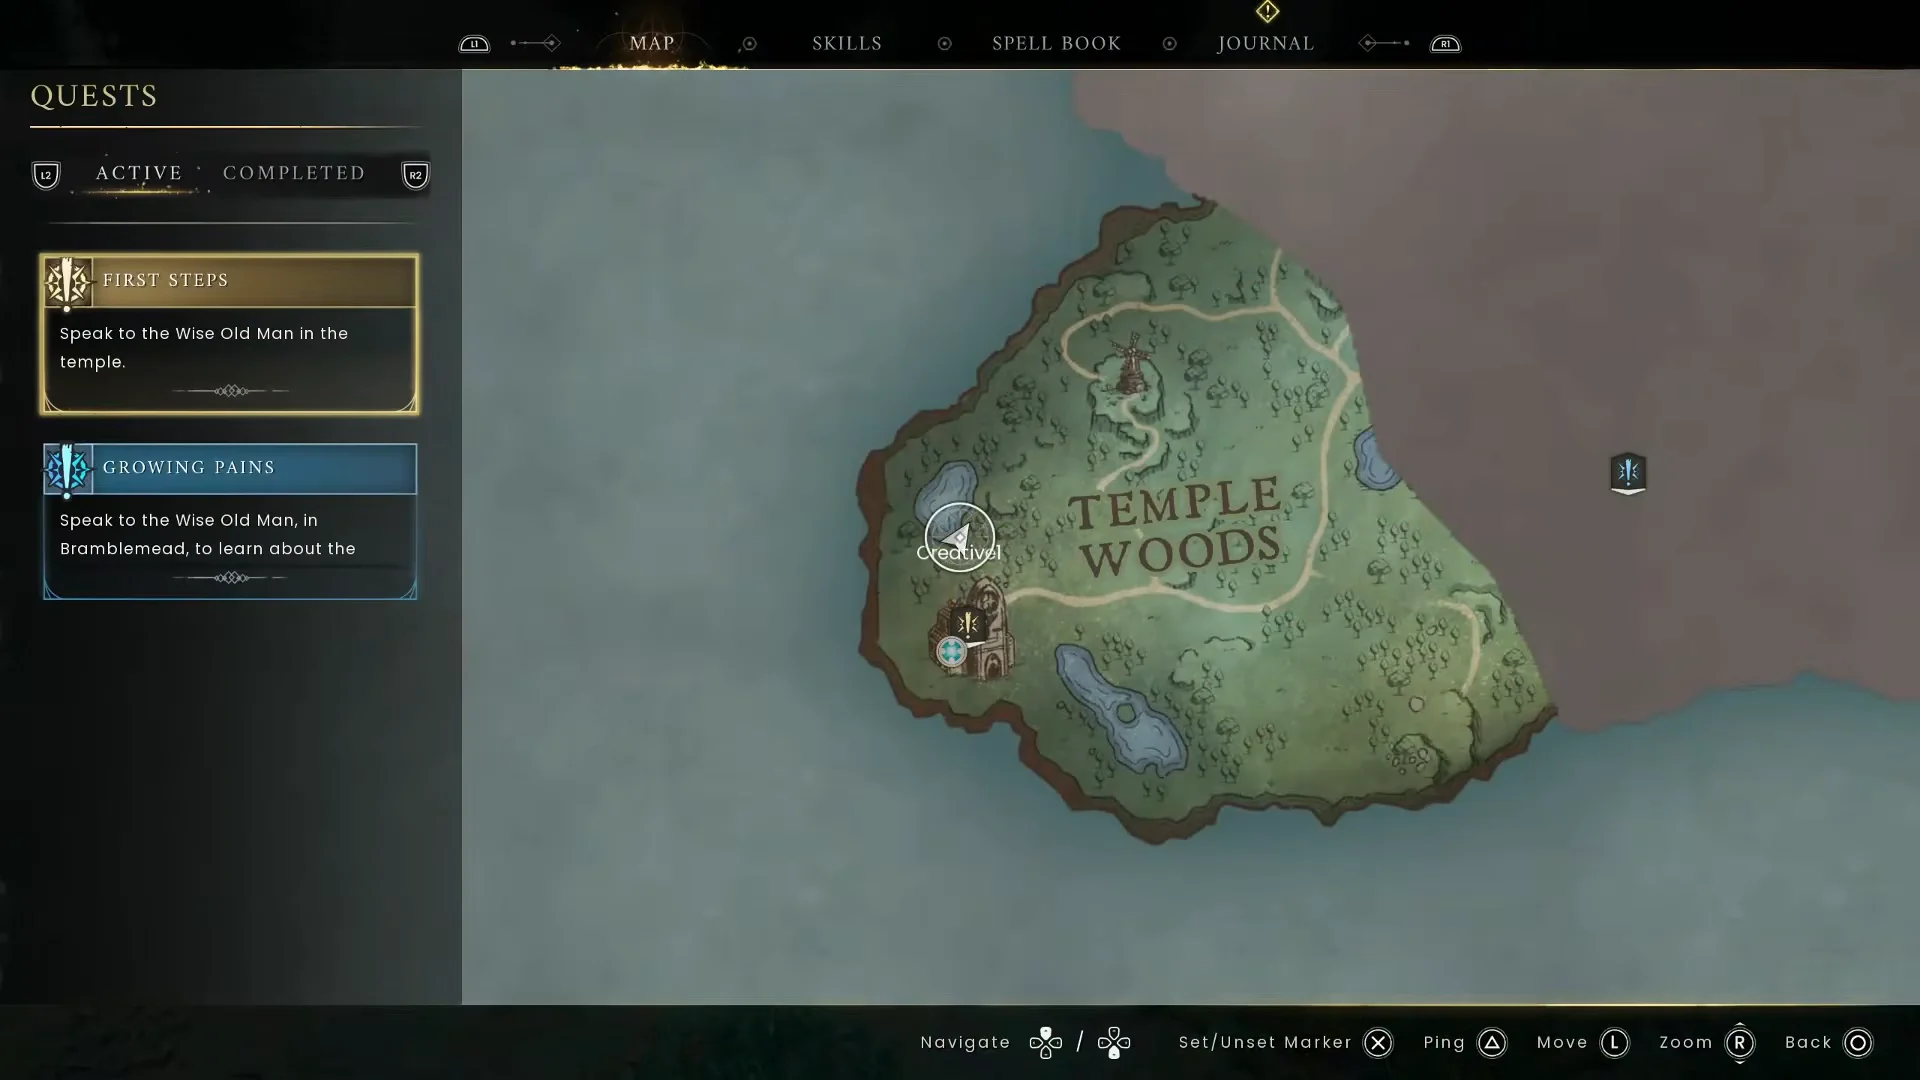
The lake north of the church is the easiest permanent home to recommend for anyone who hates relocating. There is a lot of flat building space, a large water source, several fishing spots, oak trees and a small cluster of lava runes nearby. It is a tier 1 area, so raids stay manageable and repairs stay small — a resource-rich base is not efficient if every raid turns into a rebuild.
Library Courtyard
This huge enclosed courtyard provides usable water, four net-fishing spots and a chest just beyond the walls that you can farm repeatedly. The interior has no normal spawns or roaming creatures, although several dangerous enemies nearby will respond if you provoke them. Since the architecture is already in place, expanding with another wing does not mean battling the terrain each time.
Twiscorn Wilderness
You get an open flora field near waterfalls and cliffs, regular rain for crop watering, fishing within walking distance and no raids. Its height is also its drawback. Rock faces and overhangs give a multi-level build natural support points, but making the structure feel sound requires considerably more beam work.
Witch Willow Range
If your character can handle the region, this is the strongest spot for regular play. A small pond borders the building area, no enemies stand immediately beside it, and the nearby terrain supplies runes, berries, trees, willow, coal, and a wide flat stretch. The cave close by contains iron and more coal, and a second Nether cave is a brief trip away. Most importantly, opening both ends of the Kebbit Burrow unlocks a free long-distance route that uses no runes.
Witch Willow Range is a higher-level region, so raids here hit harder than anything you will see in Temple Woods. The build pad is quiet; the neighbourhood is not.
The ruined gate, and the one region to skip
In single-player worlds, there is one more choice near the entrance that leads toward the 1.0 area. The ruined ground around the gate offers a great deal of flat space and has no enemies in its immediate interior, but its nearby water cannot be used. It becomes viable only after rain collection can supply the base, so regard it as a luxury location rather than a practical one.
Avoid Umbral Sands altogether. The region inflicts a Scorch debuff during daylight and features dragon hunts at night. Use temporary Lodestone camps for desert operations, while placing the main base elsewhere.
Placement rules that decide the floor plan
The entire layout is governed by three restrictions, and accommodating them during the initial design is much simpler than modifying the structure once the roof has been finished.
- A foundation cannot receive a farming plot, so place the farm on natural ground alongside the building.
- A standard roof blocks crops. You can give a greenhouse a decorative frame with pillars and low walls, but its growing space must remain exposed to the sky.
- Campfires cannot be placed under a roof, so leave part of the cooking area uncovered.
- Three-plot-wide rows work neatly with watering magic and remain easy to reach when harvesting.
- Leave an unobstructed area at the property’s rear or edge for the Lodestone, keeping arrivals out of the crafting lanes.
For bulk cooking, use two campfires; otherwise a long batch makes one part of the base into a queue. Put them along the outdoor work area’s edge, away from the main route linking storage with the front door.
Build order for the main structure
Working outward and upward in a fixed order saves materials, because every wall you place before the footprint is settled is a wall you will dismantle later. Lay blueprints in Ghost Mode first if you want to test a shape before committing supplies, then fill them in through Repair Mode.
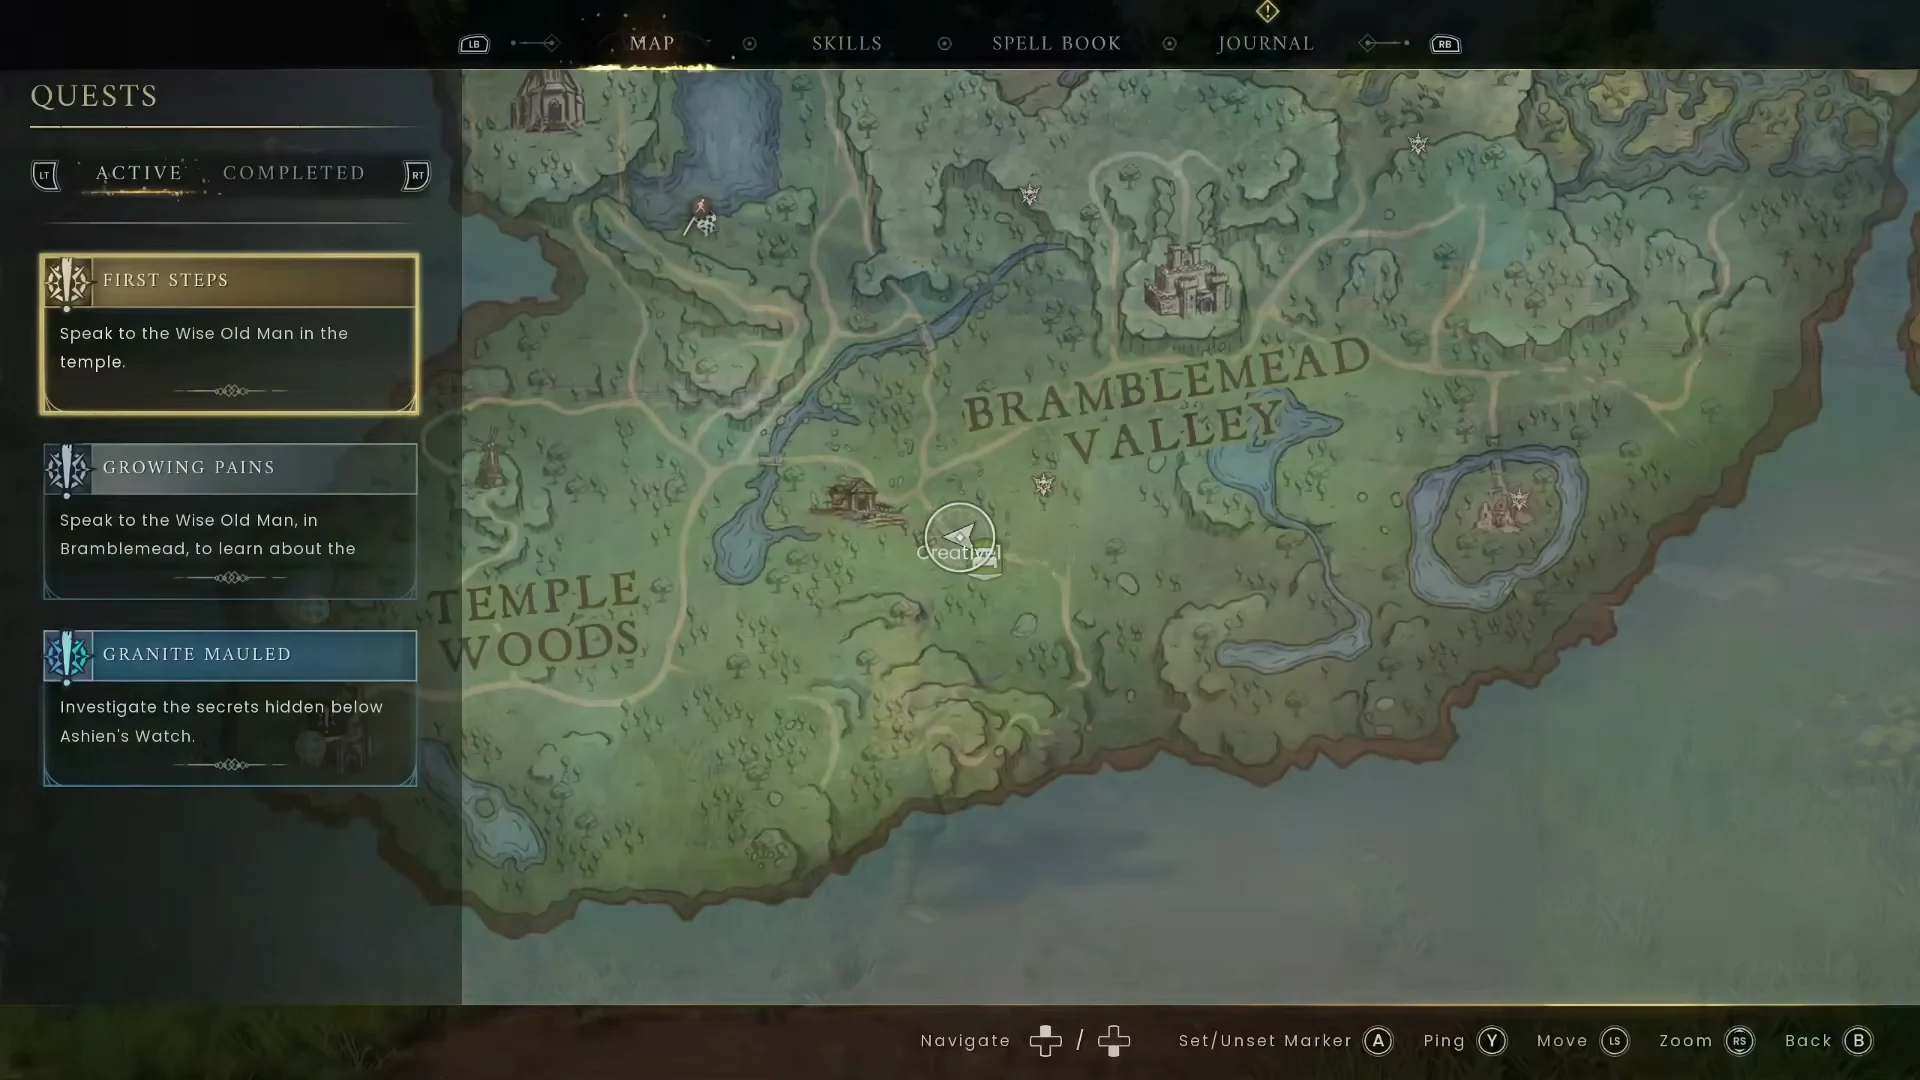
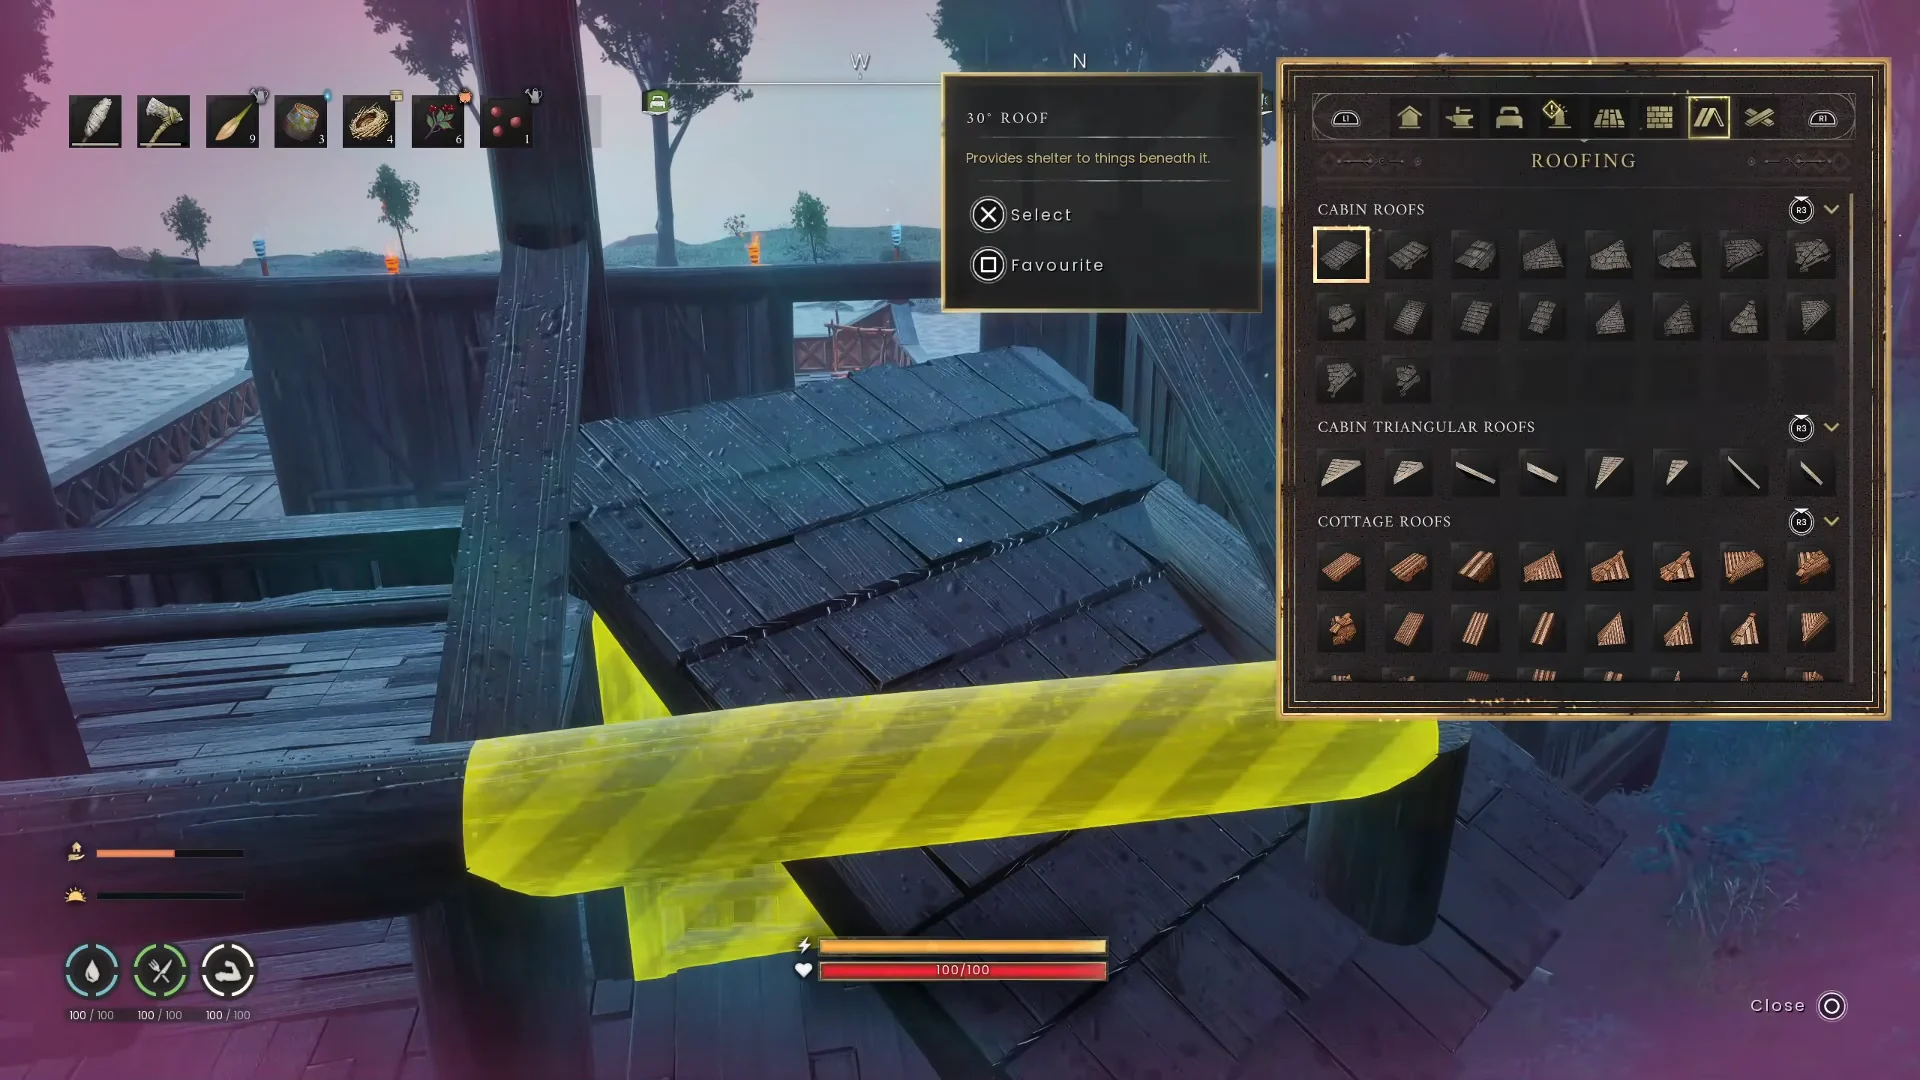
Before a lengthy session, use a claimed bed to skip the night. This conserves food and stamina and returns you to full daylight, which is useful when judging beam angles and roof ridges.
Fixing a red or orange placement
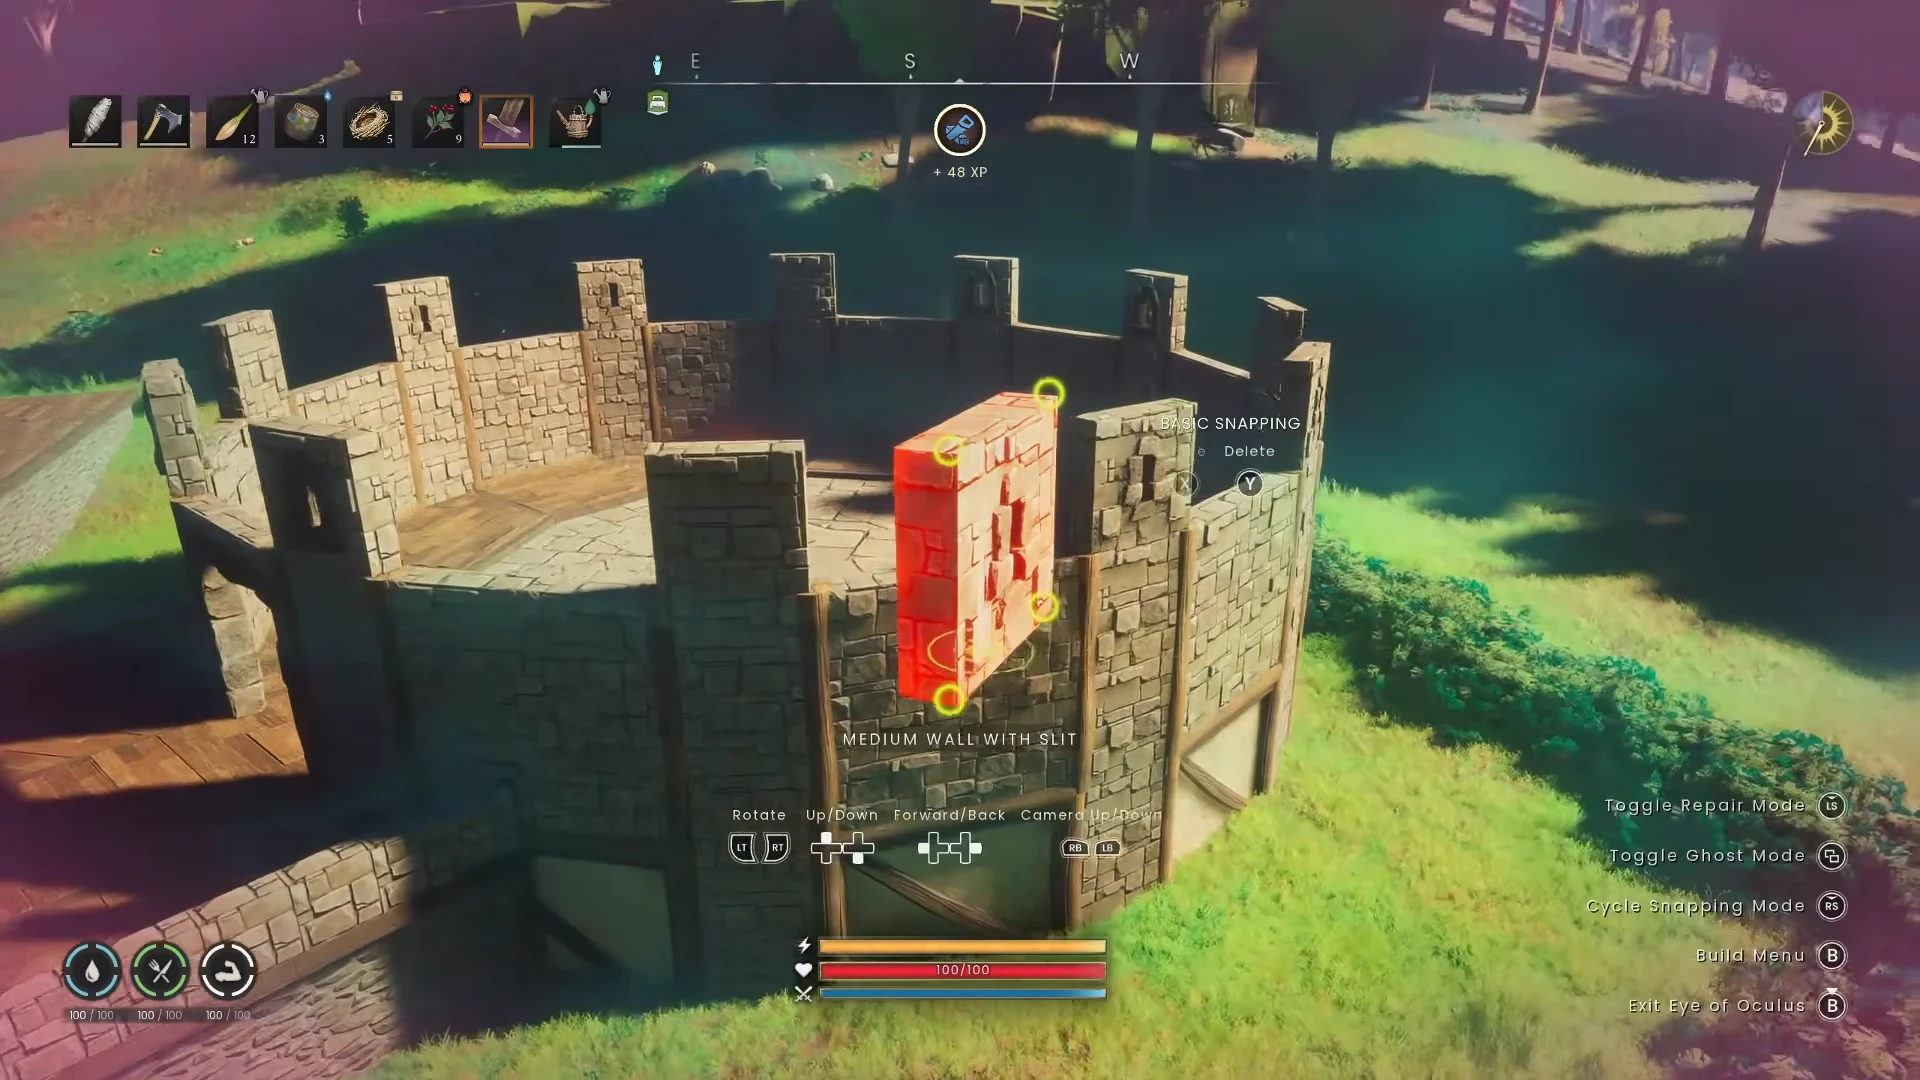
The colour of a snap shows how stable it is. Green indicates proper support; orange or yellow shows a marginal connection; red means placement is rejected. If a section remains orange, extending the span above it will make it fail.
Long roof spans are where this bites hardest, and the fix is almost always below the problem rather than beside it. Drop Square Foundations onto the terrain directly under the floorboards to feed support up through the structure. On cliff builds, Vertical Thick Beams and 45° Thick Beams running from the rock face to the platform underside turn orange joins green. A red preview can also mean an obstruction or missing materials, so read the on-screen message before you redesign anything.
When you remodel a finished house, put the replacement supports in before removing the old ones, and check what sits above any piece you are about to pull out.
Where each crafting station goes
Some stations should stay outdoors. Fast endgame layouts put storage close to the benches used on nearly every trip, while large equipment that produces heat is kept outside.
| Placement | Stations | Why |
|---|---|---|
| Indoor, beside storage | Crafting Bench, Armorer Bench, Fletching Bench, Blacksmith’s Bench, Jewelry Bench, Mystic Forge, Tannery, Spinning Wheel, Grill, Cooking Range | Used on every gearing and repair trip |
| Outdoor wing | Furnace, Smelter, Kiln, Loom, Pottery Wheel, Brewing Cauldron, compost bins, campfires | Bulky, open-air or roof-restricted |
| Edge or balcony | Rune Altar, teleport pad, Grindstone | Out of the main walking lane |
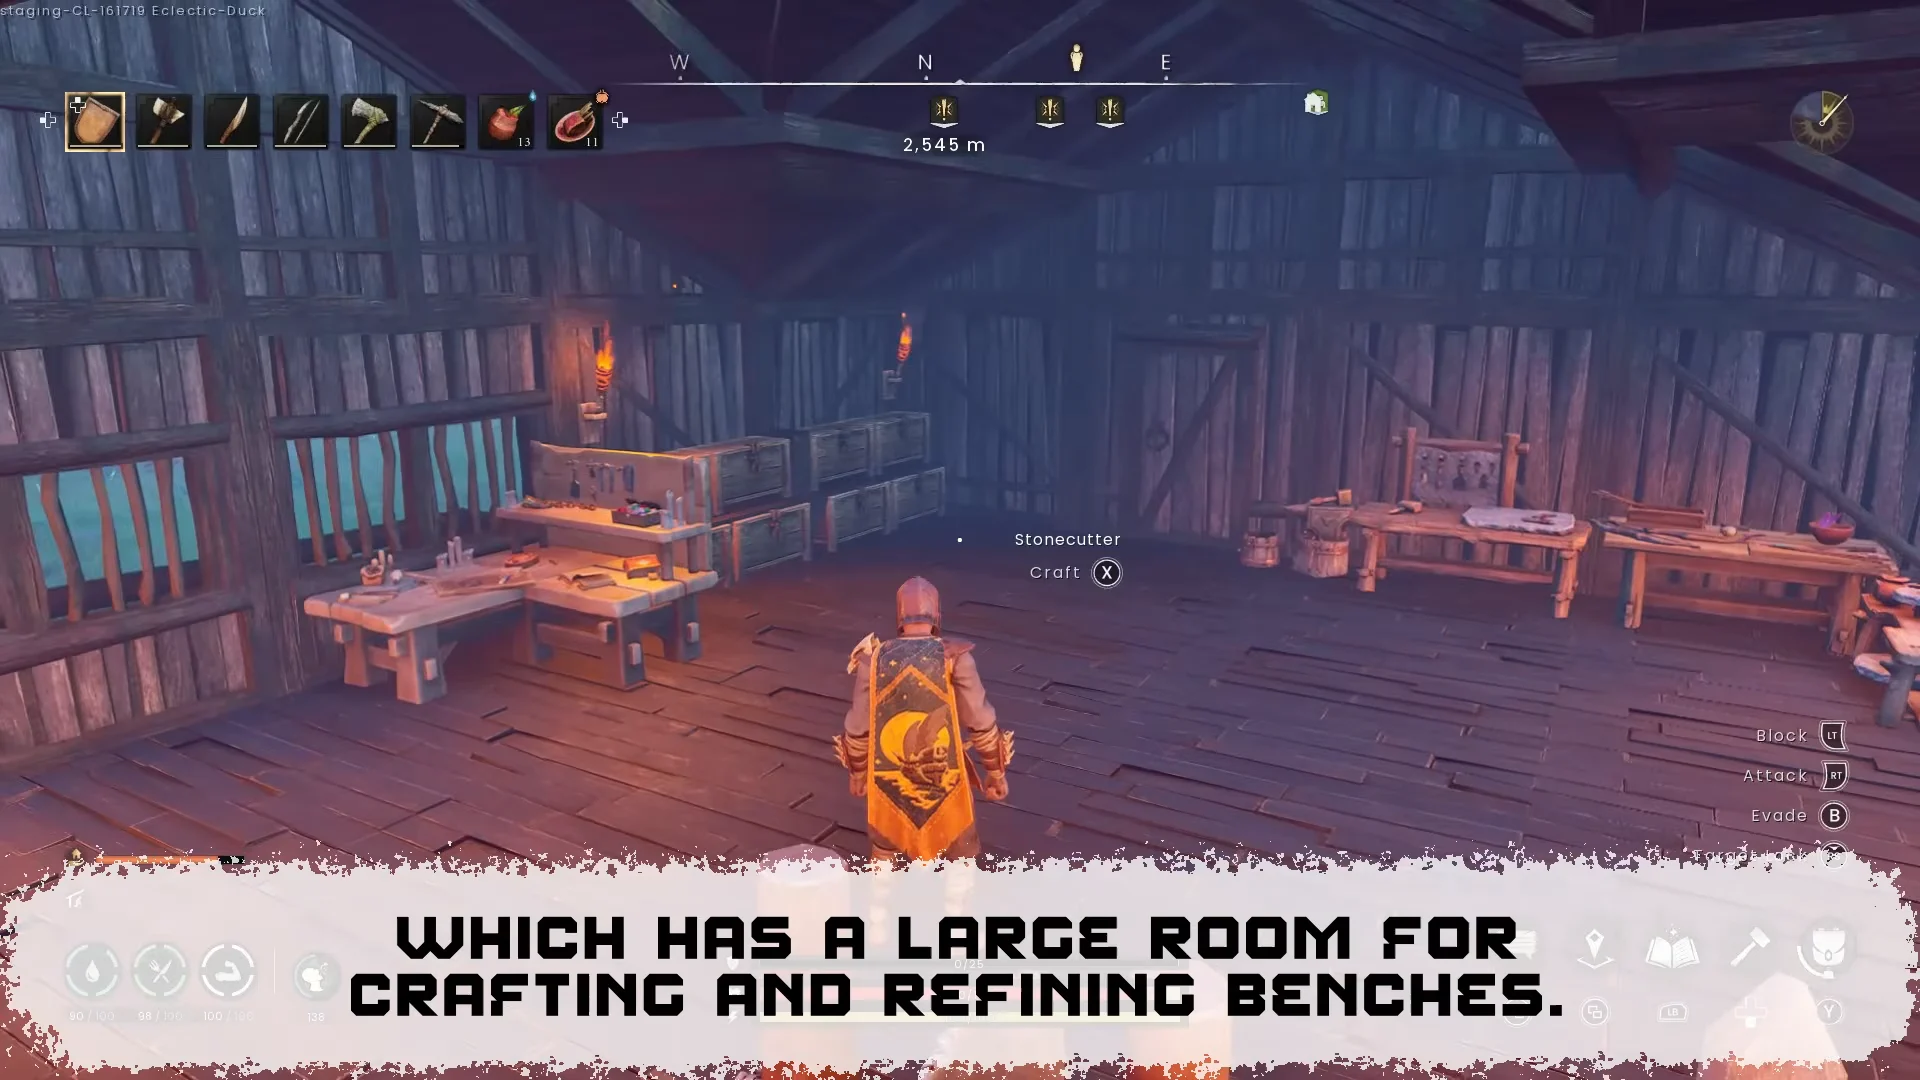
A deck about three foundations deep can accommodate the entire smelting setup. Decide the movement of materials before construction becomes expensive: take ore straight from storage to the furnace, then position the finished bars beside the bench that uses them rather than leaving them two rooms away.
Throughput at this stage rewards duplication. A row of tanneries turns Dragonwolf Hide into Draconic Leather in bulk while you sleep, so you wake up to finished stacks on the floor. Focused Artisan Potions, the Inspiring Ring of Artisan and Knowledgeable Nourishment food stack on top of that.
Storage, the Storage Ledger and Lodestone access
Any chest within build range becomes available through the construction menu, allowing the General Build Menu to count materials from nearby storage instead of just your inventory. Place several linked chests around a large site and you can continue building without repeatedly returning to the main storage wall.
You can sort storage with dedicated shortcuts. Use F to send matching items into a chest with Fill Stocks, and R to remove everything in a container in one action. The Storage Ledger also manages matching stacks and allows nearby crafting to use materials held in storage.
A compact bank of 16 chests covers a medium base comfortably. Leave room above and beside it to add tiers rather than building an oversized warehouse that sits half empty. A central position beats a bigger one every time.
Building a Lodestone costs 1 Vault Core, 32 Stone and 20 Rune Essence, with the Vault Cores coming from Dragonkin Vaults. Fast travel burns Law Runes and heavier loads cost more, so dump spare ore and building stock before a long jump — and keep rune production running at the base.
When to relocate instead of expanding
A carefully planned starter base can handle the entire crafting progression from approximately Gear Level 1 through Gear Level 4, with room for some early Gear Level 5 equipment. It intentionally leaves out the advanced station tier, since setting aside endgame production room in the first build makes the house larger than your available materials can justify.
Move because the layout causes friction, not because it lacks polish. Once chests obstruct paths, new stations have no sensible snap points and equipment is being left outdoors simply because the interior is full, the design has reached its limit. Mere distance does not justify relocation — placing a forward Lodestone costs much less than moving an entire workshop across Ashenfall.
Final checks before the base is finished
Raise the free camera and inspect the complete structure, checking that every connection shows green. Any join still displaying a warm colour will collapse when you add more span above it.
Next, check all three restricted placements before adding decoration. The ground strip beside the house should accept a farming plot, the uncovered cooking corner should accept a campfire and the roof pieces should snap without becoming red. Enter the enclosed section and verify that the Cosiness buff appears; this confirms that the walls, roof and door have created a sealed home.
Finally, verify the purpose of an endgame base: there must be enough unused ground beside and behind the structure for the next production tier to expand into without forcing another move.





