The sawmill in RuneScape Dragonwilds turns raw logs into planks, but it works slowly, and hand-collecting every batch wastes time. There is a built-in way to skip that step entirely. Line up a storage container with the saw’s output end and the finished planks feed themselves into it while you do something else.
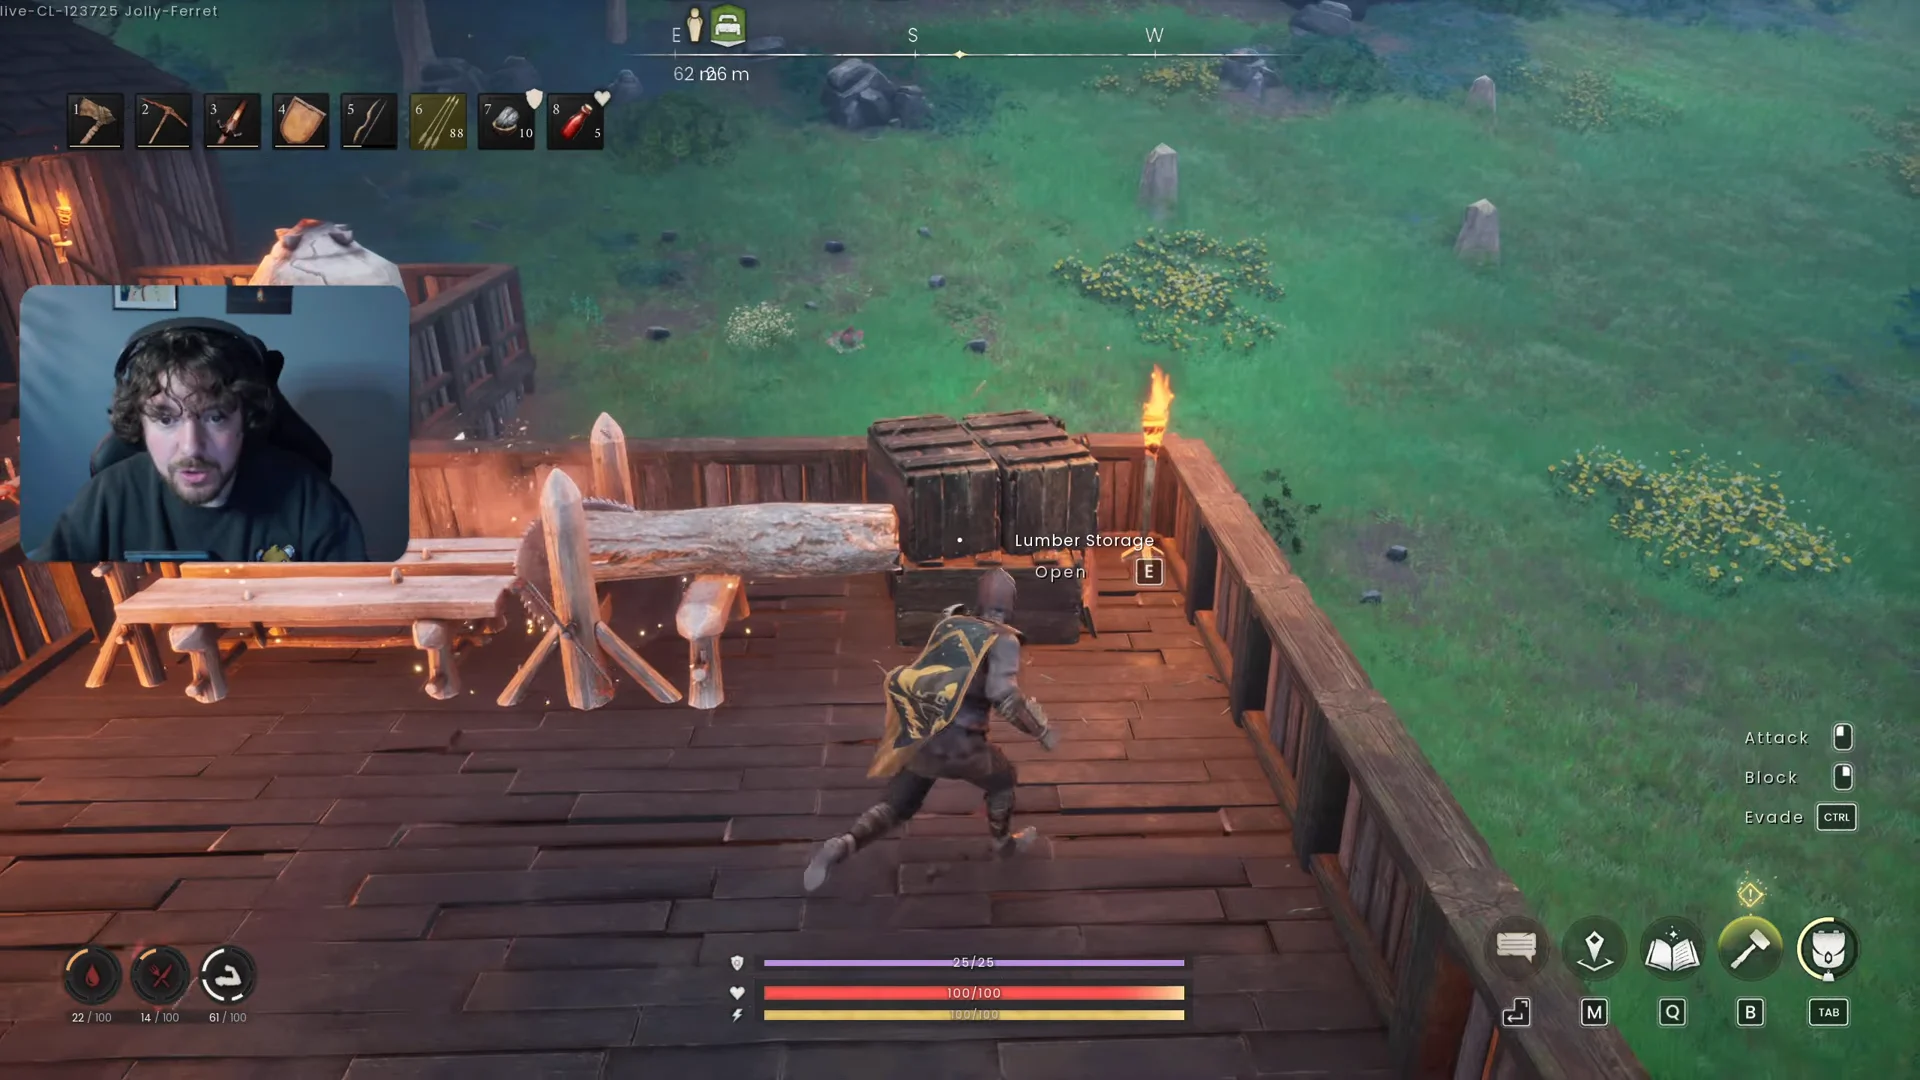
Quick answer: Place a Lumber Storage within a few metres of the sawmill’s output end, facing the saw. Load logs, start processing, and the planks deposit into the container automatically.
What you need before automating
Two buildings make this work: the sawmill itself and a Lumber Storage container. Each has its own unlock and build cost.
| Building | Unlock | Build cost |
|---|---|---|
| Sawmill | Obtain a Bronze Bar | 18 Ash Logs, 4 Bronze Bar, 8 Stone |
| Lumber Storage | Reach Woodcutting level 67 | 16 Maple Logs, 2 Adhesive |
Lumber Storage only holds logs and planks, and it has 48 item slots, so it can bank a large run of output before it fills. The sawmill needs Construction level 12 to build, and the storage needs Construction level 26.
The sawmill will not run with a roof above it. Build it on open ground or leave the space over it clear.
Set up the automatic plank deposit


Confirm the planks are depositing
Open the Lumber Storage inventory while the saw is running. If the setup is correct, you will see plank stacks climbing inside the container on their own, with no prompt to pick anything up. If planks are not appearing, the storage is either too far from the saw end or not facing the output arrow; nudge it closer and turn its opening toward the machine.

Which logs the sawmill turns into planks
Every log type yields two planks per log. Load a full stack, start the run, and the storage collects the output for each type below.
| Input | Output |
|---|---|
| 1 × Oak Logs | 2 × Oak Plank |
| 1 × Ash Logs | 2 × Ash Plank |
| 1 × Yew Logs | 2 × Yew Plank |
Get more out of one storage box
The sawmill processes very slowly, so the deposit trick is most useful when you leave it working in the background. A common routine is to fill the machine right before sleeping, which processes a whole stack while you rest.
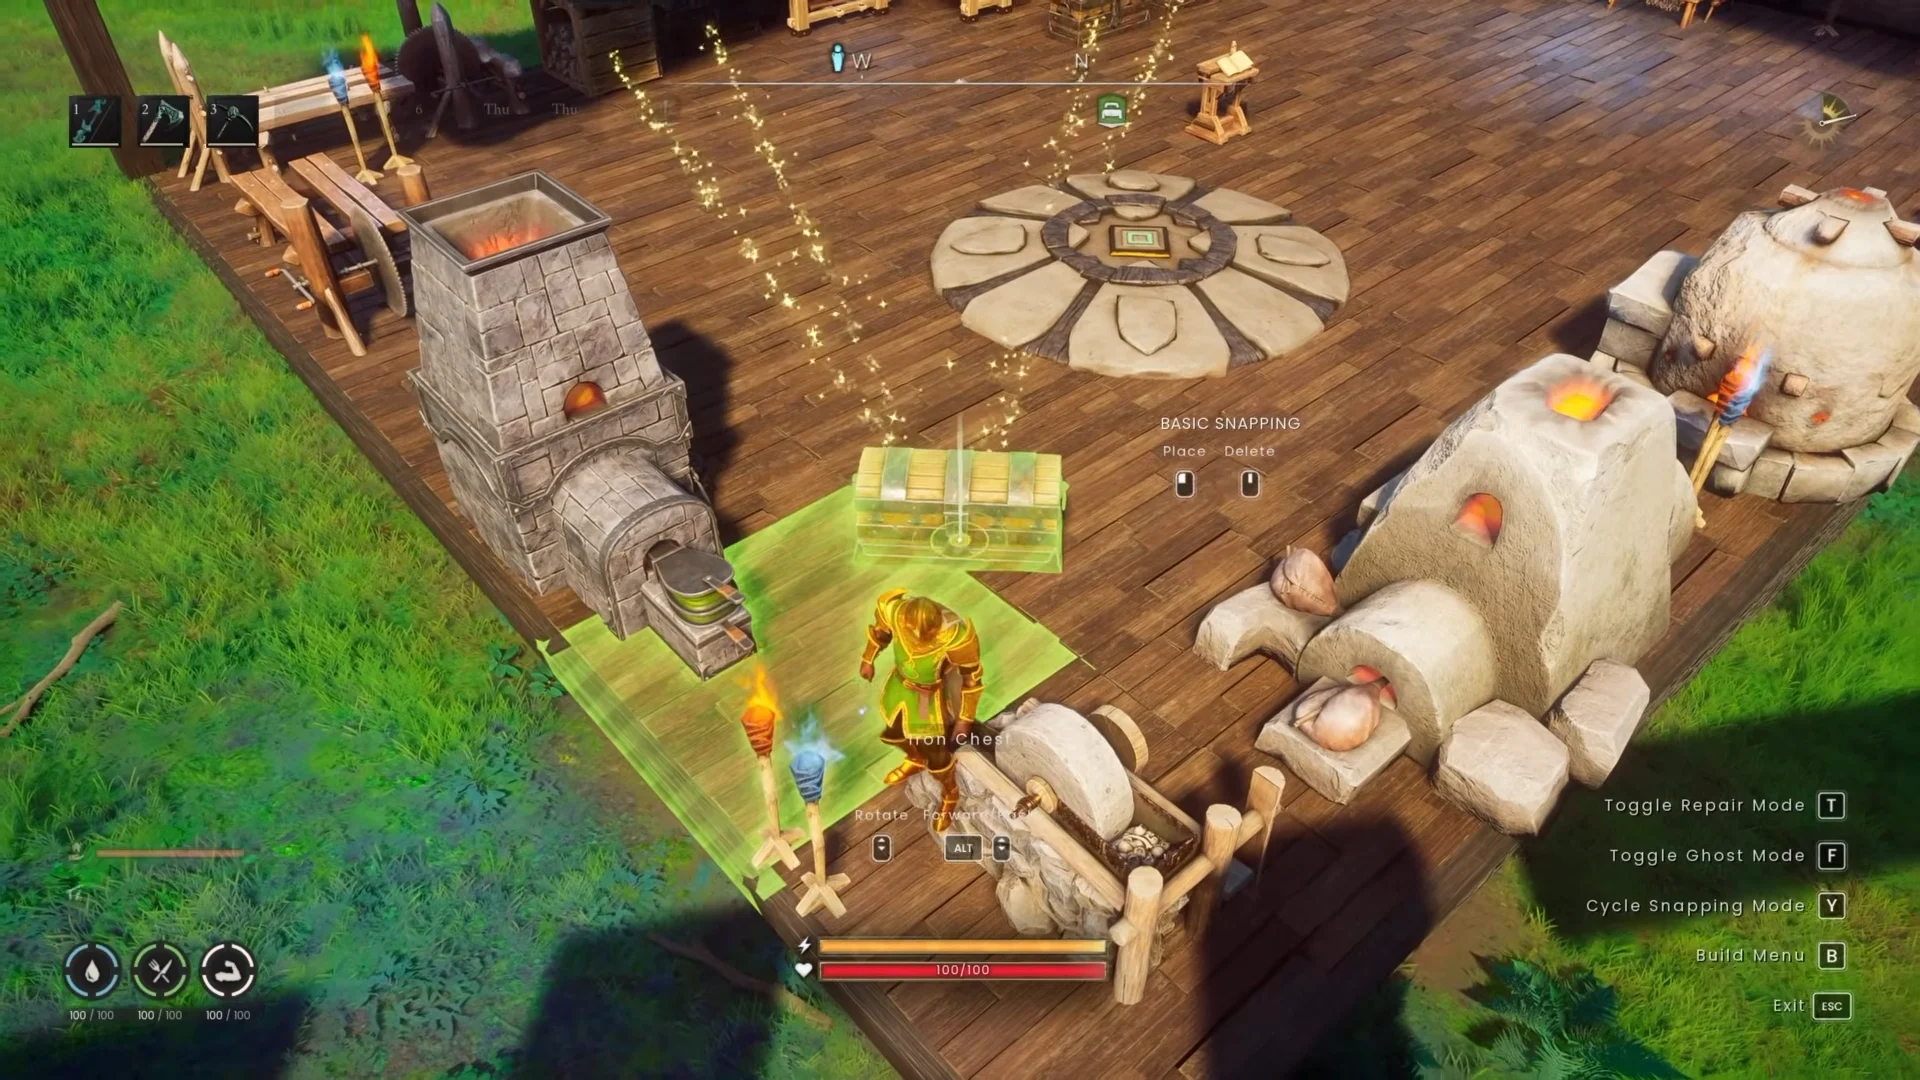
You can also point more than one sawmill at the same container. If you build several sawmills with their sawing ends within two metres of the same Lumber Storage, their planks all feed into that one container, so a small cluster of mills keeps a base’s construction supply topped up from one box.
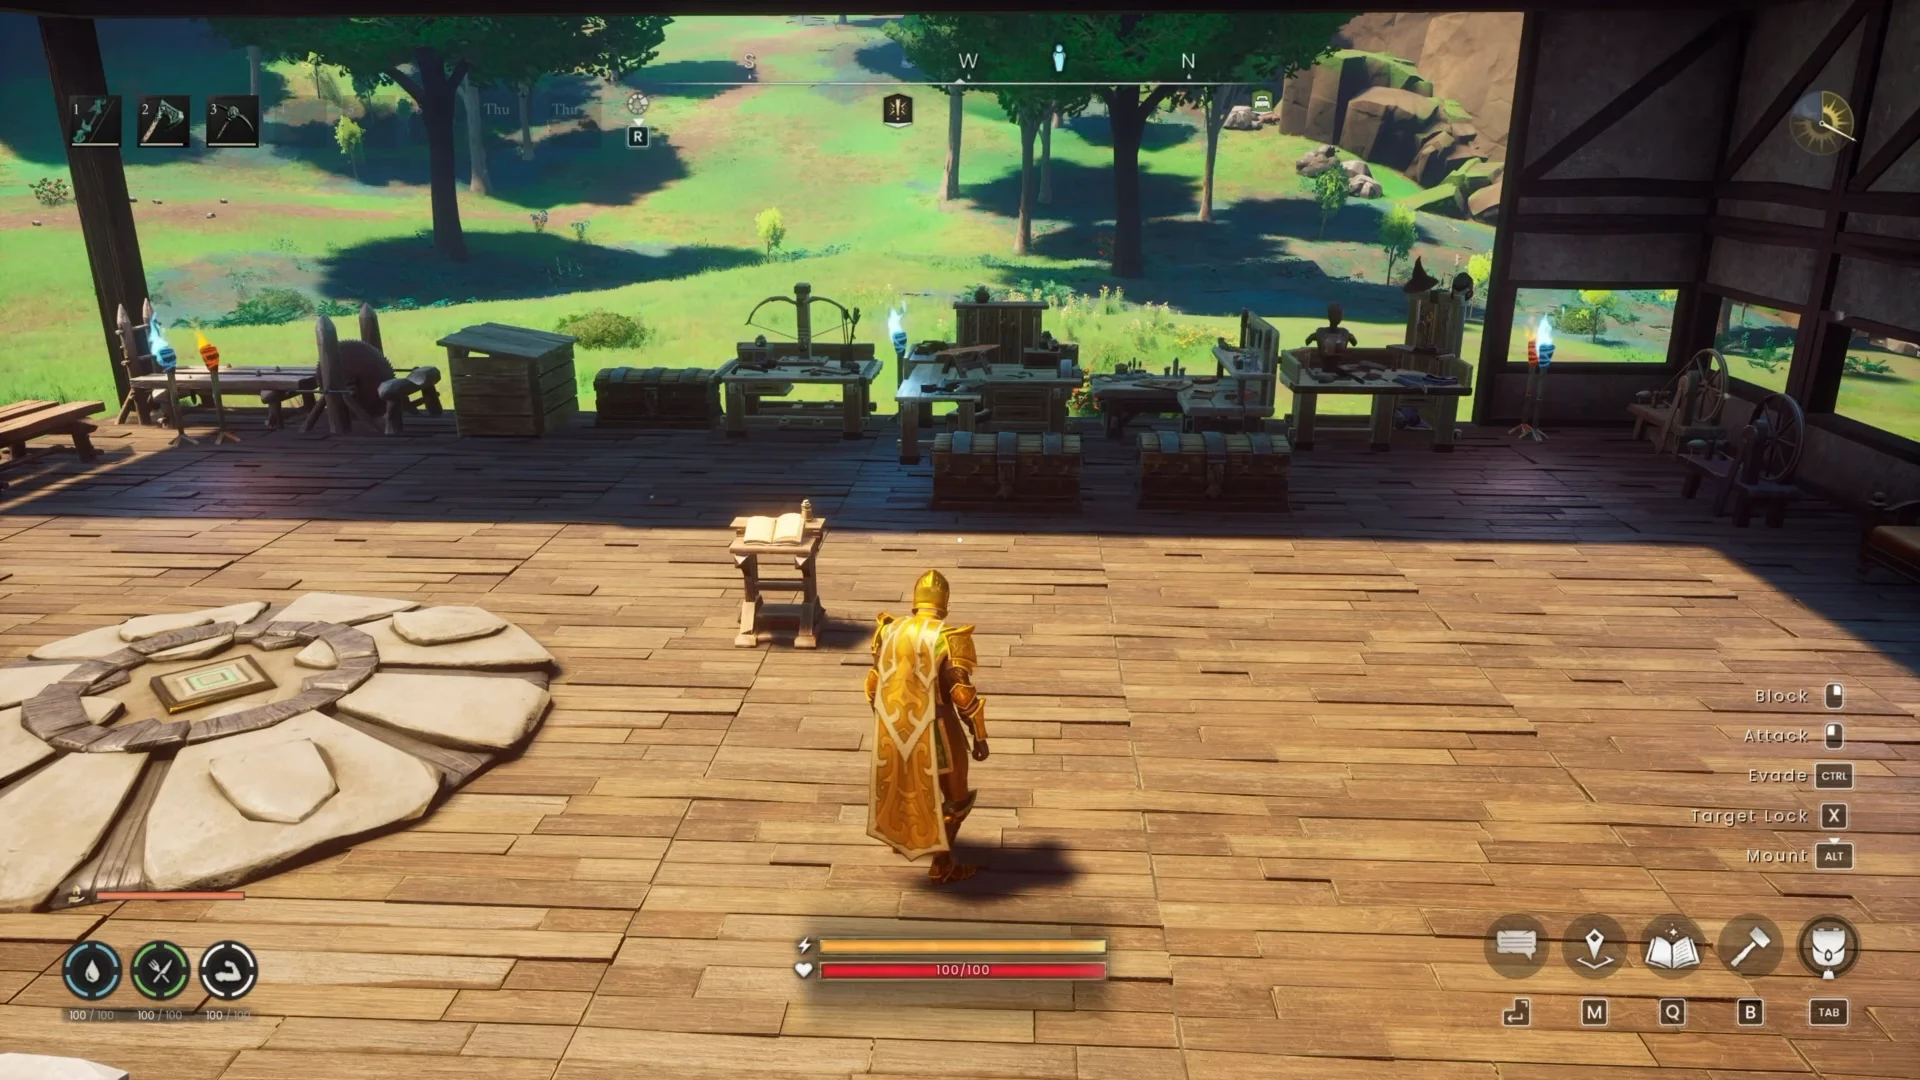
One point worth keeping straight: this saw-end deposit is separate from the Linked chest system. Linked chests feed recipe benches by proximity and show a golden sparkle trail when a bench is in range. The sawmill’s automatic drop into Lumber Storage is a different mechanic: the planks land in the container because it sits at the output end of the saw.
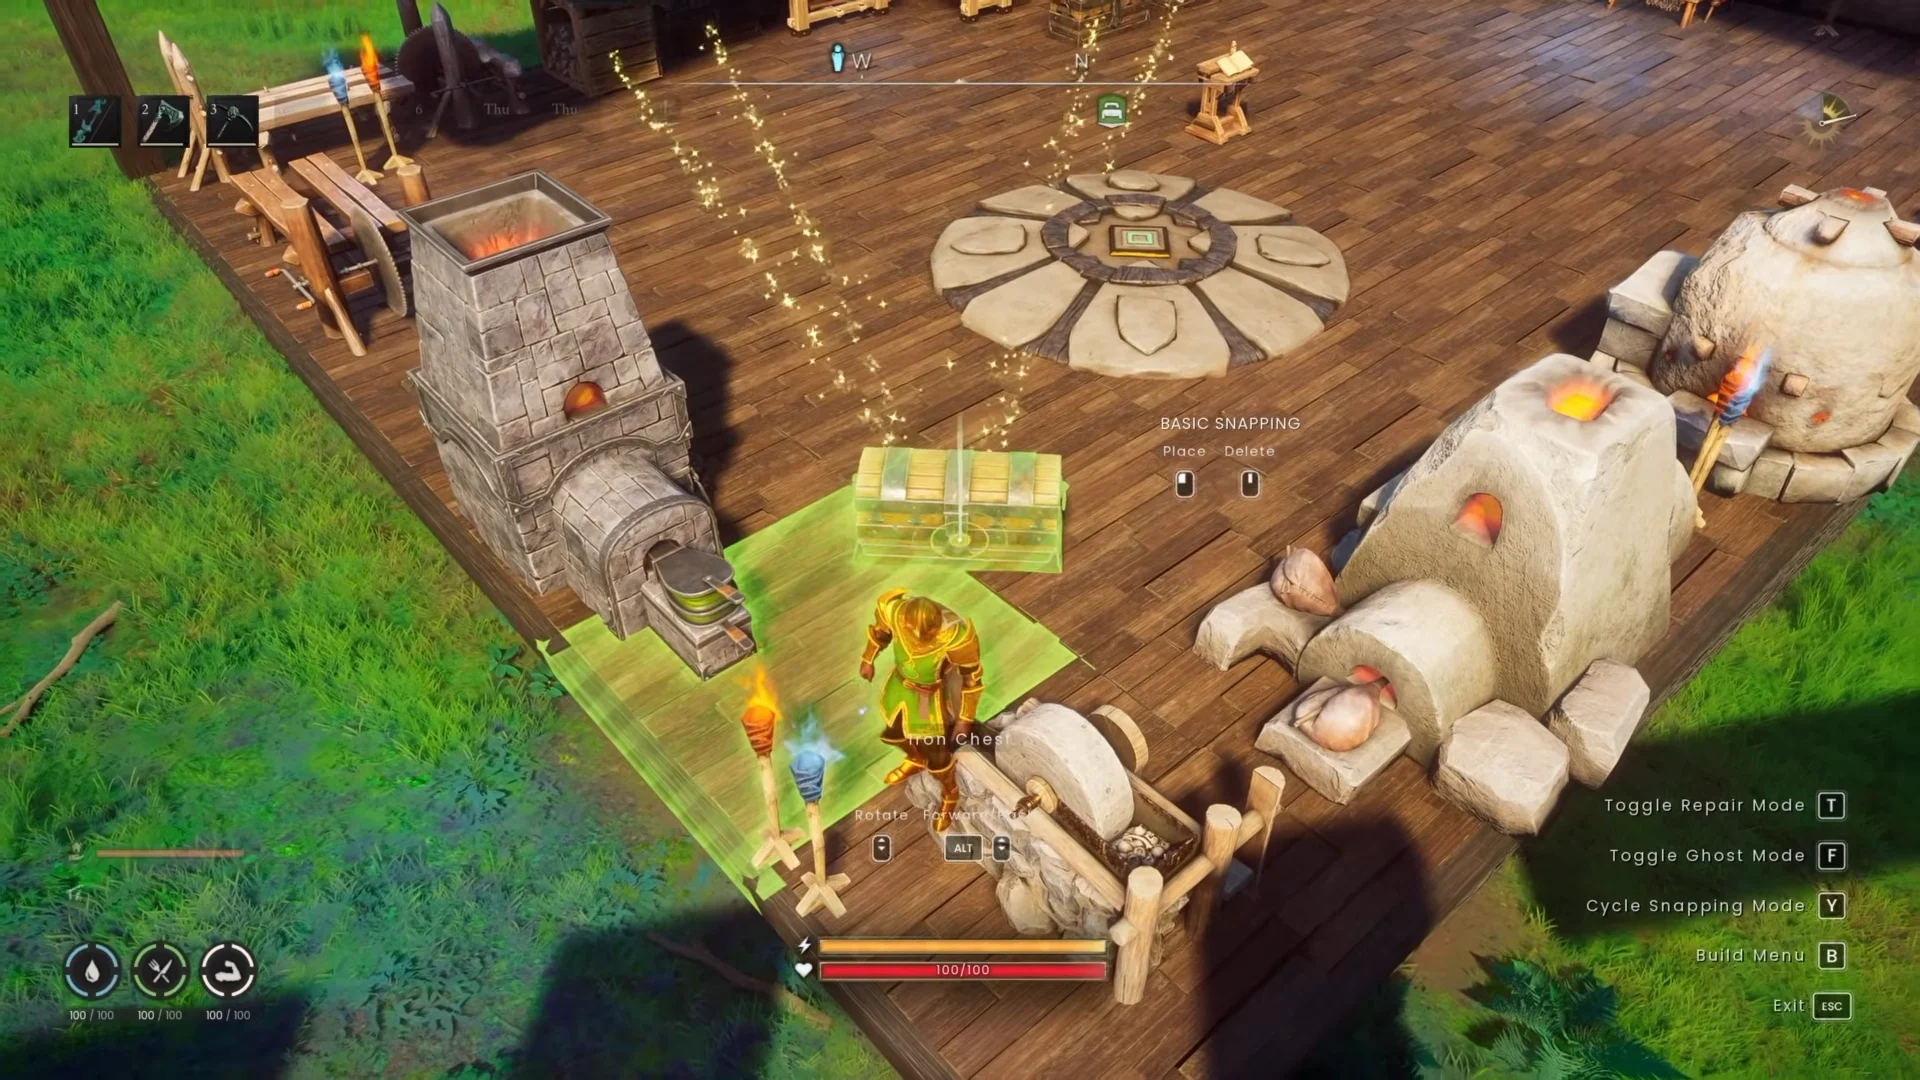
With the container placed once and the saw kept loaded, plank production becomes a set-and-forget part of your base. Drop logs in, walk away, and pull finished planks from storage whenever a build calls for them.