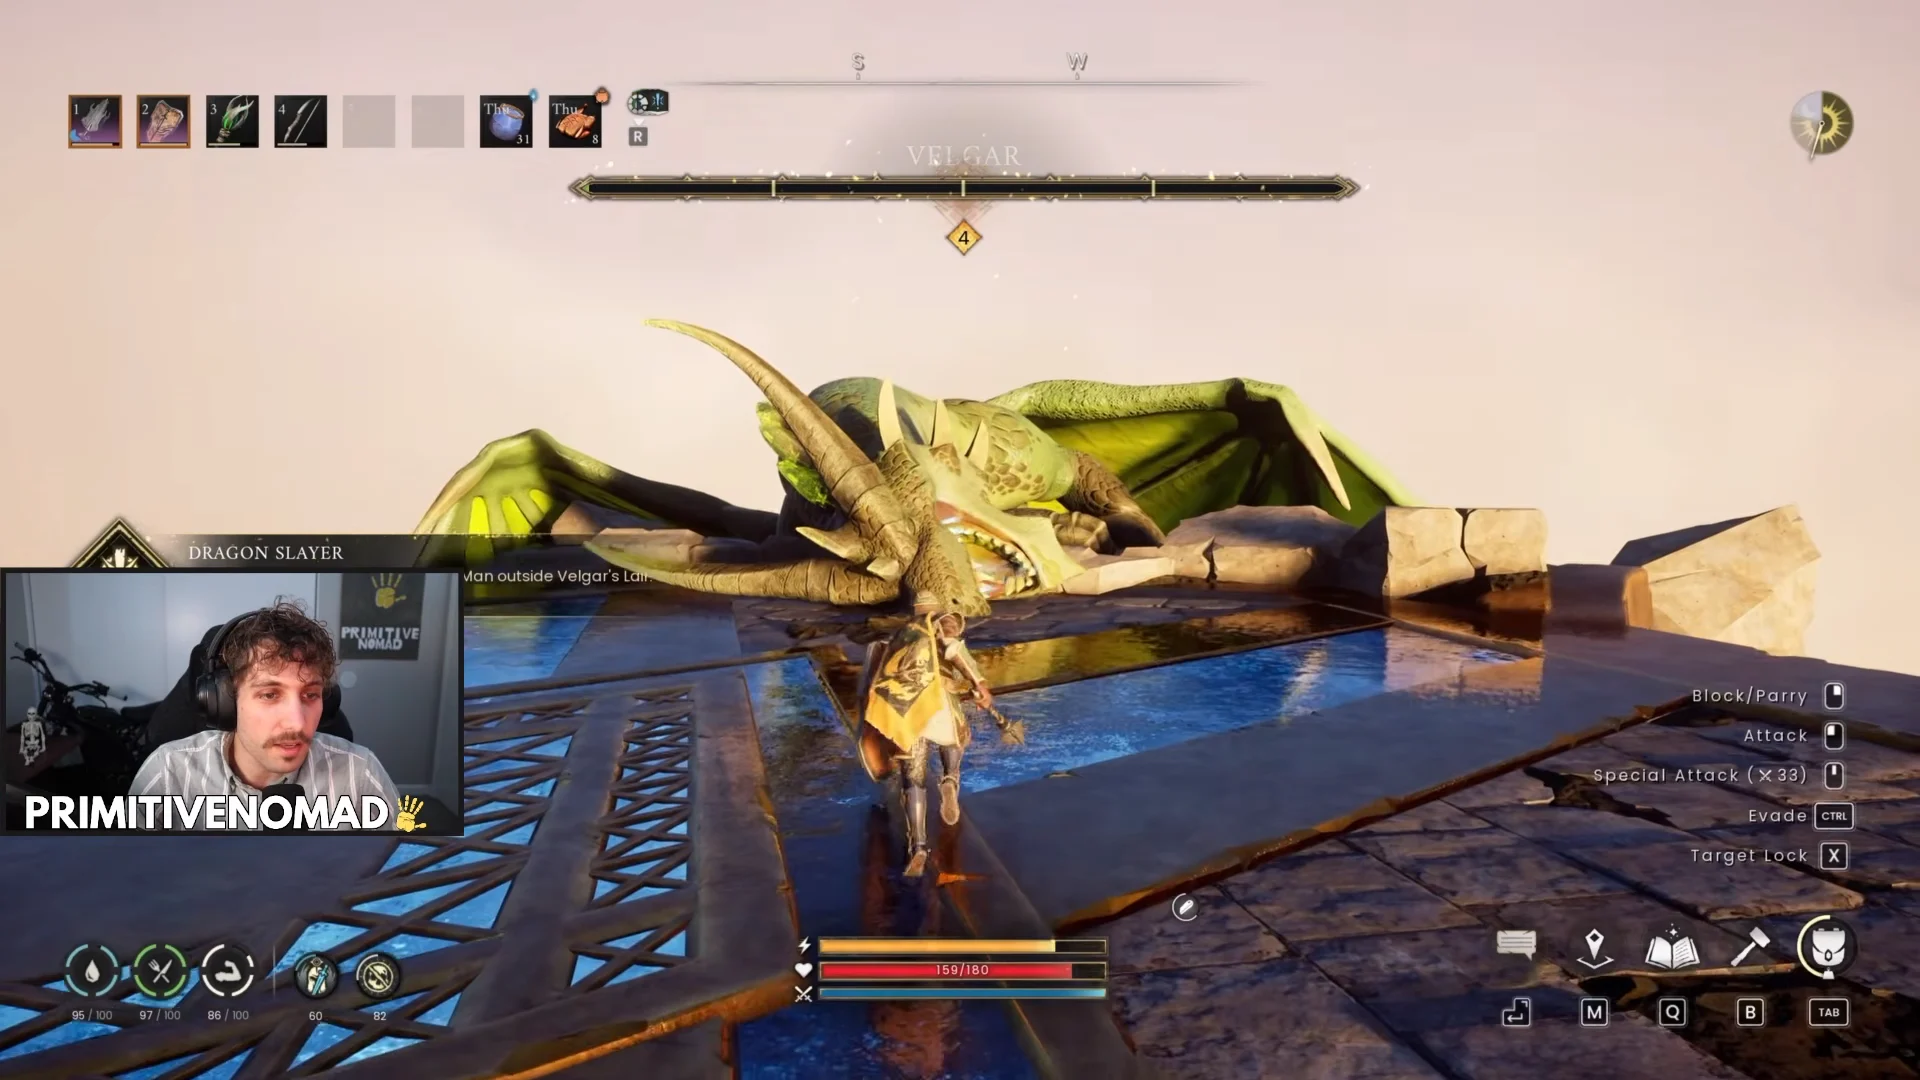
In RuneScape Dragonwilds, the level-4 power dragon Velgar is the final opponent in the Dragon Slayer quest. He waits atop Velgar’s Rise in the Fractured Plains, has 6,000 health, and is the first genuine boss most players encounter. Defeating him stops his ongoing attacks in the open world and awards a bundle geared toward dragon survival. As the footage shows, players usually return to base after the fight to use the loot and rebuild.
Quick answer: Summon Velgar at the Dragonkin Altar with a challenge horn, beat his 6,000 health while managing poison, then hand Velgar’s Head to the Wise Old Man for the Dragon Slayer Reward Pack.
Who Velgar is and where you fight him
Velgar is one of Queen Kuldra’s generals, worshipped by the goblins as the Big High War God after he drove Bandos into retreat. His anima-infused poison breath is the same corruption that reshaped the region now called Bloodblight Swamp, so the poison in his arena carries real weight in the story. His lair sits in the Fractured Plains in Ghornfell, and he only exists as a fightable boss once you have crafted and used a challenge horn.
Velgar has neither a damage weakness nor a resistance, so no damage type is disadvantaged. Poison and Burning cannot affect him: weapon poison has no effect, and fire magic misses the burn damage that normally makes it worthwhile.
| Stat | Value |
|---|---|
| Power level | 4 |
| Health | 6,000 |
| Weakness | None |
| Resistance | None |
| Immune to | Poison, Burning |
| Location | Velgar’s Rise, Fractured Plains (Ghornfell) |
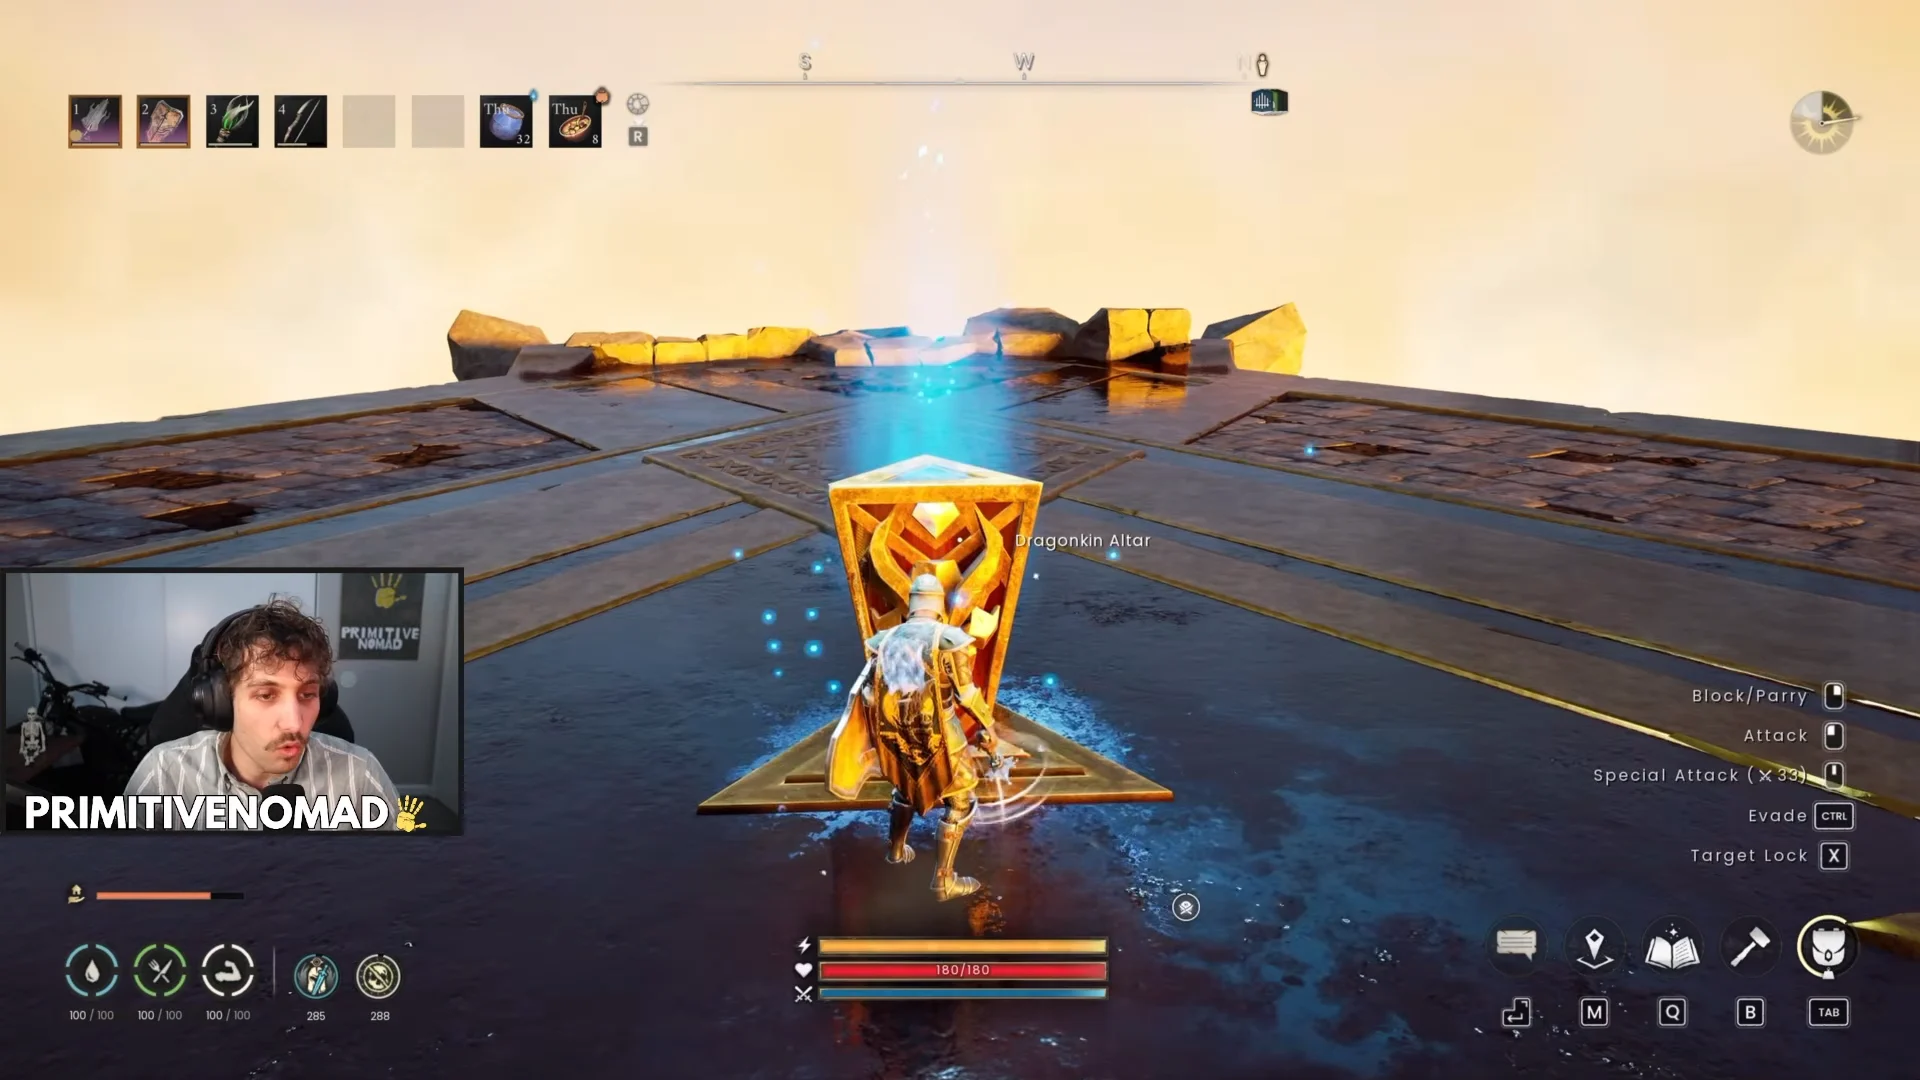
Start the encounter at the Dragonkin Altar atop Velgar’s Rise: place the horn, then choose the summon option. The horn also lets you initiate a rematch. Velgar has no respawn timer, so you must summon him again to create each new instance.
How the Velgar fight plays out
Velgar’s attacks split by range. A claw strike and a bite only land when you stand inside melee range, so backing off removes those two from the pool. Everything else reaches you wherever you are: a claw slam that sends earthen spikes toward you, a sideways head swing, and a poison breath that fills a cone in the direction he faces. Keeping distance shrinks the fight, but it never makes range safe.
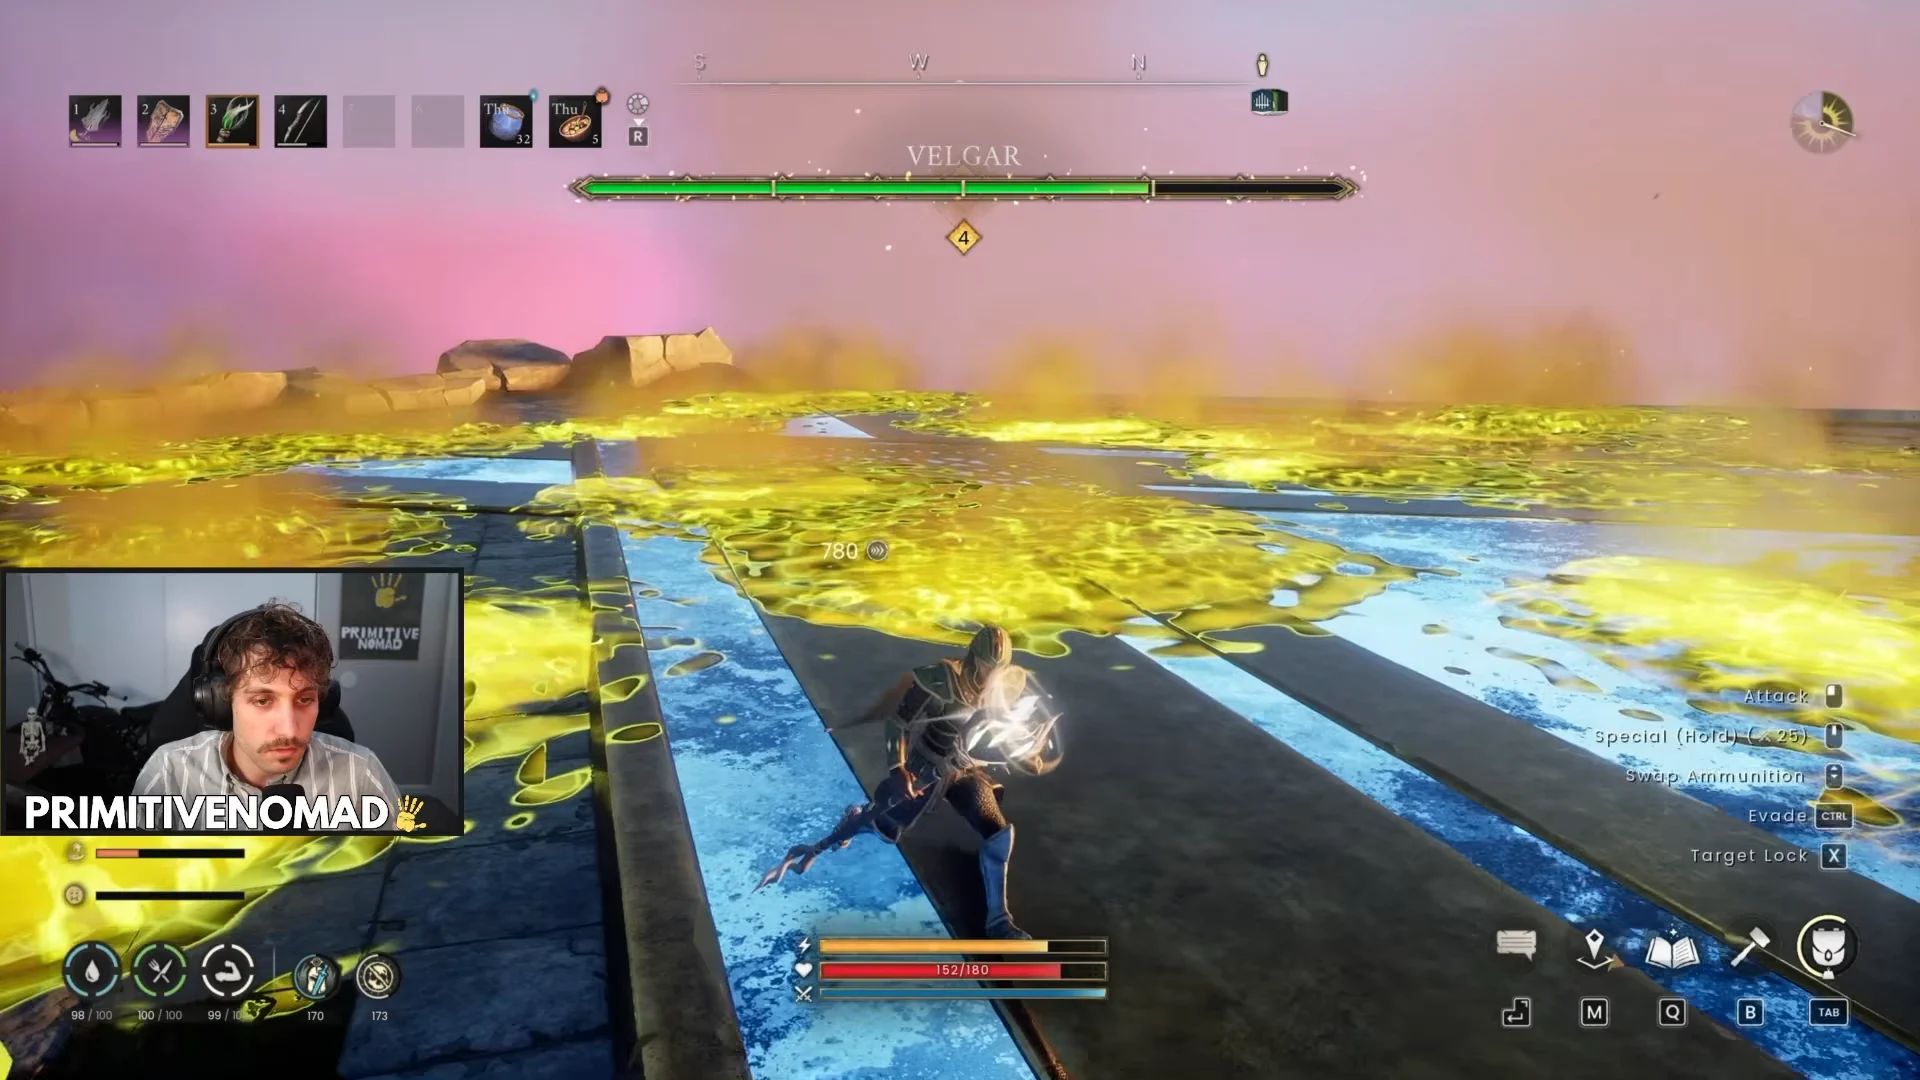
Whenever Velgar loses about 25% of his health, he takes flight and sends poison barrages over the arena, with red-orange circles marking their landing spots. The circles can overlap, letting one position take several hits from a single barrage. Watch the full pattern and move to unmarked ground instead of the nearest gap to avoid losing the fight during this phase.
Velgar’s poison is the main danger: it drains about 4 health per second until cured, enough to empty a healthy bar during a single phase. A lesser antipoison potion gives you the Fungal Fortitude perk against his breath, while mushroom kebabs add to that perk and heal you. Keep both consumables on the hotbar for access rather than leaving them in your inventory.
For damage, air and water runes are the picks a no-weakness, burn-immune boss rewards, since their secondary effects still land where fire’s burn does not. An anti-dragon shield blunts the poison breath and shows up in both recommended loadouts for a reason. Velgar can be soloed on Normal and Hard, so a group is optional.
What beating Velgar unlocks
The kill itself grants the Dragon Slayer achievement and an Ascension Core at power level 4, and it unlocks the craftable Dragonblight Shield. Velgar always drops his head and 30 to 40 Ascension Shards, and that shard entry is why a farmed-out Velgar is still worth revisiting even after the quest is done.
For the main reward, take Velgar’s Head to the Wise Old Man to receive the Dragon Slayer Reward Pack. It contains an Anti-Dragon Shield, a Noxious Draconic Visage, and the Tome of the Dragon Slayer. Reading the Tome awards a large amount of experience in warfare, combat, and related skills. The visage is used to craft the Dragonblight Shield, which also requires 8 Oak Log and 4 Granite.
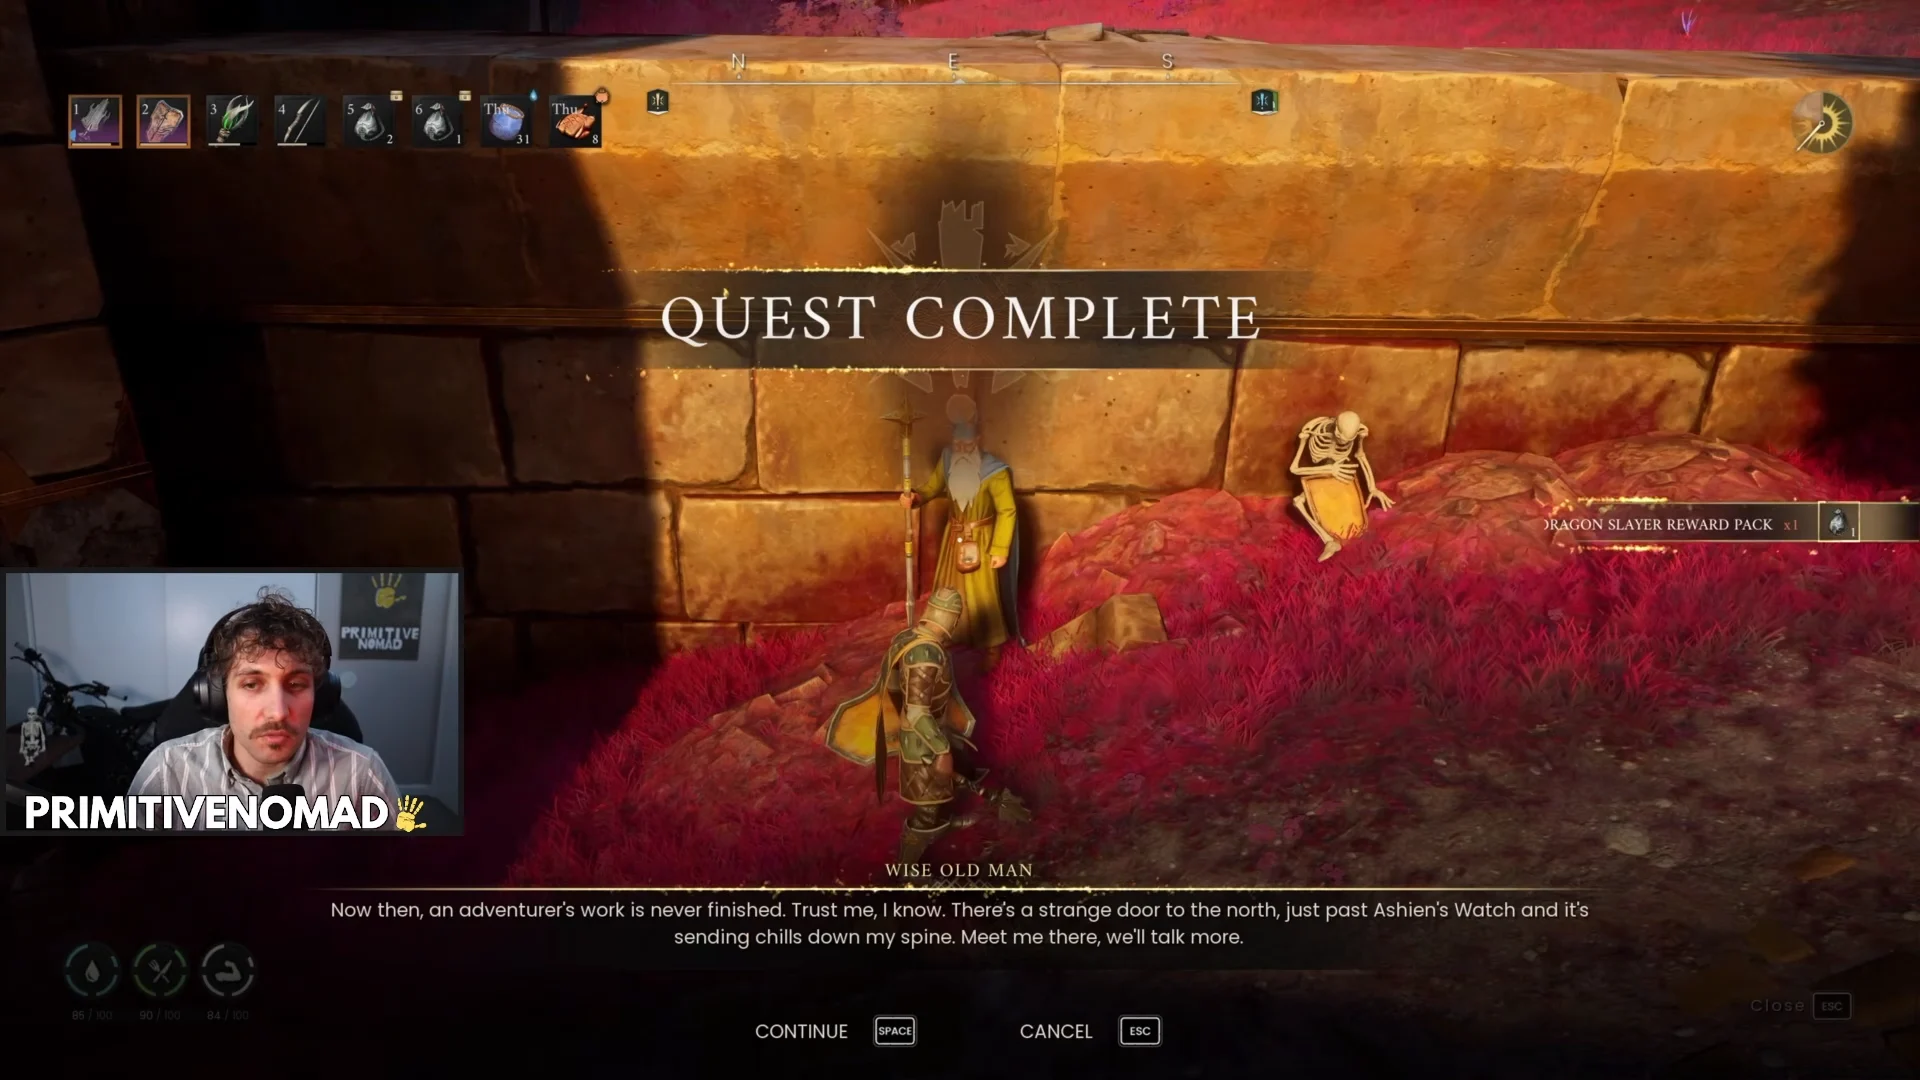
| Reward | What it does |
|---|---|
| Anti-Dragon Shield | Blocks dragon breath; power level 28, 1,050 durability |
| Noxious Draconic Visage | Crafting component for the Dragonblight Shield |
| Tome of the Dragon Slayer | Large experience across warfare and combat skills when read |
| Ascension Core (PL4) | Dropped on the kill itself |
The base rebuild that follows
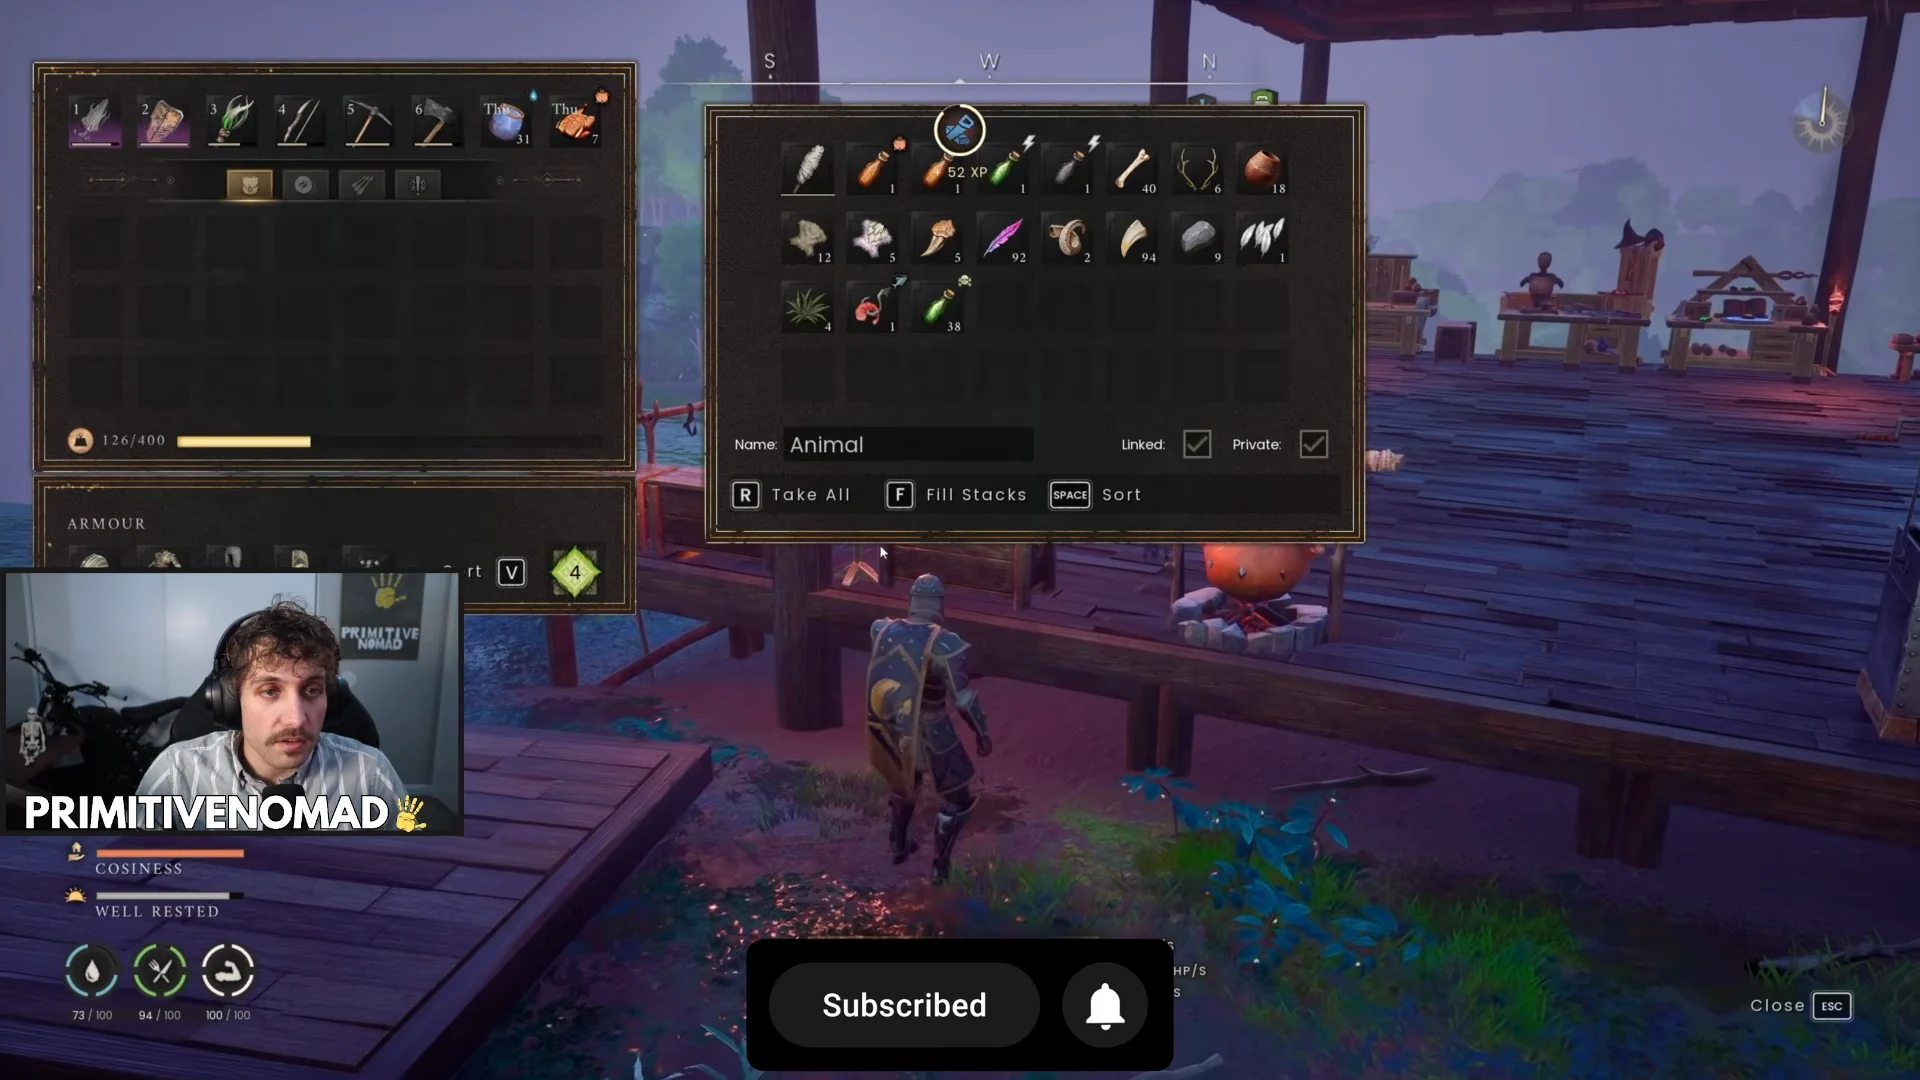
With the quest closed, the session turns into a full teardown and rebuild of the home base. That starts with clearing out the old structure, which means moving chests and workstations before any foundation pieces come down. Storage comes first because Repair Mode reclaims a piece’s building materials when you remove it, and emptying containers keeps nothing stranded.
The replacement is an open-concept, multi-platform build laid out on a 10-wide by 7-length foundation grid. Structures need flat, solid ground, and the game throws an UNSTABLE warning on slopes. Beams and foundations are the strongest anchors, and you cannot snap a floating tile into place without enough stability underneath it. Green outlines mark valid placement; red means an obstruction, a missing connection, or not enough support.
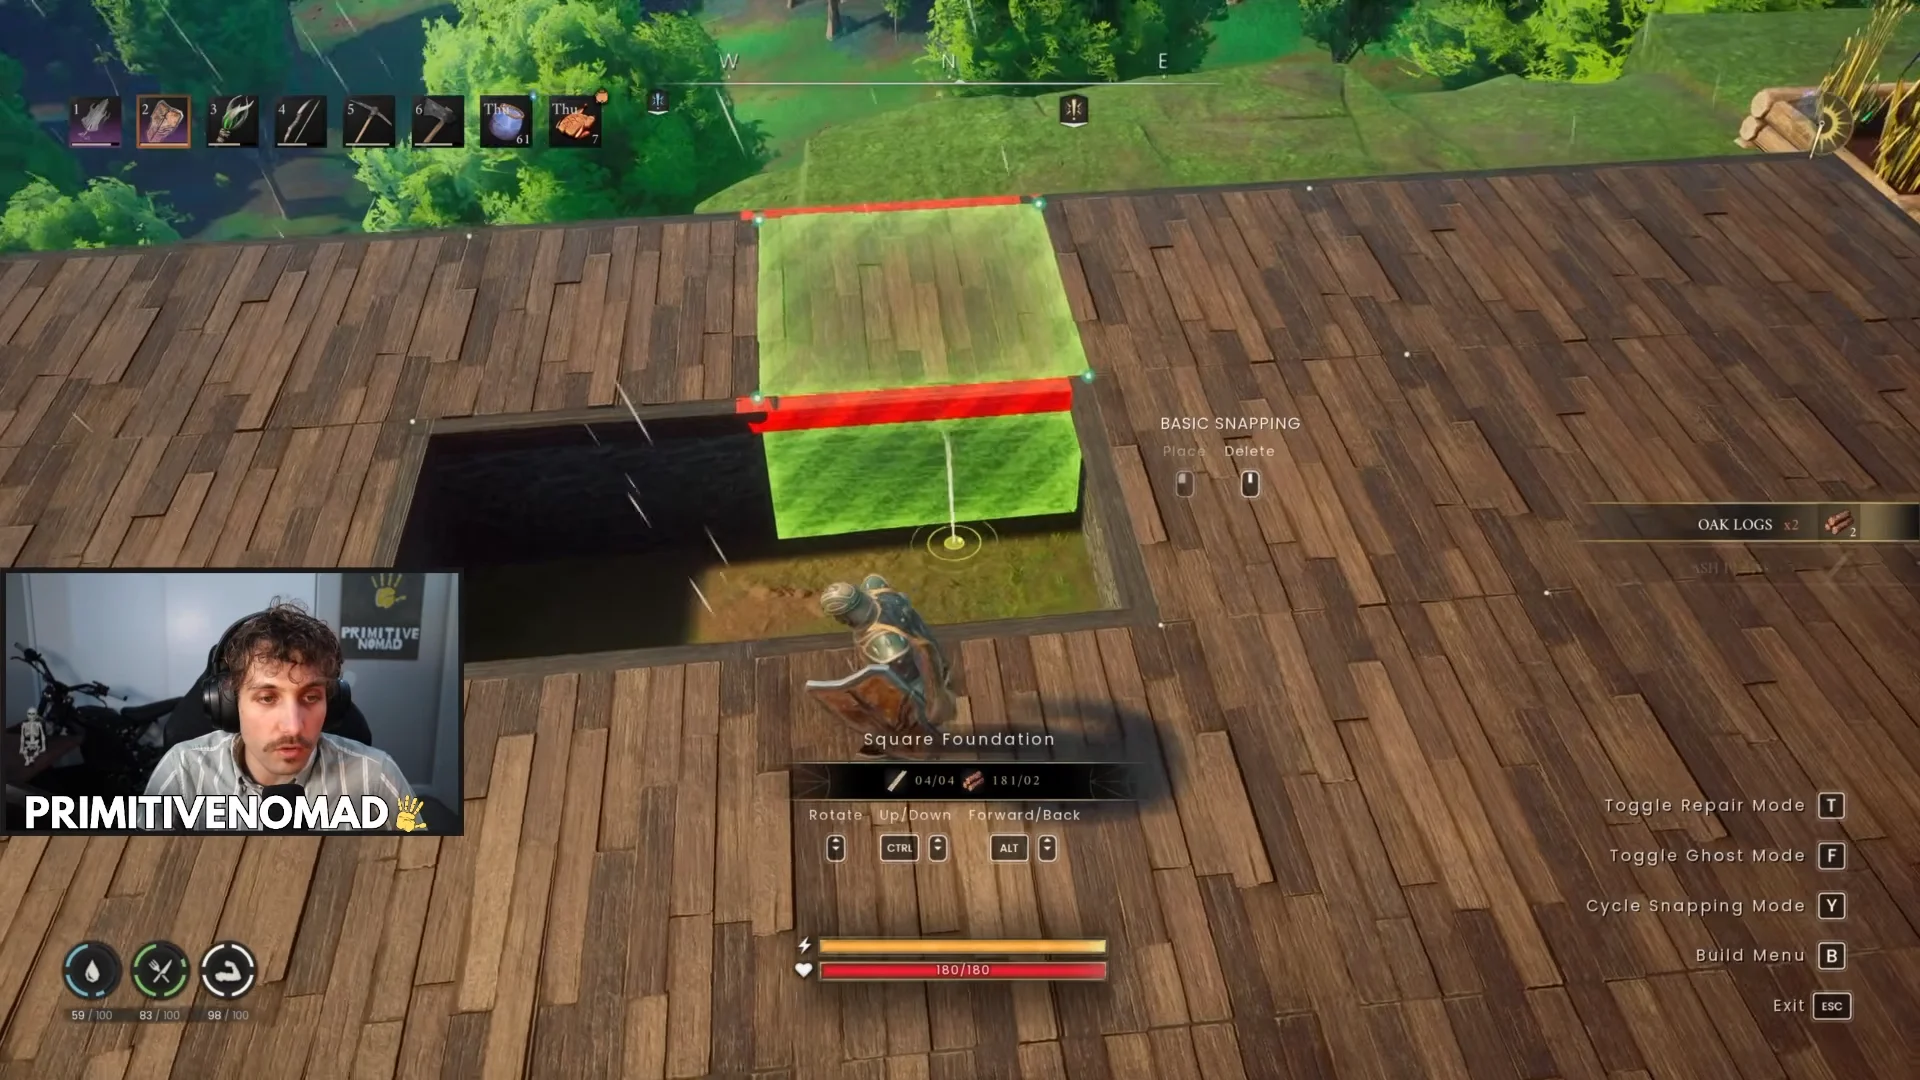
The build climbs upward with 30-degree hip roof tiles, inverted corners, and second-level supports, pushing Construction to level 30 along the way. Oak logs and ash wood for the frame come from a purple forest zone, where the Astral Projection spell chops multiple trees in a directional line even when the target reticle is not highlighting each one individually. A Personal Chest unlocks at Construction 40 for 20 Law Runes.
A claimed bed stops monster spawns within 20 metres, but goblin base raids can still trigger when you are within 30 metres of your respawn bed, so walls still matter even at a settled home.
The session closes with a run into Fellhollow through its gateway, a lore cutscene about Kuldra and Ashenfall, and a stop at the Forgotten Temple to meet Death and siphon an Anima Vent against lost souls and zombies. Hide and bones get farmed from Garou and dragon wolves in Bleakfields Valley before a fast-travel back to the base to sort everything into its chests. It is a tidy picture of the mid-game loop in 1.0: clear the gate boss, cash the rewards, and turn a scrappy shelter into something built to last.