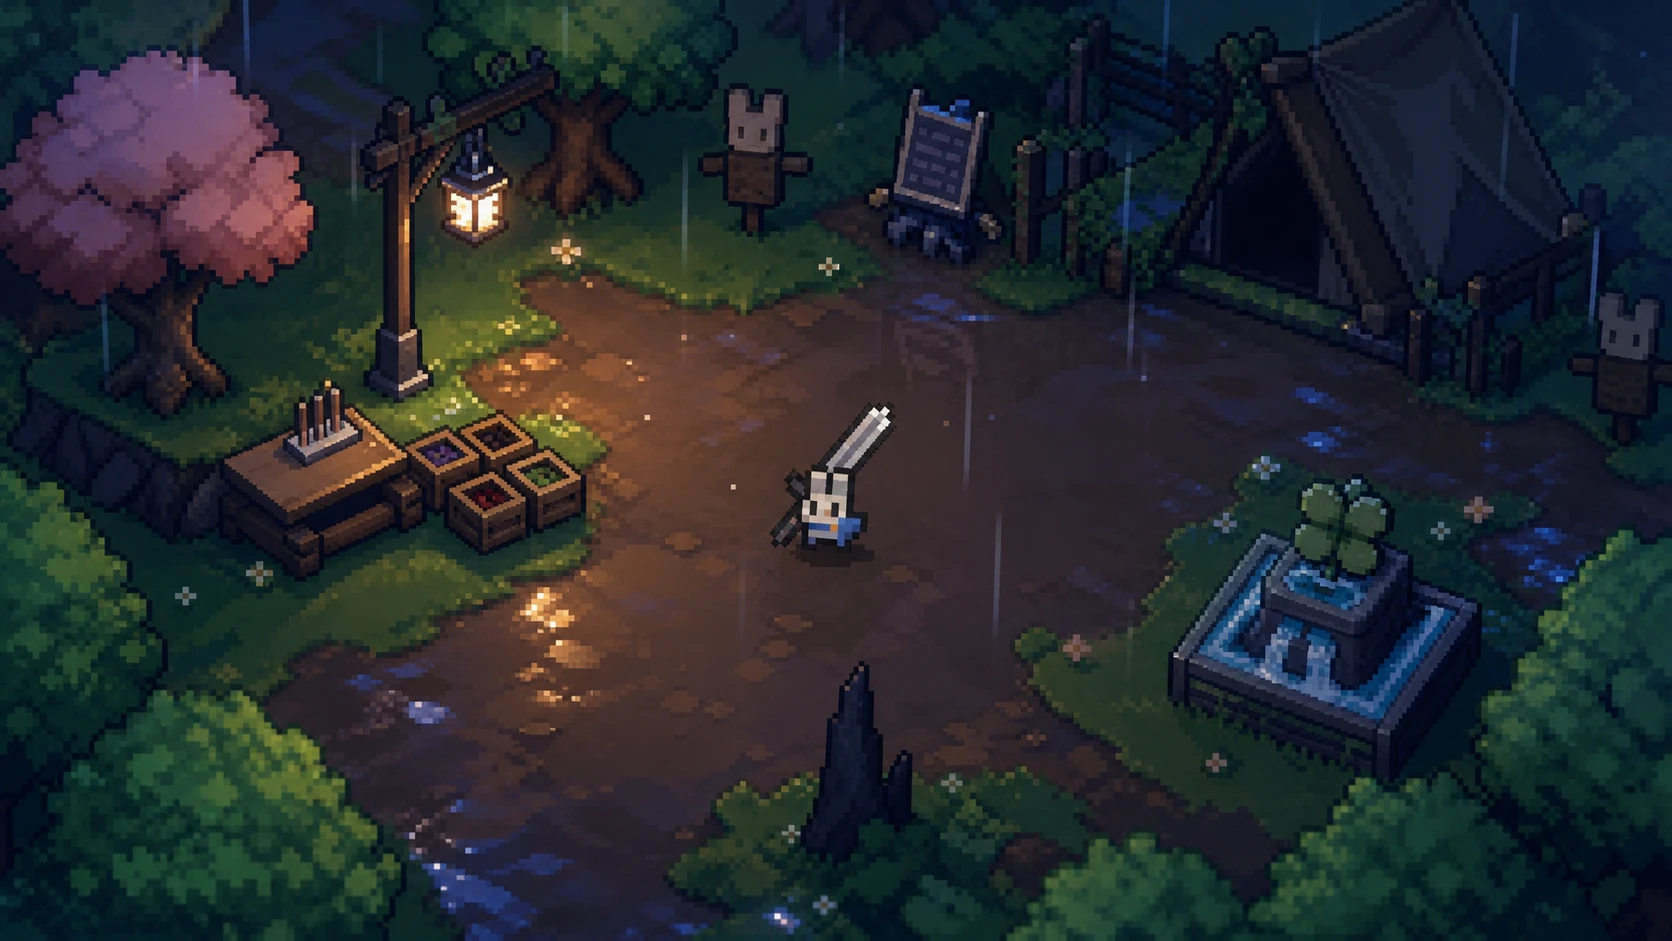
Sephiria drops you into Bunnyville as a sword-and-shield rabbit fighting off a demon invasion, and its early floors punish sloppy play. Healing is rare, enemies telegraph before they strike, and your entire run is shaped by the artifacts you pick up. Getting the basics right is the difference between clearing a floor and restarting from town.
Quick answer: Watch each enemy’s red laser to time your dodge or counter, protect your health because regeneration is scarce, break every box and barrel for gold, and read every artifact before choosing one so your build stays focused on a few effects.
Read the red laser to dodge and counter on time
Nearly every enemy in Sephiria flashes a red laser line right before it attacks. That line is your timing cue. When the red lines converge, the hit lands, so you can hold your dash until the last moment and slip out of range. Dashing too early leaves you out of position and open to other foes, while dashing late still takes damage.
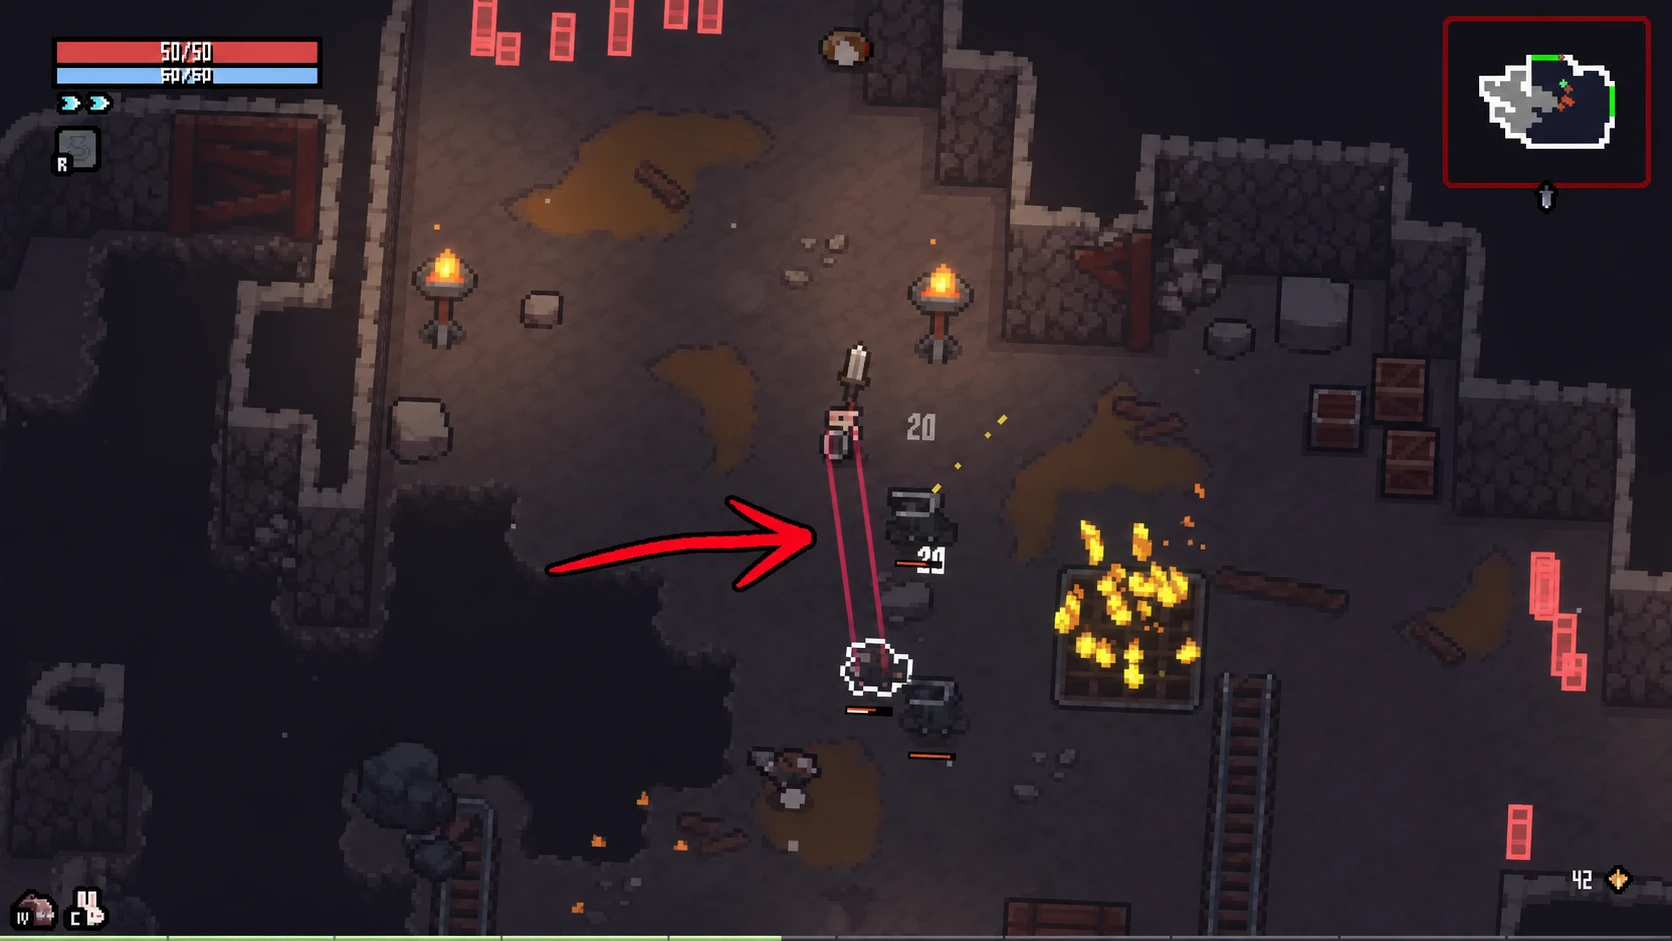
Parrying works off the same read. Press the right mouse button just before an attack connects to land a perfect counter. It takes practice, so use the first floor of the Mole Stronghold, where the enemies are weak, to learn the rhythm. Dashes are limited too, so don’t spam them. Spend each one deliberately against a tell you actually see.
Protect your health, because regeneration is rare
The game rarely hands you a chance to recover, so you will often finish an entire floor on whatever health you started with. Keep one eye on the health bar during every fight and treat each hit as a real cost, not something you can walk off.
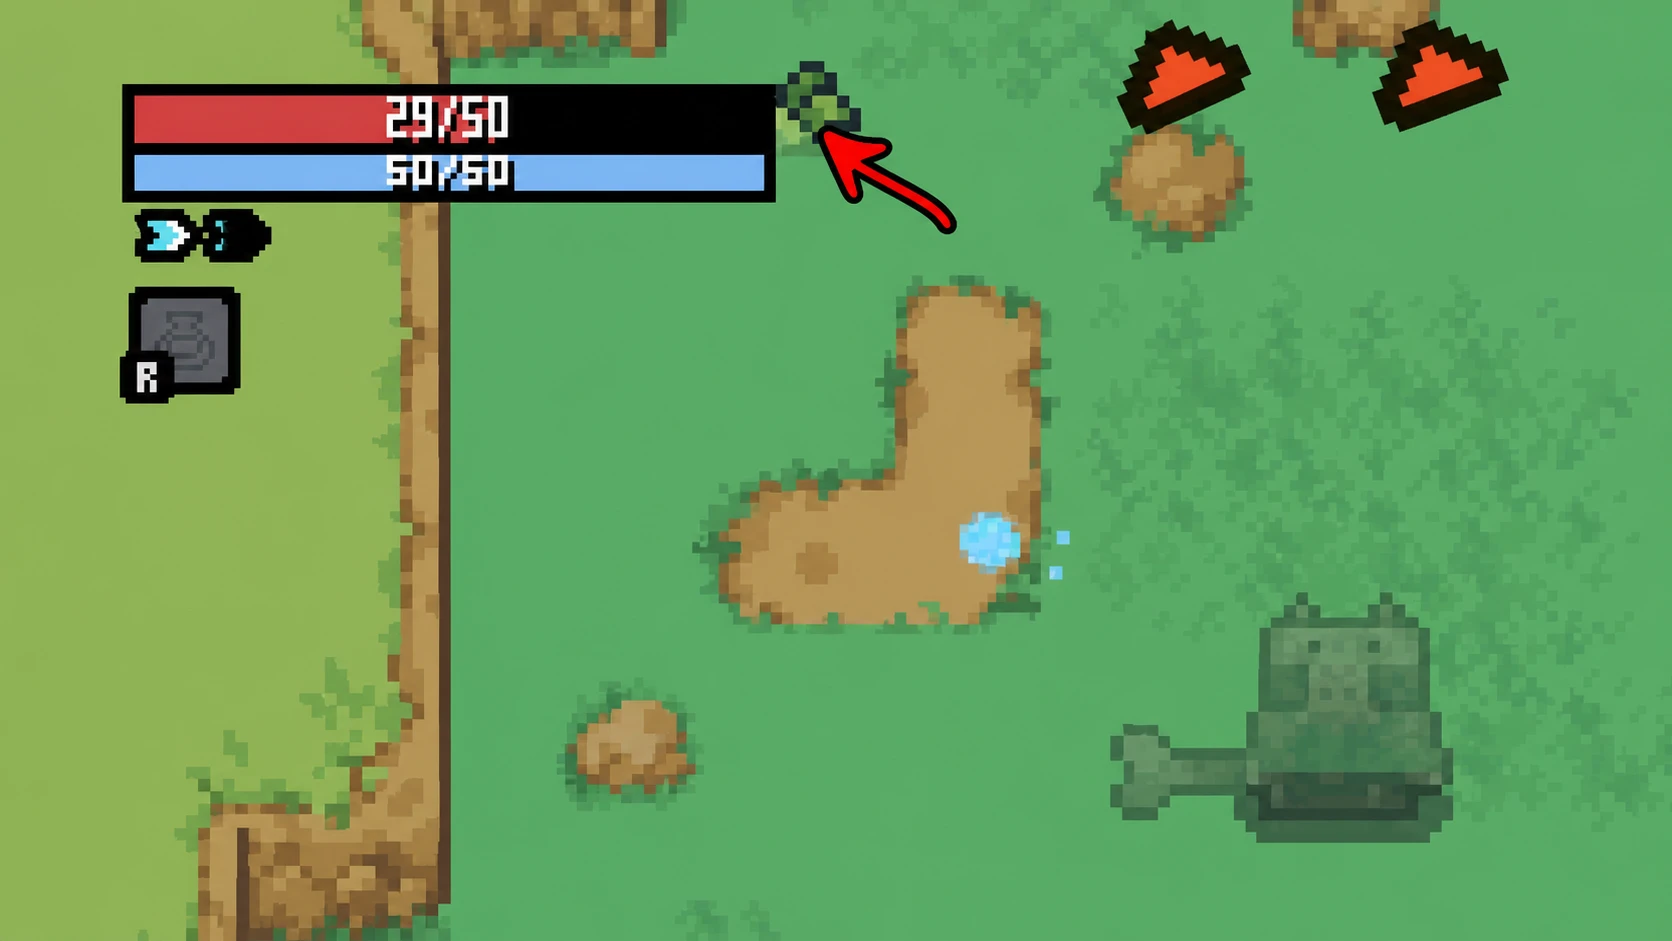
You get health back in only a few ways. Leveling up mid-fight restores some, buying a regeneration potion from a trader helps, and stones marked with a heart raise and top up your maximum health. Green Heart nodes on the map also increase your maximum HP, so route toward them when your bar is running thin.
Some consumables sit inside destructible objects and refill health when you pick them up and hold the R key. That makes searching a room worthwhile before you move on.
Break every container for gold and consumables
Boxes, barrels, and containers are scattered through every level, and they hide gold and useful items. Gold funds purchases from traders, so clear the corners of each room when you aren’t actively fighting. It is free value that adds up across a run.
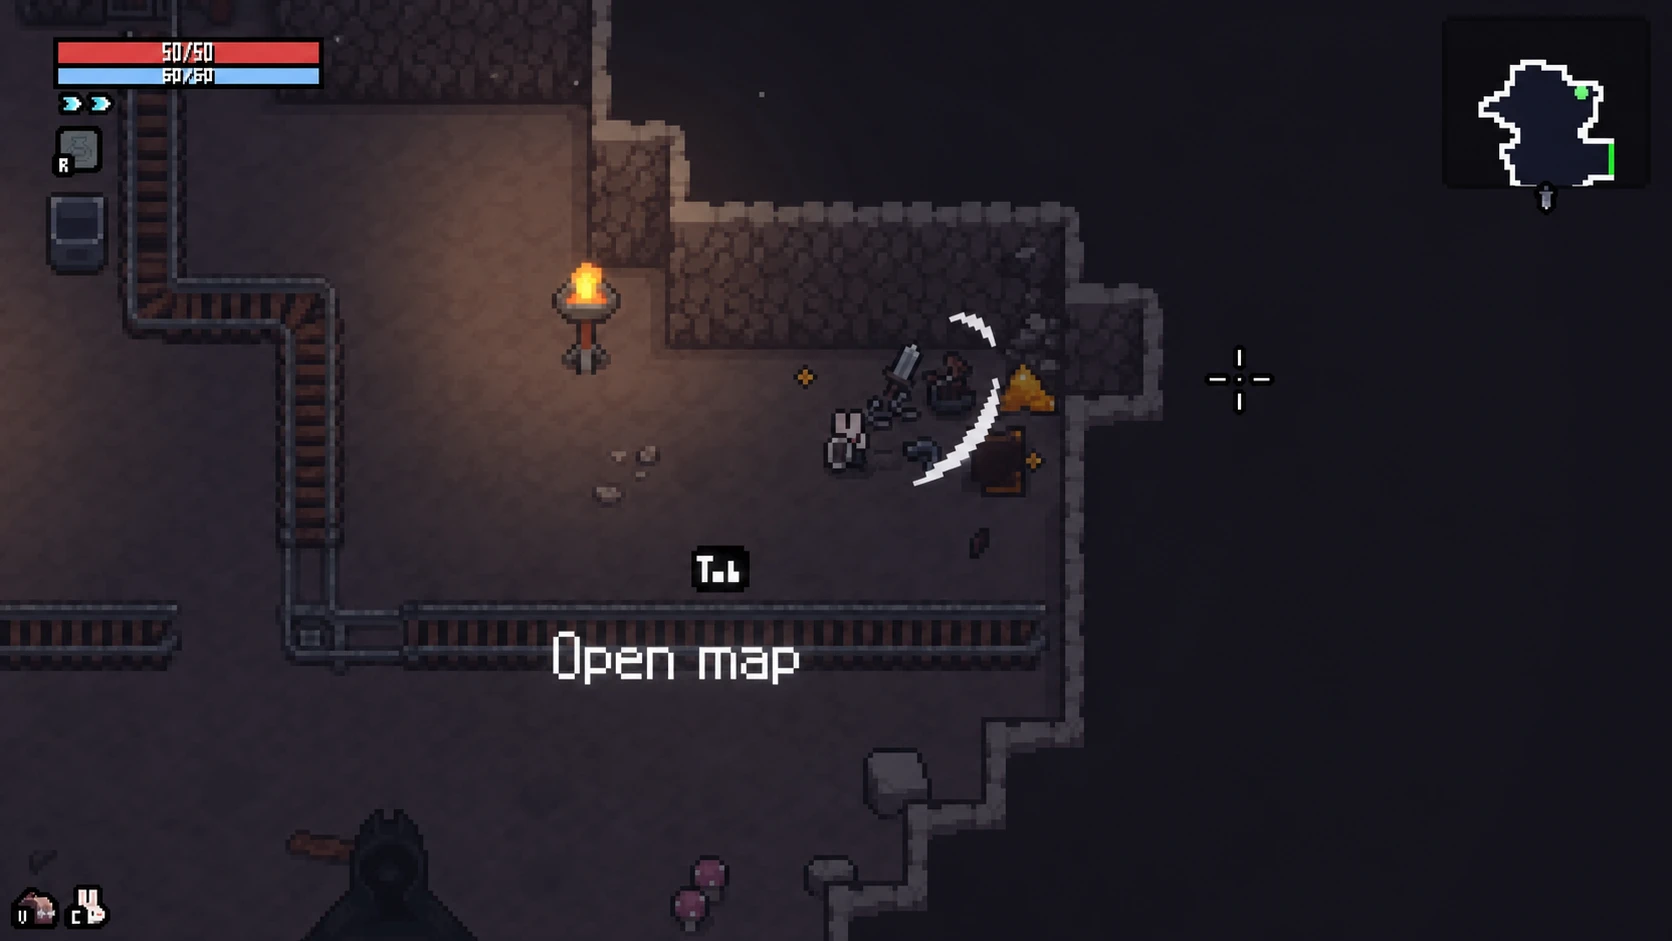
Watch for crates that hold TNT. Those become weapons in their own right when a horde bunches up, and enemy knockback lets you shove foes into environmental hazards. Traps trigger about a second after something steps on them, so lure an enemy on, dash across yourself, and let the trap do the work while they eat the damage.
Pick and arrange artifacts around a few effects
Artifacts are the backbone of every build. Each level-up offers five, and you keep one. The game pauses while you decide, so read what each option does before committing. The right early picks snowball fast, while a scattered inventory falls apart on later floors.
Strong starter artifacts include the Golden Maple Leaf for +15% Experience Drop, which speeds up leveling and unlocks more choices. A Companion such as the Mini Ballista draws enemy attention and buys you room to dodge. Völuspá deals reliable damage and pierces through lined-up enemies, which clears rooms quickly.
Commit to one to three Combo Effects rather than spreading thin. A focused build scales harder and earns more Tablet upgrades. Passives like Storm Cloud, which chips enemies with an untouchable cloud, and Frostbite, which slows enemy attacks, are excellent early anchors.
Placement matters as much as picking. Some artifacts level up when set beside the right items, shown by small arrows in the inventory. Group pieces with similar bonuses so their levels stack, and rotate Tablets to overlap your key slots instead of thinning bonuses across the whole grid. Reorganize after every pickup, and sell anything that doesn’t fit at the merchant for cash you can spend on something that does.
Don’t over-collect. Once you have a solid base, prioritize Tablets that strengthen what you already run over stacking yet another damage effect. Neutral artifacts that add HP regen, MP regen, or defense keep runs alive while you’re still learning enemy patterns, and a Tablet with a negative level isn’t dead weight because that slot still holds potions or utility items.
Unlock Talents by repairing your house
Talents are permanent upgrades that carry across runs, and they smooth out the early game considerably. To reach them, you first unlock the “Home Repair” Destiny Inscription after a few runs, then finish a short quest in town.
For a fresh account, put early points into survival-focused Talents like Survival, Endure, and Wisdom, then move into Swiftness and Wrath once you’re confident. Two strong early picks:
| Talent | Effect at Lv. 5 | Why it helps early |
|---|---|---|
| Swiftness | +5% Attack Speed and +1 extra Dash | The extra dash saves runs while you master movement. |
| Patience | +5 Defense and a Foundation Tablet | Softens early mistakes; the Tablet gives one inventory row +1 to all artifacts. |
Choose a beginner-friendly costume
Costumes tweak your starting stats and sometimes your starting items. They won’t rewrite a run, but the right one softens the early difficulty curve while you find your footing.
| Costume | Effect | Best for |
|---|---|---|
| Brown Rabbit | +6% Evasion, -6% Crit Chance | Learning combat flow; extra evasion forgives mistakes, and the crit penalty barely matters early. |
| Braided Hair Rabbit | +7% Attack Speed, +12% Move Speed, -20% Dash Recovery | Fast, nimble play; pair with Swiftness so the dash penalty stops mattering. |
Pick smart paths and lean on companions
Before descending, you choose one of three paths, and each node type rewards something different. Knowing what you need lets you steer a run instead of drifting through it.
| Node | What it gives |
|---|---|
| Artifact | A powerful passive upgrade. |
| Tablet / Enchantment | Raises the level of your existing artifacts. |
| Anvil | Upgrades your weapons. |
| Green Heart | Increases maximum HP. |
| Money | Currency for shopping. |
| Shop | Buy and sell items. |
| Mini Boss | Tougher fight, better artifact rewards. |
| Tree Root (Miracle) | One powerful, run-defining effect, available once per run. |
| Secret Room | Hidden behind cracked walls, often holds rare rewards. |
Early on, favor Artifact and Root nodes to shape your playstyle, hit a Wandering Merchant once you have gold, and take a Mini Boss when you’re comfortable and want faster leveling. Check walls for cracks, since secret rooms are easy to walk past.
In fights, kill ranged enemies first so they can’t interrupt you mid-melee. The two common early ranged types lob area-of-effect bombs or fire scattering orbs, and a Magic Wand lets you answer them with Magic Missiles at distance. Companions carry a lot of weight too. The Golden Handbell summons an ally that fights alongside you, the Yellow Planet passively shoots projectiles, and items like Chakram deal periodic damage on a short cooldown. Before a boss, scan the arena for mercenaries you can hire for a small fee.
Spend Sapphires on lasting progression
Death is part of the loop. Every run feeds account progression through Destiny Inscriptions, the permanent upgrade tree you fund with Sapphires earned after dying. Early on, funnel Sapphires into Talent Points and Level Up Restoration so you survive and fight longer in the dungeon. Once you have more to spend, unlock the Dice Inscription to re-roll rewards and improve your odds of finding better gear.
Sephiria left Early Access and reached its 1.0 release on July 31, 2026 on PC via Steam, so expect steadily more weapons, artifacts, and bosses layered on top of these fundamentals. Master the red-laser read first, keep your build focused, and let permanent upgrades carry the weight your reflexes can’t yet.