Event bosses in Shindo Life fall fast to a single loadout built around two bloodlines, Shado and Apollo Sand. The trick is not the raw damage. It is a menu swap that resets the cooldown on your main move, letting you spam it back to back until the boss dies. A Level 2000 event boss folds in roughly two minutes with this setup.
Quick answer: Equip Shado Bloodline C Spec and Apollo Sand 3rd Move, spam both on the boss, then open the scroll menu and swap the Apollo Sand move out and back in to instantly reset its cooldown. Repeat until the boss dies.
Required loadout for event bosses
Both bloodlines are normally recommended for large tailed beast bosses rather than humanoid ones, but they work extremely well against event bosses. Set your build heavy on Ninjutsu and equip the following before you start.
| Slot | Equip | Purpose |
|---|---|---|
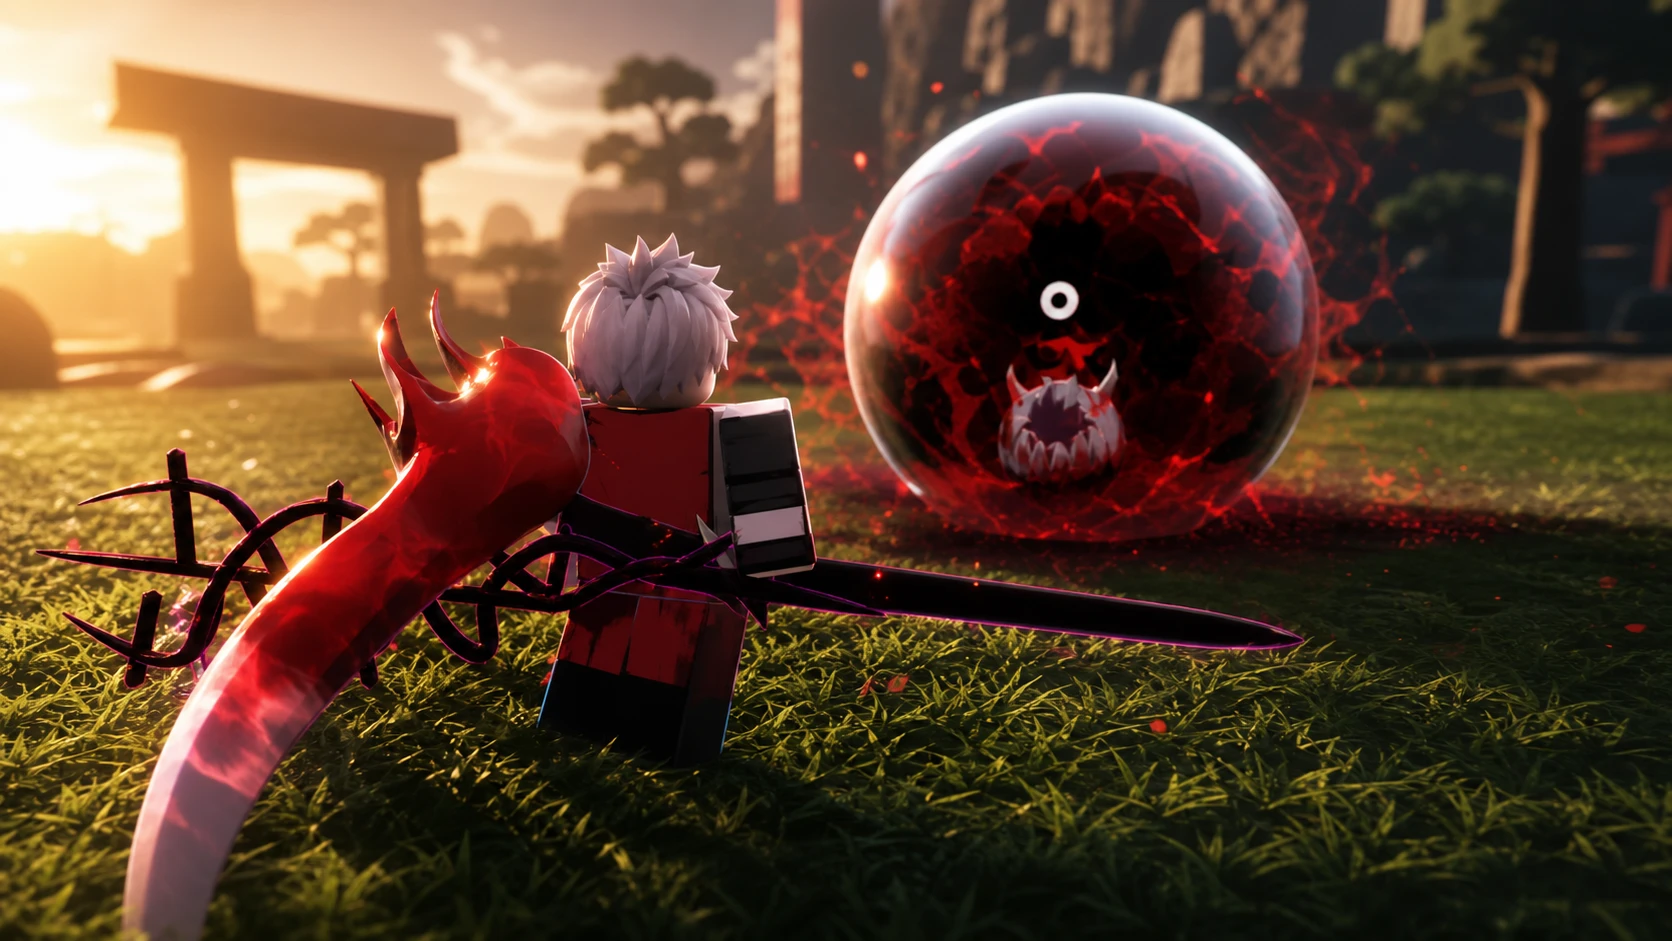
| Bloodline move 1 | Shado Bloodline C Spec | Spawns black spikes from the ground |
| Bloodline move 2 | Apollo Sand 3rd Move | Spawns iron spikes; main reset target |
| Z Mode | Shock Cloak | +3000 Ninjutsu and a speed boost for easier combos |
| Sub-Ability | Taijutsu Body Dodge | Evades boss attacks during the loop |
Any Z Mode that raises Ninjutsu will do the job, but Shock Cloak is the cleanest pick because the extra Ninjutsu and movement speed make the combo easier to keep going.
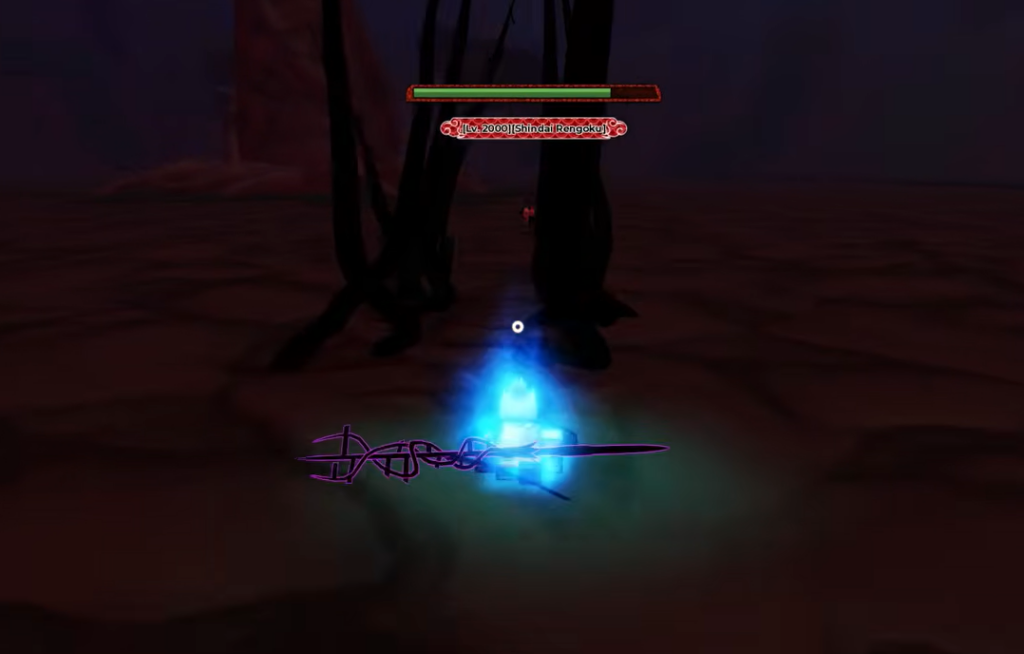
The cooldown reset trick
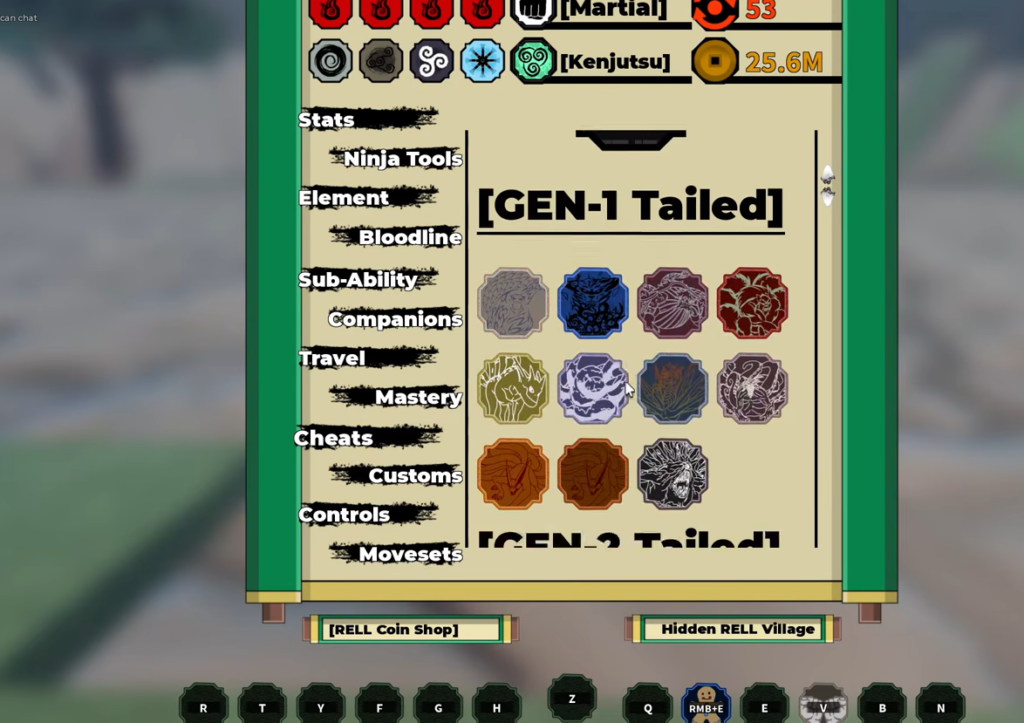
The whole method depends on bypassing the Apollo Sand 3rd Move cooldown. Instead of waiting, you replace the move in the menu with another bloodline skill and then re-equip it. This resets the cooldown to zero every time.
You perform this swap mid-fight, in between casts. It only takes a moment, so the boss barely gets a chance to reset its position or heal.
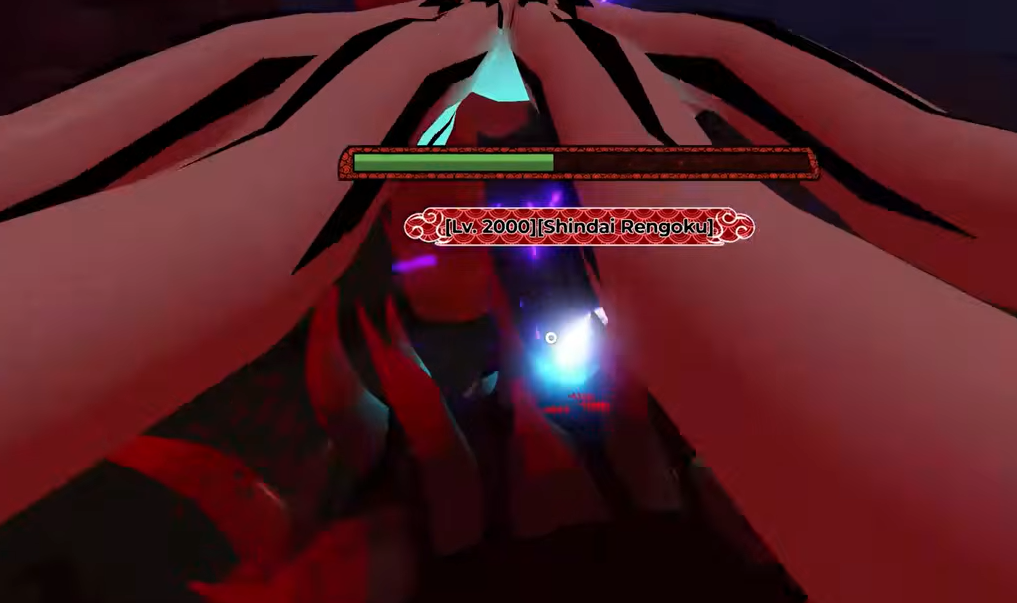
Run the combo on the boss
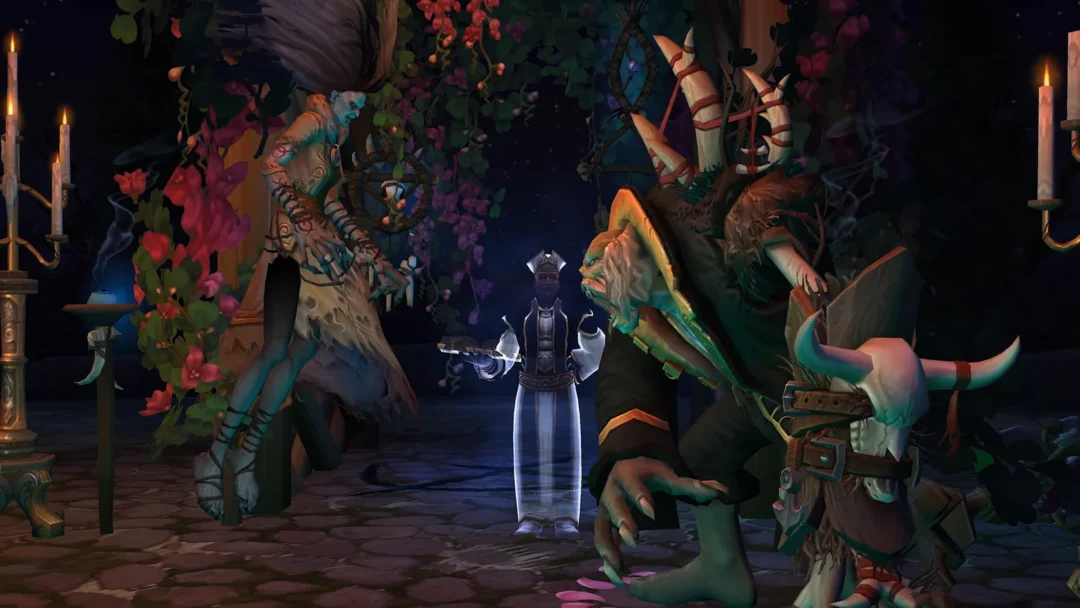
This same loop clears different event bosses without changes. A Level 2000 BorumakiGaiden goes down in about two minutes, and a Level 2000 Kagoku dies just as fast using the identical rotation.
How to confirm the boss is dead
The boss collapses and drops scrolls on the ground for you to collect. On mission bosses you will also see a green “Mission completed!” notification. If the boss refuses to take damage on an older server, leave and rejoin, since the July 19 patch fixed the long-standing bug that blocked bosses from registering hits.
Alternative for humanoid bosses: Shiver-Akuma Q-spec
If you are targeting human bosses specifically, the Shiver-Akuma bloodline offers another fast route. Its Q-spec has no cooldown, so you can spam it without any menu swaps. In FORM 4 it summons a giant blue crystalline samurai spirit that pins bosses in place while the combo counter climbs past a million.
Pair Shiver-Akuma with Shock Cloak for extra pressure. Activate Shock Cloak FORM 1, then Shiver-Akuma FORM 1 into FORM 4, accept the boss scroll, and hold the Q-spec on targets like Headless Korashi or Jayramaki until they drop. Keep in mind this bloodline is built for human bosses. It is weak against large tailed beast bosses such as the CHU Spirit, which shrug off the Q-spec.
Farm the same boss on repeat
To grind a boss over and over, use a private server. Enter the private server code for your target village, defeat the boss, then leave and rejoin the same code to refresh the spawn timer. This resets the boss without other players interfering. War Mode codes work for level 400 and up accounts, and running a Ninjutsu-heavy build keeps your damage output high across each run.
Between the Shado and Apollo Sand loop for general event bosses and the Shiver-Akuma Q-spec for humanoid targets, you have two reliable ways to clear these fights in a couple of minutes each. Lock in the loadout, learn the menu swap timing, and every event boss becomes a quick scroll drop.