Silent Hill: Townfall Blood Door Puzzle Solution (Transfusion Door)
Where every blood bag is, which slots they fill, and the exact donor lines that open the Ordell Transfusion Door.
Where every blood bag is, which slots they fill, and the exact donor lines that open the Ordell Transfusion Door.
by AllThingsHow Staff
The Medical Centre – Different traps Simon behind a transfusion apparatus that stays shut until actual blood flows through it. To escape, collect five bags from the wards, place three in their matching wall slots, and feed three compatible donors into the container at the centre of the Transfusion Door.
Quick answer: Hang Sarah Watson in the 2nd left slot, Matthew Clark in the 3rd left slot, and George McEwan in the 4th right slot. Then connect H.M., T.F., and S.W. to the Ordell container.
All blood bag locations in the Medical Centre
There are five bags in this area, with different jobs. Alan Duncan and Lesley Greer supply the transfusion machines that lift the shutters to Ward S.W. and Ward D.P.; save the remaining three for the wall.
Blood bag
Type
Location
Alan Duncan
AB−
Southeasternmost room, vent access only
Sarah Watson
A+
Ward S.W., Room 05
Lesley Greer
B−
Ward S, Room 12 (via Room 18 ladder)
George McEwan
AB+
Ward D.P. basement, Room 10
Matthew Clark
—
Ward D.P., Room 03 after the elevator drop
How to collect the blood bags
The layout of the wards, basements, and vents can be tricky to retain, so pick up the map before setting out. Follow the route below for the shortest safe trip, and use the central telephone to call 100 and save between steps.
Reach the southeasternmost room through the grate, then crawl through the vent. Alan Duncan’s Blood Bag is on an IV pole there, and a nearby tape recorder offers a clue about where it belongs.
Return to the S.W. door and set Alan Duncan’s bag in the transfusion unit next to it. Press the transfusion button to raise the shutter and enter Ward S.W.
Inside the ward, turn left into Room 05 and take Sarah Watson’s Blood Bag from above the covered bed. The recording notes head trauma and a pulse of 90, which points to a specific slot later.
Look in the Room 02 elevator shaft for a body caught around a blood bag. Use the elevator control to send it down to the basement for collection later.
At the eastern corner outside Room 06, crawl through the vent to Room 07 and descend to the basement. In Room 10, take George McEwan’s Blood Bag from beside his body; the pickup also grants the Ward P Master Key.
Crawl the vent in Room 02, take the stairs near Room 05 upstairs, and turn the valves in Room 05 and Room 10 while avoiding the patrolling enemy. With both valves running, climb the ladder between Rooms 01 and 09 to escape.
Using this ladder causes it to break, permanently closing off Ward D.P. Collect any items and collectibles in the ward before climbing.
Blood bag slot placement on the transfusion wall
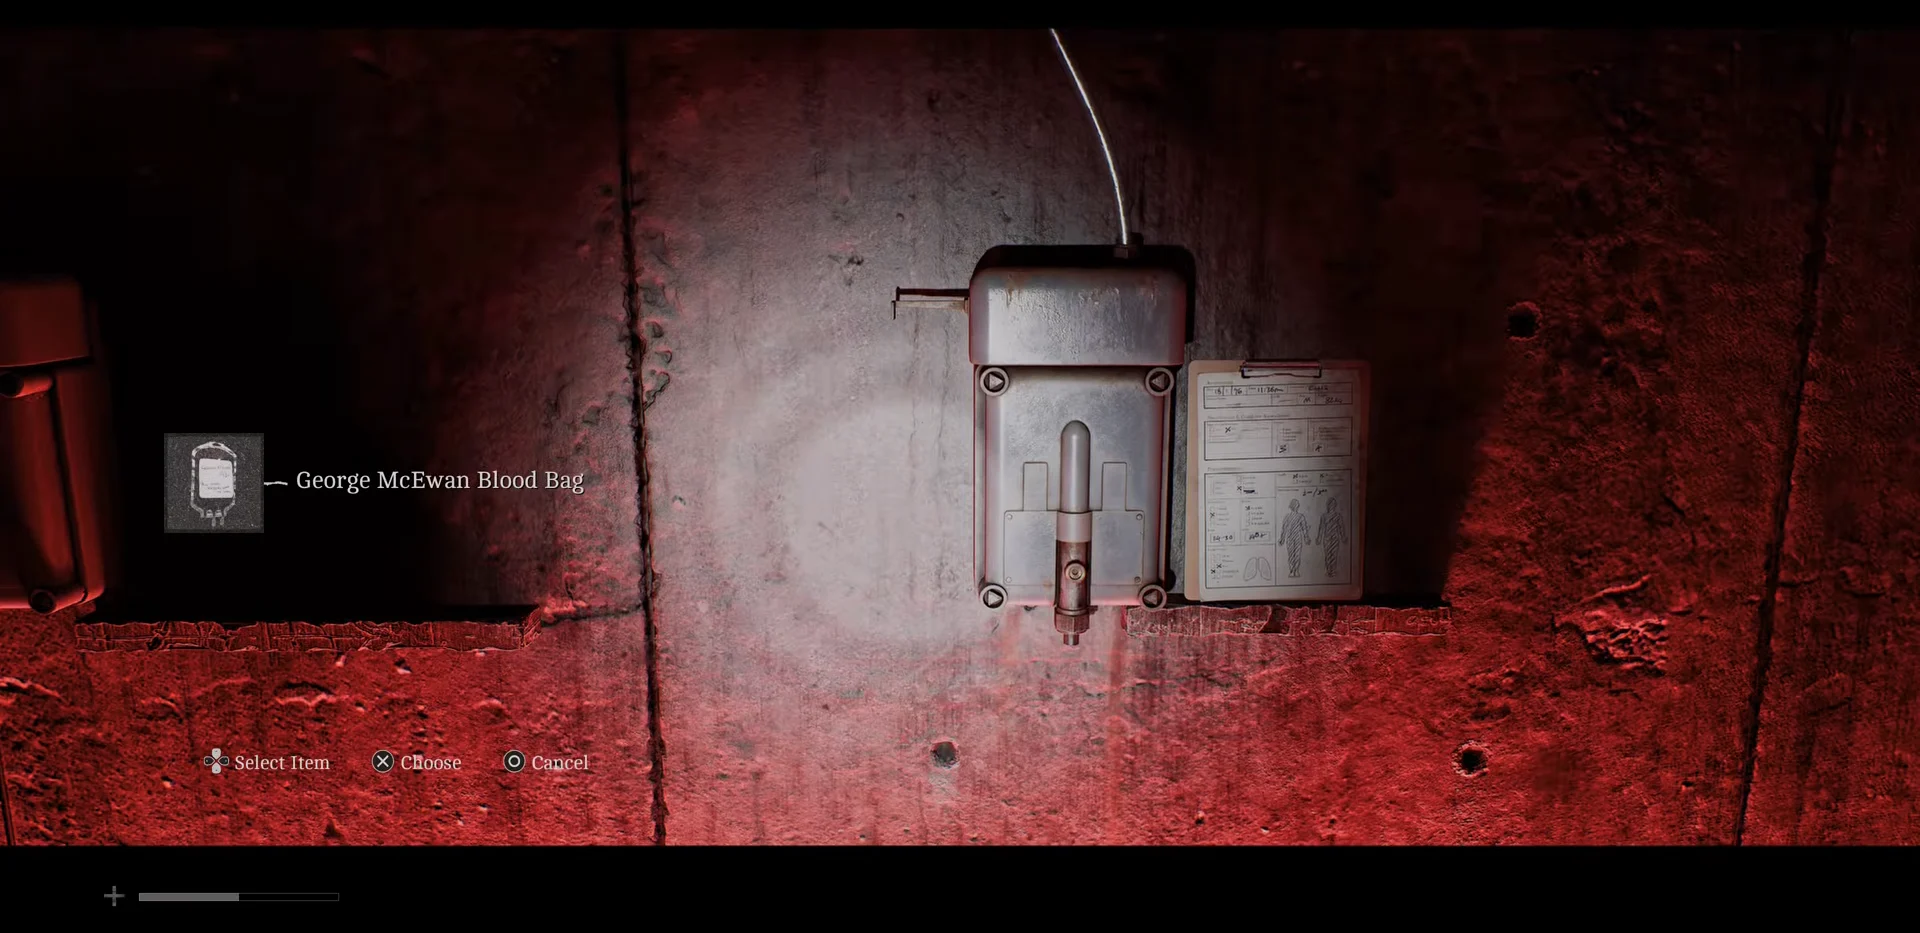
At the transfusion wall, match the last three bags to the patient assessment clipboards posted by the stations. Use each clipboard’s injury details, then count the wall slots for its station.
Blood bag
Slot
Assessment clue
Sarah Watson
2nd, left wall
Head wound, pulse over 90
Matthew Clark
3rd, left wall
Small cut on the forehead
George McEwan
4th, right wall
2nd- and 3rd-degree burns
With all three hanging correctly, pull the transfusion switch next to the locked metal door. Blood runs through the frame and the heavy double doors grind apart, exposing the circular dial lock on the wall beyond.
If no prompt appears, check the wall switch to the left of the doors; it isn’t mounted on the doors.
Transfusion Door puzzle solution (H.M., T.F., S.W.)
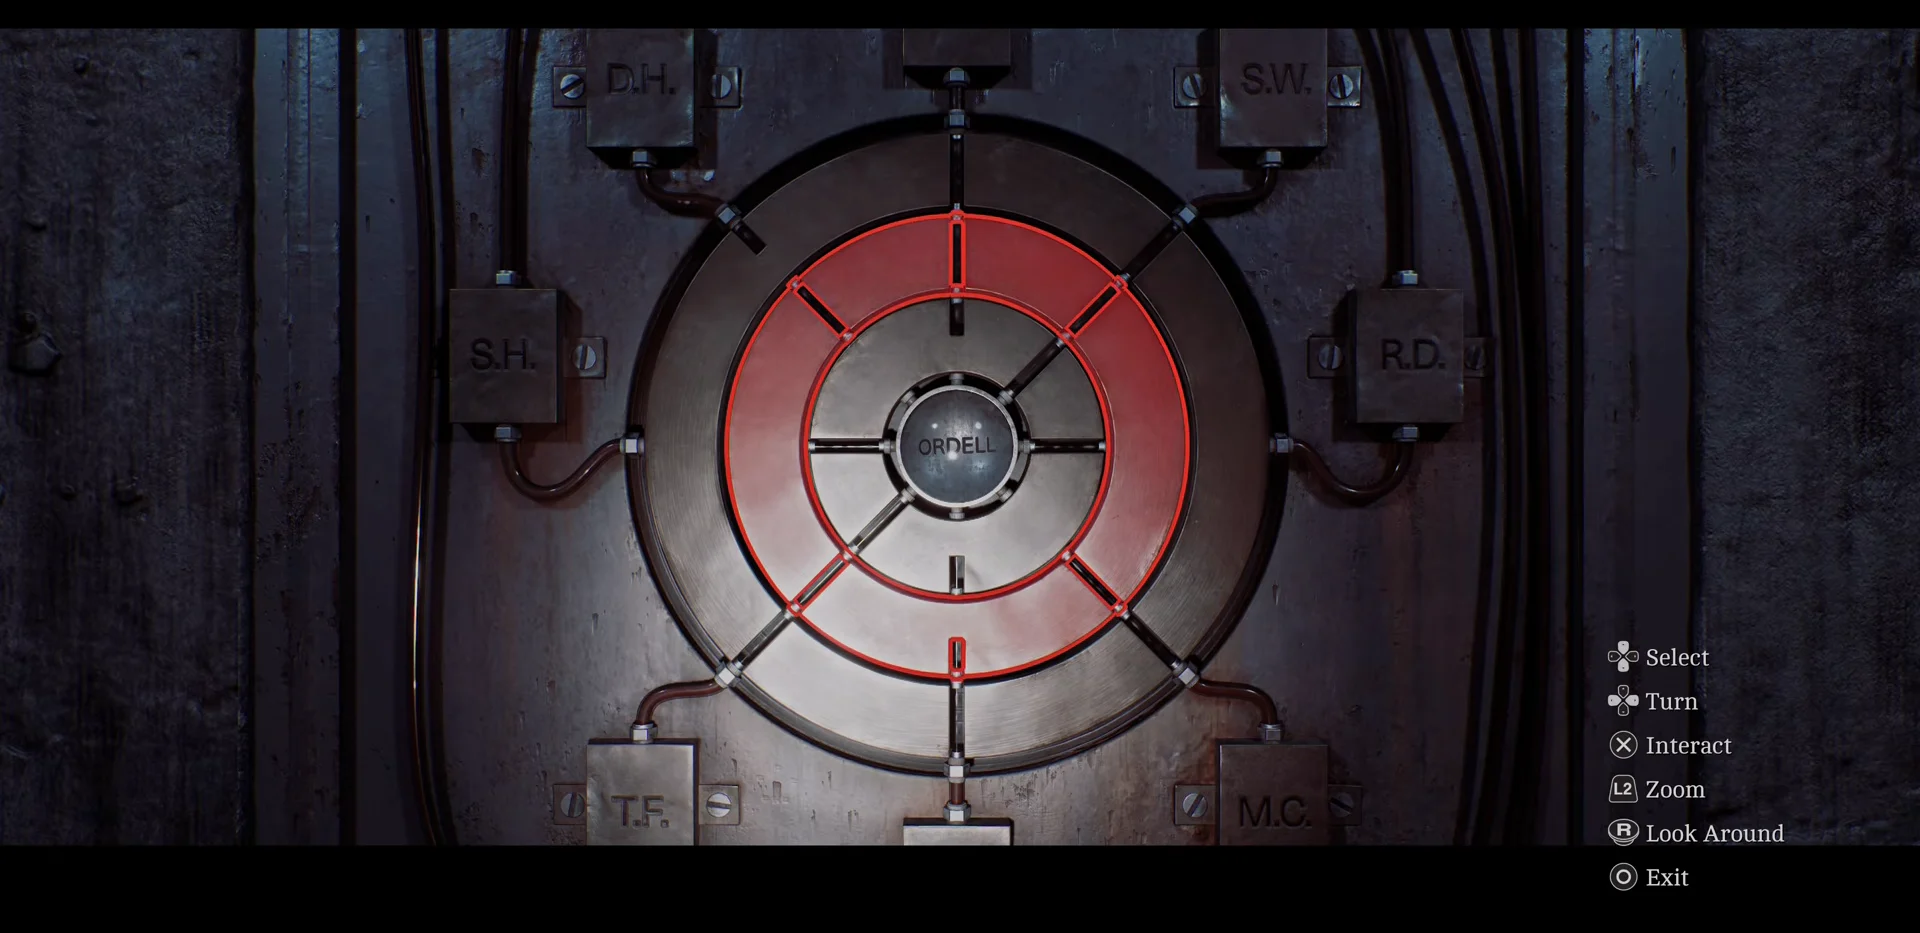
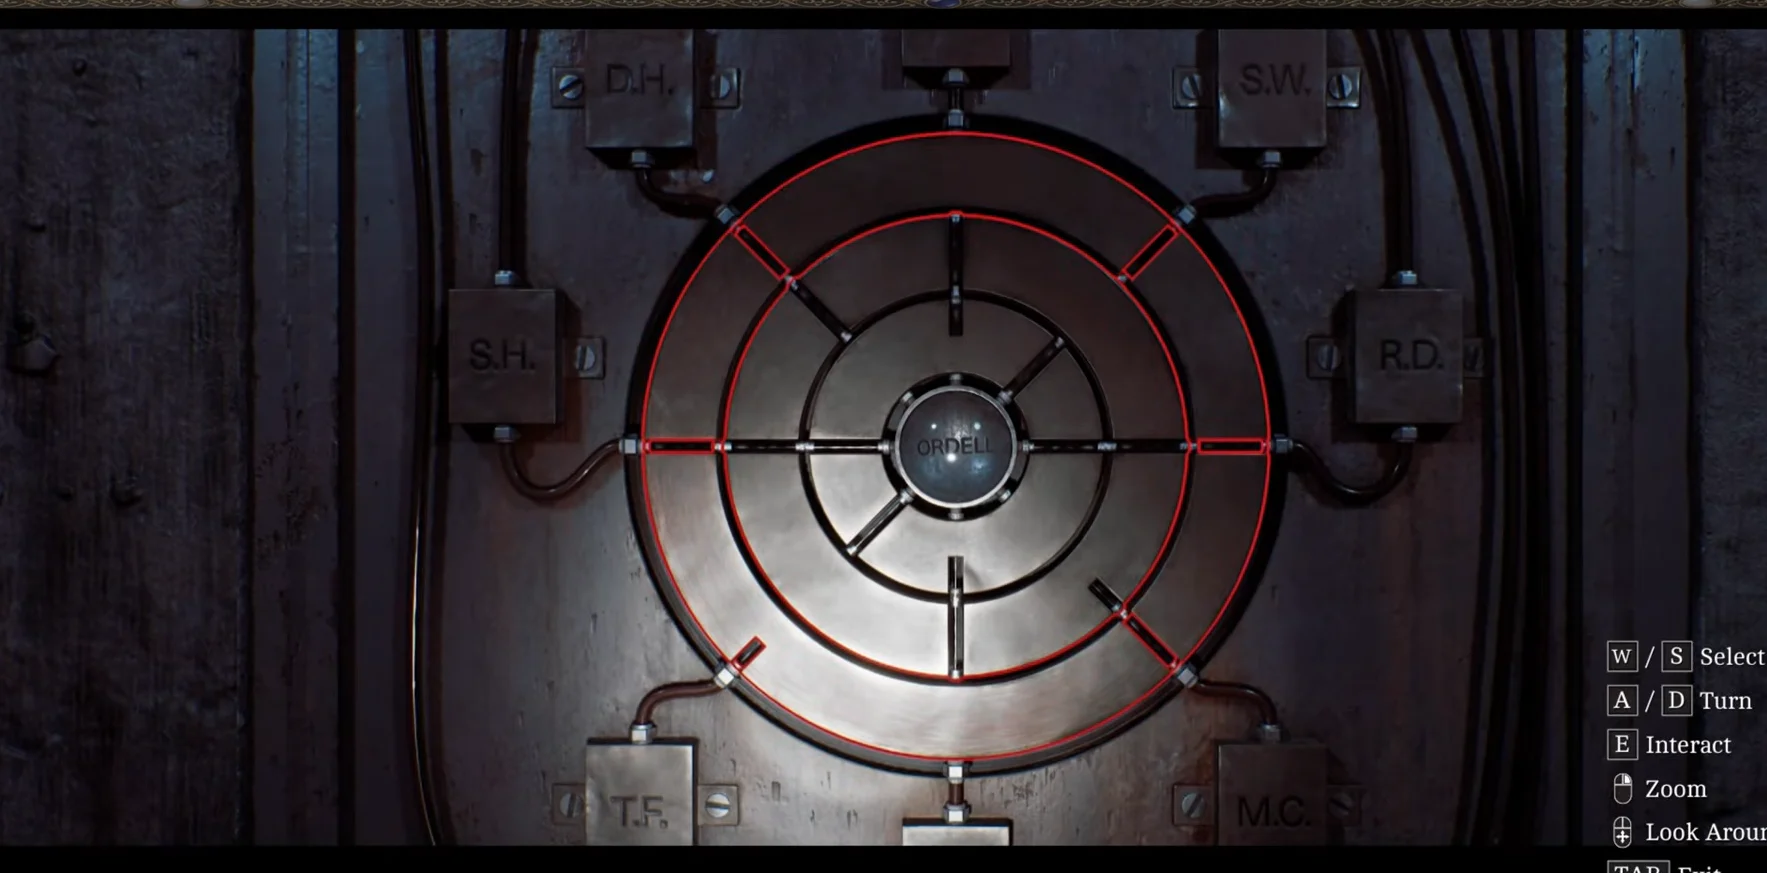
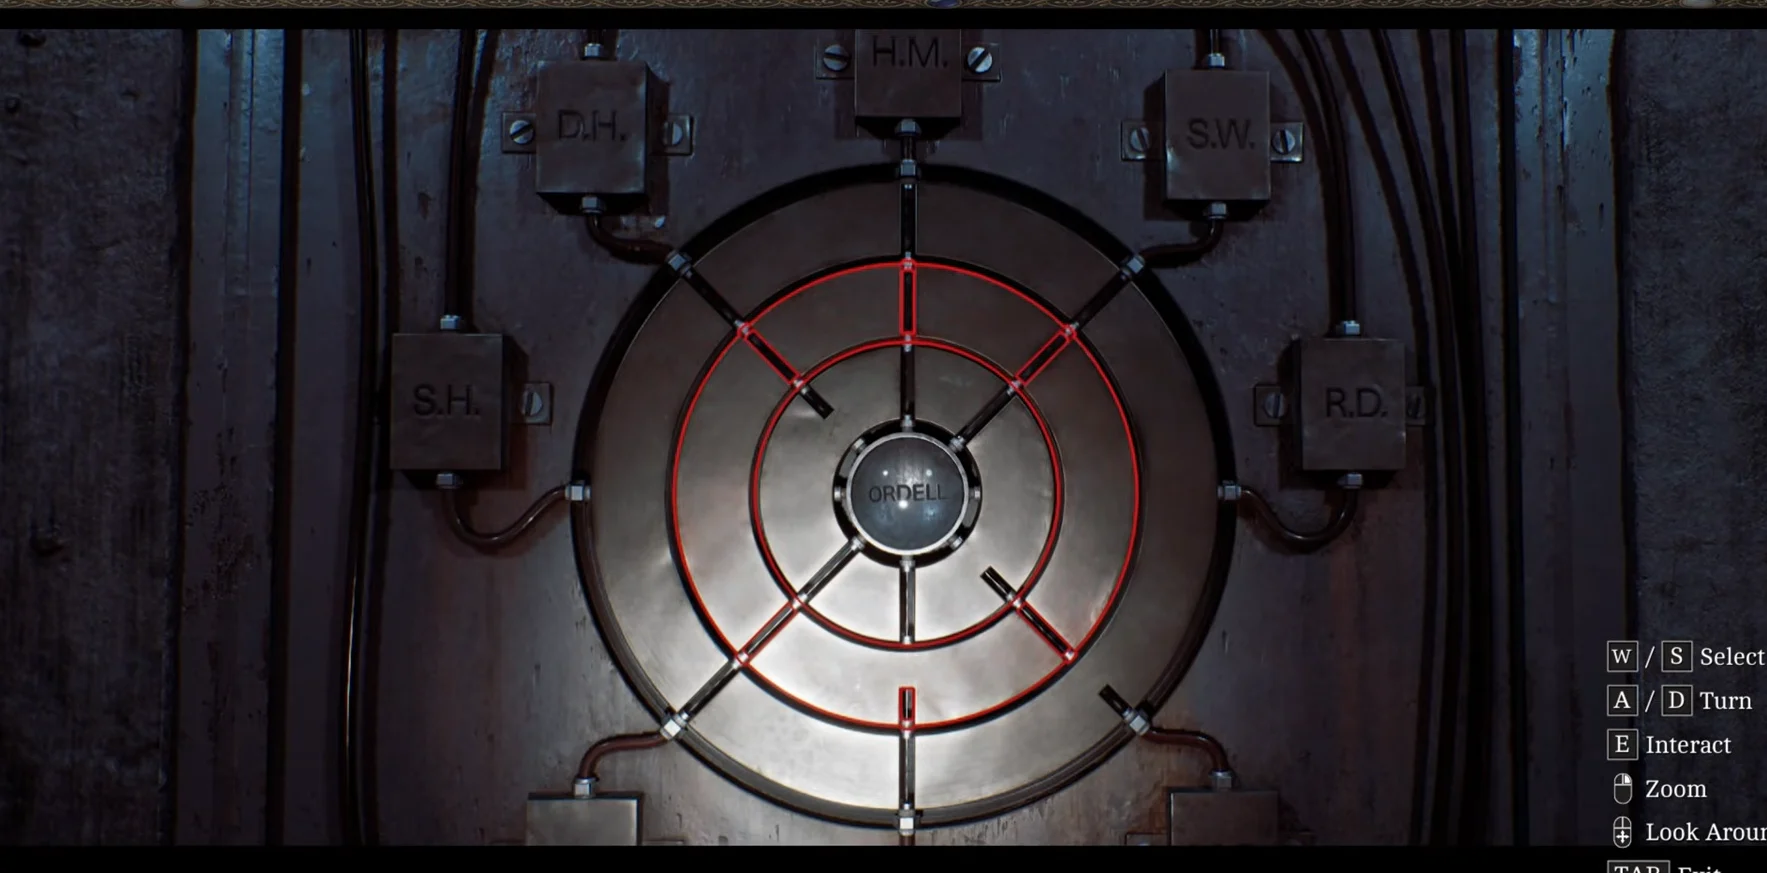
The Transfusion Door puzzle works like a plumbing diagram built around a medical chart. Patient initials mark six outer nodes, while short red-pipe sections occupy the rings between them. Turning a ring shifts those sections; a connection counts only when a continuous route leads from an outer node to the Ordell container in the middle.
00:29Blood Door PuzzleThe Transfusion Door dial, with the patient initials ringing the central Ordell container. Shown at 00:29 in 100% Guides’s video. Image: Screen Burn
Don’t try to link every node. The machine calls for three donors whose blood types are compatible, so the required combination is predetermined.
Turn the rings individually until their pipe sections join without gaps. Trace one donor’s route from the outside toward the centre, then inspect completed connections again, since a later turn can break an earlier path.
When each of the three feeds reaches the centre, select the Ordell container and interact with it. Blood flows inward, the mechanism locks, and the door opens on its own.
The bags around the room identify each patient by initials and blood type. Check their labels to verify the three donors instead of guessing at the dial.
How to confirm the door is open
A correct setup shows an unbroken red route from each of the three outer nodes to the centre. The container fills, and the heavy door opens by itself onto a dark, barred corridor; walking through triggers a save.
If interacting does nothing, at least one of the three lines still fails to reach the container. Clear the selection, then trace each route from its node toward the centre to spot the ring with a disconnected pipe section.
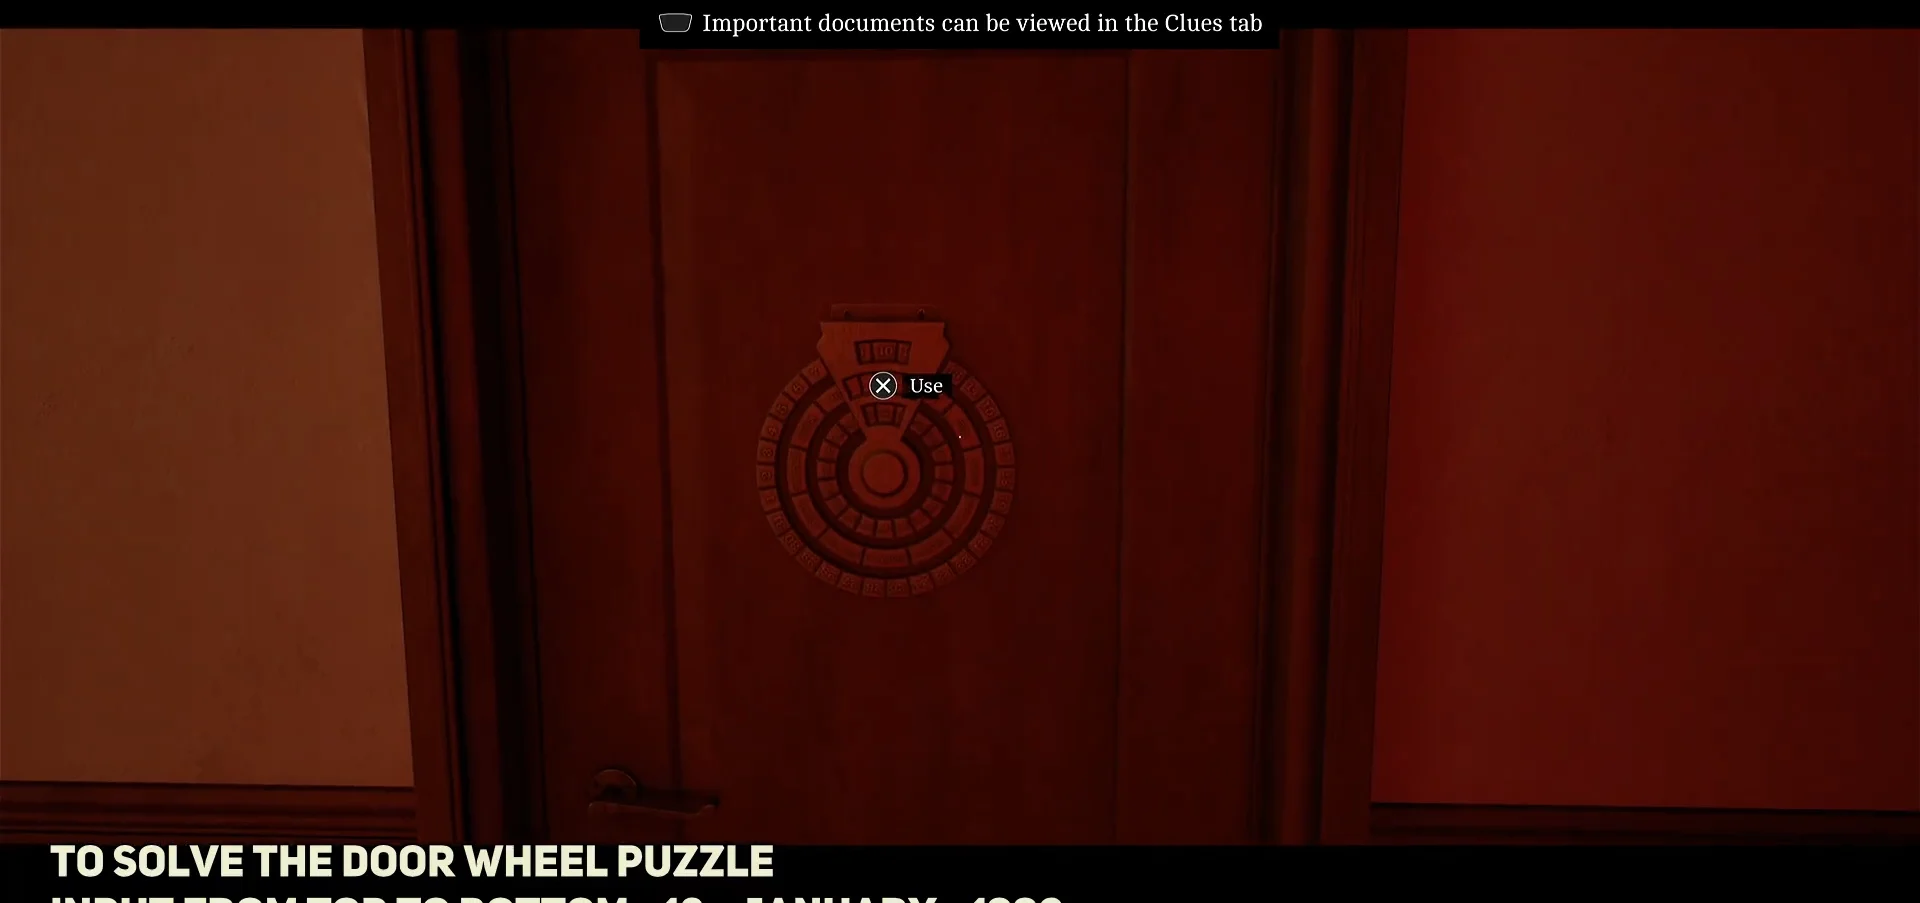
The related date wheel door (18, January, 1996)
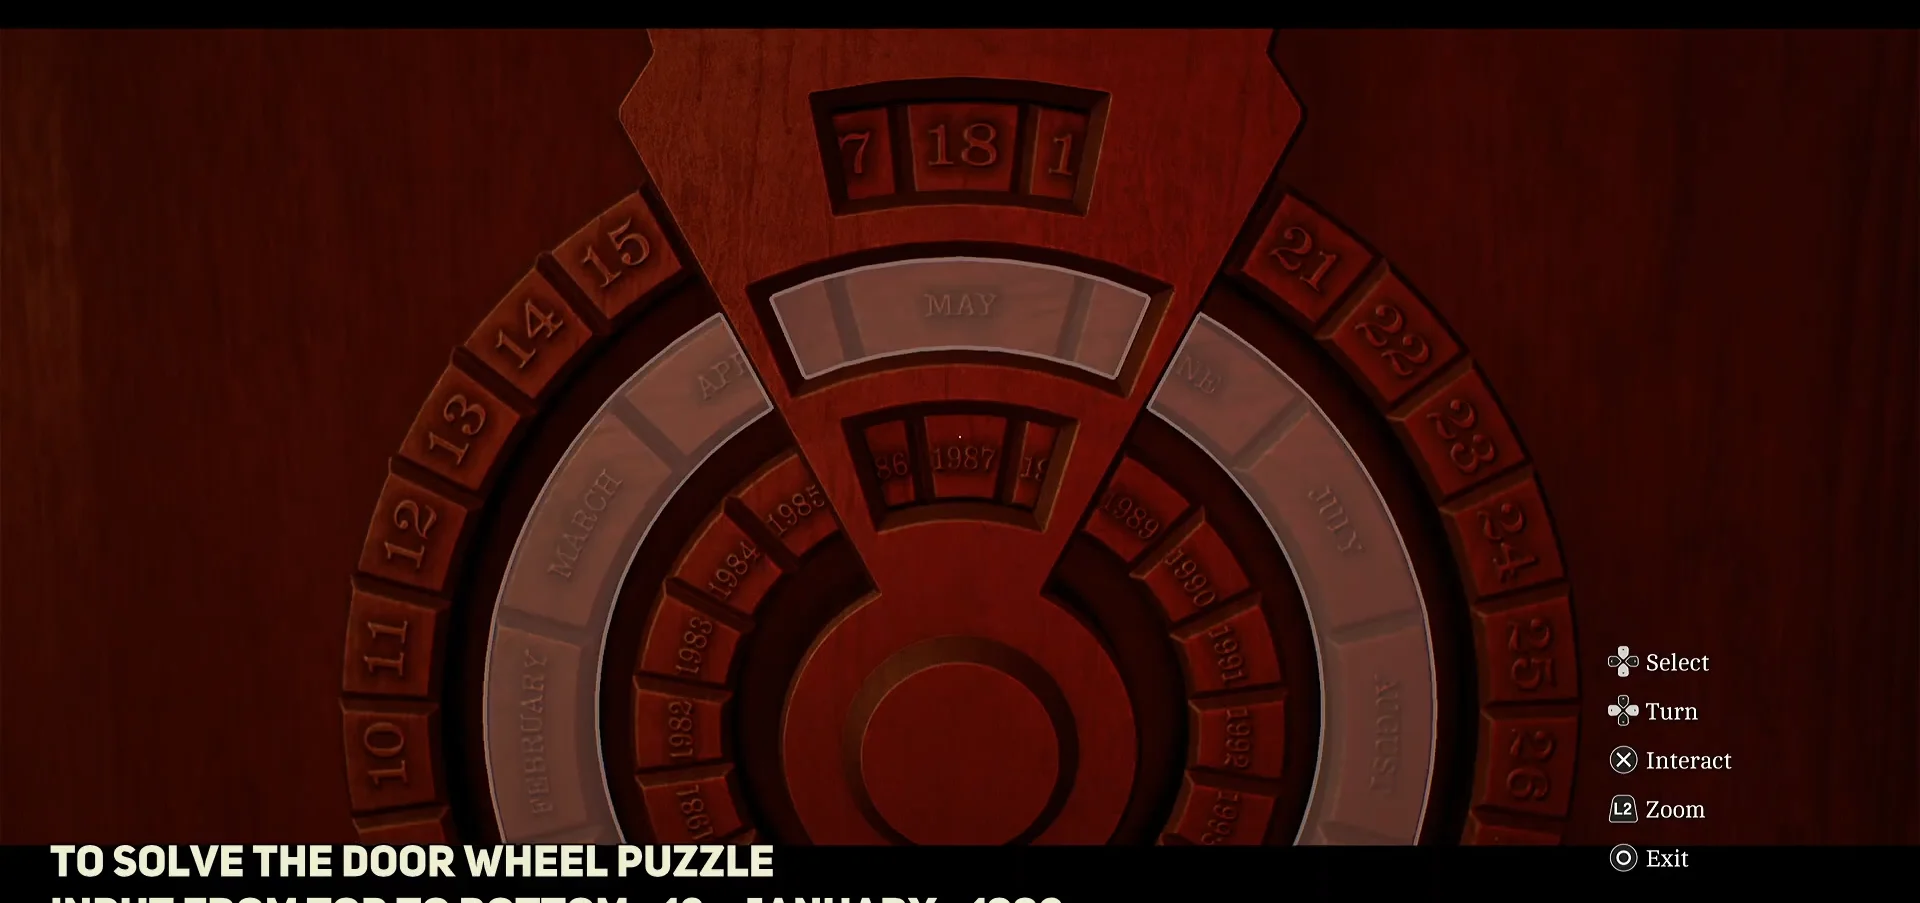
Townfall uses a second rotating-wheel lock much earlier, on the bathroom door in the room you reach after calling 100 from the Town Square phone booth. It looks like the Transfusion Door but takes a date instead of a flow path, entered from top to bottom. On Normal difficulty the answer is 18, January, 1996.
Set the innermost wheel to 1996, the year printed on the room service card on the desk. The lock disengages as the third value lands, and the Open prompt appears. Step inside and take the Room 204 Key from the counter.
For either dial lock, the clue is in the room with the puzzle: check the room service card for a year, or the label on a wall-hung bag for a blood type.