A run can come to a quiet halt at the rusted locker behind St. Amelia pharmacy. The building offers no written combination. Four health posters conceal one digit apiece, while the broadcast identifying the relevant posters becomes available only after you tune it in yourself.
Quick answer: The pharmacy locker combination is 6539. The lock will not accept it until you have stored the pharmacy signal on your CRTV.
Getting into the pharmacy and finding the locker
The pharmacy sits near Main Street in the Shorefront stretch of the Coastal District and is marked on the St. Amelia map next to the Clinic. Its street door is one of the rusted hatch-style entrances, which means you need the Scalpel to pry it open. You pick that up in the Shorefront Family Clinic, inside the Z Ellis room at the far end of the corridor, from the green medical container on the desk.
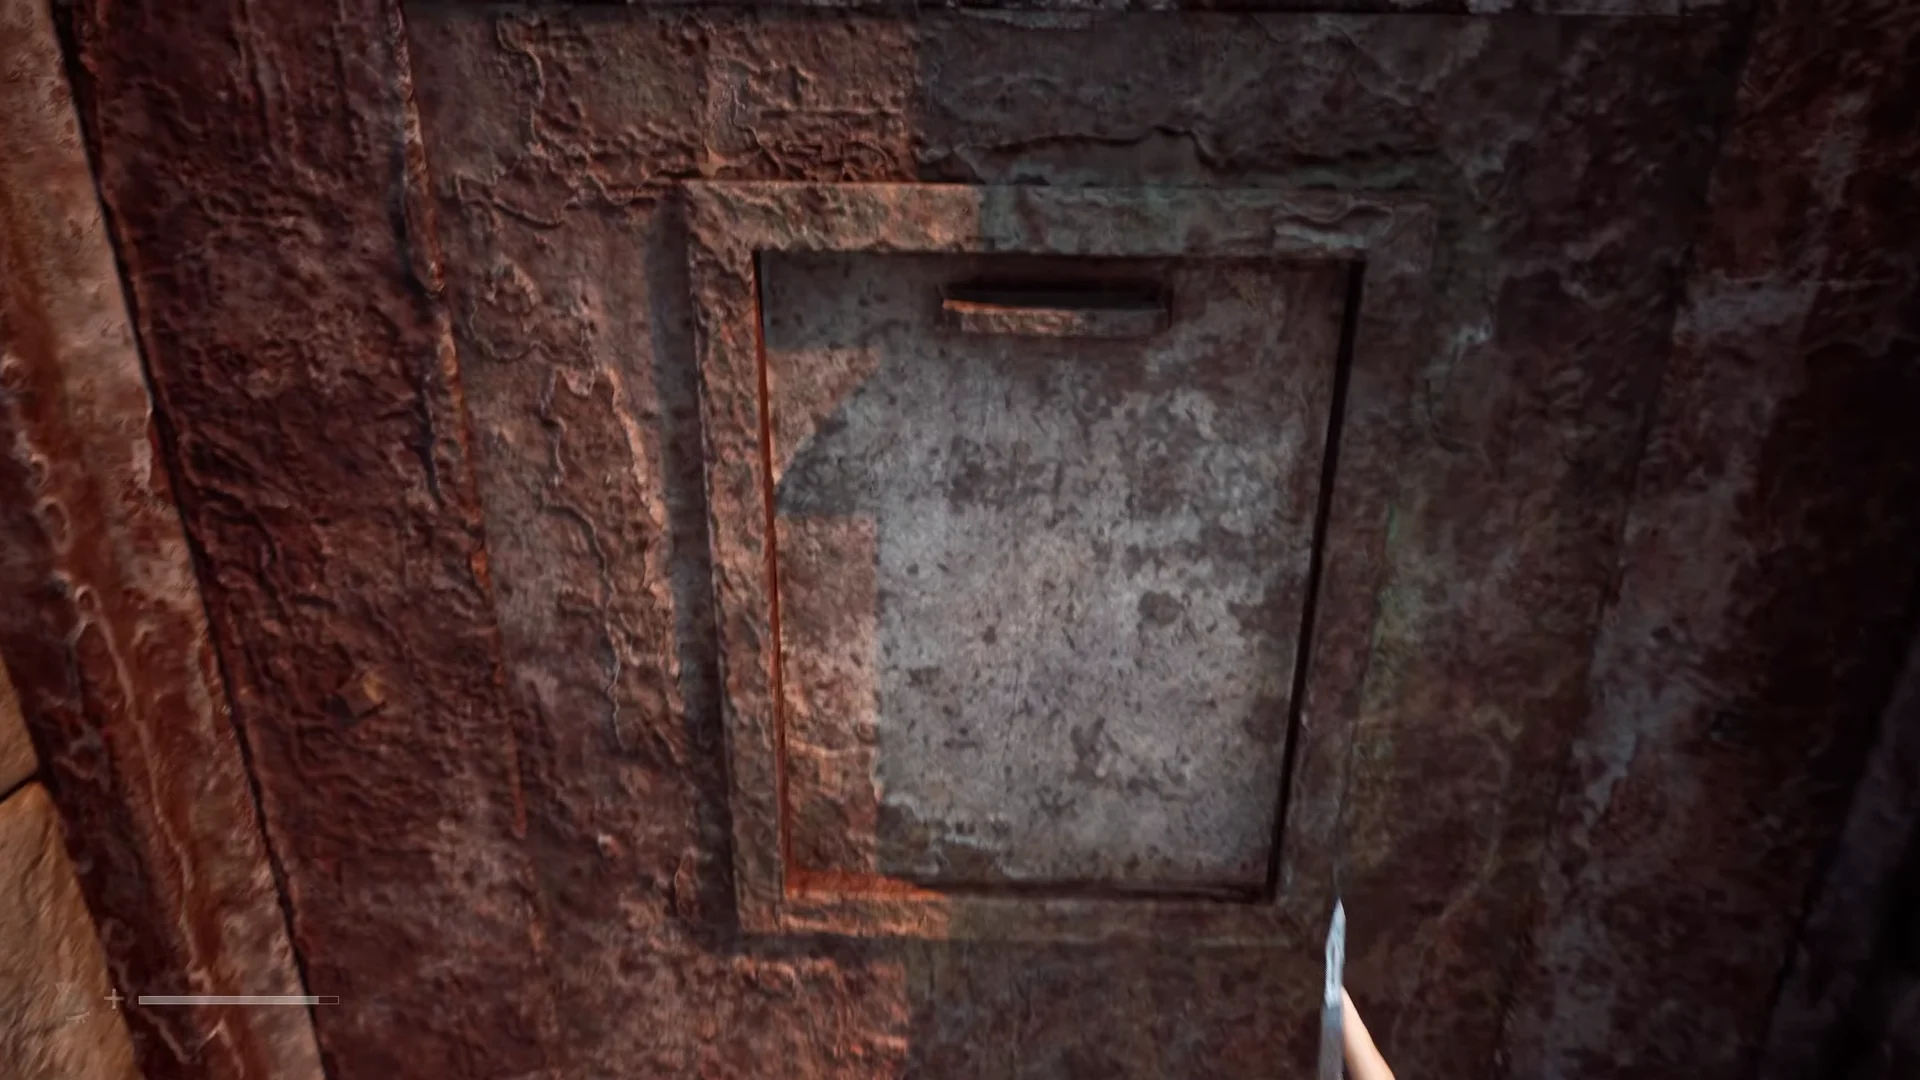
Bring the rest of your kit before you start reading walls:
- Scalpel — opens the pharmacy’s exterior door
- CRTV — handed to you automatically earlier in the story
- A working flashlight — the aisles, bathroom and back office are all dark
- A melee weapon — Faceless enemies patrol the street outside
Go across the shop floor, then enter the back office. Blue lockers line the wall; choose the rusted locker in the centre, immediately beside the bathroom door. Approaching it produces an Unlock prompt, identifying the object as a four-digit tumbler lock rather than a normal container.
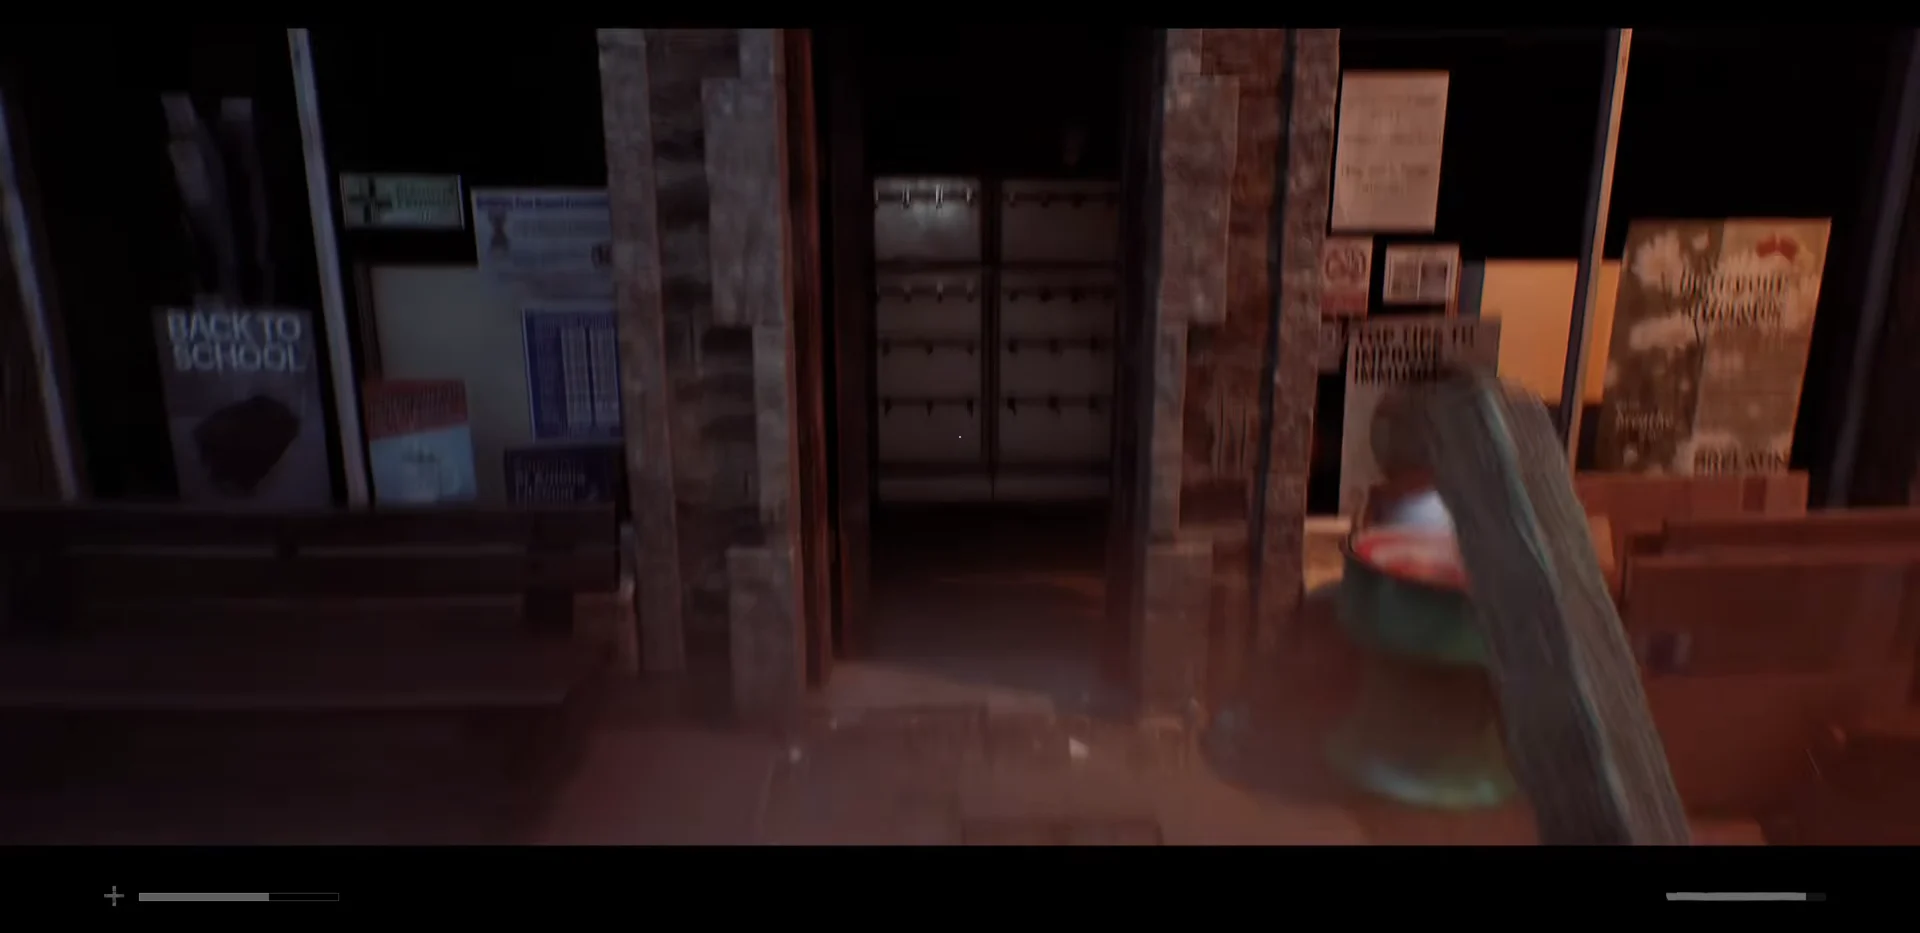
The Restocking Issues note is on the front desk as you enter, if you are checking the building for documents.
Store the pharmacy signal on the CRTV first
The tumblers remain inactive until you have stored the pharmacy broadcast on your pocket television. This requirement is more likely to block players than finding the digits. On the desk beside the bathroom, left of the desk phone, the transmitter starts the Fine Tuning sequence when used.
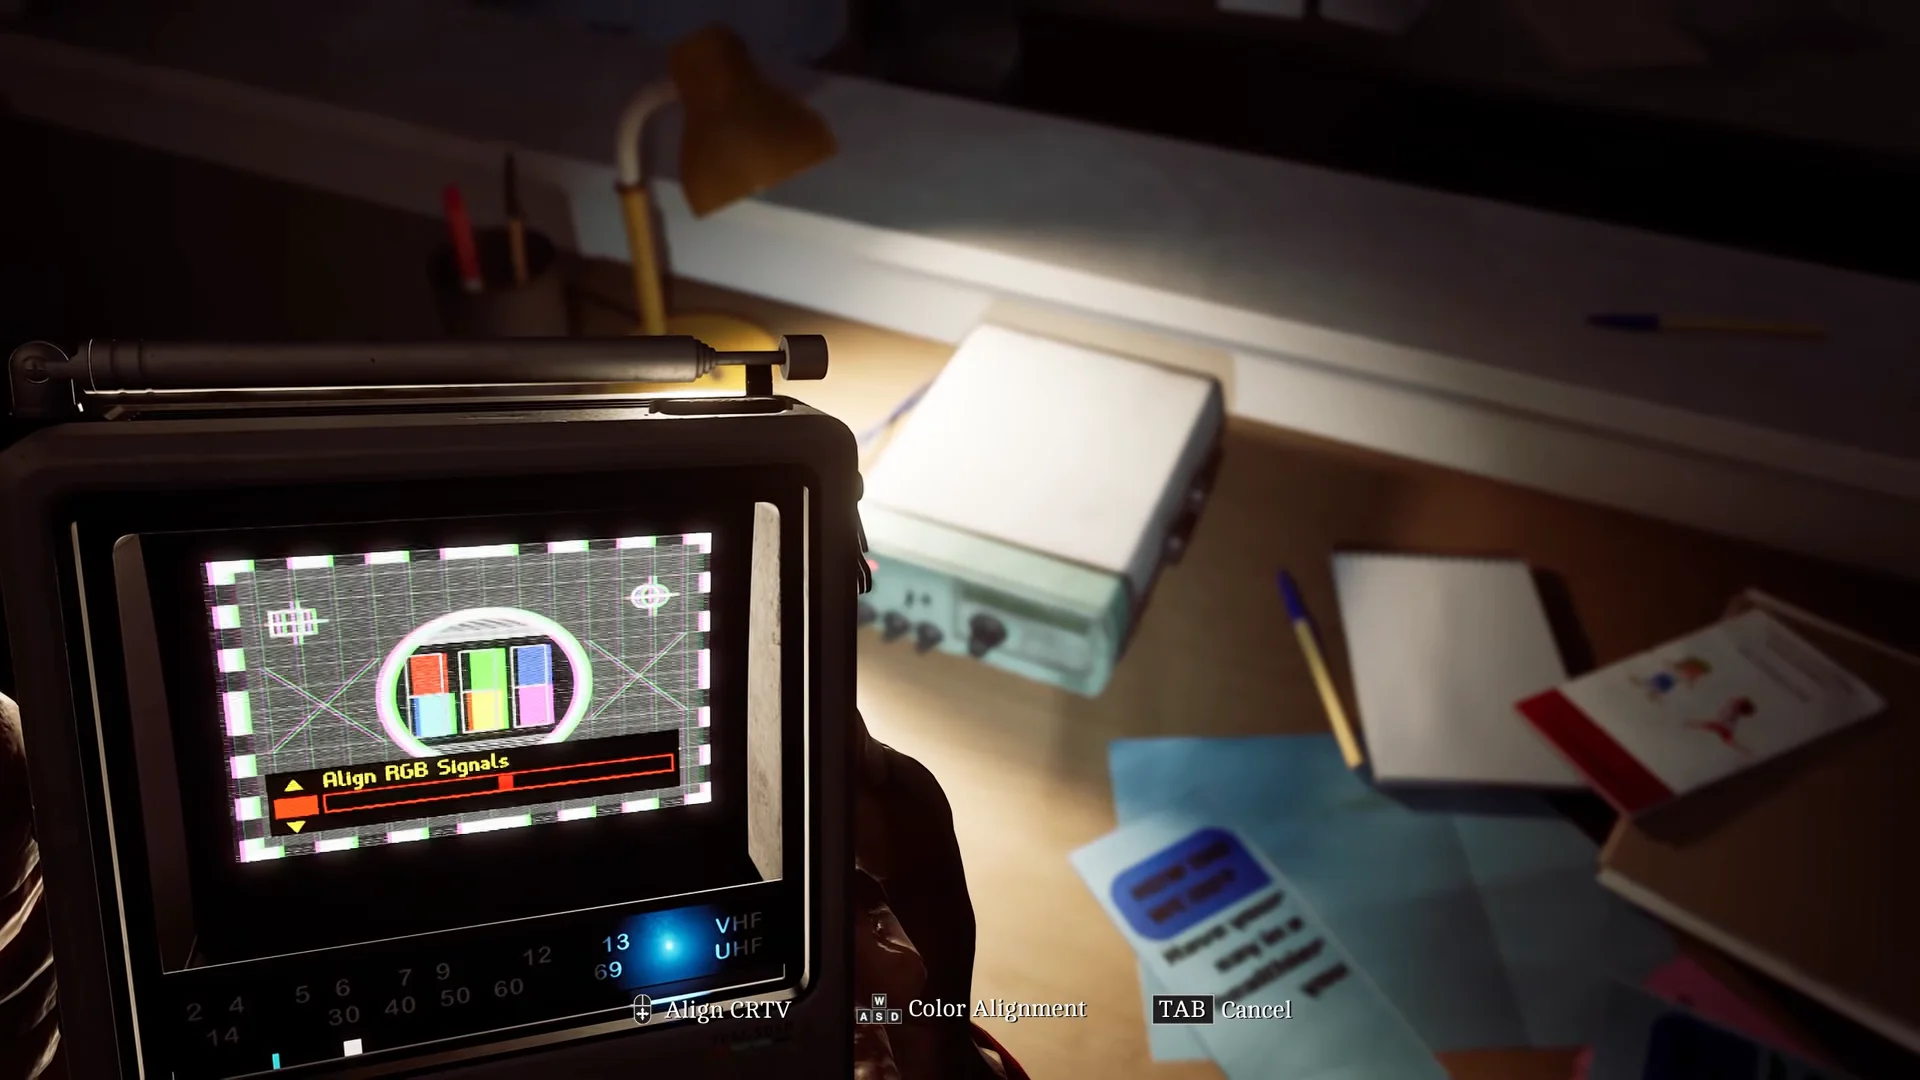
Do not stop the recording early. Four faded poster images appear one after another; their appearance order determines how the lock’s digits must be entered.
Pharmacy locker code 6539 and the poster behind each digit
The broadcast’s clips are all overexposed glimpses of posters located around the shop. Because no clip presents its digit plainly, you must interpret each image in its particular way.
| Digit | Poster | Where it hangs | What to read |
|---|---|---|---|
| 6 | Hand-washing | Bathroom wall | Fingers and thumbs drawn |
| 5 | Prescription Drugs and You | By the window, near the bathroom | The printed “5 Steps” |
| 3 | Nurse consultation service | Near the front entrance | Where the gauge needle sits |
| 9 | Antibiotics information | Corkboard beside the lockers | Red pills left in the pack |
First digit: 6
The opening clip is almost pure white, with fingernails as the only readable detail. It matches the bathroom poster reading “Washing my hands helps protect me, and you.” The artwork gives each hand three fingers, so six across both hands. The odd drawing is intentional, not an art mistake.
Second digit: 5
The second clip shows the words “Prescription Drugs and You.” From the desk, take the small staircase and face the window on the way to the back office. The poster beside it is titled 5 Steps for Safer Medicine, and that large 5 is your digit.
Third digit: 3
A measuring dial appears in the third clip. Move toward the pharmacy entrance and locate the St Amelia Pharmacy nurse consultation poster, which advertises glucose, blood pressure and cholesterol checks. Use the blood-pressure gauge’s needle position rather than the numbers in the surrounding text: it indicates 3.
Fourth digit: 9
In the last clip, a blister pack sits beside text that is largely unreadable. In the office, check the board to the right of the lockers for the antibiotic-warning poster. The pack’s bottom corner lacks a tablet, so 9 red pills remain.
Dial the combination and collect the Prescription Dosage Error Note
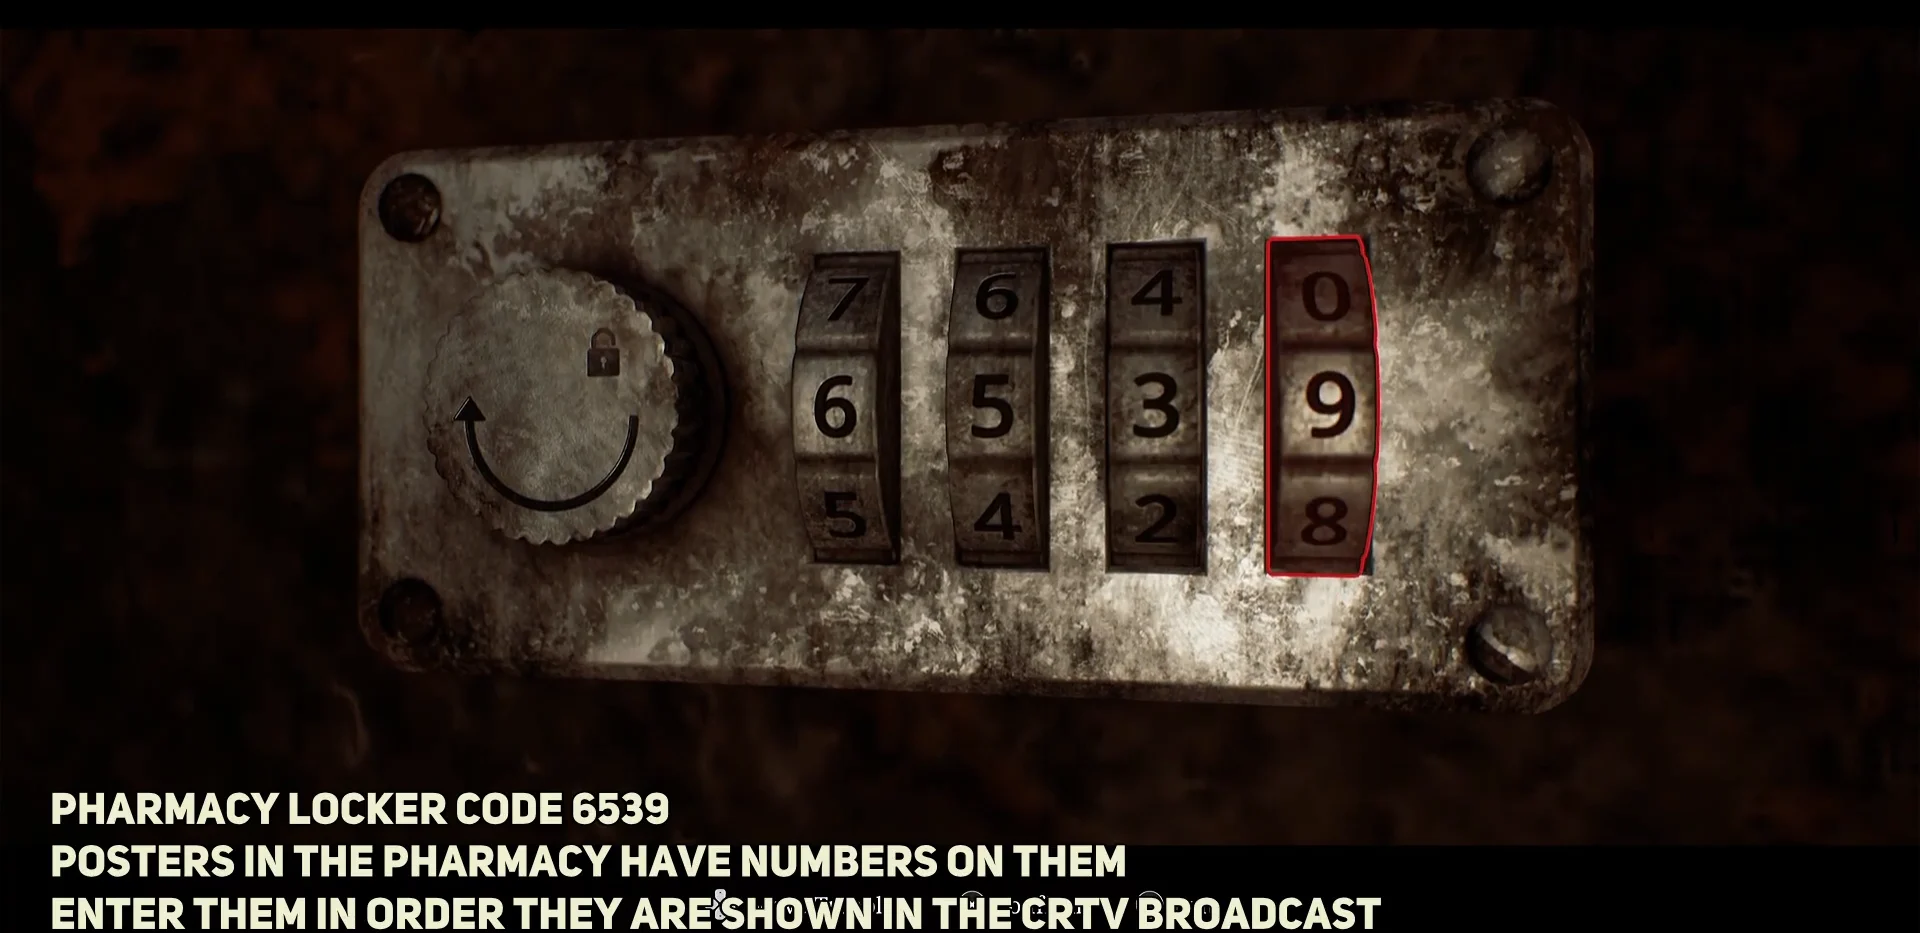
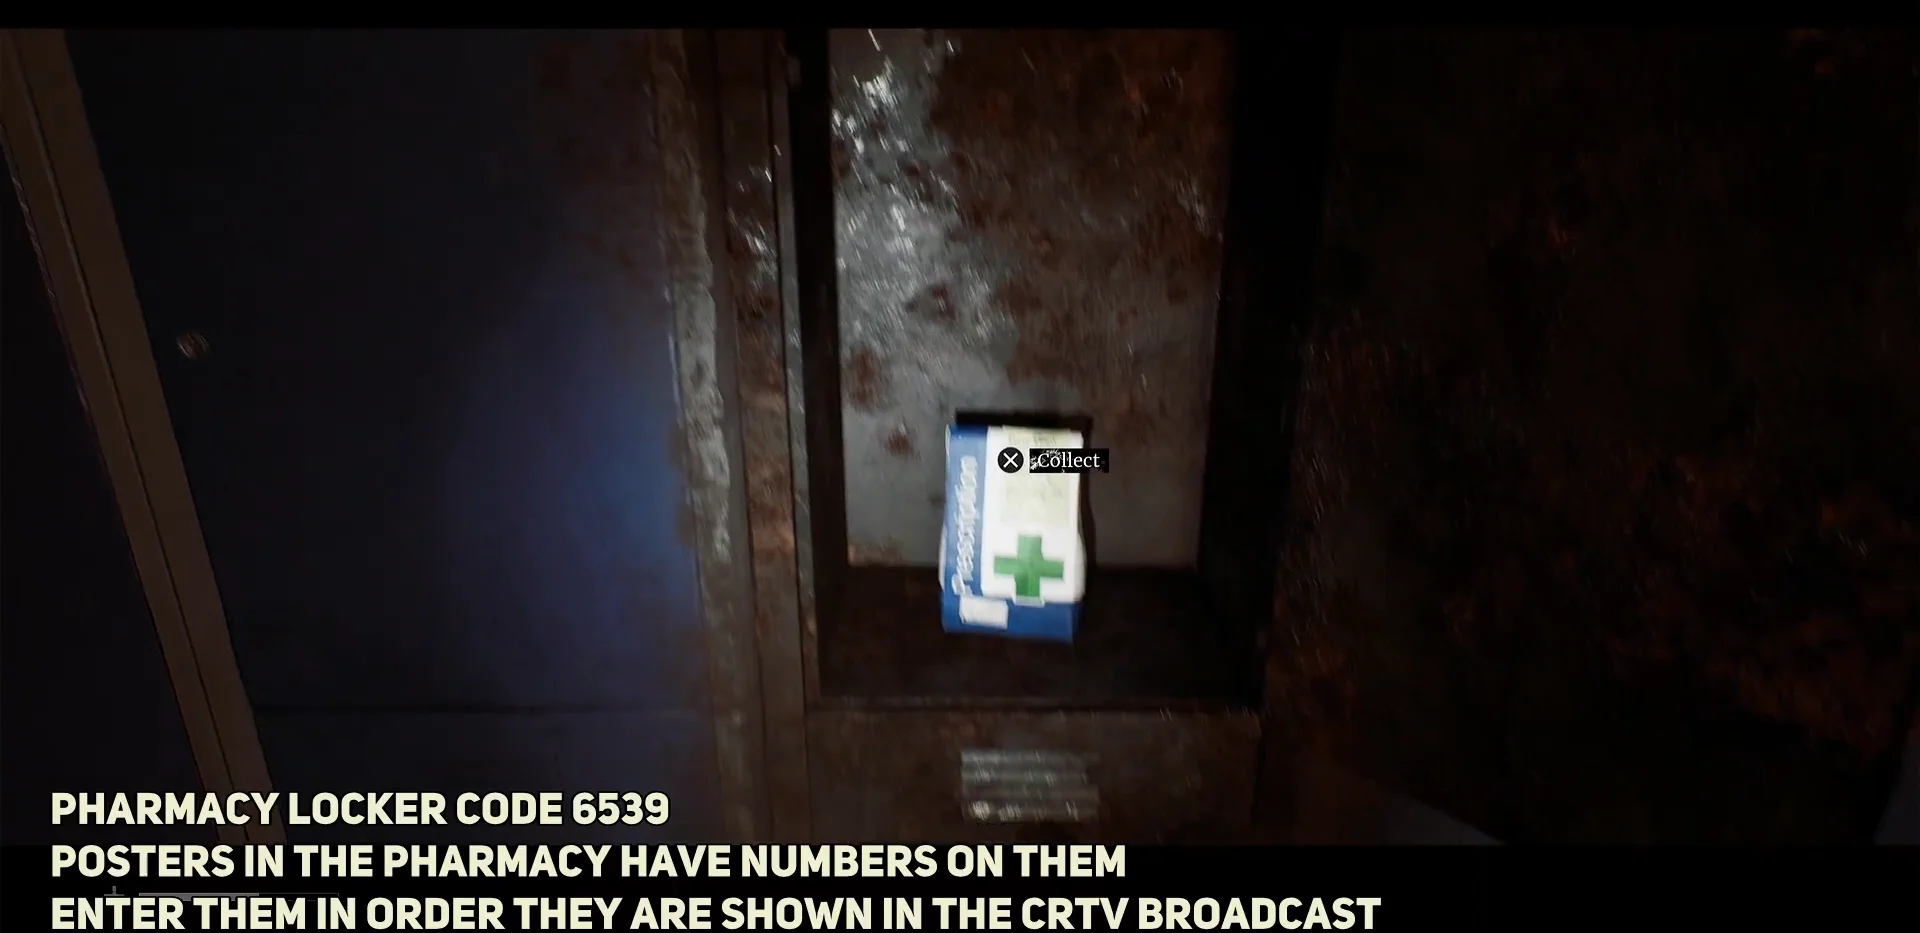
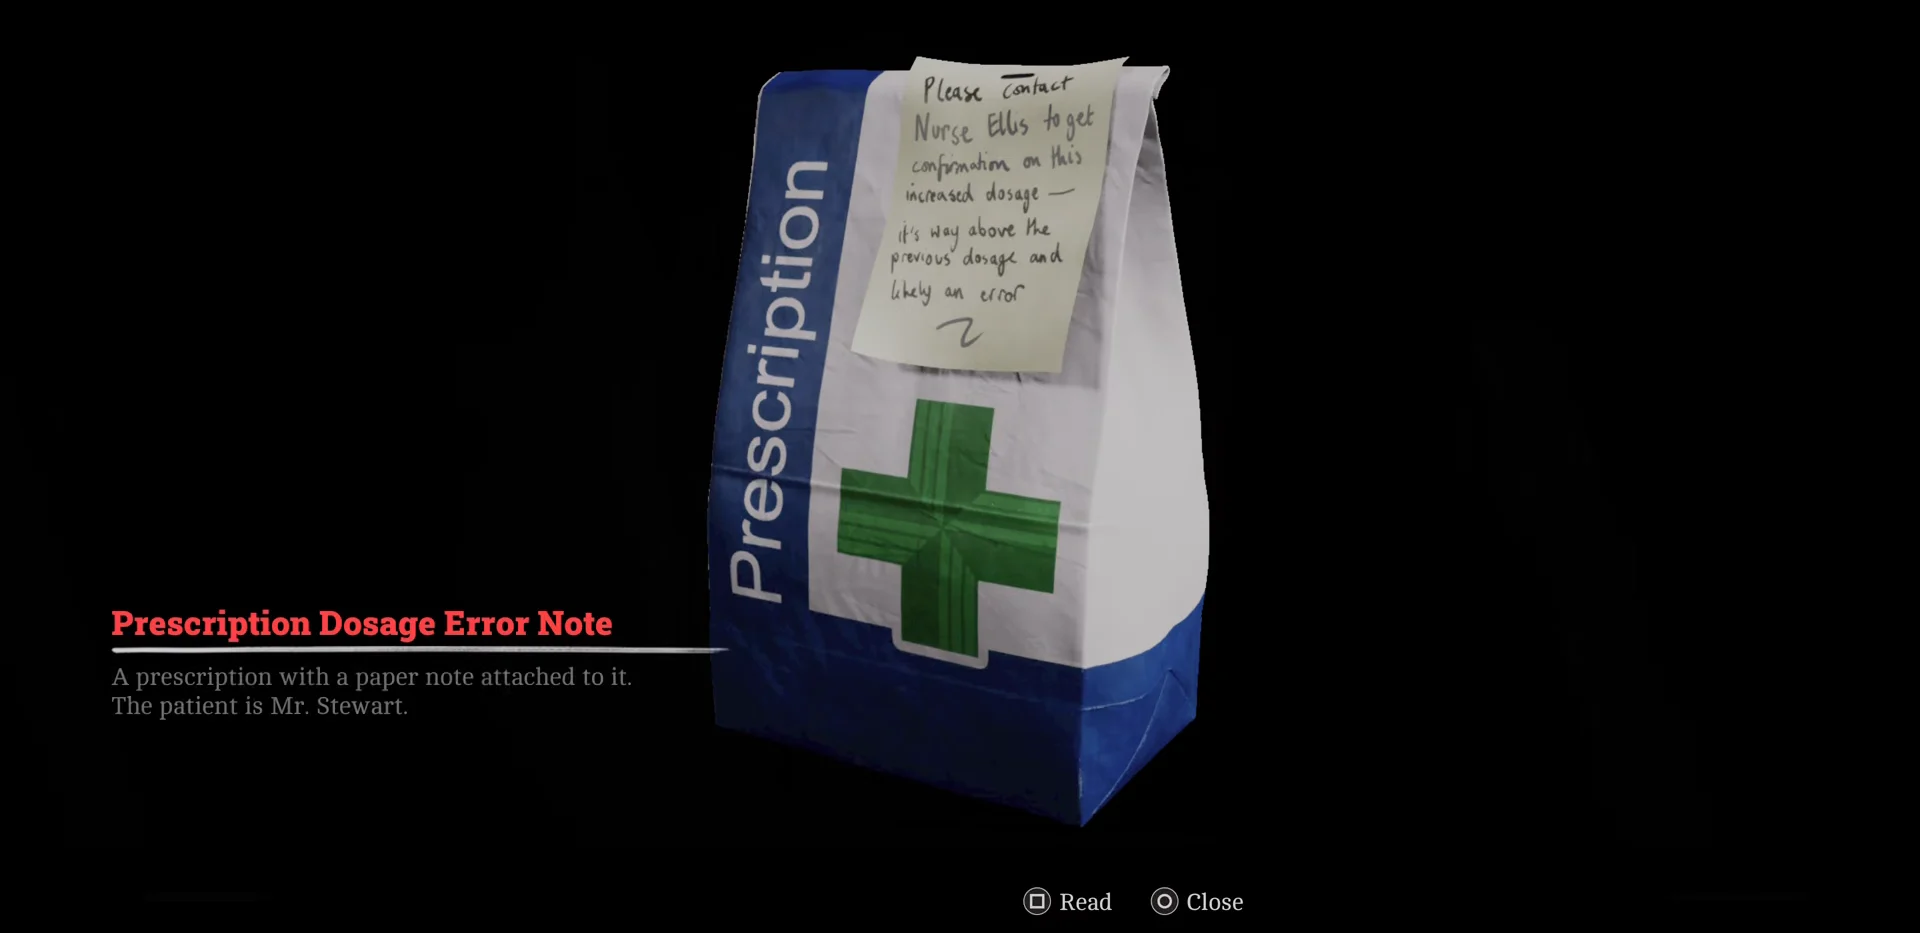
Where the Prescription Dosage Error Note is used: the clinic scales
This note is an actual item, not decorative text. Zoe’s clinic scales need three key items, with this note being one; the other two are Zoe’s Lanyard Badge and the Broken Stethoscope from Jess’s House. Return to the clinic, go into room Z Ellis at the corridor’s far end, and operate the scales.
| Pedestal | Item |
|---|---|
| Left | Broken Stethoscope |
| Middle | Prescription Dosage Error Note |
| Right | Zoe’s Lanyard Badge |
The Resignation Letter at the clinic gives the required arrangement. Its first line, about not listening carefully, indicates the stethoscope; the middle section, concerning mistakes and declining concentration, indicates the error note; and its final line, about no longer fitting the job, indicates the lanyard. Set all three items in their proper places to remove the obstruction, trigger a cutscene, and complete the Shorefront stretch of the Coastal District.
For the sub-four-hour Fleeting Visit achievement, having the digits ready can save significant time here, although the lock remains closed until the signal has been stored. Even on a repeat attempt, allow one minute for the CRTV.