In the Patient chapter of Silent Hill: Townfall, the X-ray puzzle pairs a finicky interface with a straightforward solution. Before either exposure can be taken, use the camera terminal to position the patient as well as operating the Zeimann X-ray machine. The two images require different settings; reusing the head scan setup for the chest is a quick route to a failed attempt.
Quick answer: Open the X-ray room with the code sent to your pager, then scan the skull at Site Skull, 3 kV, 7 mA, Time 1, and the chest at Site Chest, 7 kV, 3 mA, Time 1.2, aligning the camera before each shot.
Report the patient’s vitals to unlock the imaging objective
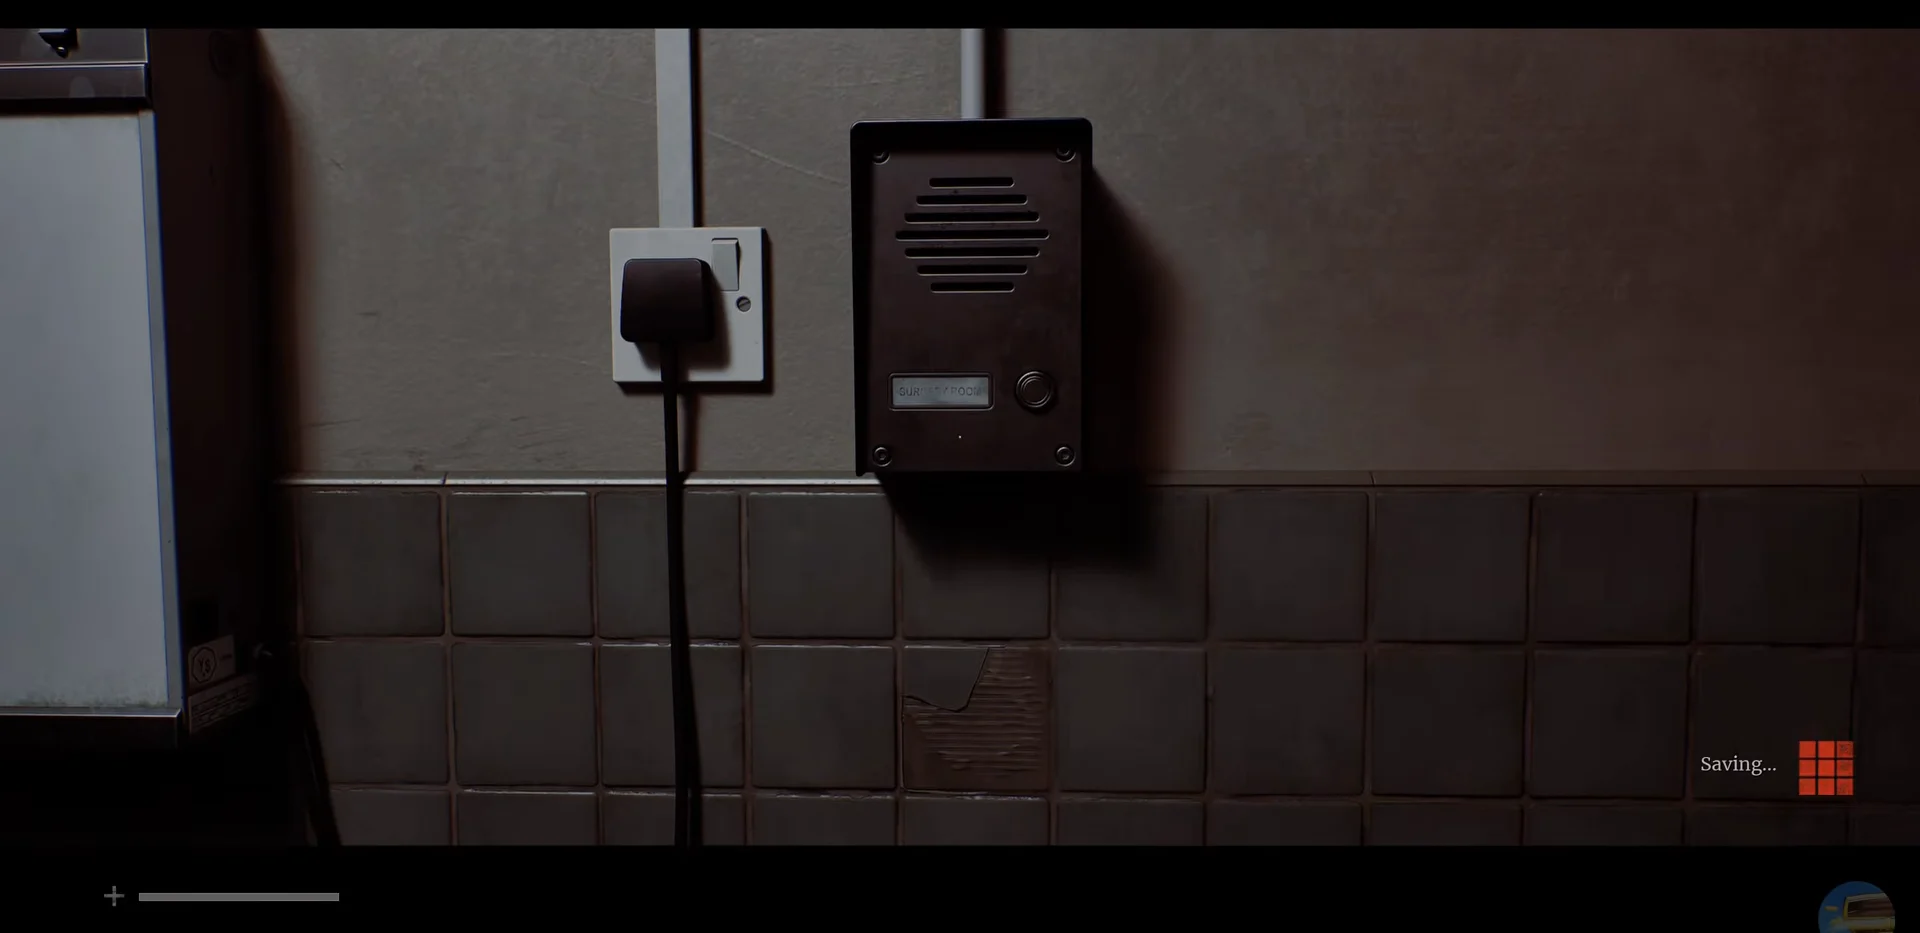
You must give Dr. Glenn three vital readings before the X-ray task becomes available. At the start of the chapter, take the St. Amelia Medical Centre map from the wall, then begin the conversation using the wall intercom next to the bed.
There are multiple monitors around the bed, but just one provides a usable reading for each vital. Check the corner PC for the permitted values: blood pressure readings beyond 70/110 mmHg are invalid, pulse readings beyond 40–160 cannot be trusted, and blood oxygen below 75% should be rejected. Reporting a value from an incorrect monitor causes damage.
| Reading | Value to report | Monitor |
|---|---|---|
| Blood pressure | 70 systolic / 40 diastolic | Right of the patient |
| Pulse | 160 (flickers to 162) | Foot of the bed |
| Blood oxygen | 80% SpO2 | Left of the patient |
Go up to each valid monitor, select Respond, and report its reading. After you have recorded all three, Dr. Glenn directs Zoe to do the imaging, updating the objective.
Unlock the X-ray room with the pager code
The X-ray room sits directly behind the surgery area, and the keypad combination arrives on your pager from Dr. Glenn’s assistant. Check the pager and enter exactly what the message shows. The code most players receive is 7103, and 5241 also opens the same door if the first fails, so test both before blaming the lock.
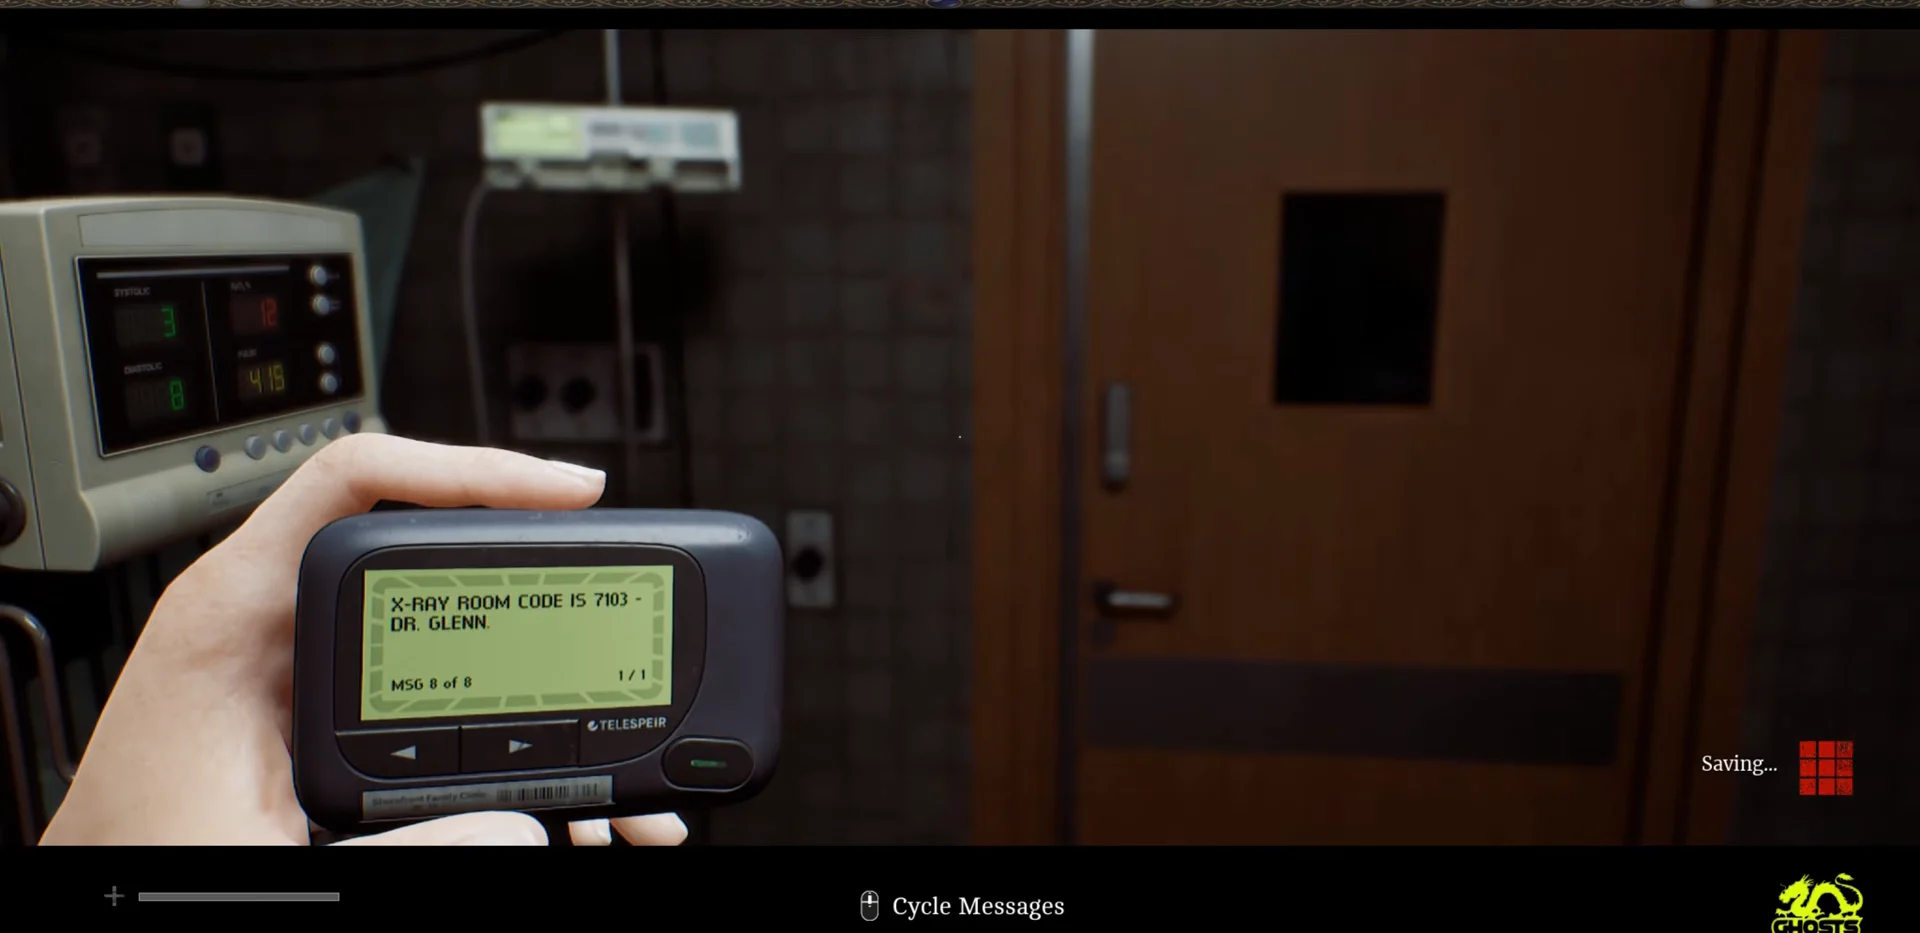
Always trust the pager over any written code. The message is your ground truth if the combination differs in your run.
Turn on the two devices individually once you enter. Beneath the camera terminal’s monitor is a small switch; the Zeimann has a separate switch that moves downward. A missing camera feed on the terminal means one of these devices has not been powered up.
Zeimann dial settings for both scans
You do not need to guess. Back at the laptop beside the patient’s bed, open the X-Ray Dosage Table to see the entries for Skull and Chest. Both sets of numbers are below.
| Scan | Site | kV | mA / Time |
|---|---|---|---|
| Skull | Skull | 3 | 7 mA / 1 |
| Chest | Chest | 7 | 3 mA / 1.2 |
The two scans exchange the kV and mA values. Time is the sole decimal setting: use 1 for the head and 1.2 for the chest. Set each of the four dials separately and check them all before using the green button; the machine gives no warning if you take a chest image with the skull settings.
How to take the skull X-ray
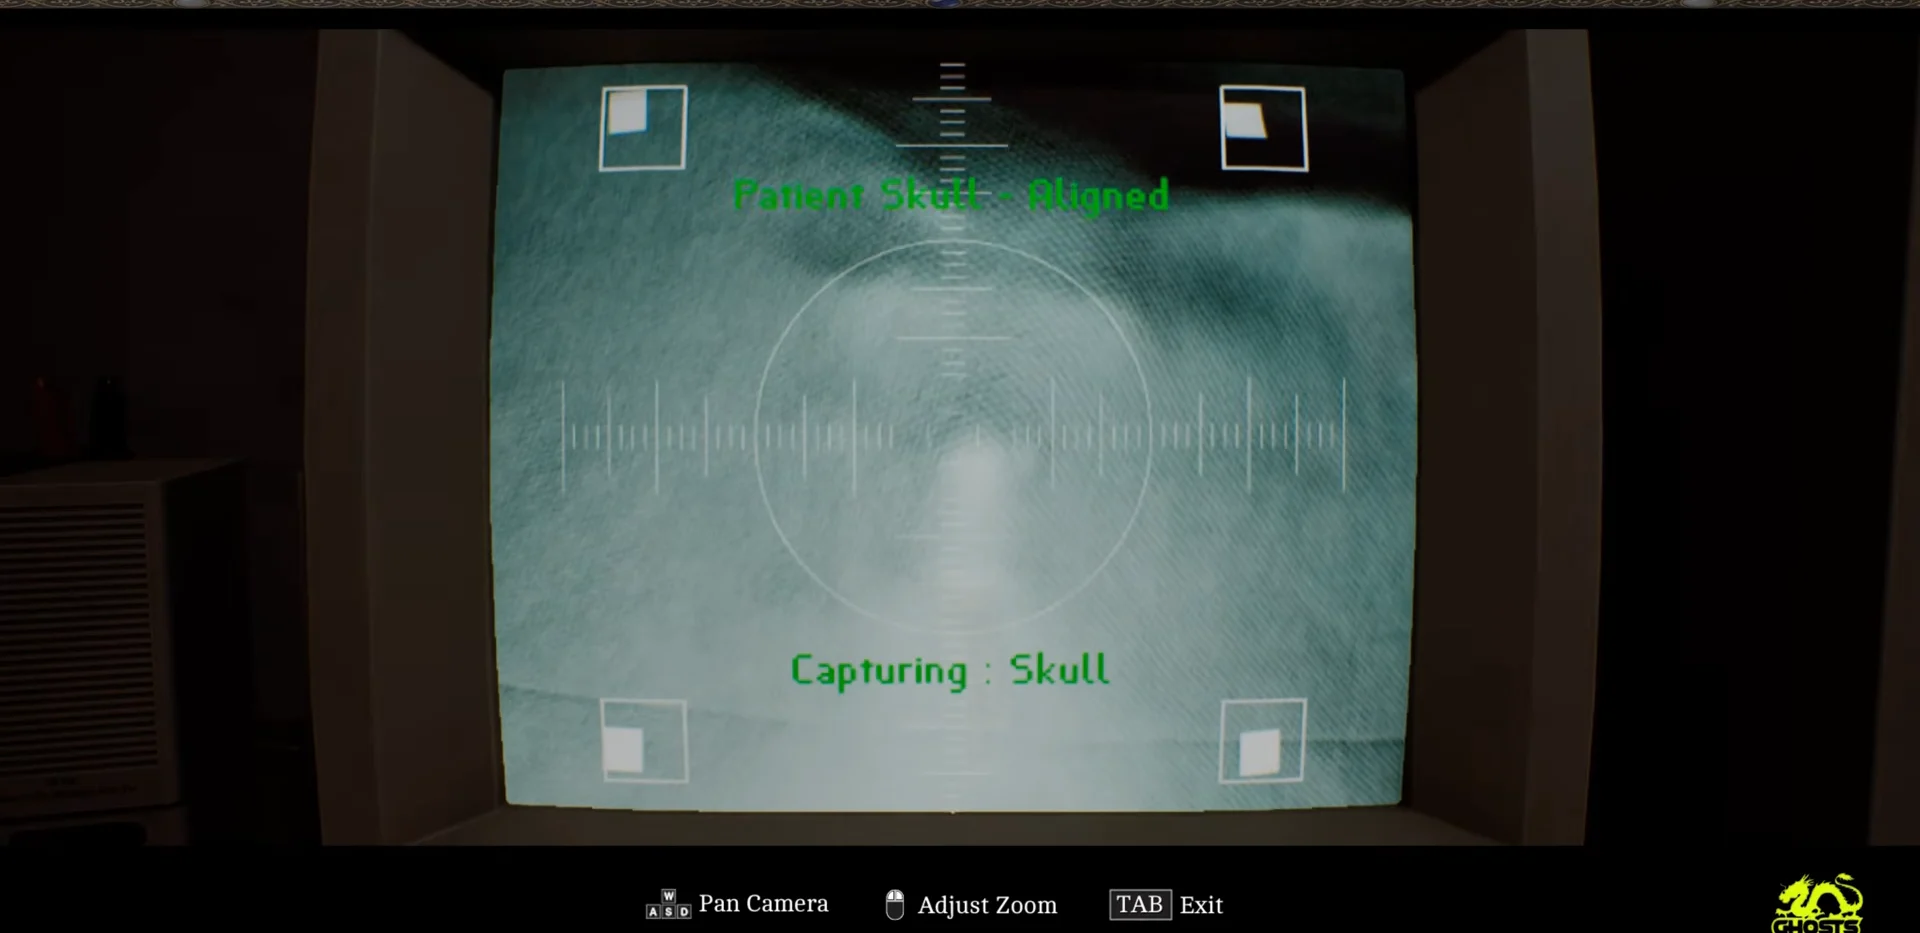
How to take the chest X-ray
Collect the films and confirm the puzzle is done
Turn from the console and check the printer on the counter. It outputs a single pickup labelled Head and Chest X-Rays, described in the inventory as films of the patient’s head and chest. An empty tray means an exposure failed, which points back to either the dials or the alignment text.
If the green button refuses to fire, verify both the settings and the confirmation message. For the skull you need Site Skull, 3 kV, 7 mA, Time 1, and “Patient Skull – Aligned.” For the chest you need Site Chest, 7 kV, 3 mA, Time 1.2, and “Patient Chest – Aligned.” The most common slip is mixing up the kV and mA values.
Carry the films to the surgery room and set them on the large lightboard mounted on the wall beside the intercom. Examine the images, talk to Dr. Glenn, and wait for the conversation to end. Imaging is finished when the following objective shows up.
What the X-rays unlock: three drugs and the infusion pumps
After Zoe examines the films, she must search the hospital for three doses. Creatures patrol the corridors now, but they do not pursue her into the surgery room. Check the map to work out a path between the wards.
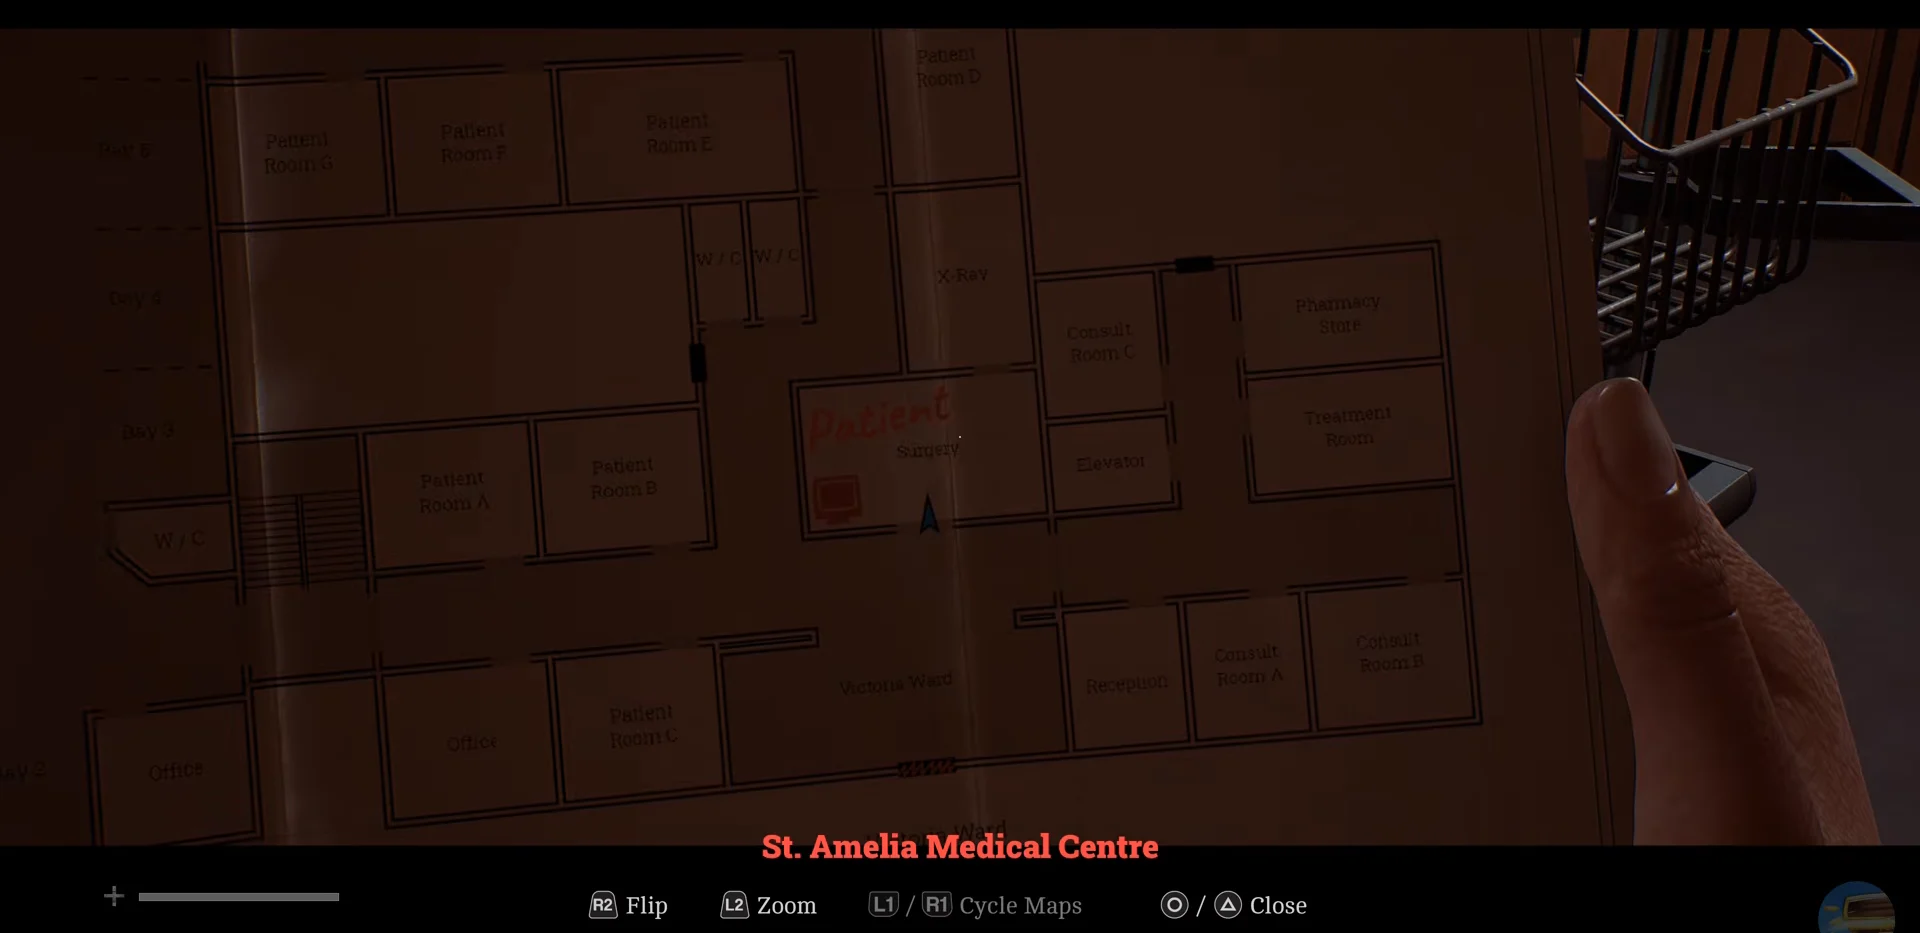
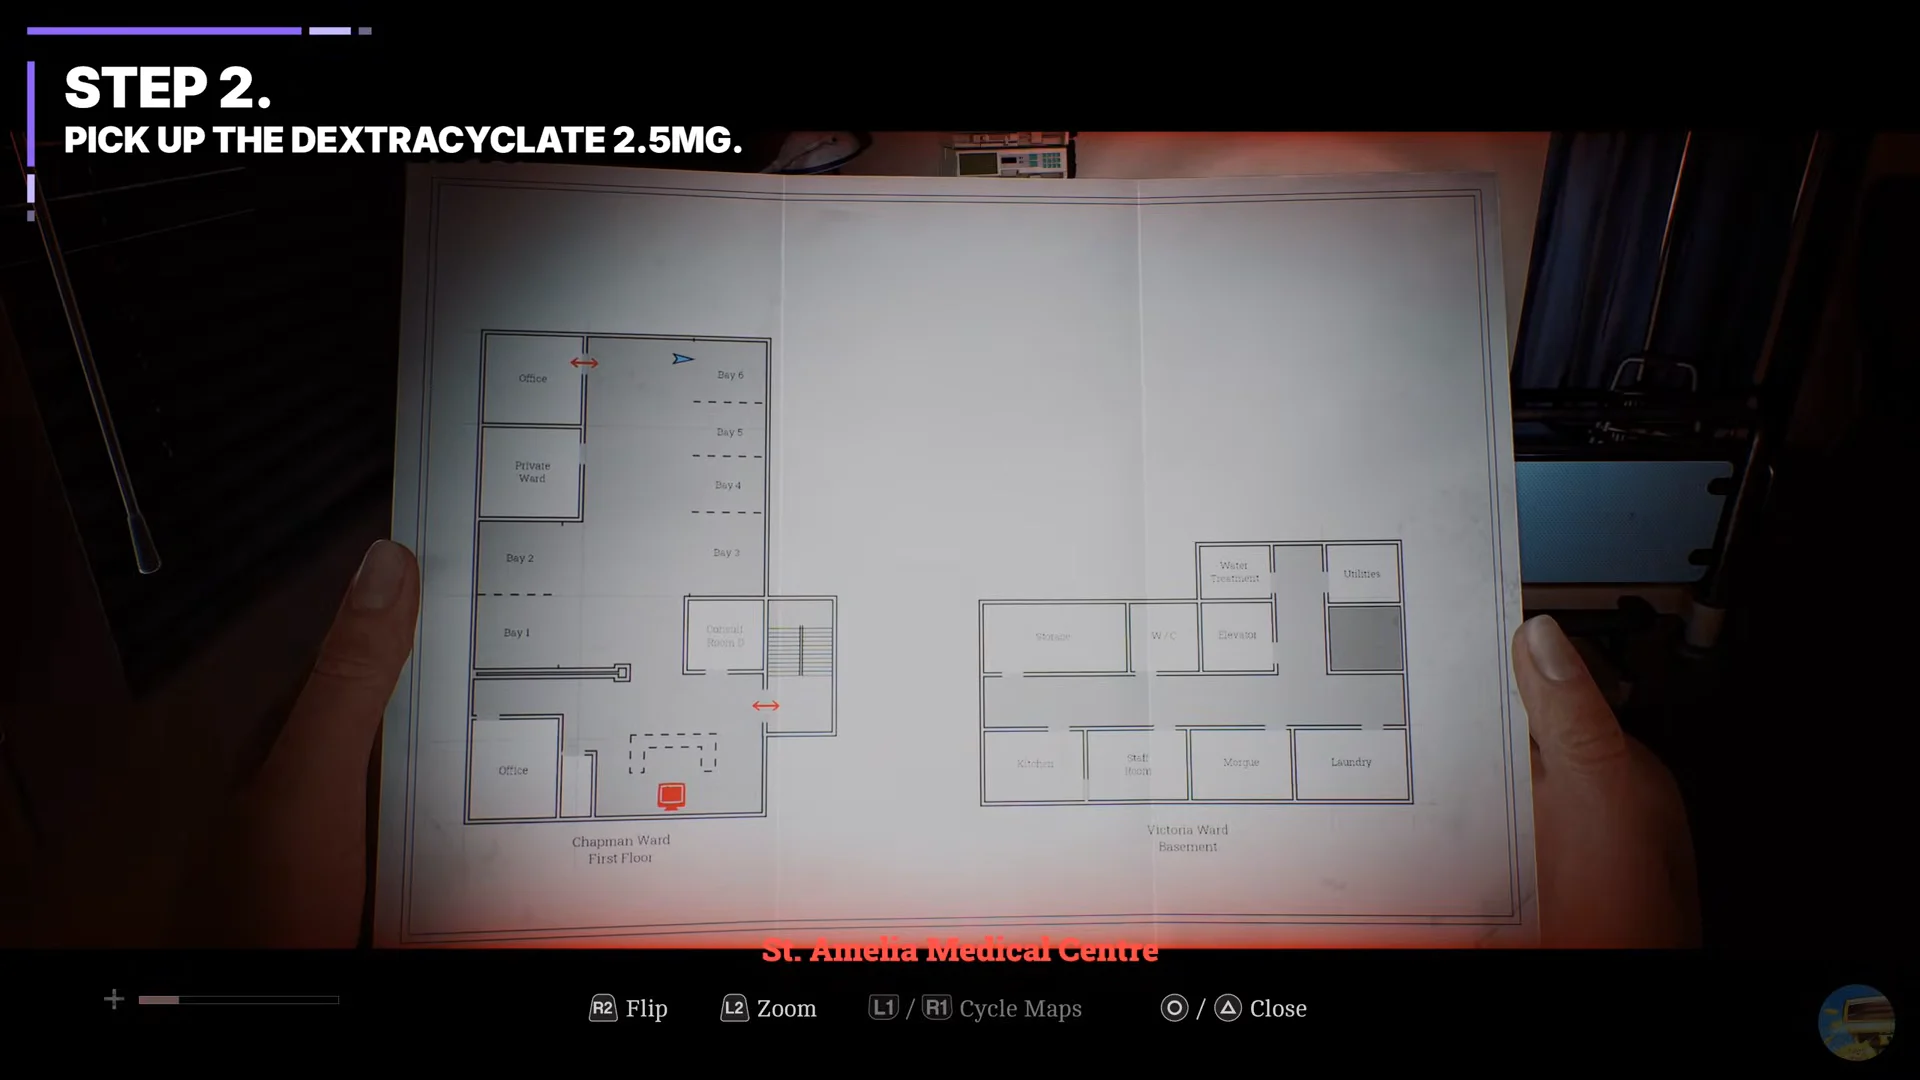
Find the Records Room code, 2605, on the noticeboard in the first-floor office at the Chapman Ward’s top left. Each drug must then be placed in an infusion pump and set to a rate for the patient’s 88 kg weight.
| Drug | Where to find it | Pump rate |
|---|---|---|
| Tensobromide 11mg | Pharmacy Store, Victoria Ward ground floor | 8 |
| Dextracyclate 2.5mg | Bay 6, Chapman Ward first floor | 15 |
| Hydroxalene 3mg | Records Room, Chapman Ward ground floor | 7 |
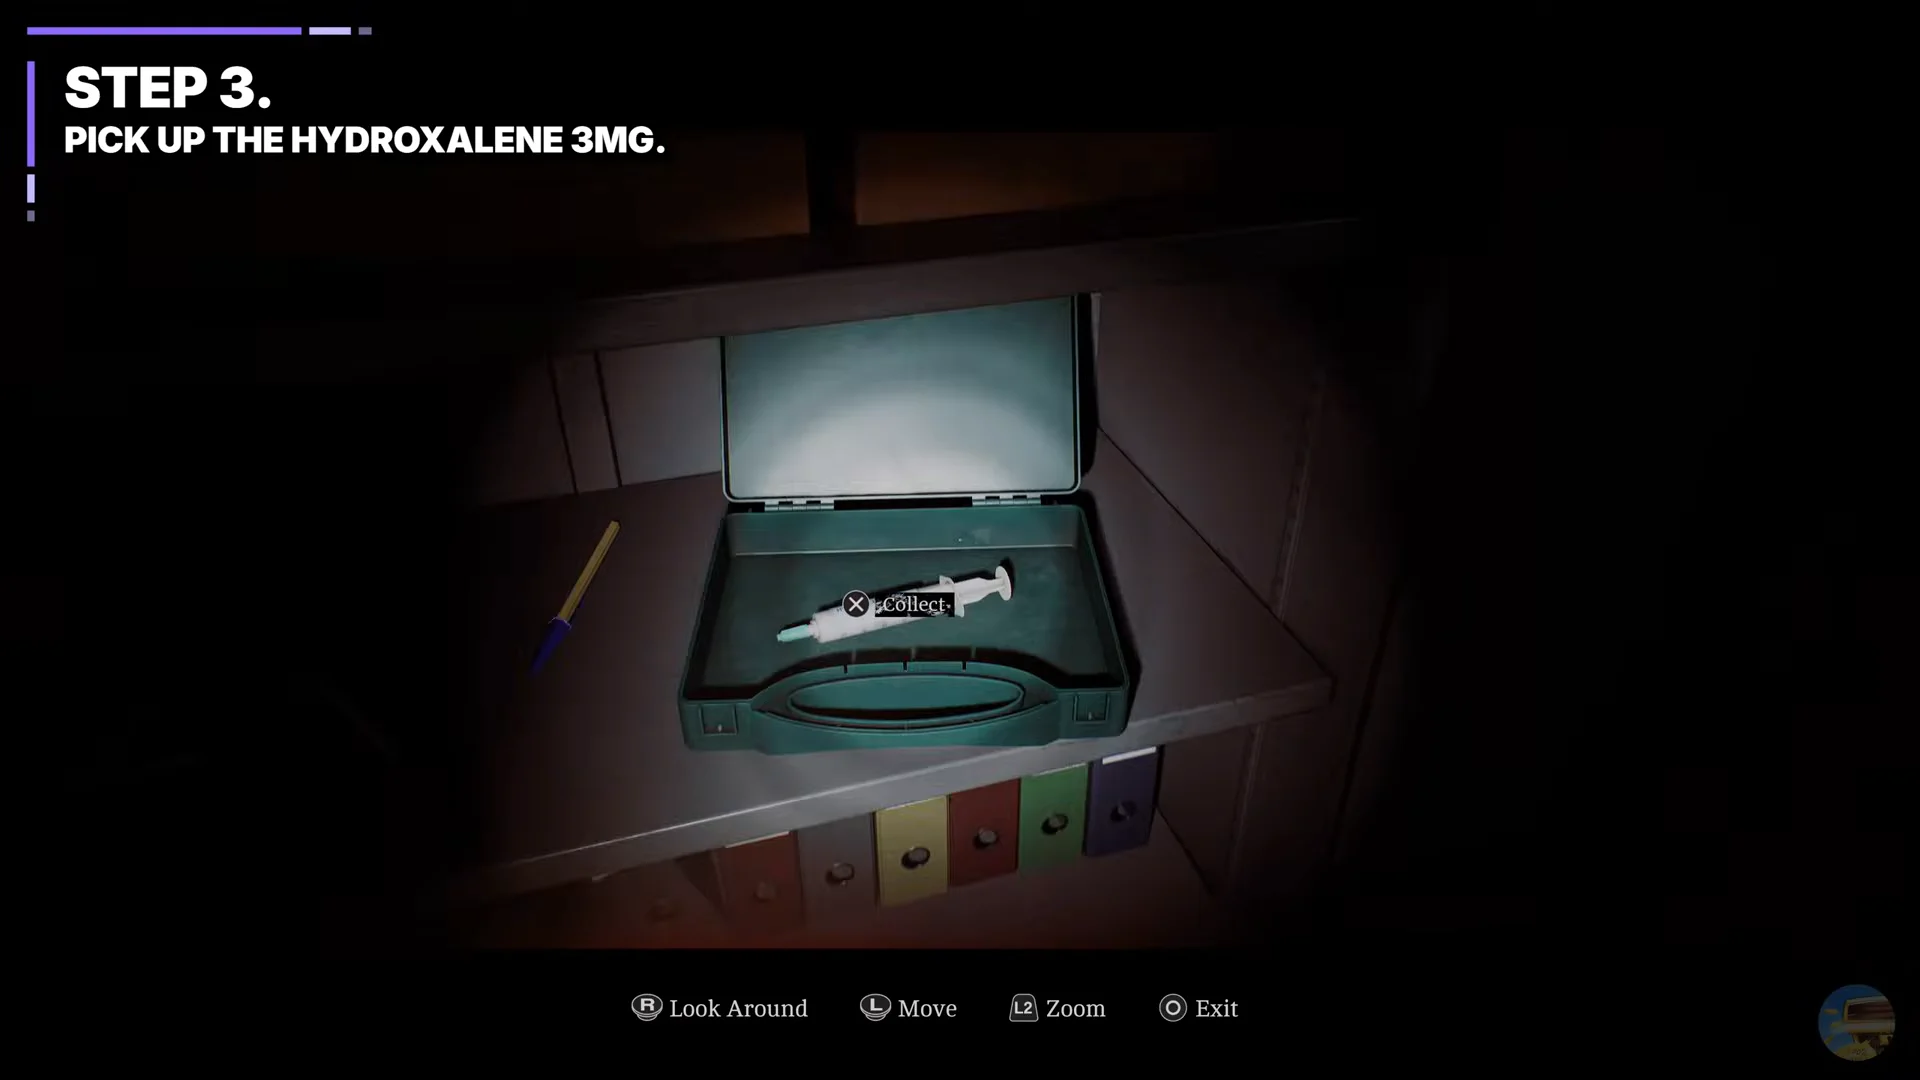
Back at the bed, load one syringe into each pump. Drug-to-pump placement does not matter; only the rate does. Choose SET RATE, enter the number, press the tick until the display reads rate entered, then select READY PUMP. When all three displays read ready, use the small control monitor on the tray beside the bed and press start. The patient’s vitals begin to stabilise, and the chapter moves on to fetching the intubation kit from the basement storage room.