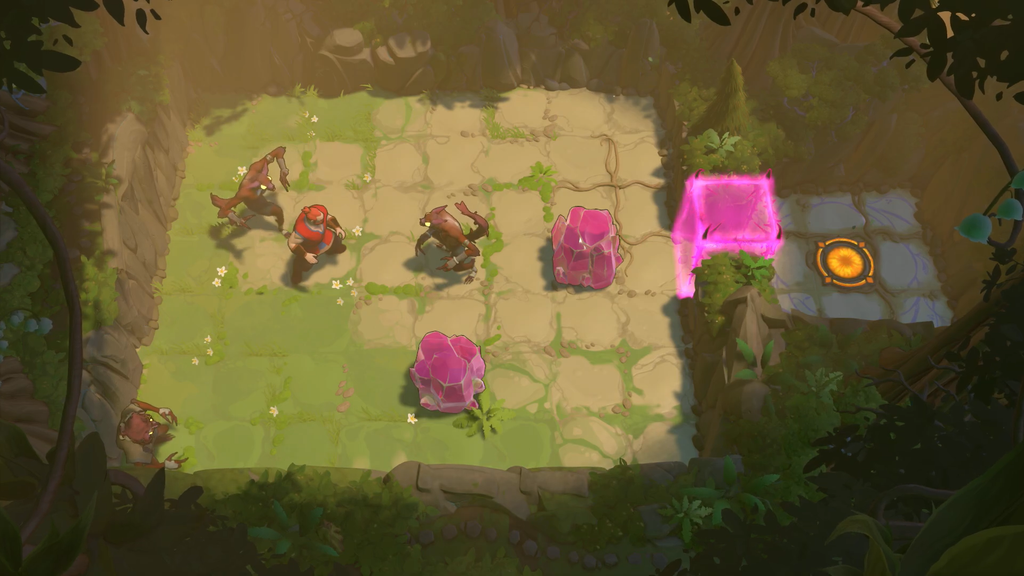
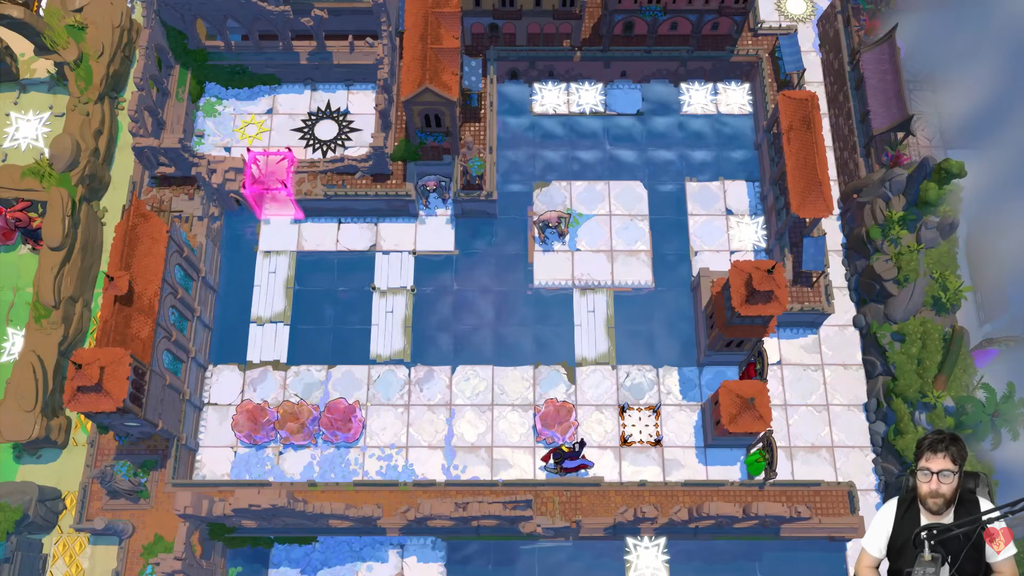
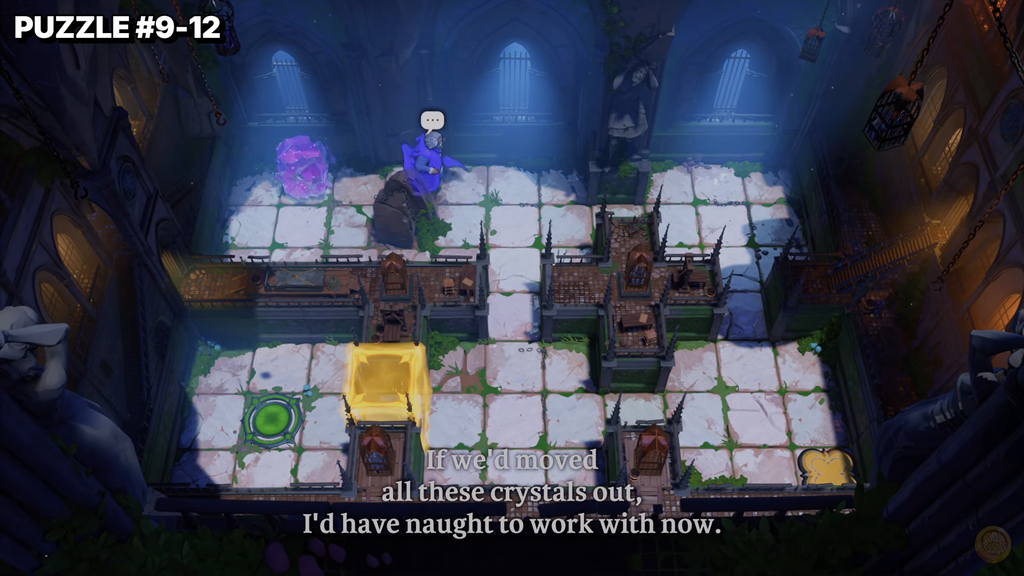
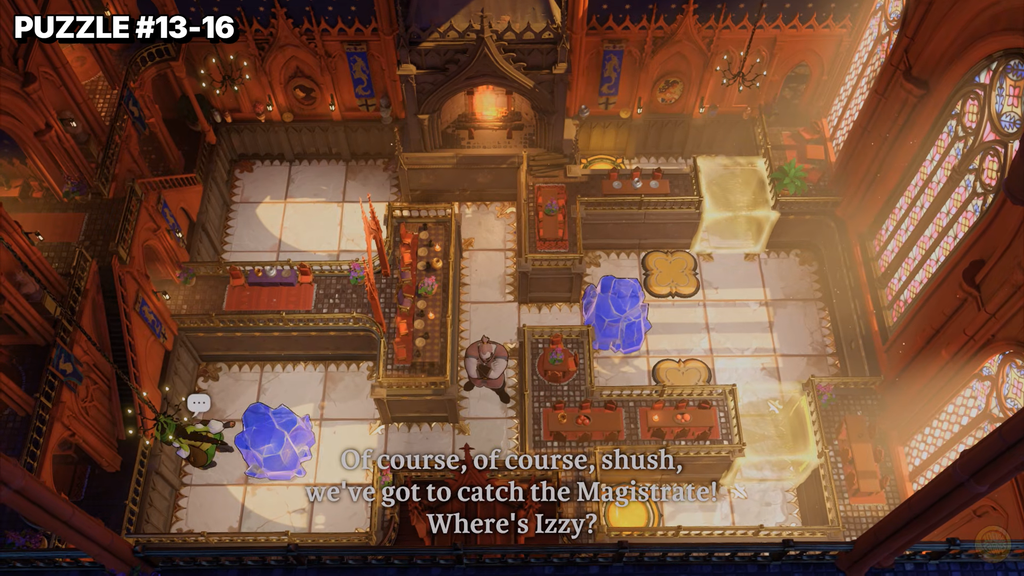
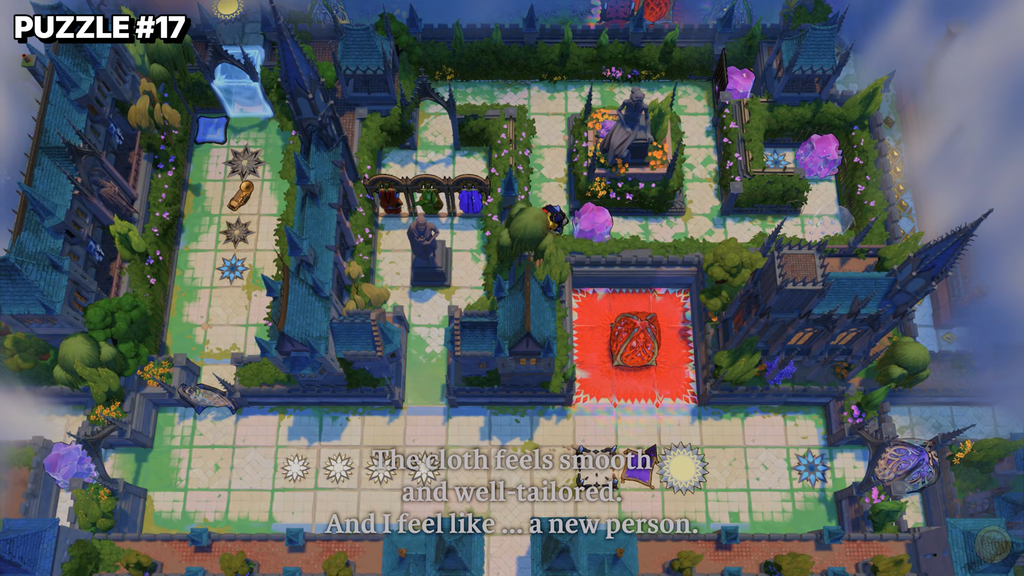
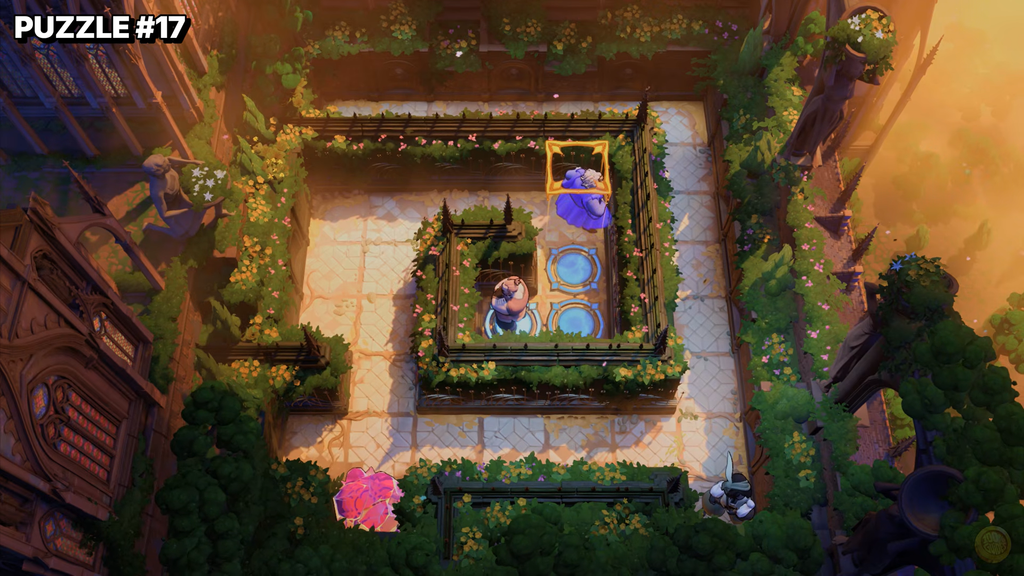
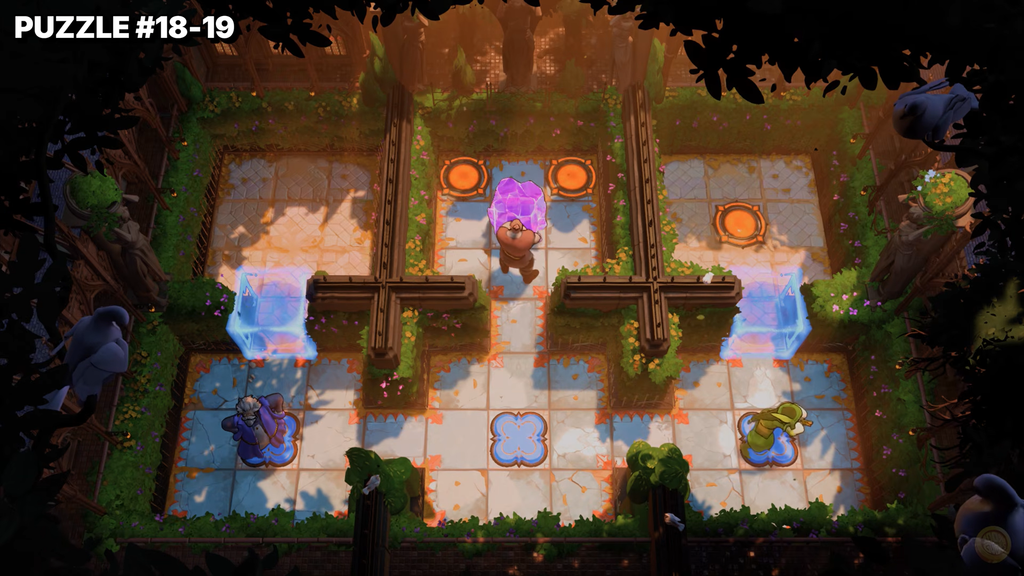
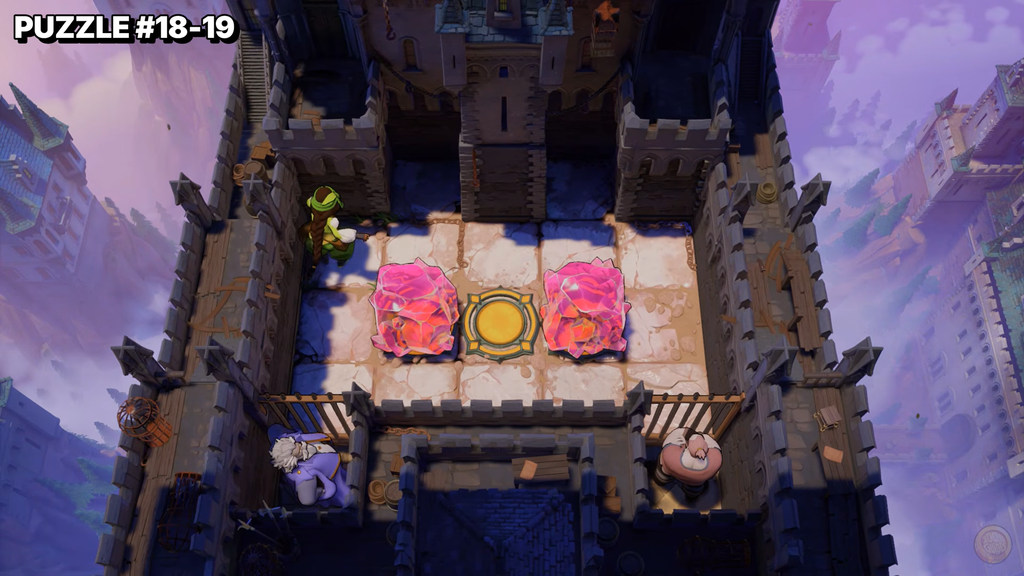
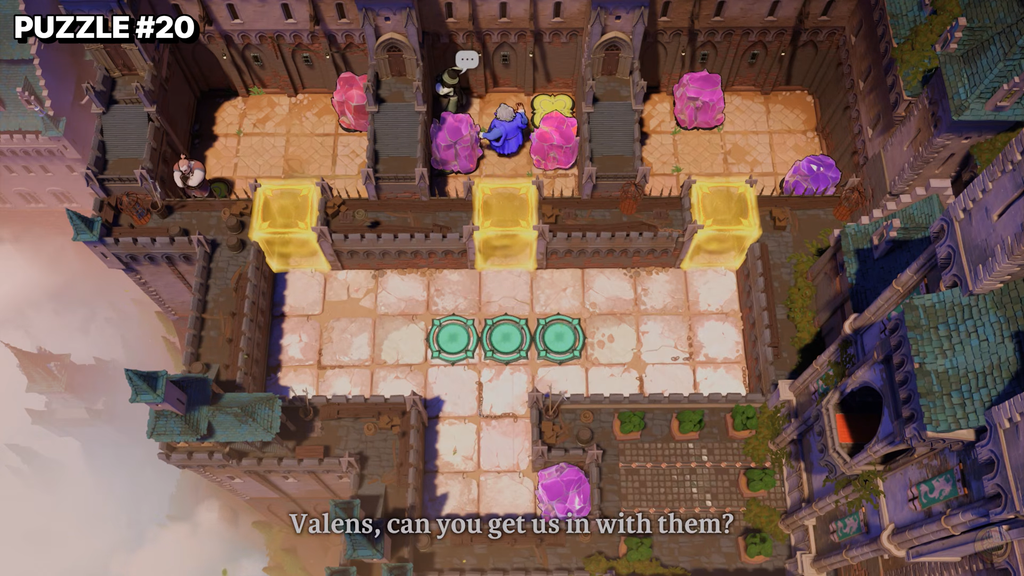
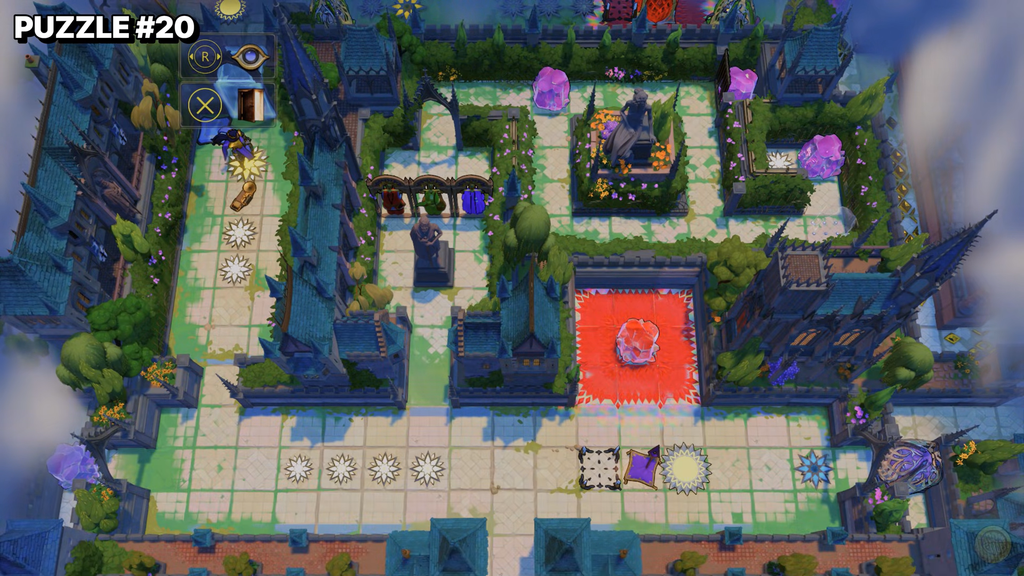
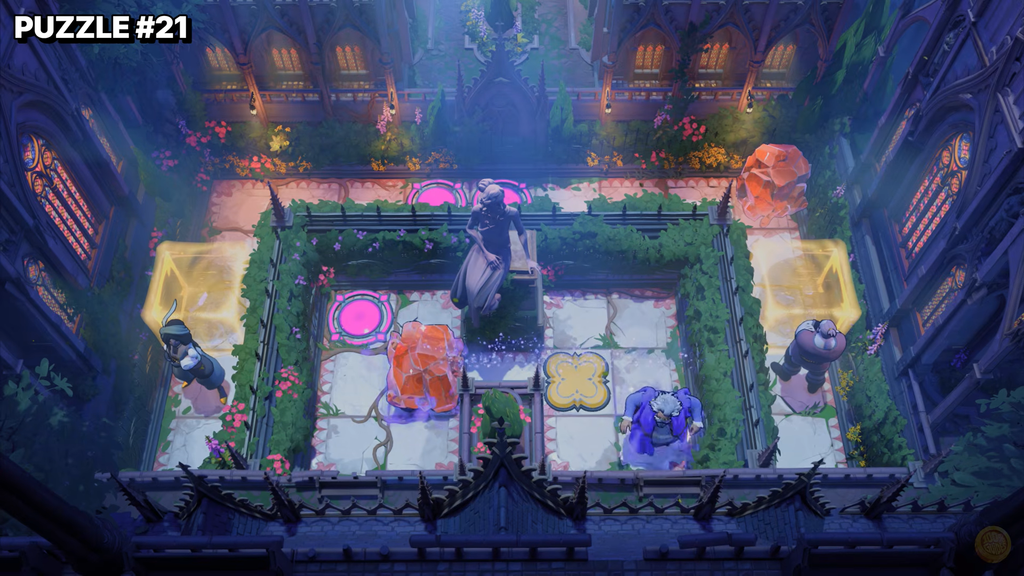
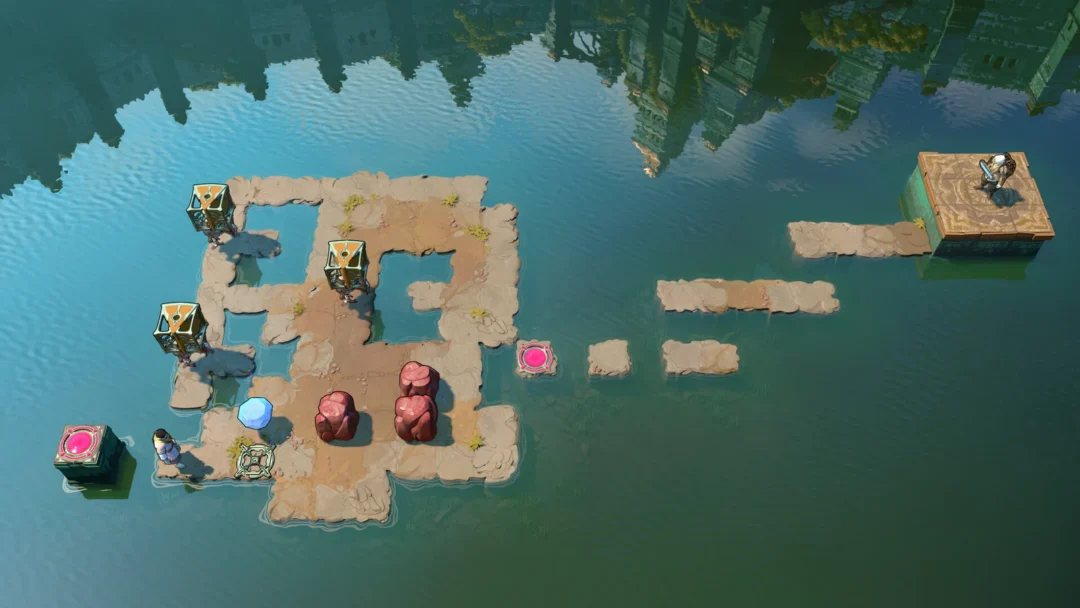
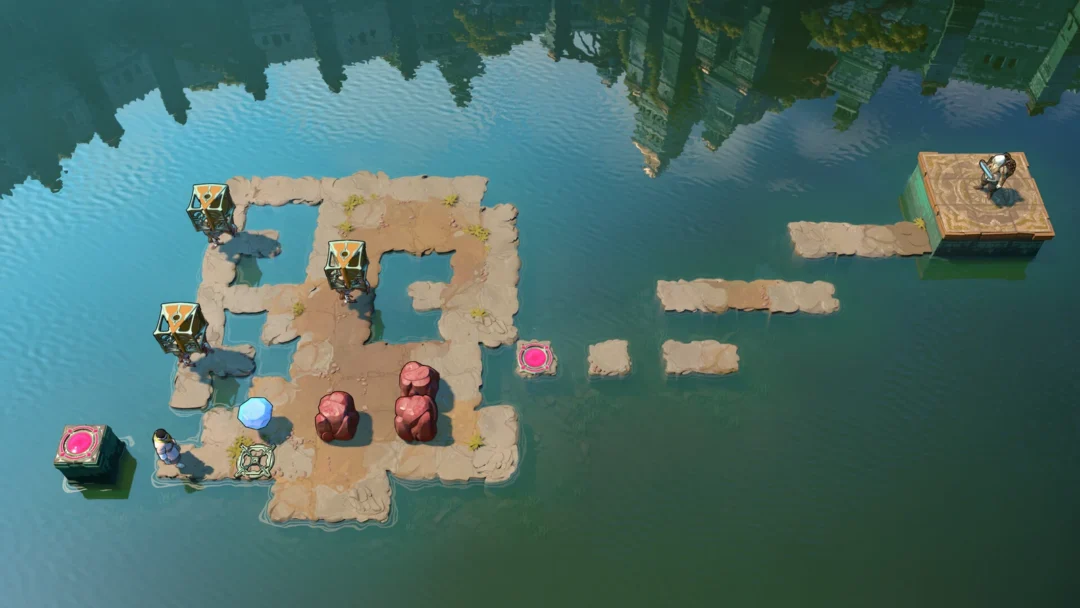
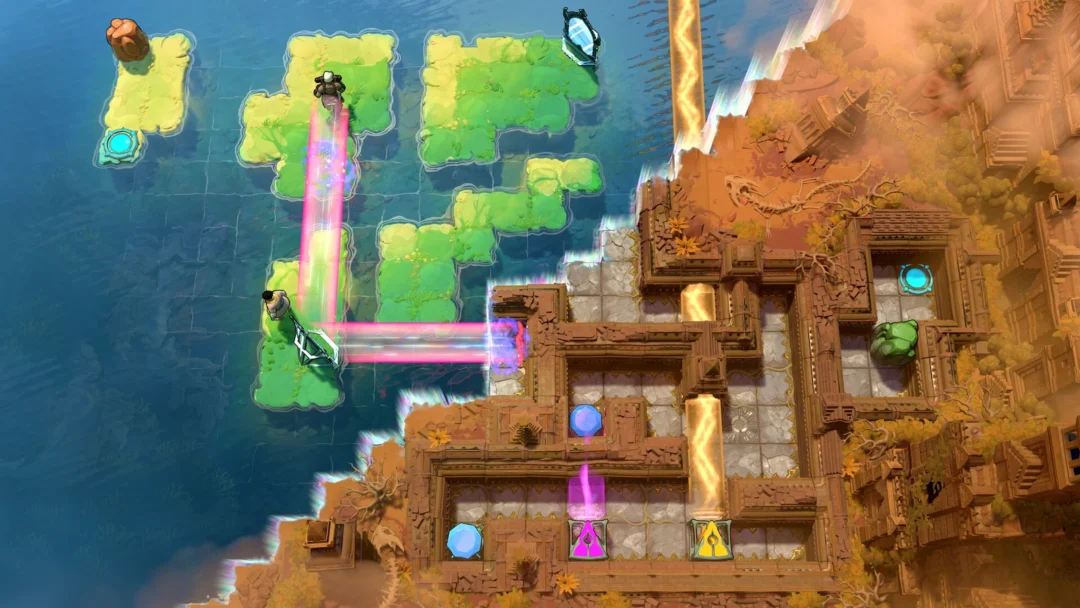
The second level of Skipping Stones to Lonely Homes, the south world in Order of the Sinking Star, runs across 12 puzzle screens. It carries over the stone-pushing and lily-pad riding from the first level and brings in a second controllable character, so most screens ask you to coordinate two figures across the water at once.
Quick answer: Level 2 has 12 screens . You may assign either character as C1 or C2 on every screen except Screen 12, where the character carried over from level one must be C1.
Image credit: Arc Games, Gamirror Games via YouTube/@cy Iam How the C1 and C2 labels work
Each action below starts with the character who performs it. C1 is character one, C2 is character two. Which figure you treat as which is your choice on screens 1 through 11.
Screen 12 is the exception. The character from level one has to be set as C1 there, or the final sequence will not line up.
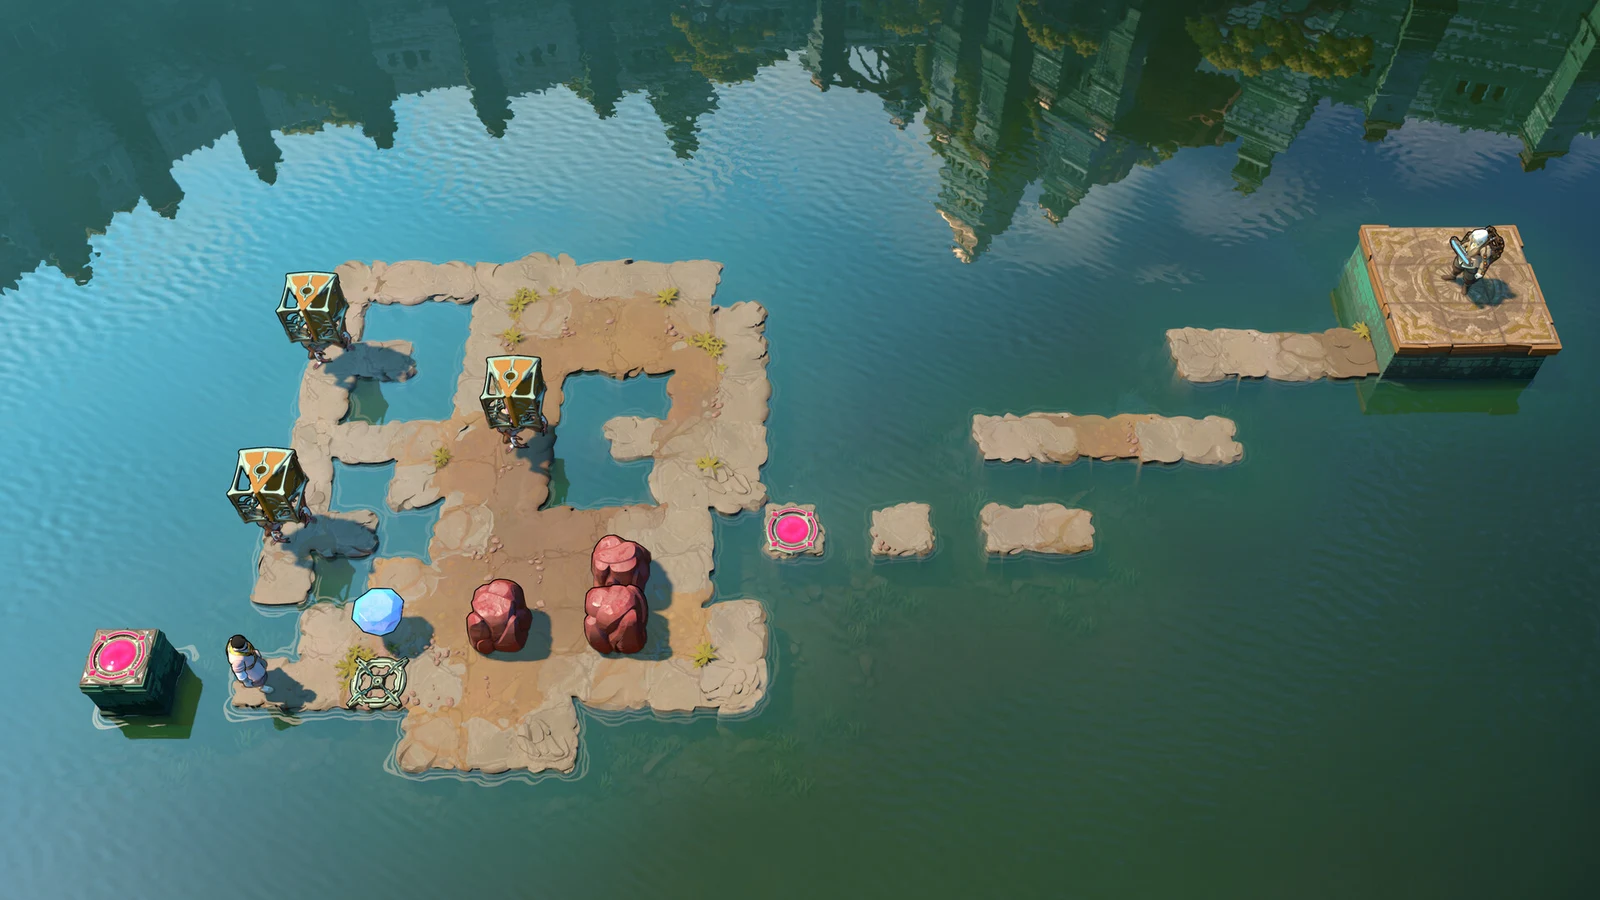
Screen 1 solution
1 C1 pushes the stone up across the water.
2 C2 pushes the stone left across the water, then pushes it back down to C1.
3 C2 moves left four spaces.
4 C1 pushes the stone left across the water, then up to C2.
5 C2 pushes the stone right, then down, returning it to C1 in a new row.
6 C2 moves to the lily pad on the left.
7 C1 slides the stone eight spaces east, two north, and then one west. It passes between the lily pads, carrying them into the currents.
8 As the lily pad travels along the bottom, C1 steps aboard and rides it to Screen 2.
Image credit: Arc Games, Gamirror Games via YouTube/@cy Iam Screen 2 solution
1 C2 pushes the stone left four, down two, sending it to C1.
2 C1 pushes the stone into the column left of the lily pad, then pushes it up and boards the lily pad quickly. Disembark on the landmass to the right.
3 C2 pushes the stone right across the water, then down to C1.
4 C1 shoves the stone two spaces right, underneath the lily pad, and then upward to C2. Step down afterward so the returning stone has a clear path.
5 C2 boards the lily pad, which sends the stone back to C1.
6 C1 sends the stone left and then upward, leaving it beside the lily pad on its left so C2 can ride to the next screen. Then move on.
Image credit: Arc Games, Gamirror Games via YouTube/@cy Iam Screen 3 solution
1 C2 pushes the stone down to C1.
2 C1 pushes the stone right two, up four, sending it back to C2.
3 C2 pushes the stone right, then down, returning it to C1 and shifting the lily pad right.
4 Wait until the lily pad is nearly level with the opening in the upper bridge, then have C1 shove the stone right to place the pad in the gap.
5 C2 pushes the blue stone left eleven, down three, sending it to C1.
6 C1 pushes the blue stone right three, up, right ten, down, right four. It now sits in the column right of the lily pad. Push up to send the lily pad left.
7 C2 moves the pink stone onto the row above the lily pad, shoves it right, then quickly climbs aboard the pad for a ride down to C1.
8 Both characters head down to the next screen.
Image credit: Arc Games, Gamirror Games via YouTube/@cy Iam Screen 4 solution
1 C1 takes position on the pink stone’s right-hand side and shoves it left over the water.
Image credit: Arc Games, Gamirror Games via YouTube/@cy Iam 2 From the pink stone’s left, C2 shoves it right over the water until it reaches C1, making a route to the checkpoint.
3 C1 moves right two spaces.
4 C2 positions themself below the blue stone, then shoves it upward over the water.
5 C1 pushes the stone left, then down, returning it to C2’s side.
6 C2 pushes the stone left two, down six, left three.
7 C1 travels left, down six spaces, left three, up, left, and up. This puts you in the blue stone’s column.
8 C2 pushes the blue stone up to C1 and stays put.
9 C1 shoves the stone downward until it reaches C2, where it creates a route to the next checkpoint.
10 C2 heads for the wooden dock’s lower-left corner.
11 C1 pushes the pink stone left two, then moves up three, left two.
12 C2 pushes the stone up, then moves right, up six, left four, up.
13 C1 moves the stone onto the square beneath C2, then heads for the wooden dock’s lower-left corner.
14 C2 pushes the stone down to C1 and stays put.
15 C1 shoves the stone upward until it reaches C2, creating the route to the next checkpoint and screen.
Image credit: Arc Games, Gamirror Games via YouTube/@cy Iam Screen 5 solution
1 C1 moves above the blue stone.
2 C2 leaves the blue stone, crosses the water, and steps onto the square beside it.
3 C1 pushes the blue stone down, where it stops at C2.
4 C2 moves onto the submerged stone.
5 C1 sends the pink stone downward over the water, then left beneath C2.
6 C2 shoves the stone down, six spaces left, seven up, and then right, moving it to the water’s right side.
7 C2 moves the stone two spaces down, then left to carry the lily pad to the water’s left side. Move right afterward.
8 C1 pushes the stone right, back to C2, and stays on the lily pad.
9 C2 shifts the stone up two spaces, then left across the water; next, push it until it is left of C1. Stand on the left lily pad.
10 C1 pushes the stone left two, up two, placing it in the row above the lily pad, then pushes it left and boards the right lily pad quickly.
Image credit: Arc Games, Gamirror Games via YouTube/@cy Iam Screen 6 solution
1 C1 moves the right stone right, then down four.
Image credit: Arc Games, Gamirror Games via YouTube/@cy Iam 2 C2 moves the left stone left, then down four.
3 C1 shoves the stone downward, which carries the lily pad toward the left.
4 C2 pushes the stone down just before the lily pad reaches C2, sending it back right.
5 C1 rides the lily pad to the next checkpoint.
6 C1 sends the uppermost stone left over the water.
7 C2 moves below that stone.
8 Push the last stone upward to its limit as C1, moving the lily pad to the left.
9 C2 pushes the stone up just before the lily pad reaches C2’s column, sending it back right.
10 C1 pushes the stone down onto the lily pad as it passes.
11 C1 pushes the stone down eight, right two, down to send the lily pad left.
12 C1 hurries across the lily pad and steps onto the dock at the bottom-right corner.
13 C2 quickly traverses the pad and reaches the dock at the bottom-left corner.
14 Both characters move down to the next screen.
Image credit: Arc Games, Gamirror Games via YouTube/@cy Iam Screen 7 solution
1 C1 touches the interdict.
2 C2 sends the top stone six spaces down, then shoves the middle stone right over the water.
3 C1 moves the stone up, right, then down two. The stone ends up one row higher than the lily pad.
4 C2 takes position to the bottom stone’s left and shoves it toward the right.
5 Once the stone is midway along the foliage-covered stone, C1 shoves it right. Correct timing sends the lily pad down before it rises again.
6 C1 travels by lily pad until reaching the next checkpoint.
7 C1 shoves the stone two spaces right, then left, then down, moving the bottom lily pad left.
8 C2 moves above the stone. When the lily pad reaches the dock, push the stone down (sending the lily pad right) and board it as it passes the dock to reach the next screen.
Image credit: Arc Games, Gamirror Games via YouTube/@cy Iam Screen 8 solution
1 C2 shoves the stone up three spaces and right two, positioning it beneath the lily pad. A further upward shove sends the pad into the current.
2 C1 steps onto the lily pad, then shoves the stone downward while positioned at the current’s top-left corner.
3 When C1 reaches the current’s bottom-left corner, C2 shoves the stone upward to make a route for boarding the lily pad.
4 C1 steps off the pad on the current’s right side.
5 C2 travels on the lily pad, then gets off on the right-hand side.
6 C1 moves onto the right lily pad.
7 C2 pushes the top stone onto the left lily pad, then pushes the bottom stone right, sending both lily pads upward.
8 C2 quickly runs to the open space, down from the wooden square in the top-right corner.
9 C1 pushes the stone left on reaching C2’s row. It stops at C2, forming a path to the next screen.
Image credit: Arc Games, Gamirror Games via YouTube/@cy Iam Screen 9 solution
1 C2 shoves the stone right to create a route for C1 to reach the dock.
2 C1 touches the interdict, then moves the left stone up two and right. The stone ends up level with the lower lily pad.
3 C2 pushes the right stone up two, right, then up to send the lily pad left. Board the lily pad quickly.
4 As C2 heads left, C1 shoves the stone right, moving both the lily pad and stone to the right.
5 C2 pushes the stone down when it is below C2, sending it to the dock at the bottom. Then move to the bottom lily pad below that dock.
6 C1 pushes the stone up and to the left of the top lily pad below the dock, then pushes it down to send the lily pads right. Board the top one quickly.
Image credit: Arc Games, Gamirror Games via YouTube/@cy Iam Screen 10 solution
1 C1 sends the stone down two squares, leaving it in the row beneath the lily pad.
2 C1 shoves the stone right, propelling the lily pad upward into the current. Board as it goes by.
3 C1 returns the stone leftward across to C2’s side.
4 C2 moves the stone up four squares, leaving it in the row above the lily pad. A rightward push then sends the pad down into the current.
5 C1 sends the stone left again, back across to C2’s side.
6 C2 shifts the stone into the row beneath the lily pad, then pushes it right to send the pad upward into the current. Board quickly.
7 C1 quickly moves the stone up to the row beneath the middle current. When C2 reaches the midpoint, C1 shoves it left, carrying C2 up to the top current.
8 C2 guides the stone downward, then rightward until it reaches C1’s side.
9 C1 pushes the stone up two, right, placing it in the column right of the lily pad.
10 C1 pushes the stone upward, routing the lily pad left. Board it, then get off at the top-right landmass.
11 When the lily pad arrives, C2 boards and gets off at the top-left landmass.
Image credit: Arc Games, Gamirror Games via YouTube/@cy Iam Screen 11 solution
1 C1 moves the right stone left, up, right three, then up four. The stone finishes one row beneath the next checkpoint.
2 C2 moves the left stone up three and right. It, too, ends in the row beneath the next checkpoint.
3 C1 shoves the stone westward over the water.
4 C2 pushes the stone right when the first stone is four squares right of the checkpoint column. With the right timing, the two stones stop each other and form a bridge to the checkpoint.
Screen 12 solution
Assign the level-one character as C1 before starting. The role assignment is fixed on this final screen.
1 C1 stands on the lily pad.
2 C2 moves the blue rock up, then right, leaving it in the column immediately left of the lily pad.
3 C2 moves the pink rock right two, up two, then right six, leaving it in the landmass’s top-right corner.
4 C2 lifts the blue rock, moving the lily pad and C1 to the right.
5 C2 pushes the pink rock right just as the lily pad passes the landmass, sending the lily pad up to the current.
6 C2 goes around to the blue rock’s left side and shoves it right. After a single empty square separates the stone and lily pad, C2 pushes right once more. This redirects the water upward and carries C1 back to her ship.
Image credit: Arc Games, Gamirror Games via YouTube/@cy Iam Confirming the level is complete
Level 2 is finished once Screen 12 carries C1 back to her ship. When that final lily-pad ride lands her at the vessel, every screen is cleared and you can continue onward through Skipping Stones to Lonely Homes toward Screen 5 and the left puzzle series beyond.