Slayers 2 drops you into Windy Peak with no weapon, no map knowledge, and a quest log that expects you to already know where everything is. The early game is a fixed chain of quest givers, and once you know the order, the grind from level 1 to Final Selection is mostly a matter of not wandering. Slayers 2 is an Ouw Productions title on Roblox, and it is still an early-access build, so costs and requirements can shift between updates.
Quick answer: Run Krue’s bandit quests to level 7, kill Zuko, move to Tom’s bears until 26, farm Chaka’s Kaiden quests to 40, then Wagwan’s quests to 60. Breathing unlocks at level 25.
Slayers 2 leveling route: level 1 to 60
Every quest giver below unlocks the next one, so there is no real reason to explore ahead of the chain. A fuller server also matters here, since experience gains from mobs and quests scale up with the number of players online.
| Level | What to do |
|---|---|
| 1–6 | Repeat Krue’s three-bandit quest |
| 7 | Take Krue’s Mini Boss Zuko quest |
| 13 | Tom’s Bear Cub hunt in Bamboo Grove |
| 18 | Tom’s Mother Bear quest |
| 25 | Start a Breathing trainer questline |
| 26–34 | Chaka: Kaiden’s subordinates, then Kaiden |
| 40–60 | Wagwan: guards, then Hoyuzo |
| 45 (60 solo) | Final Selection |
Windy Peak: levels 1 to 13
Krue stands next to the starting spawn and gives the bandit quest immediately. Fists are fine for the first few levels, and the combat you need here is simple: click for light attacks, dash to reposition, and hold block to avoid stuns rather than trading hits. Repeat the quest until level 7.
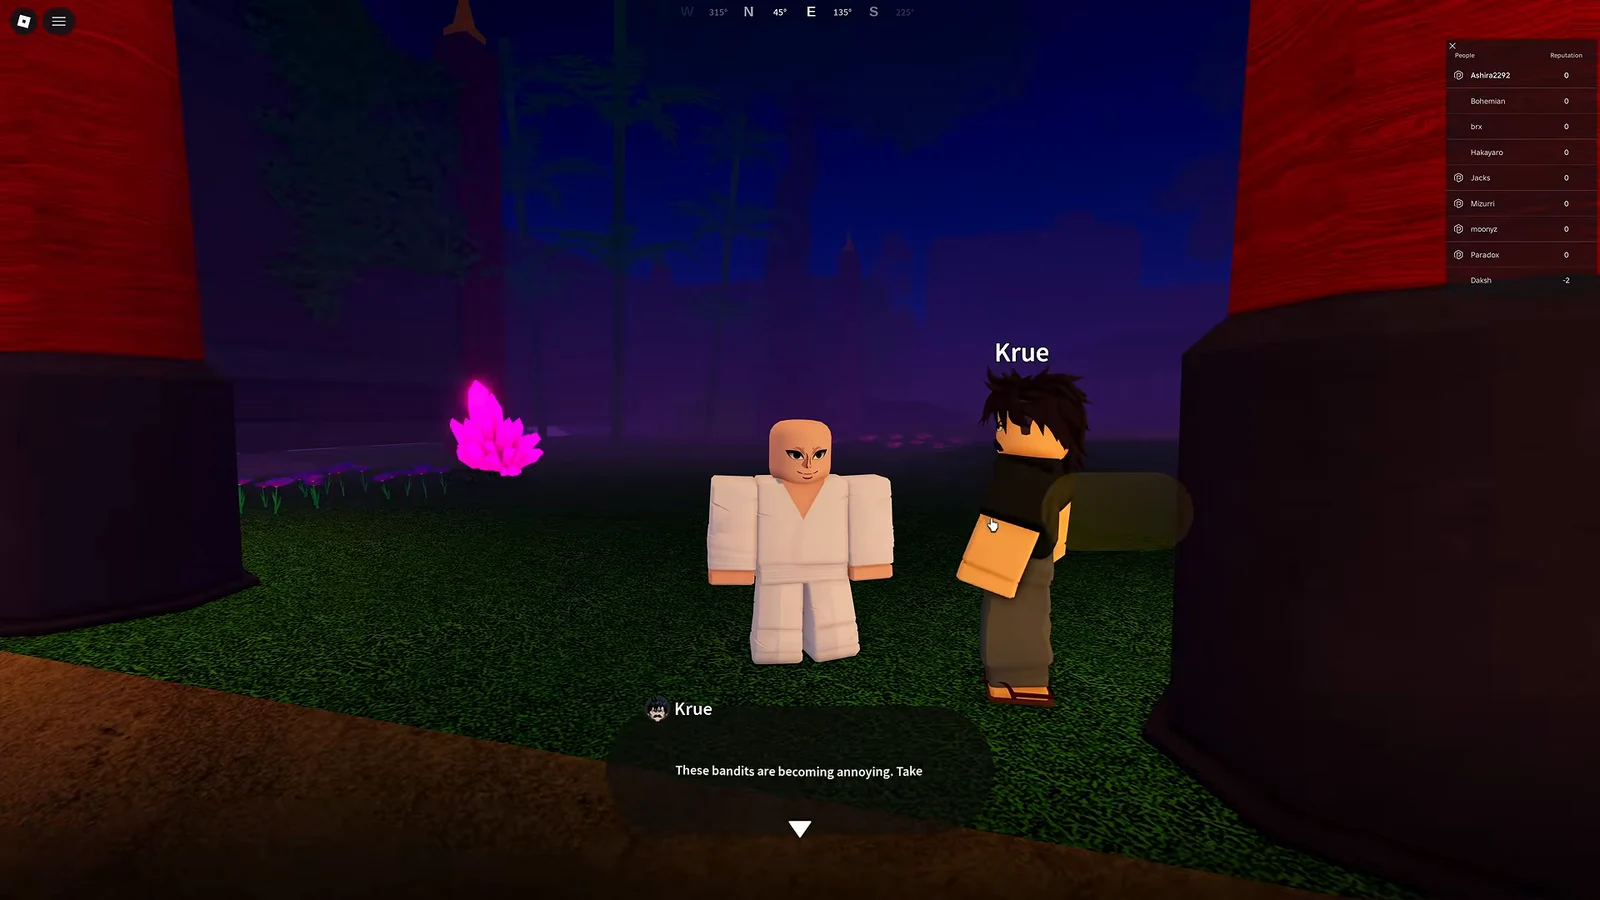
At level 7, Krue offers the mini boss Zuko. Beating him drops a Common Chest that anyone on the server can loot first, plus two chances at gear: the Cutlass at a 20 percent rate and the Quick Draw skill at 25 percent. Farm him and the surrounding bandits until level 13.
Bamboo Grove: levels 13 to 26
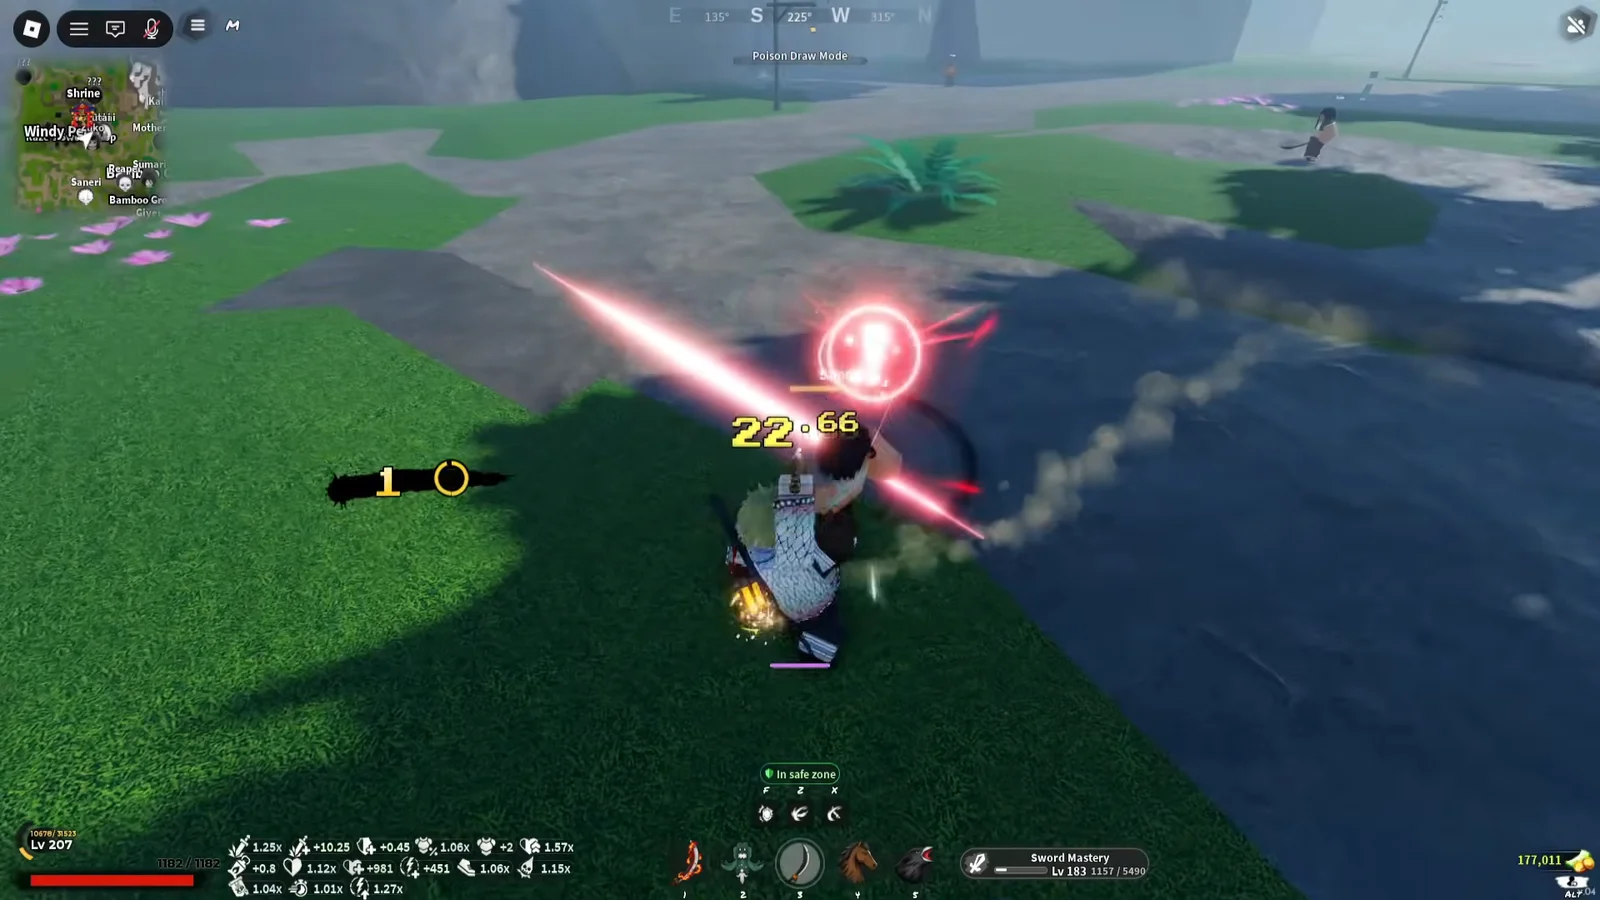
Tom sits by the bamboo river and runs two repeatable quests, Bear Cubs at level 13 and the Mother Bear at level 18. Set your spawn at the pink crystal in Bamboo Grove before you start so deaths do not cost you a five-minute run back. Open-world PvP is active in these farming zones, so other players can and will interrupt a bear run.
Back in the starting village, talk to Kazu and deliver his notes to Noote, then follow the mountain path. That chain is what unlocks Chaka, and skipping it leaves you stuck at level 26 with nothing efficient to kill.
Chaka and Wagwan: levels 26 to 60
Chaka’s two quests cover clearing Kaiden’s subordinates and then the level 34 boss Kaiden himself, which carries you to level 40. From there, head down to Wagwan, the quest giver under the waterfall below the bear area. His guard quests and the level 50 boss Hoyuzo are repeatable, and they are the fastest path to level 60.

First weapon, gear, and the Book of Guidance
Raze sells swords inside Windy Peak. The Regular Katana costs 500 Wen and the Fancy Katana costs 1,500 Wen, and the cheaper one is enough for bandits. Buy it, then equip it from your inventory, because the purchase does not arm you automatically.
Your inventory fills quickly with haori, masks, and necklaces from chests and boss drops. Read the stat lines rather than the rarity colour, since a lower-rarity piece with health or stamina on it will usually keep you alive longer through a bear farm than a rare cosmetic with nothing attached.
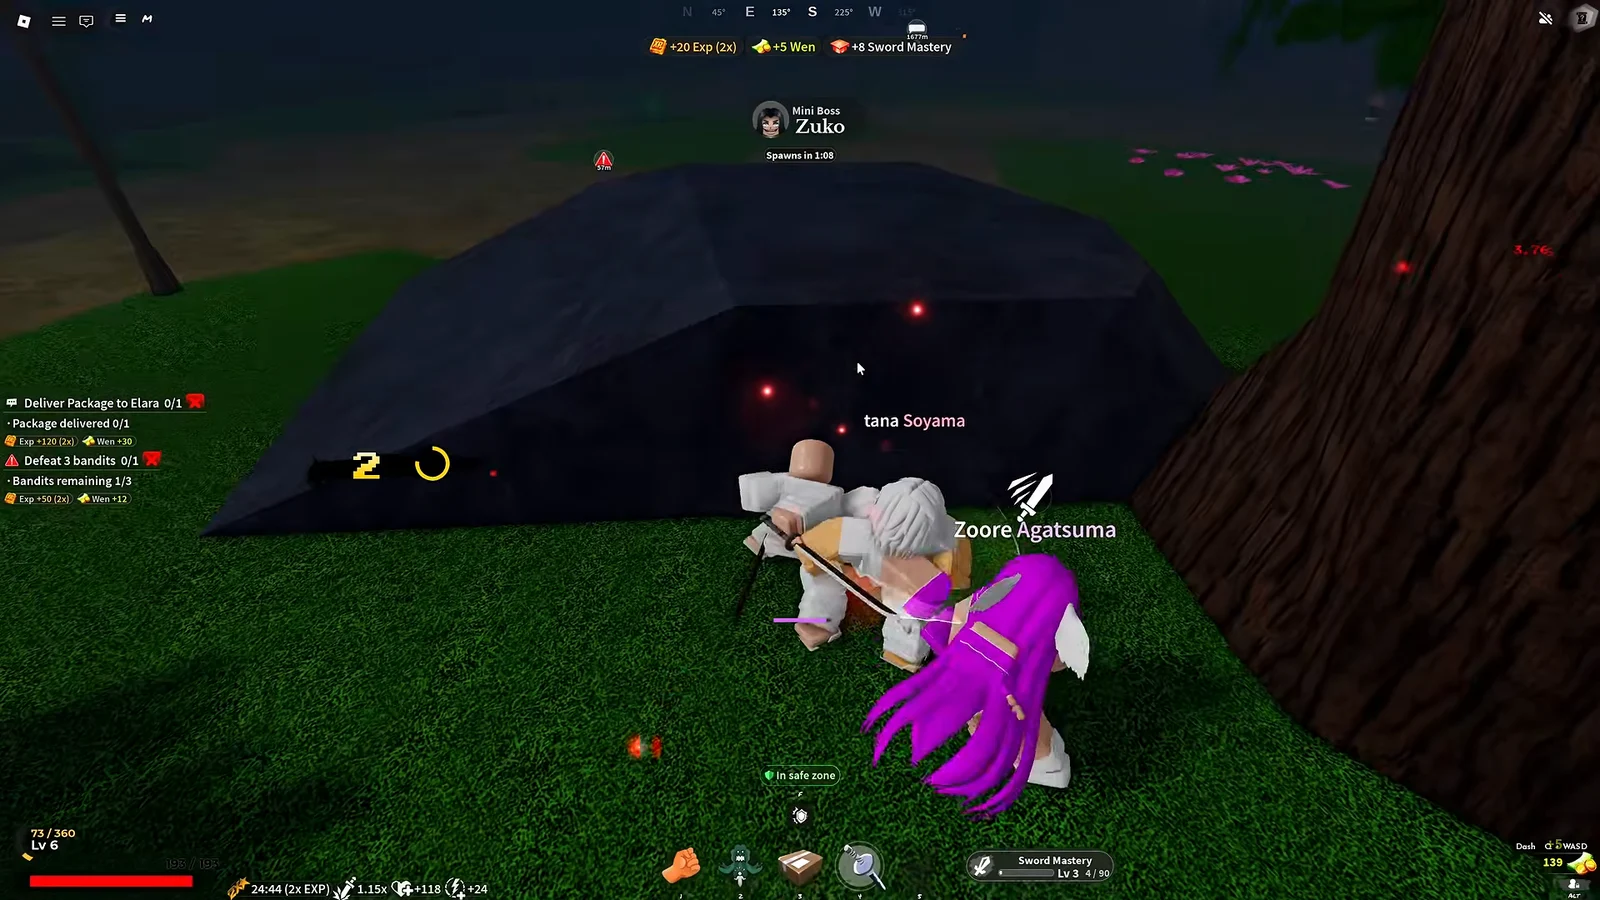
One side quest is worth doing before anything else. Collect the five Lost Pages scattered around the starting village and hand them to Kona to finish Recover the Lost Pages. The reward is the Book of Guidance, which permanently points you toward the next progression quest — useful in a game where quest givers hide on rooftops and under waterfalls.
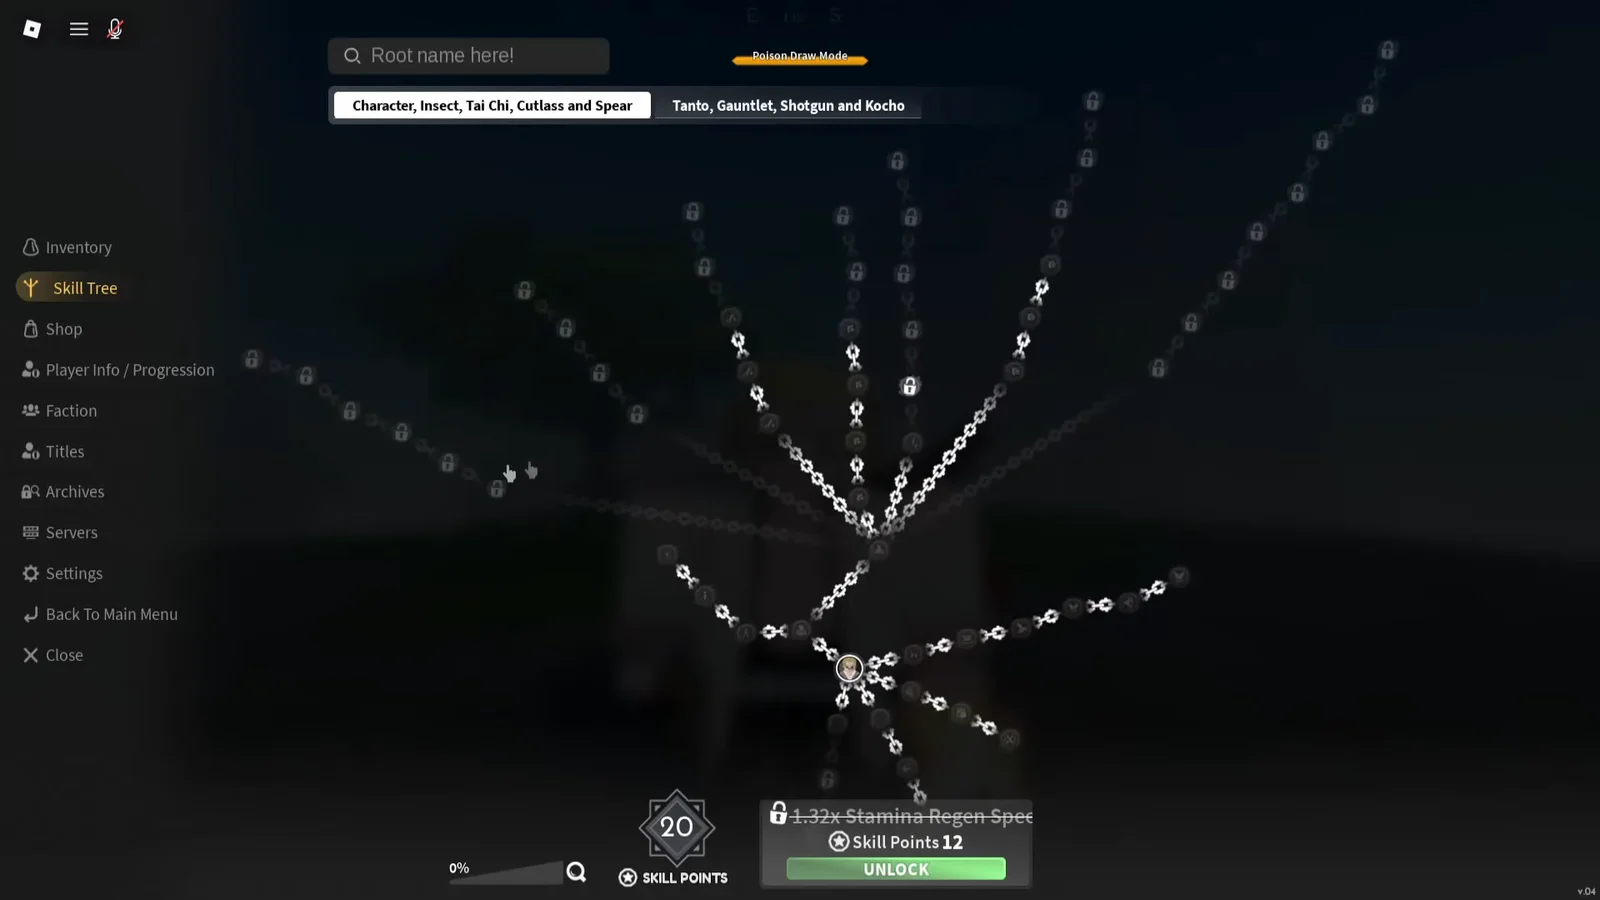
Skill tree priorities (press M)
The skill tree opens with the M key and splits into tabs for character stats, weapons, fighting styles, clan skills, breathing, and blood demon arts. Mastery is tracked separately from your level, so levelling alone will not finish a moveset.
- Wall Climb and Double Jump first. Several Breathing trainers are unreachable without them.
- Max Health and Block Points if you are dying mid-fight.
- Max Stamina and stamina regen if you run dry before a combo ends.
- Additional Damage once survivability is comfortable.
- Check your Breathing technique requirements before spending leftover points elsewhere.
How to get a Breathing Style at level 25
Breathing Styles are Slayer-side content and come from trainer questlines, not from character creation. There are eight of them, each with its own trainer, location, and material cost.
| Style | Trainer | Location | Cost |
|---|---|---|---|
| Flame | Rengu | House by the red bridge, Mistfall Village | 10 Demon Horns |
| Water | Urokodaki | Underwater passage near Bamboo Grove | 5,000 Wen, 30 Demon Horns |
| Serpent | Obari | Cliff above the starting area | 20 Demon Horns, 5 Beast Cores |
| Wind | Saneri | Snowy biome from the bear area | 50 Demon Horns |
| Thunder | Zentaro | Mountain route near the bear village | Wall Climb needed |
| Stone | Gyorei | Lower path from the bear area | Axe and Mace needed |
| Sound | Tengai | Icevail Valley snowy region | Wall Climb needed |
| Insect | Shinora | Roof of the Butterfly Mansion main building | — |
Serpent is the cheapest realistic first pick because its trainer sits close to spawn and its materials are modest. Flame is the next easiest to reach at only 10 Demon Horns.
Final Selection: level 45 requirement and trial order
Final Selection is the exam that makes you an actual Demon Slayer, and it opens at level 45. Solo players should push to level 60 first, because the Hand Demon at the end does not scale down for you.
Reach the entrance by heading toward the Butterfly Estate from Mistfall Harbor, crossing the long bridge southward into the Final Selection Plains, and taking the northeastern route to the gate. Once the entry timer begins, wait there, then talk to The Sisters inside to start.
- Rem — collect the Apple, Banana, and Grapes on the cliffside.
- Vael — defeat five Lesser Demons in the woods.
- Klien — return his Nichirin Katana, then buy Bandages from Rika for 135 Wen and pass the healing minigame.
- Mizuto — dive the pond, beat the Lost Bandit boss, take the Submerged Key.
- Parkour dungeon — spikes, levers, and wall jumps on a timer.
- Lavato and Levi — run four checkpoint poles, then hold a capture point and rescue a civilian.
- Steve — starts the Hand Demon boss fight.
You know it worked when the Slayer Uniform lands in your inventory and your rank updates. Equip the Kasugai Crow afterwards to receive a steady stream of high-level bounty quests, which pair well with Wagwan’s repeatable cave missions.
Lanterns for night visibility and cold immunity
Nights are genuinely dark, and the snow region deals damage over time unless you carry heat. Kuro sells the Cherry Blossom Lantern for 2,400 Wen, which is the cheapest fix for visibility. The Emberheart Lantern is the one that matters for Icevail Valley, since its Heat stat grants cold immunity.
| Lantern | Rarity | Key buffs | Source |
|---|---|---|---|
| Cherry Blossom | Common | +0.2 illumination | Kuro, 2,400 Wen |
| Emberheart | Legendary | +0.4 heat, +25 HP | Cold immunity pick |
| Fujiko’s | Legendary | 1.03x damage, +25 HP | 1.5% Common Chest |
| Mushroom Lit | Legendary | 1.05x move speed, +35 stamina | 1% Ice Chest |
| Lost Lantern | Mythic | +0.8 illumination, +45 HP | 0.9% Lost Chest |
| Demonic | Mythic | +70 HP, +55 stamina | 3% World Events Chest |
Cold immunity from the Emberheart Lantern runs on a timer. Stand next to the campfires dotted around Icevail Valley to top it back up before it expires, or you will start taking damage mid-farm.
Fast travel shrines and how to tame a horse
Shrines are scattered across the map and are bought with cash. Once purchased, a shrine becomes clickable on the minimap and teleports you between regions, which removes most of the cross-map running the quest chain otherwise demands.
Horses spawn in the wild. Approach one, clear the quick-time event minigame it triggers, then pay 15,000 Wen to claim it. A tamed horse gives you a faster travel option and access to a mobile merchant for selling loot without returning to town.
Clan rolls, titles, and the reset shop
Clans are rolled in the customization menu and grant passives, stat buffs, and unique skills — Kocho, for example, unlocks Poison Draw Mode. Pairing a clan with a matching style helps, such as Urokodaki or Sabito with Water and Rengoku with Flame, but no roll is required to become a Slayer.
| Rarity | Rate | Examples |
|---|---|---|
| Common | 60% | Ando, Aikawa, Fujiwara |
| Uncommon | 23% | Aori, Aoshima, Kaneki |
| Rare | 12% | Urokodaki, Sabito, Yahaba |
| Legendary | 4% | Kocho, Shabana, Tomioka |
| Mythic | 0.9% | Ubuyashiki |
| Supreme | 0.1% | Kamado |
The shop sells spins and resets for breathing, fighting style, evil art, skill points, and reputation. These take Robux or Ore, and Ore is the free route — it drops from bosses and world event chests. The Titles menu is separate and applies passive stat buffs you earn through play, so check it after every milestone.
Optional content: chests, fishing, the Black Market, and the Yeti
Tier 1 and Tier 2 locked chests appear in various spots across the map. They remain inaccessible until all hostile NPCs protecting one have been defeated, and their rewards can include anything from straw hats to Frozen Hearts.
Fishing unlocks through Dock Master Sofen at the Mistfall Harbor docks. Pay 5,000 Wen, take the “Find permit stamp” quest, recover the Lost Permit Stamp from the house across the river, and hand it back for your permit. A Basic Fishing Rod costs another 1,500 Wen.
Every three hours, the Black Market NPC appears somewhere random with exclusive stock such as Azure Guard Armour, the Golden Folk Mask, and Frozen Heart Caches. Frozen Heart Caches are important for reaching the Yeti, which resides in a hidden cave in Icevail Valley and appears only after a Frozen Heart is used to summon him. Rare Chests and each of the three Sealed Cache tiers have a 10 percent chance to drop Frozen Hearts.
How to become a demon instead
The demon route replaces Breathing Styles with Blood Demon Arts, and it is a deliberate choice you make by tanking your reputation rather than a quest you accept.
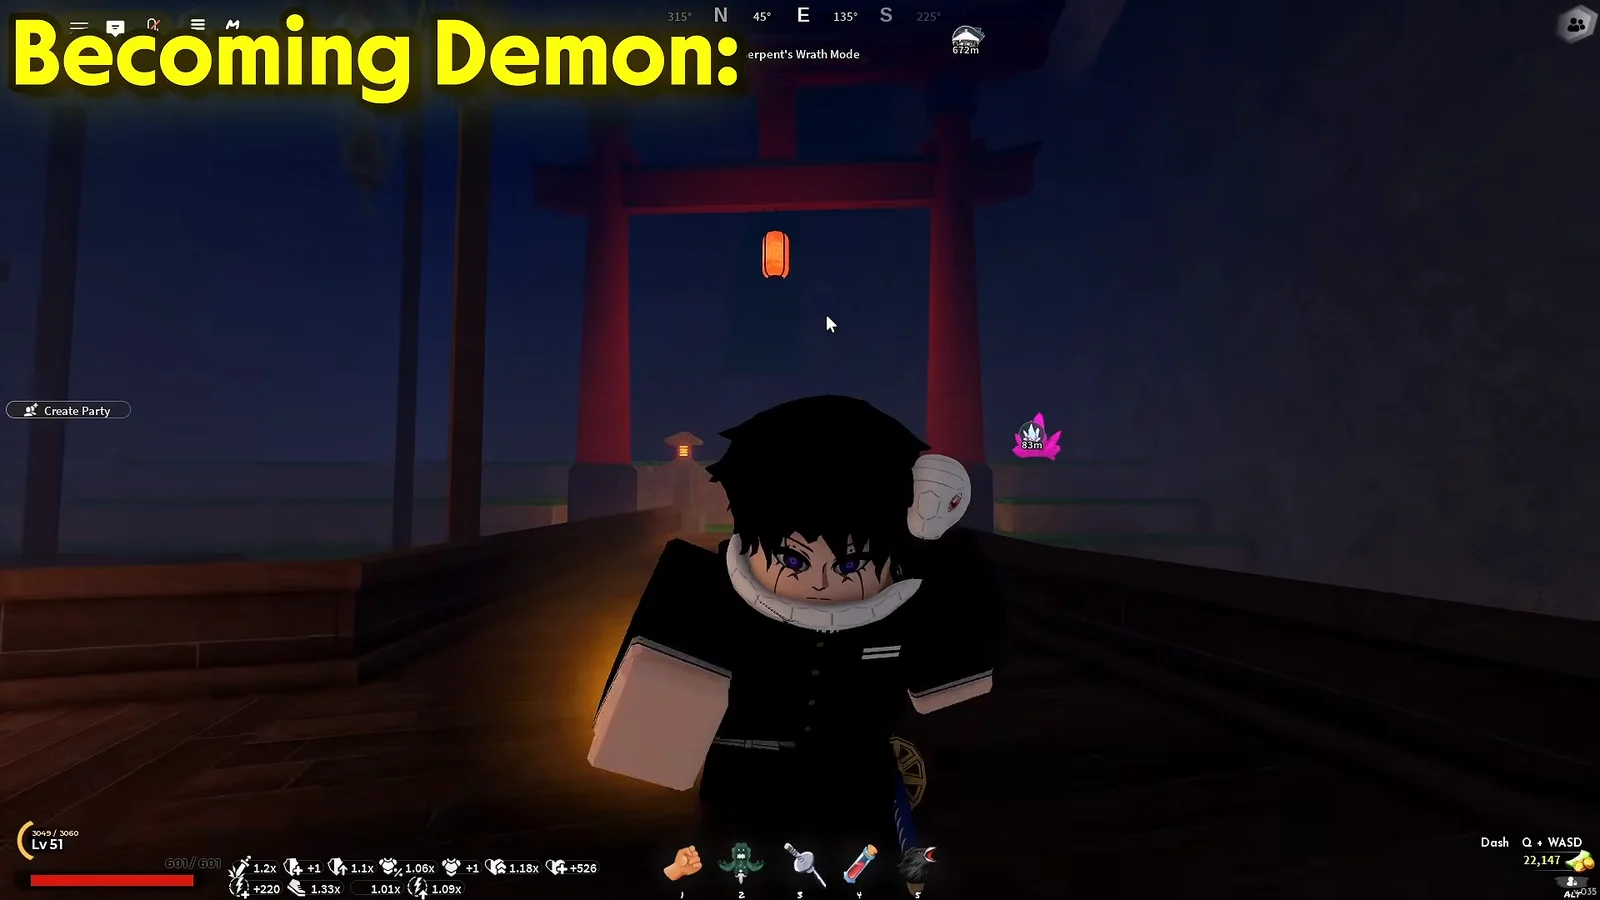
The two paths do not overlap, so decide before you spend materials. Breathing Styles belong to Slayer progression and Blood Demon Arts to the demon side, and an NPC offering Demon Arts is never the breathing unlock you are looking for.