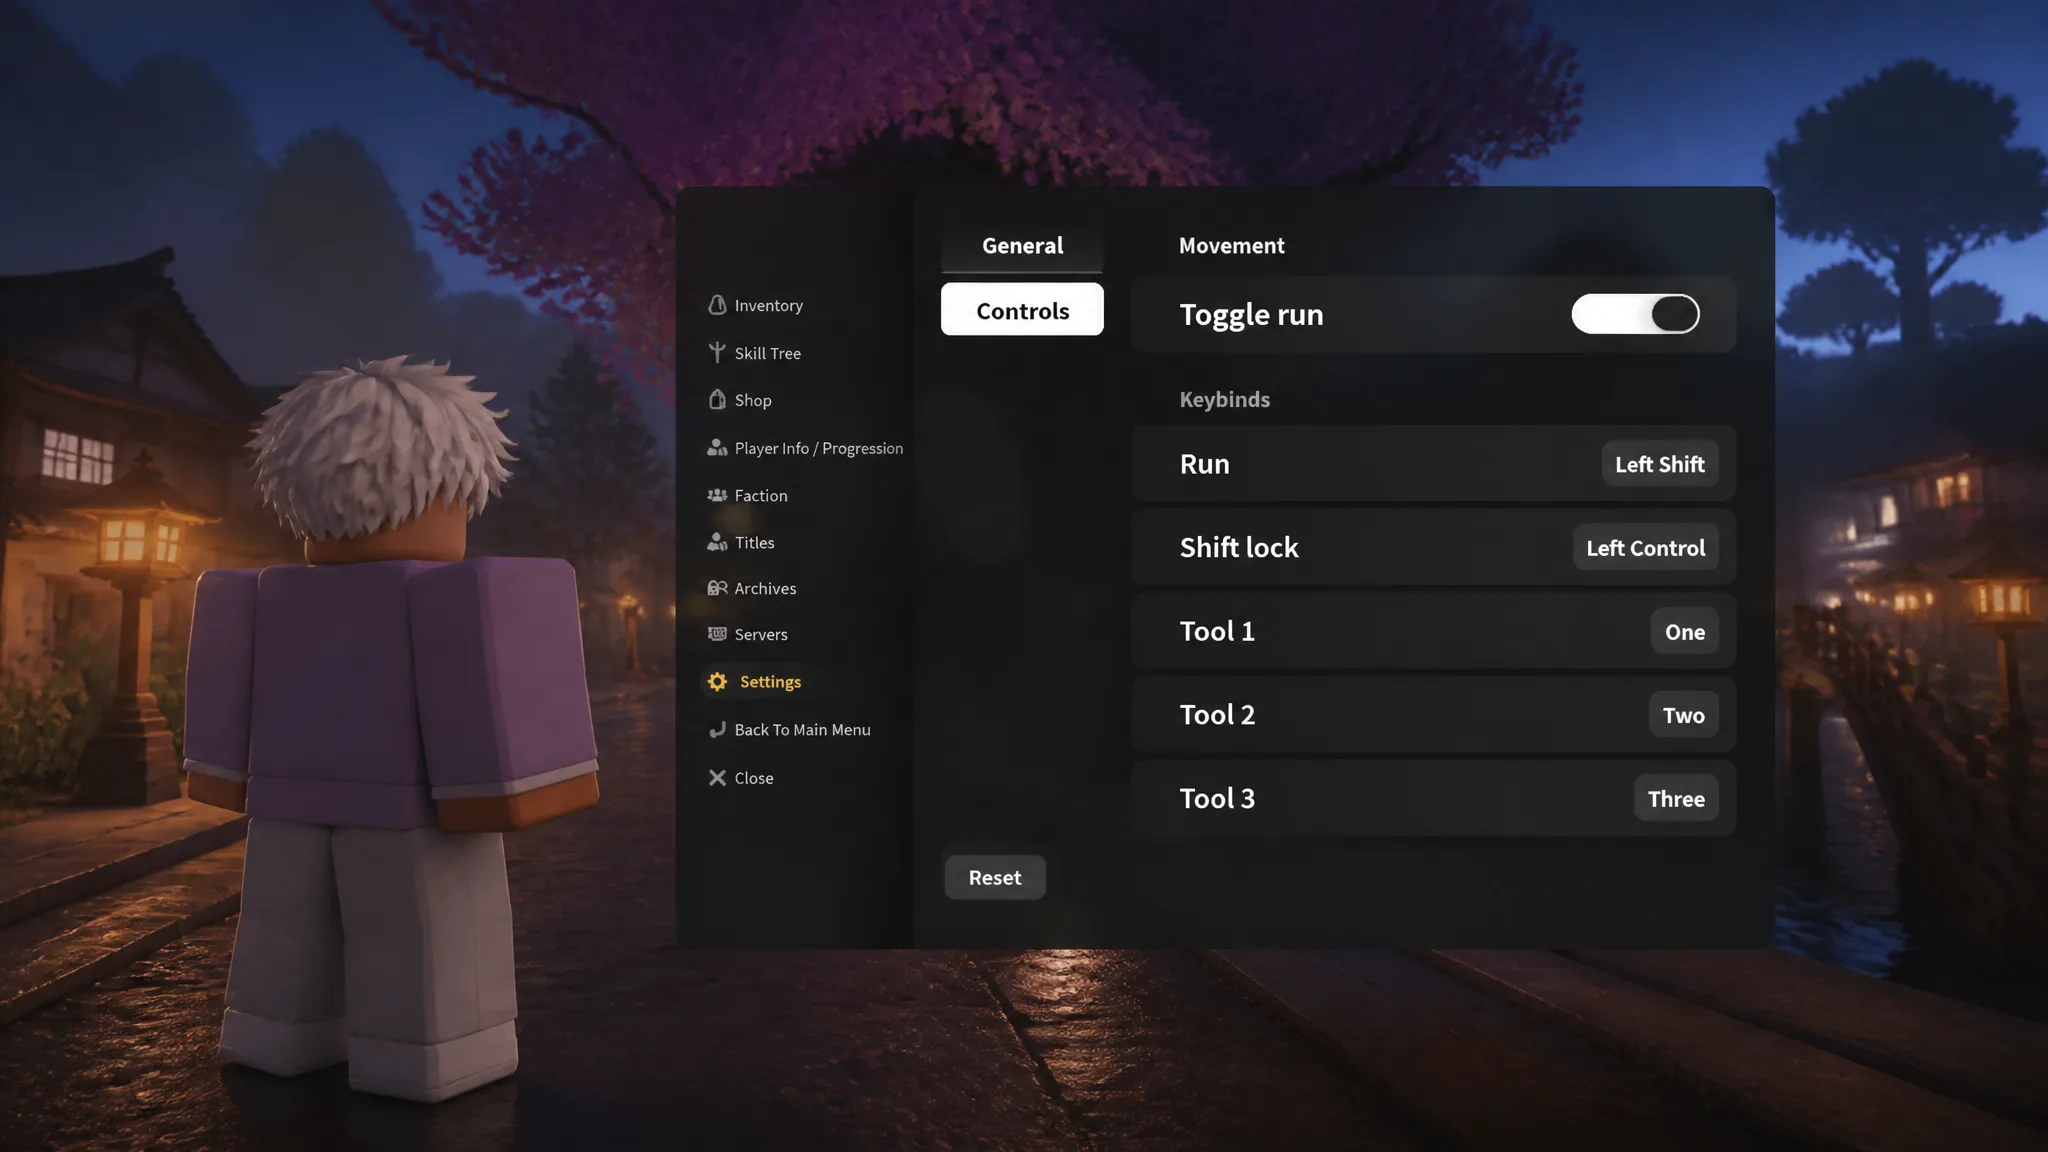
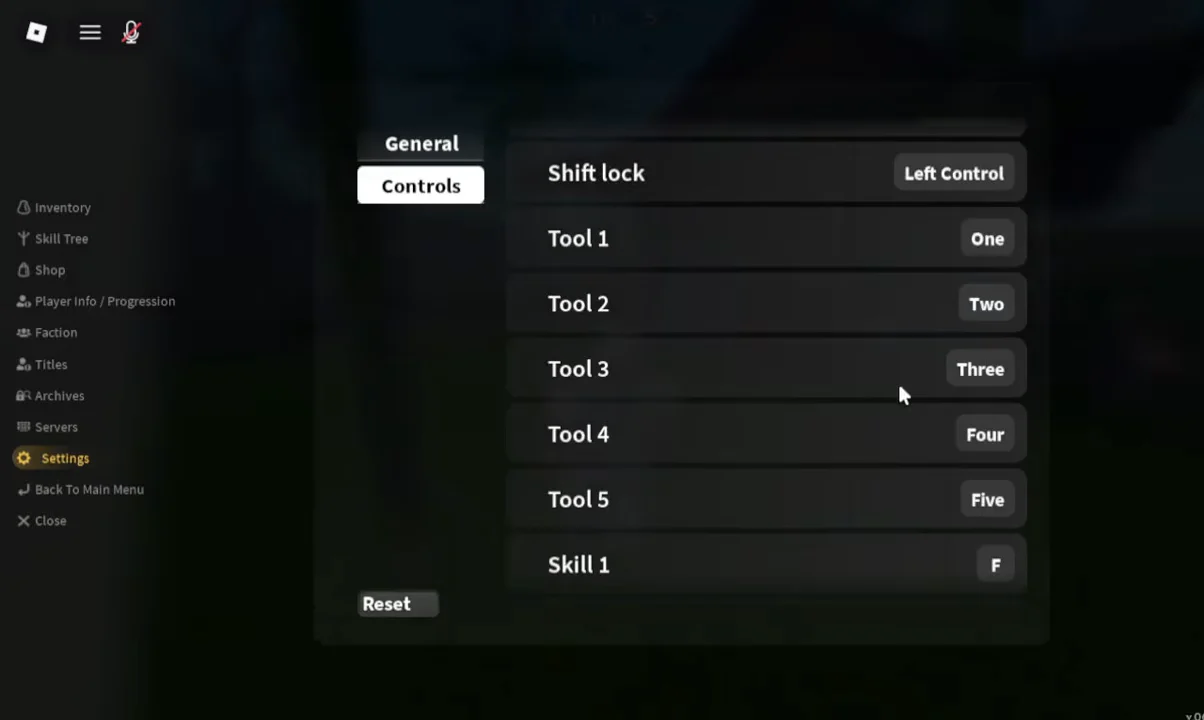
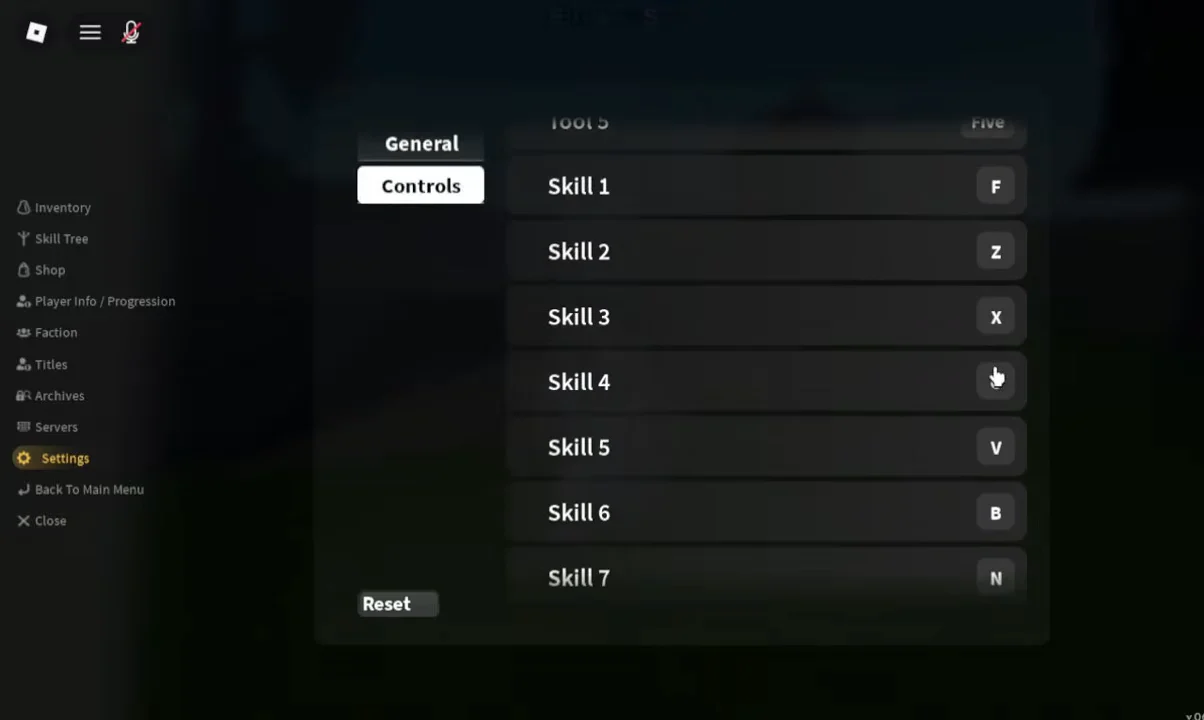
Keybinds in Slayers 2 are handled inside the in-game settings panel rather than through Roblox’s own client options. The Controls tab holds the rebindable inputs, including Run, Shift lock, tool slots, and skill slots, and each one is changed by recording a new key rather than typing it into a text field.
Quick answer: Open the menu with the three horizontal lines icon at the top left, choose Settings, switch to the Controls tab, click the keybind you want, press your new key, then select Click me to apply.
Which inputs can be rebound in Slayers 2
The Controls tab groups its options into a movement section and two keybind lists. Not every action in the game appears there, so plan your layout around what the tab actually exposes.
- Movement toggle run — switches running between hold and toggle behaviour.
- Run — the key that triggers sprinting.
- Shift lock — the key that locks your character’s facing direction to the camera.
- Tool slots — one binding per tool slot, including Tool 2.
- Skill keybinds — the slots your breathing style or Demon Art abilities sit in.
Camera sensitivity and camera inversion sit alongside these in the settings menu, so you can adjust how fast the view rotates at the same time you move your ability keys.
Change a keybind from the Controls tab
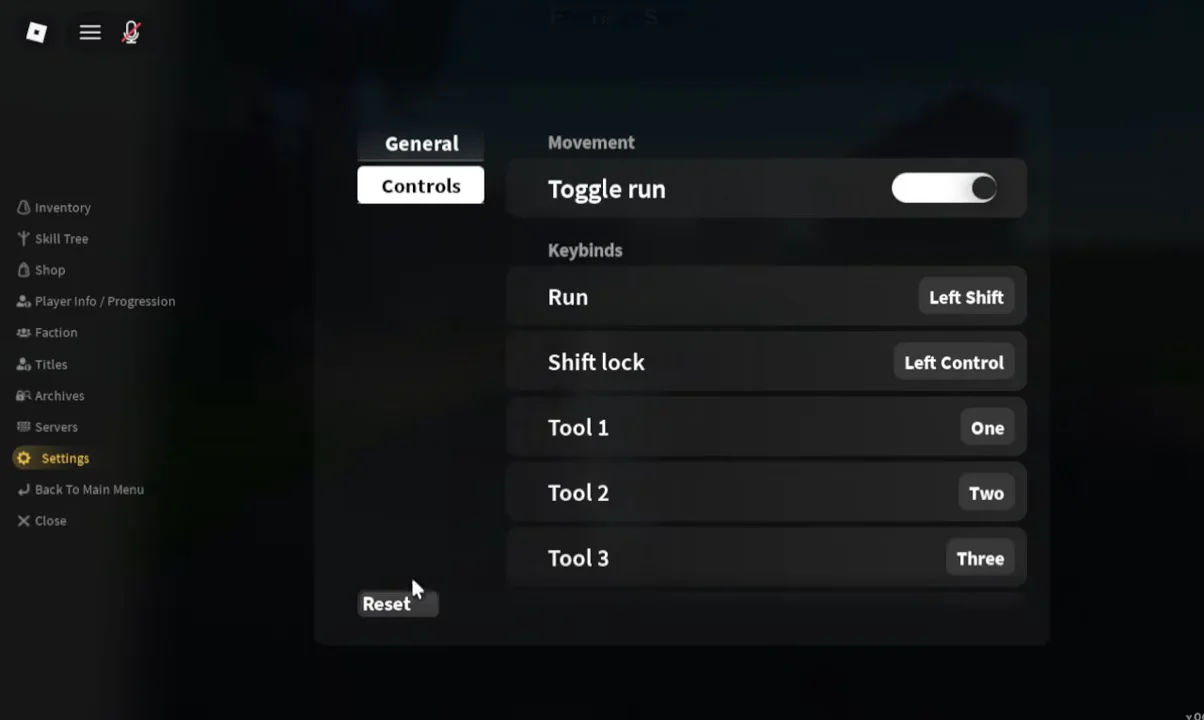
Change one binding at a time and test it before moving to the next, so a misfire during combat is easy to trace back to a single slot.
Confirm the new keybind took effect
After you apply a binding, the keybind list itself is the confirmation. The entry stops showing the recording state and displays the key you just pressed next to its slot name. Scroll back up through Controls once before closing the window to check every row you touched reads the way you expect.
Then verify it in play. Close the menu, press the new key in a safe area, and watch for the matching action, such as the sprint starting for Run or the corresponding ability firing for a skill slot. Testing away from a boss fight avoids discovering a mis-set key mid-encounter.
Reset controls back to default
If a layout stops working for you, the Controls tab includes a Reset button that returns the settings to their default state. Use it when several bindings overlap or you have lost track of which slot moved where, then rebuild the layout from the standard keys.
Default PC controls to plan your layout around
Knowing where the standard inputs sit makes it easier to pick replacement keys that do not collide with movement or interaction.
| Action | Default key | Use |
|---|---|---|
| Move | WASD | Core movement |
| Jump | Spacebar | Traversal and dodging |
| Basic attack | Left mouse button | Primary damage |
| Dash / dodge | Q | Evasion |
| Ability slots | 1–4 | Breathing and Demon Art skills |
| Interact | F | NPCs, chests, quests |
| Inventory / skills | Tab | Build management |
| Map | M | Region navigation |
Because your left hand stays on WASD during a combo, keys within easy reach of that cluster are the safest destinations for skill slots. Some players route ability slots to side buttons on a gaming mouse instead, which keeps movement and dodging uninterrupted while chaining breathing style forms.
Mobile: resize buttons instead of rebinding keys
Touch devices do not use keybinds, so the equivalent customisation happens through the on-screen layout. Slayers 2 exposes button resizing, Aim Assist sensitivity, and Shift lock toggling for mobile, which together cover most of what a rebind would fix on PC.
- Scale action buttons up so your thumb reaches every ability without stretching.
- Move the dash button away from the attack cluster to avoid accidental basic attacks.
- Start Aim Assist sensitivity at medium and lower it if attacks lock onto the wrong enemy.
Whichever platform you are on, the settings panel is the single place these changes live, and the layout carries over the next time you load in. Once your run, dash, and skill inputs sit where your fingers already are, the remaining friction in a fight comes from timing rather than from hunting for the right key.