


Early combat in Slayers 2 is not complicated, but it punishes you for standing still. Enemies swing on a readable rhythm, and the only thing standing between you and a chunk of missing health is the dash. Get comfortable with it in the first village and the bandit, bear, and boss fights later on stop feeling like health-bar races.
Quick answer: Press Q plus a WASD direction to dash that way. Bait the enemy into swinging, dash sideways or behind them as the attack starts, then land your hit during their recovery.
Dash controls in Slayers 2
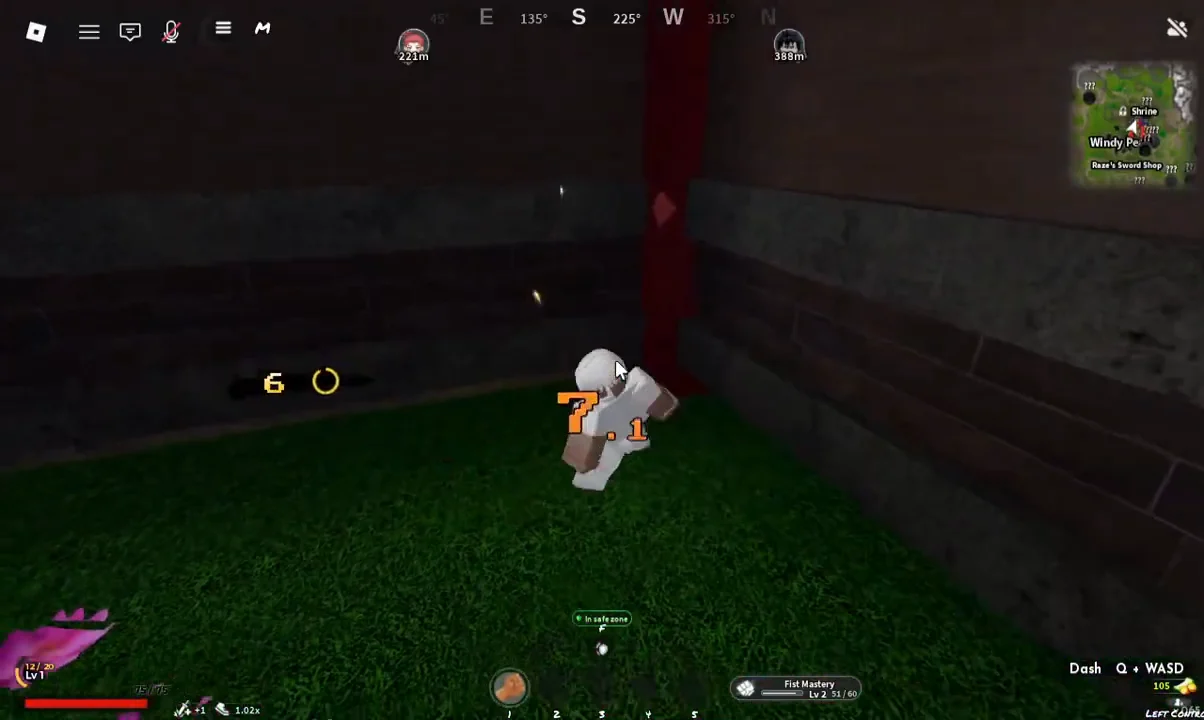
The dash is bound to Q, and it is directional. Whatever movement key you are holding decides where you go, so Q plus A slides you left, Q plus S pulls you backward, and Q plus W closes distance. The game keeps a control reminder on the bottom right of the screen showing the Dash: Q + WASD prompt, so you can check it while you are still learning the rhythm.
That directional part matters more than it sounds. A backward dash gets you out of range but leaves you facing the same enemy with nothing gained. A sideways dash keeps you close enough to answer immediately, which is the entire point of the technique.
How the dash hit works
A dash hit is a loop rather than a single input. You make the enemy commit to an attack, move out of its path with the dash, and punish the gap before they can reset. Each piece of the loop does one job:
- Rotate around the target so you are never standing where they are facing.
- Bait the swing by drifting just inside their range, then wait.
- Dash as the attack begins, not after it connects.
- Land a short string of basic attacks while they recover.
- Dash back out before the next swing starts.
Keep the follow-up short. Three hits you actually land beat a seven-hit combo that gets interrupted halfway through and leaves you eating the rest of their attack.
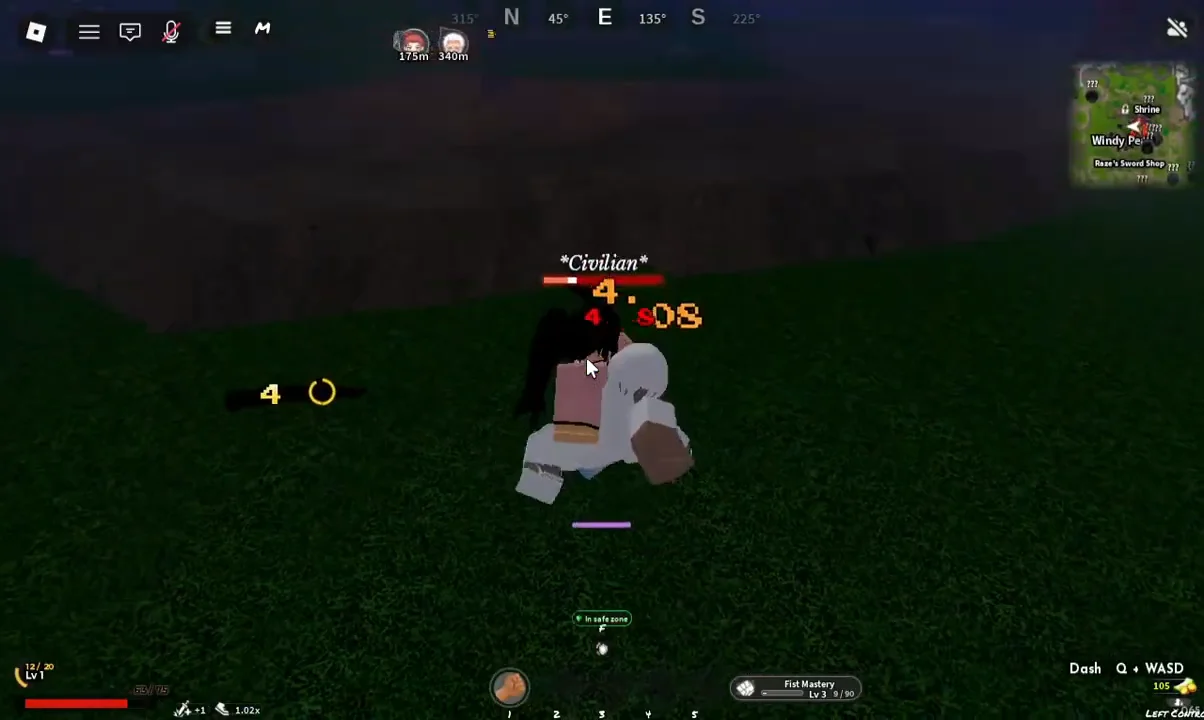
Practice the dash on Civilian NPCs at Windy Peak
Dashing against two or more enemies
Groups change the goal of the dash. Instead of using it purely to avoid one swing, use it to keep the enemies lined up so only one of them can reach you at a time. Dash to the outside of the group rather than through the middle of it, and stop chasing the one that is running away while a second one is still in range behind you.
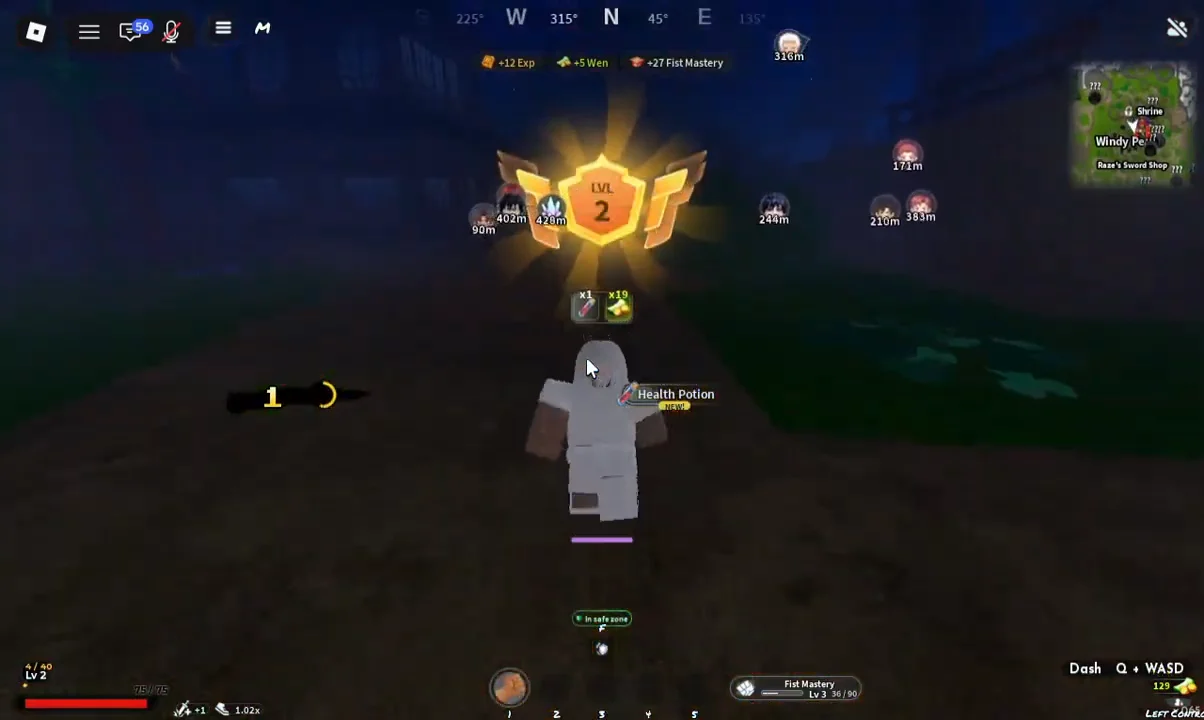
Clean fights pay off directly. Clearing enemies without taking hits awards EXP and weapon or fist mastery, and you will find pickups like Health Potions in the same areas to top yourself back up between fights.
Skill points that make dashing easier
You earn three skill points per level, and several nodes feed directly into how long you can keep moving and how much a mistake costs you. Spend them around the problem you keep running into rather than dumping everything into damage.
| Skill node | Why it helps |
|---|---|
| Stamina | More dashes and attacks before you run dry |
| Health | Survives the hits your timing misses |
| Block regeneration | Backup defence when a dash is unavailable |
| Double jump | Extra repositioning option in a fight |
| Wall climb | Traversal, and required to reach several trainers |
Movement nodes are the ones worth grabbing first. Wall climb and double jump are effectively mandatory later for reaching Breathing trainers, so unlocking them early costs you nothing and gives you more ways to break away from a fight you are losing.
How to tell your dash timing is correct
The confirmation is simple. The enemy’s attack animation plays out, nothing comes off your health bar, and your follow-up hits register with the red impact effects. If you are still losing health during the exchange, you are dashing after the swing lands rather than as it starts, or you are dashing straight backward and then walking back into the next attack.
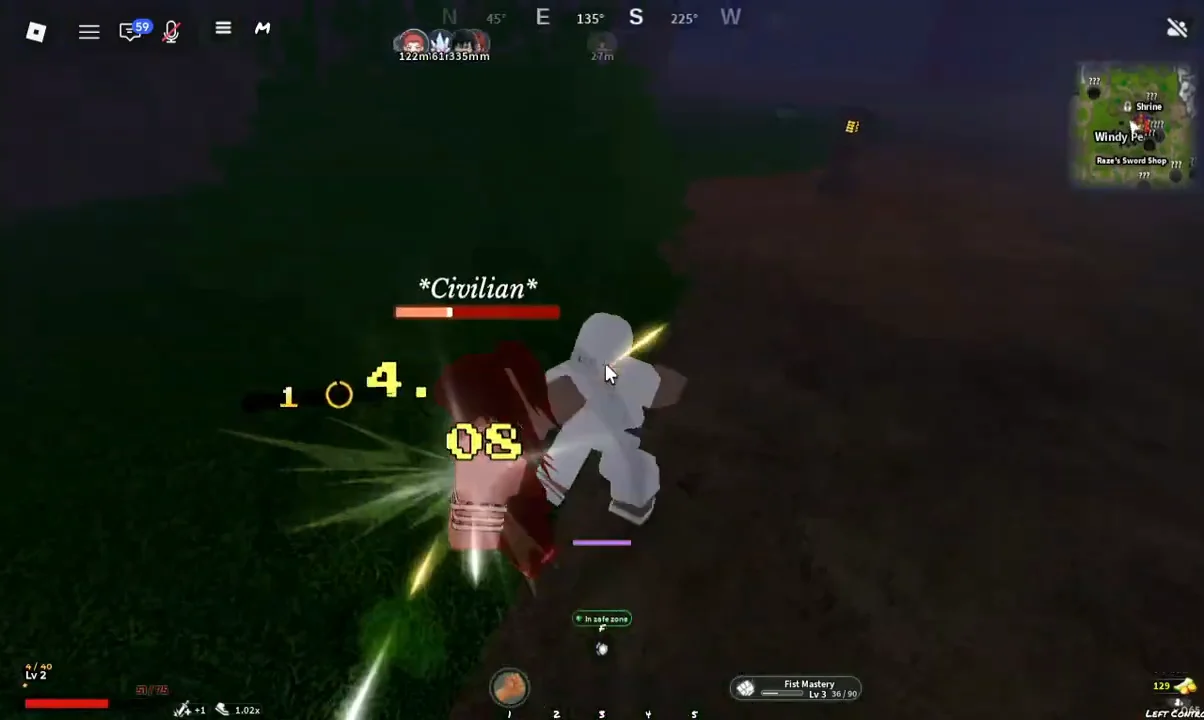
Run the loop on Civilian NPCs until the rhythm becomes automatic, because the same pattern carries straight into Krue’s bandit quests, Zuko, the bear area, and eventually Final Selection. Boss attack strings are longer, but the decision is identical every time: watch the wind-up, dash out of the line, hit the recovery, and leave before the next swing.





