

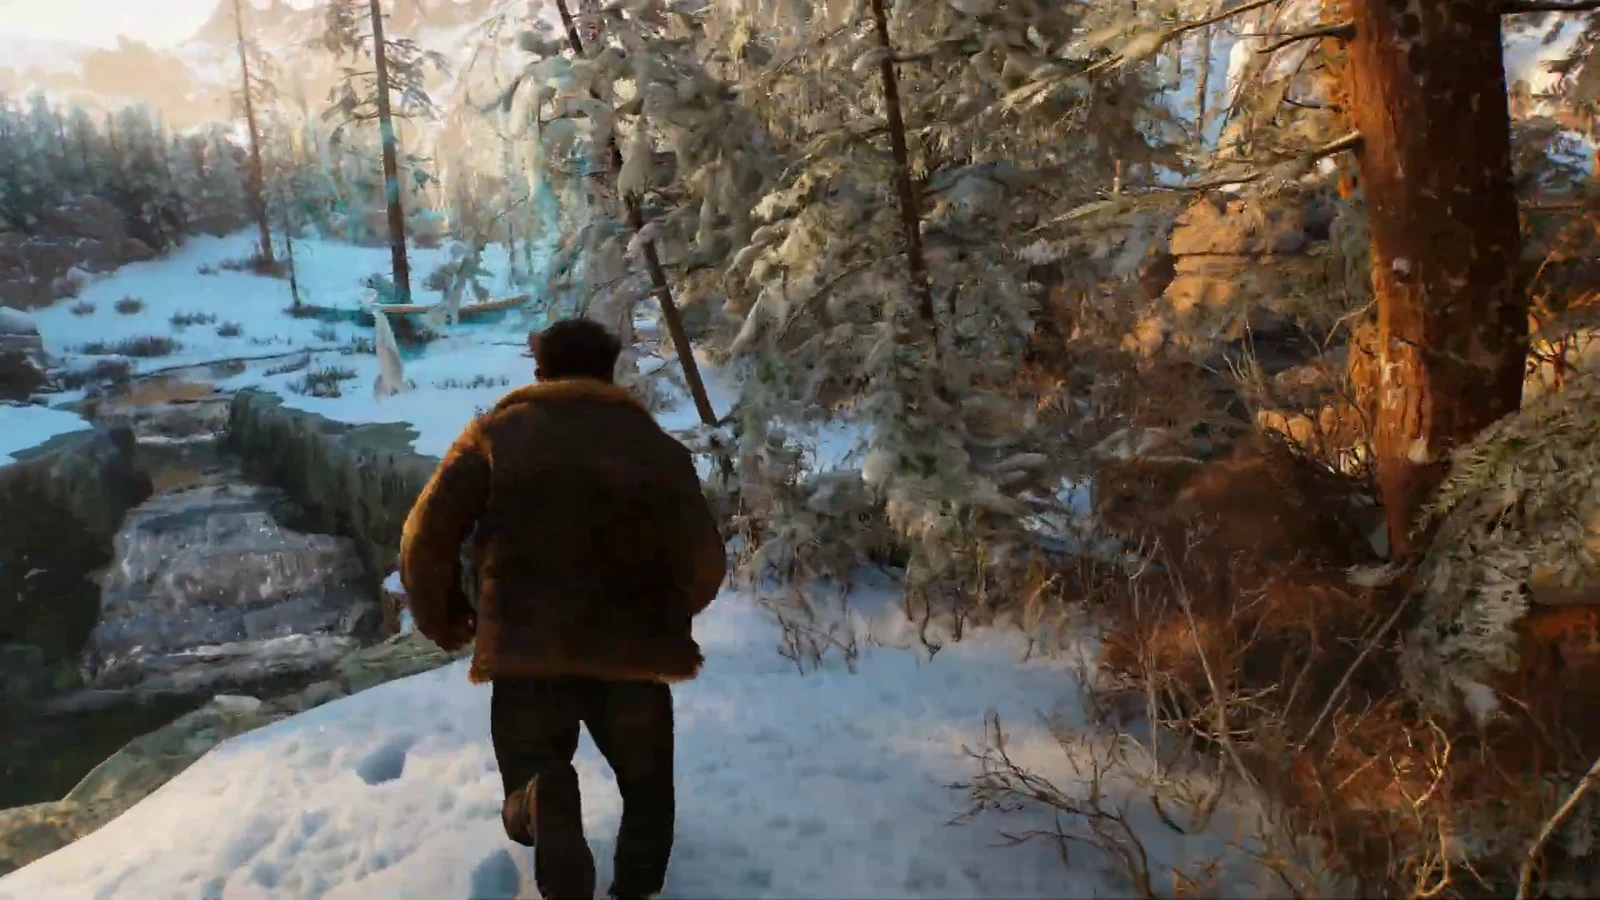
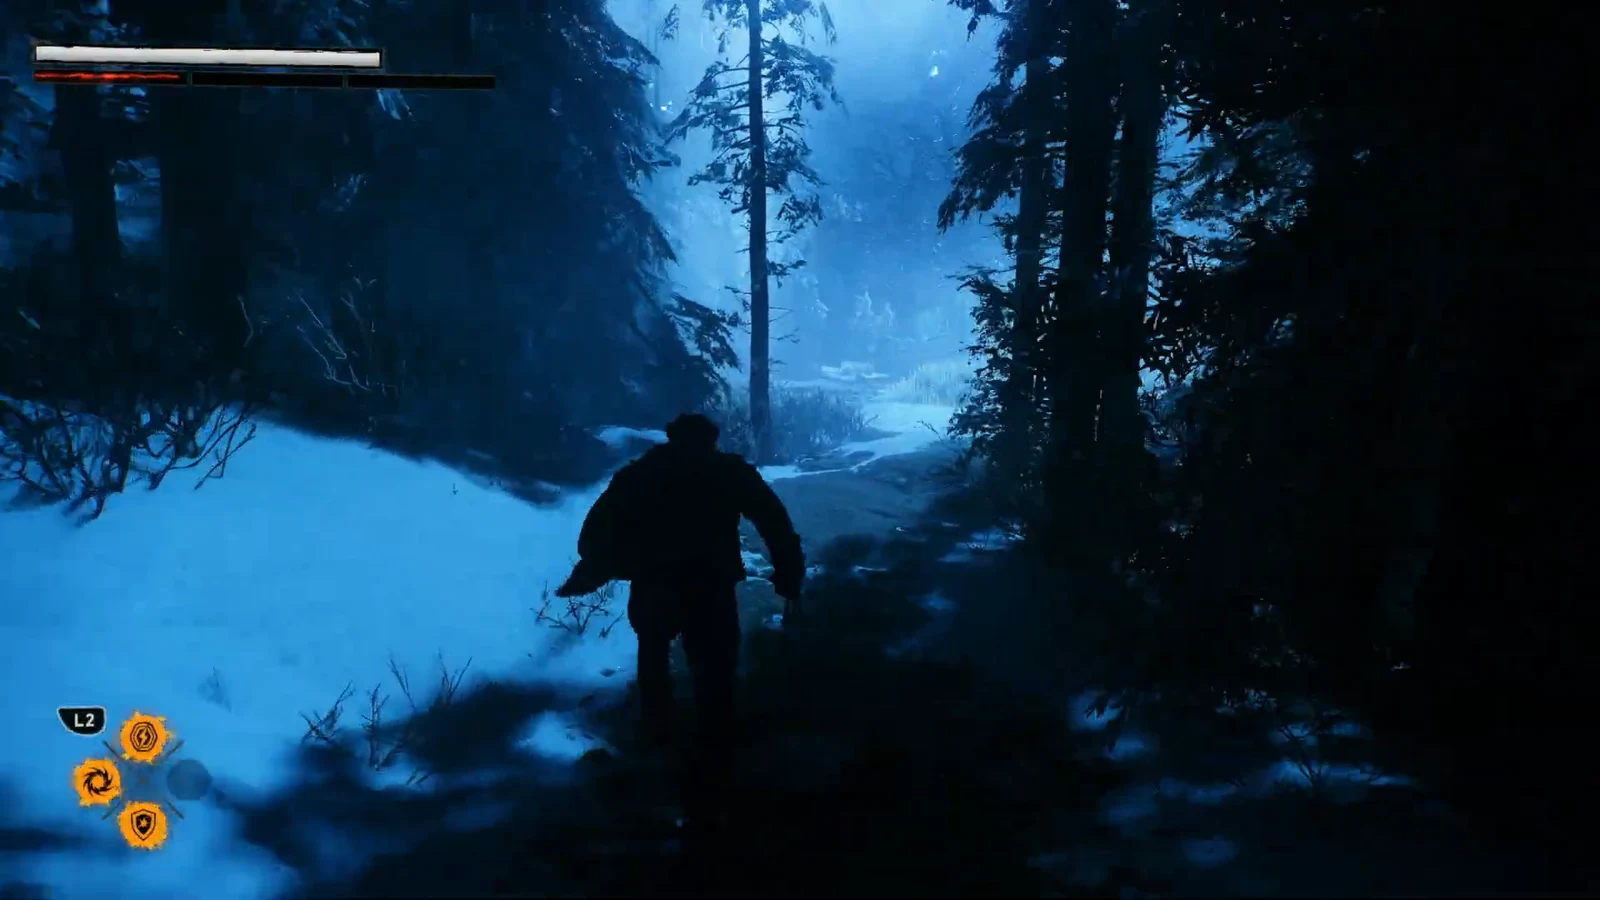
Something Much Stronger closes out the Canada chapter of Marvel’s Wolverine, and it is one of the calmer missions in the game right up until it isn’t. Logan walks home through a snowstorm, picks up everything scattered along the trail, and then watches Trask’s Reavers burn the place down. The collectible route is short, linear, and easy to clear in a single pass if you know where to step off the path.
Quick answer: The mission holds six collectibles — four Material Crates, one Whisky Bottle, and one Nightmare Door — all found between the opening trail and Logan’s cabin. None of them are missable.
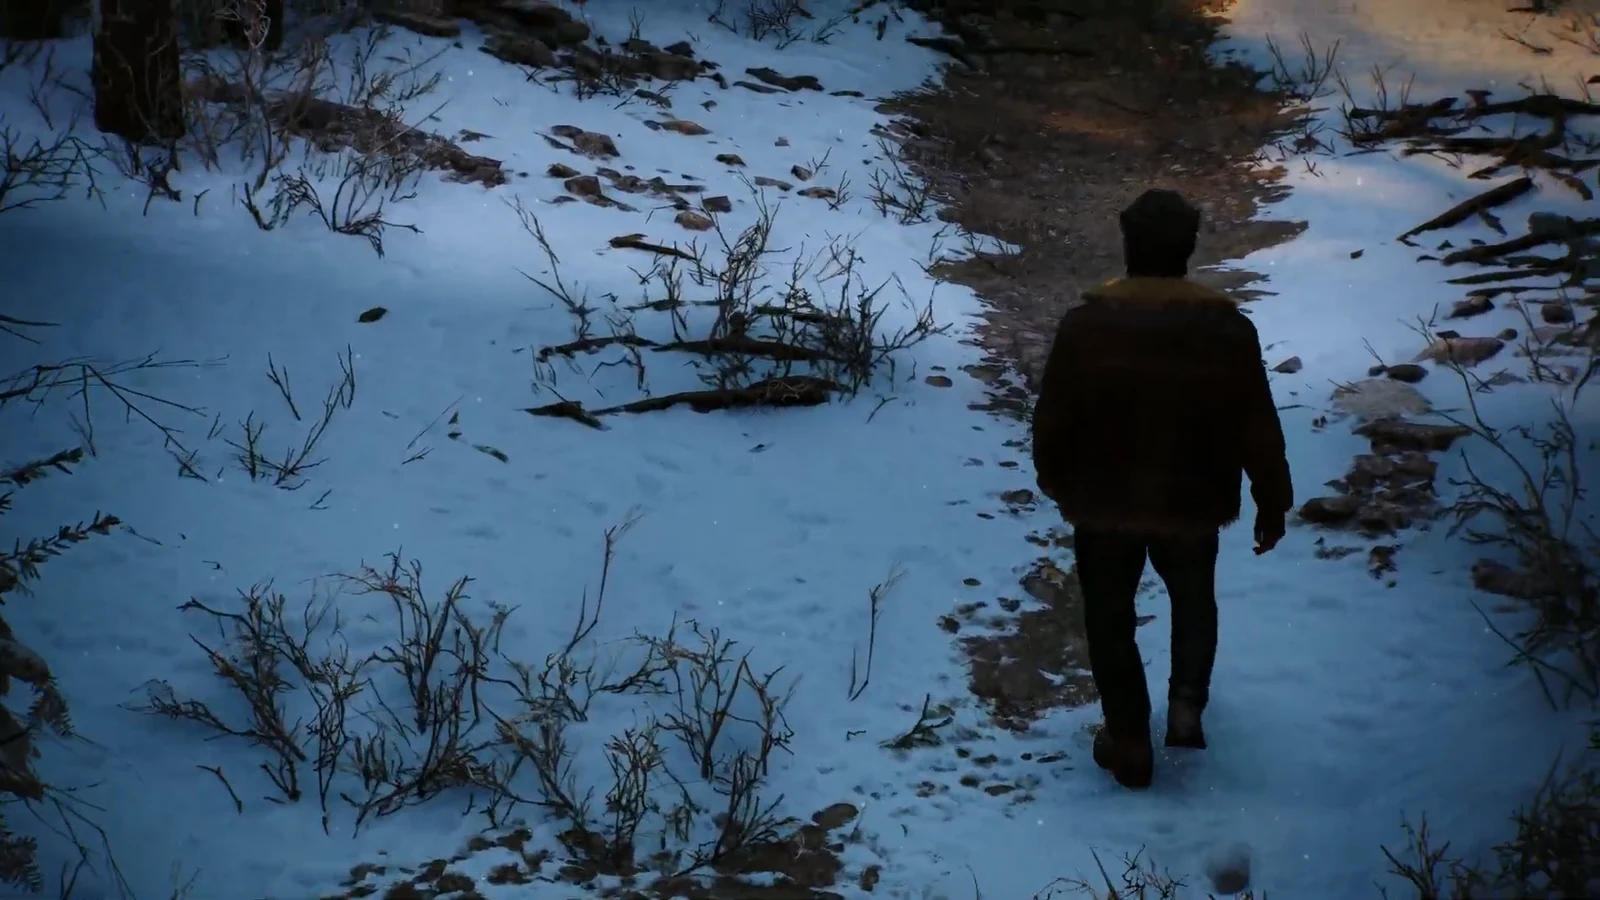
What counts toward 100% in Something Much Stronger
Three collectible types are tracked here, and the pause menu counter tells you exactly how many of each you still owe.
| Collectible | Count | Where it sits |
|---|---|---|
| Material Crates | 4 | Stream, lake island, fishing hut, cabin |
| Whisky Bottles | 1 | Cave past the first crate |
| Nightmare Doors | 1 | Roots after the trapped wolf |
Nothing in this mission locks out. If you finish the story without full completion, you can return through chapter select by interacting with the bed in the Nightmare Cabin and mop up whatever the tracker still lists.
All 6 collectible locations on the route to the cabin
The whole mission runs in one direction, so the collectibles arrive in a fixed order. Target practice boards are scattered along the same route and hand out XP when you slash them, but they don’t count toward the collectible total.
Material Crate #1 and the Whisky Bottle (opening streams)
Nightmare Door: Fallen on Hard Times
Material Crates #2 and #3 (lake and fishing hut)
Material Crate #4 (outside the cabin)
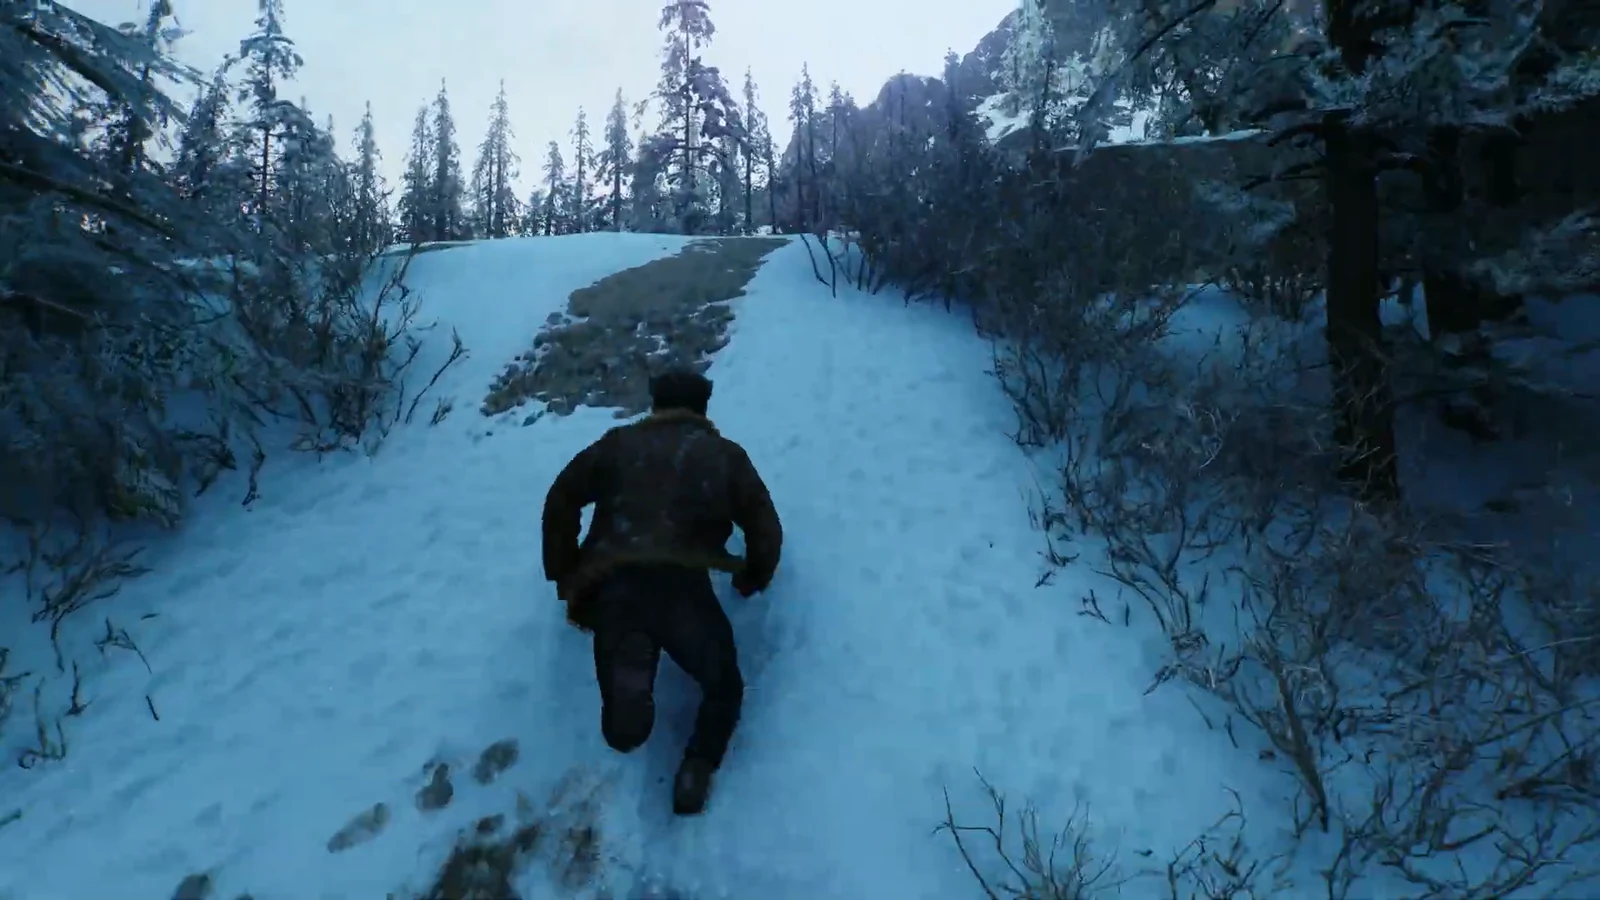
Fallen on Hard Times trial: Getting the Adamantium rank
Fallen on Hard Times is a traversal trial, not a fight. The objective is simply “reach the exit,” and you run a dark, green-lit obstacle course against a timer. Rank is decided purely by elapsed time.
| Time | Rank earned |
|---|---|
| 0:43.50 | Silver |
| 0:42.41 | Gold and Adamantium |
The margin between ranks is thin, so a single missed jump is the difference between Silver and the top tier. You can retry the course immediately from the results screen without leaving the Nightmare Door, and the collectible counts as found regardless of your rank. Once you’re happy with the time, slash the roots to free the memory — here it’s a carved wooden lynx statue alongside a text log titled “Rockies. 1873.”
Where to spend Materials and AP during this mission
Four crates at 50 Materials each is enough to cover a suit purchase in the gear menu on the spot. Ultimate Red costs 150 Materials and comes with hooked claws, and it can be bought mid-mission the moment you can afford it.
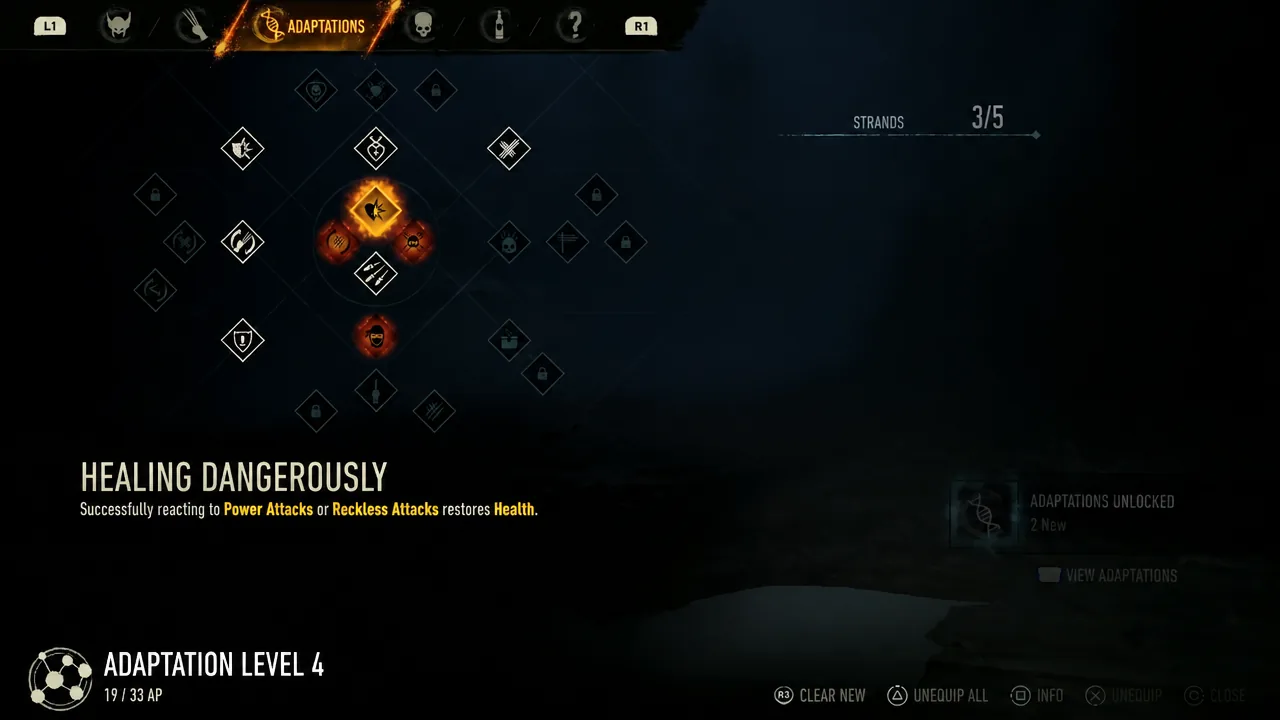
If you’re chasing full completion across the game rather than just this mission, the more useful purchase is in the Adaptations menu. Crate Finder costs 25 AP and flags Material Crates for you, which saves a lot of backtracking in later chapters.
Inside the cabin: Interactions before Jean Grey arrives
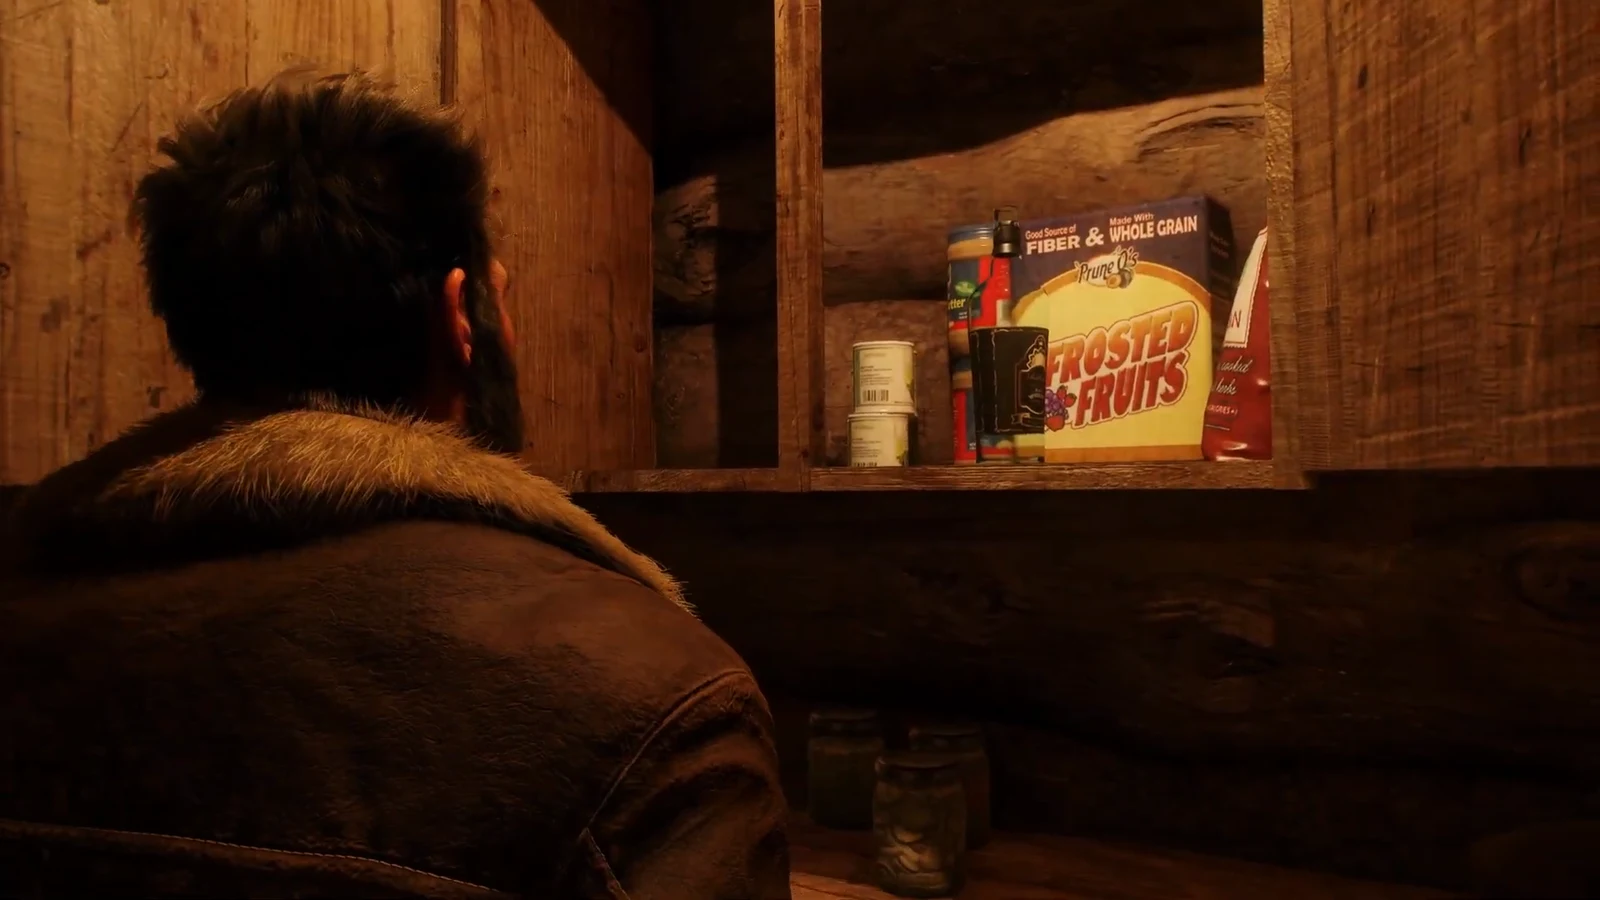
With the crates cleared, the cabin section is a series of optional interactions with no collectible attached. Stoke the fireplace with the poker, work through the shelves for the dregs of a whiskey bottle, and inspect the framed photograph of Logan’s old team.
A bronze dog tag reading “S LOGAN 1048” sits on one of the shelves. The wall cabinet holds a bottle of sake and the key to the footlocker, and the footlocker itself hides a fresh bottle of whiskey. Sitting down to drink it triggers the knock at the door and Jean Grey‘s arrival.
How to survive the Reaver ambush after the cabin
An explosion ends the quiet stretch. Trask’s Reaver ships appear overhead, Jean flies off to help other mutants, and Logan drops into a field of tall grass to handle the hunters alone. This fight punishes a straight charge — cloaked hunters will ambush you if you push through the grass carelessly.
- Use the tall grass and the trees for stealth takedowns before the fight goes loud.
- Watch for the yellow mine indicators on the ground and route around them.
- Thin out the cloaked hunters first, since they are the ones that punish open movement.
- Expect a heavily armored Reaver Crusher to close out the encounter after the standard waves.
Clearing the last wave ends player control. The cabin burns as a Trask ship pulls away, Logan lifts a concrete slab to find Leech dead beneath it, and Sabretooth, Mystique, and Essex arrive to set up the move on Trask in Madripoor. Nothing in that stretch is collectible, so there is no reason to hold back.
How to confirm the mission is 100% cleared
Open the pause menu before the ambush and check the collectible tracker. A full clear reads Nightmare Doors 1/1, Material Crates 4/4, and Whisky Bottles 1/1, and the mission completion percentage climbs as you collect. The same tracker is mirrored in the Nightmare Cabin, so you can verify it later from the hub instead of replaying blind.
If any counter is short, the bed in the Nightmare Cabin lets you re-enter this mission through chapter select after the credits, and the missing item will still be sitting exactly where you left it.





