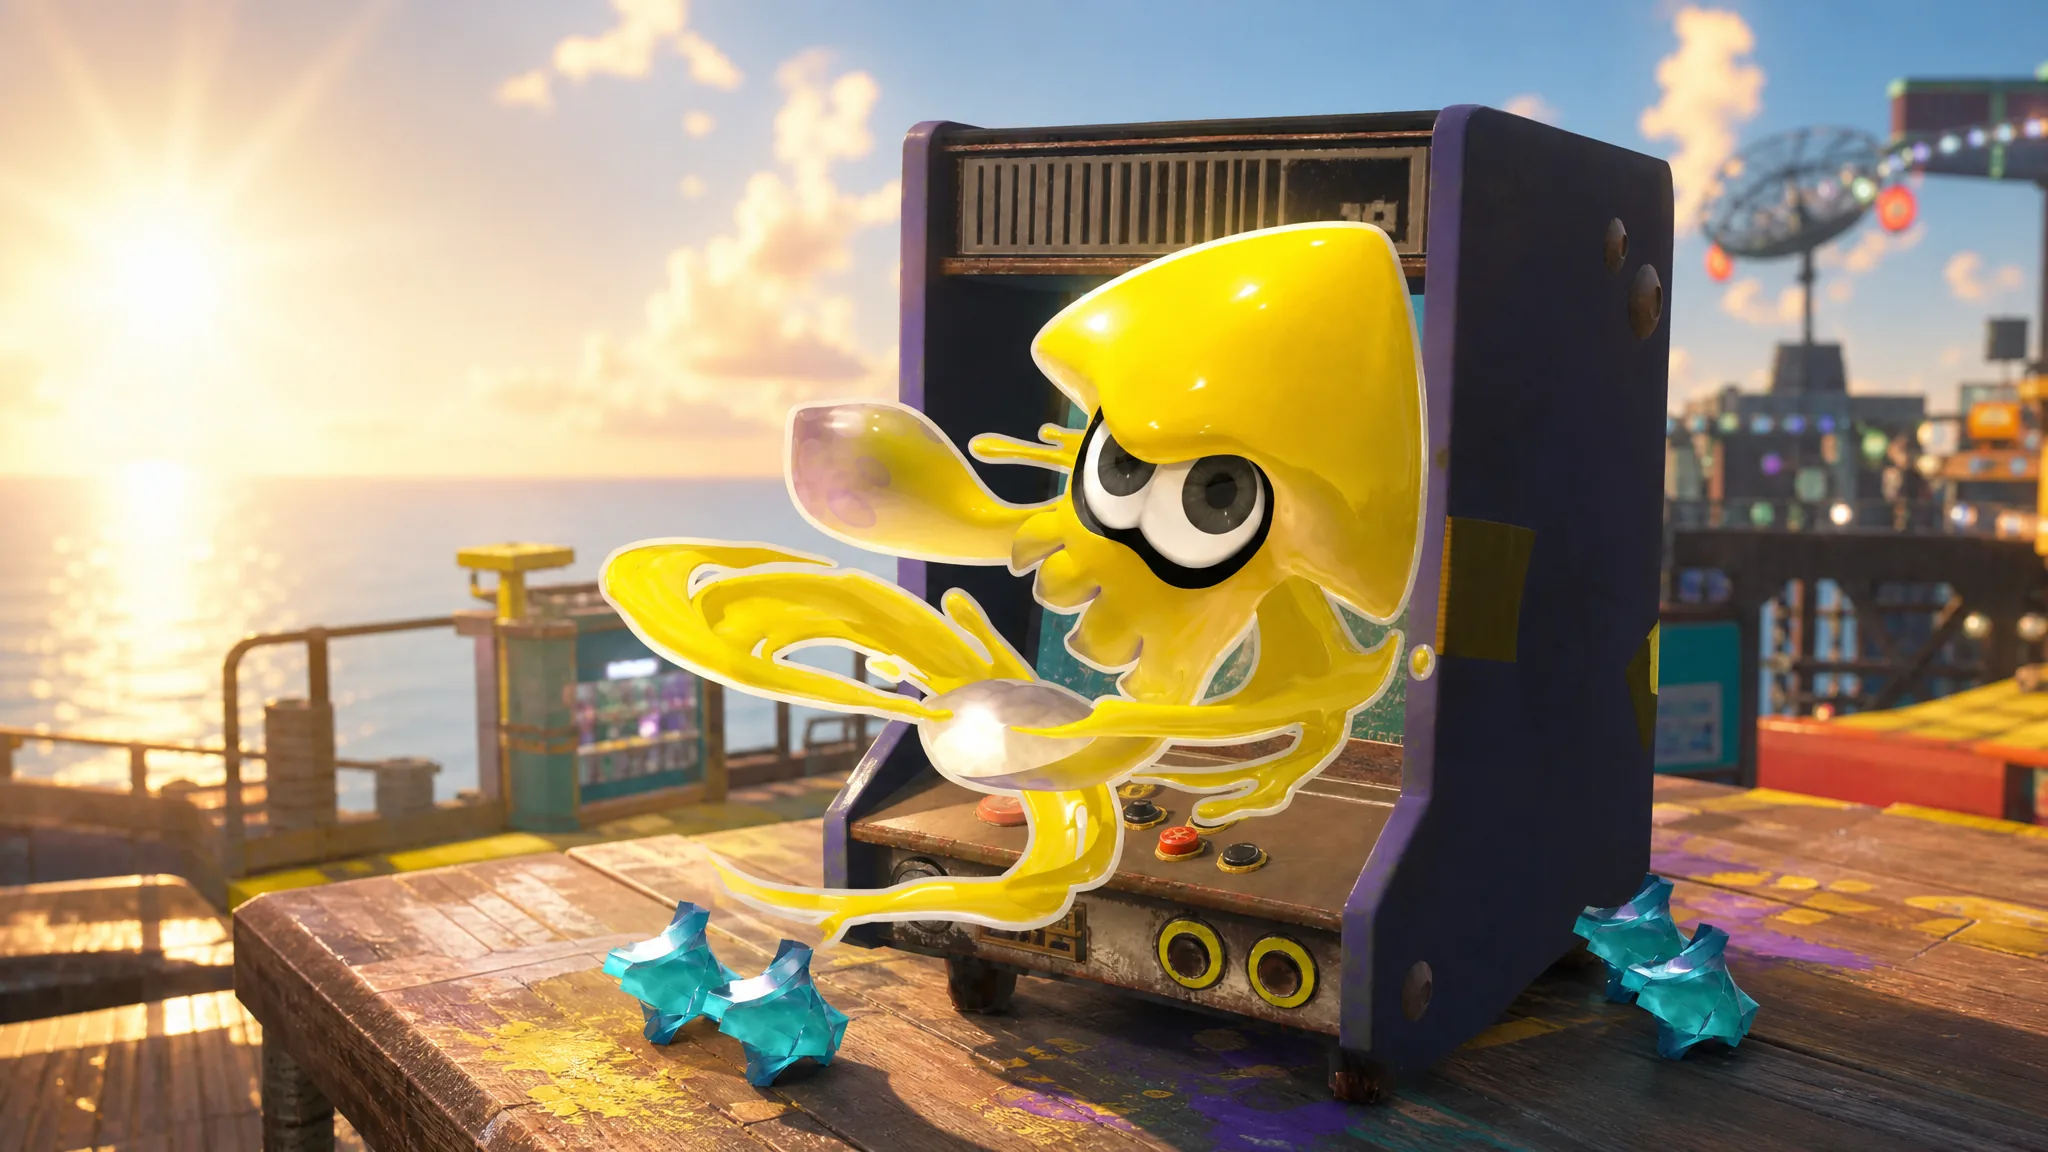
Tucked away inside the Hideout Ship, the arcade machine holds four short minigames that have nothing to do with inking Salmonids and everything to do with testing your patience. Clearing all four at rank A is the only way to unlock a specific outfit, and the games are deliberately punishing, so it pays to know the exact scores you need before you start feeding in shards.
Quick answer: Buy the Arcade Cabinet from the Test Range shop after unlocking Ship Construction, then reach 6,000 in Mining, 5,500 in Hopping, 7,000 in Juggling, and 9,000 in Landing. Hitting A rank in all four unlocks the Speedster Bot Pro outfit.
How to unlock the Arcade Cabinet
The arcade is an upgrade to the Test Range, so you gain access to it as soon as that facility opens. Finish the tutorial dungeons, unlock Ship Construction, and the Arcade Cabinet becomes available to buy from the Test Range shop.
| Purchase | Games unlocked | Price |
|---|---|---|
| First | 2 games | 2,015 shards |
| Second | 3 games | 2,017 shards |
| Third | 4 games | 2,022 shards |
Those three prices are a wink at the series itself, matching the release years of Splatoon (2015), Splatoon 2 (2017), and Splatoon 3 (2022).
A rank score targets for every arcade game
Each game awards a rank based on your final score, and A is the mark you need on all four for the reward. Here are the point thresholds to aim for.
| Game | Points for A rank |
|---|---|
| Mining | 6,000 |
| Hopping | 5,500 |
| Juggling | 7,000 |
| Landing | 9,000 |
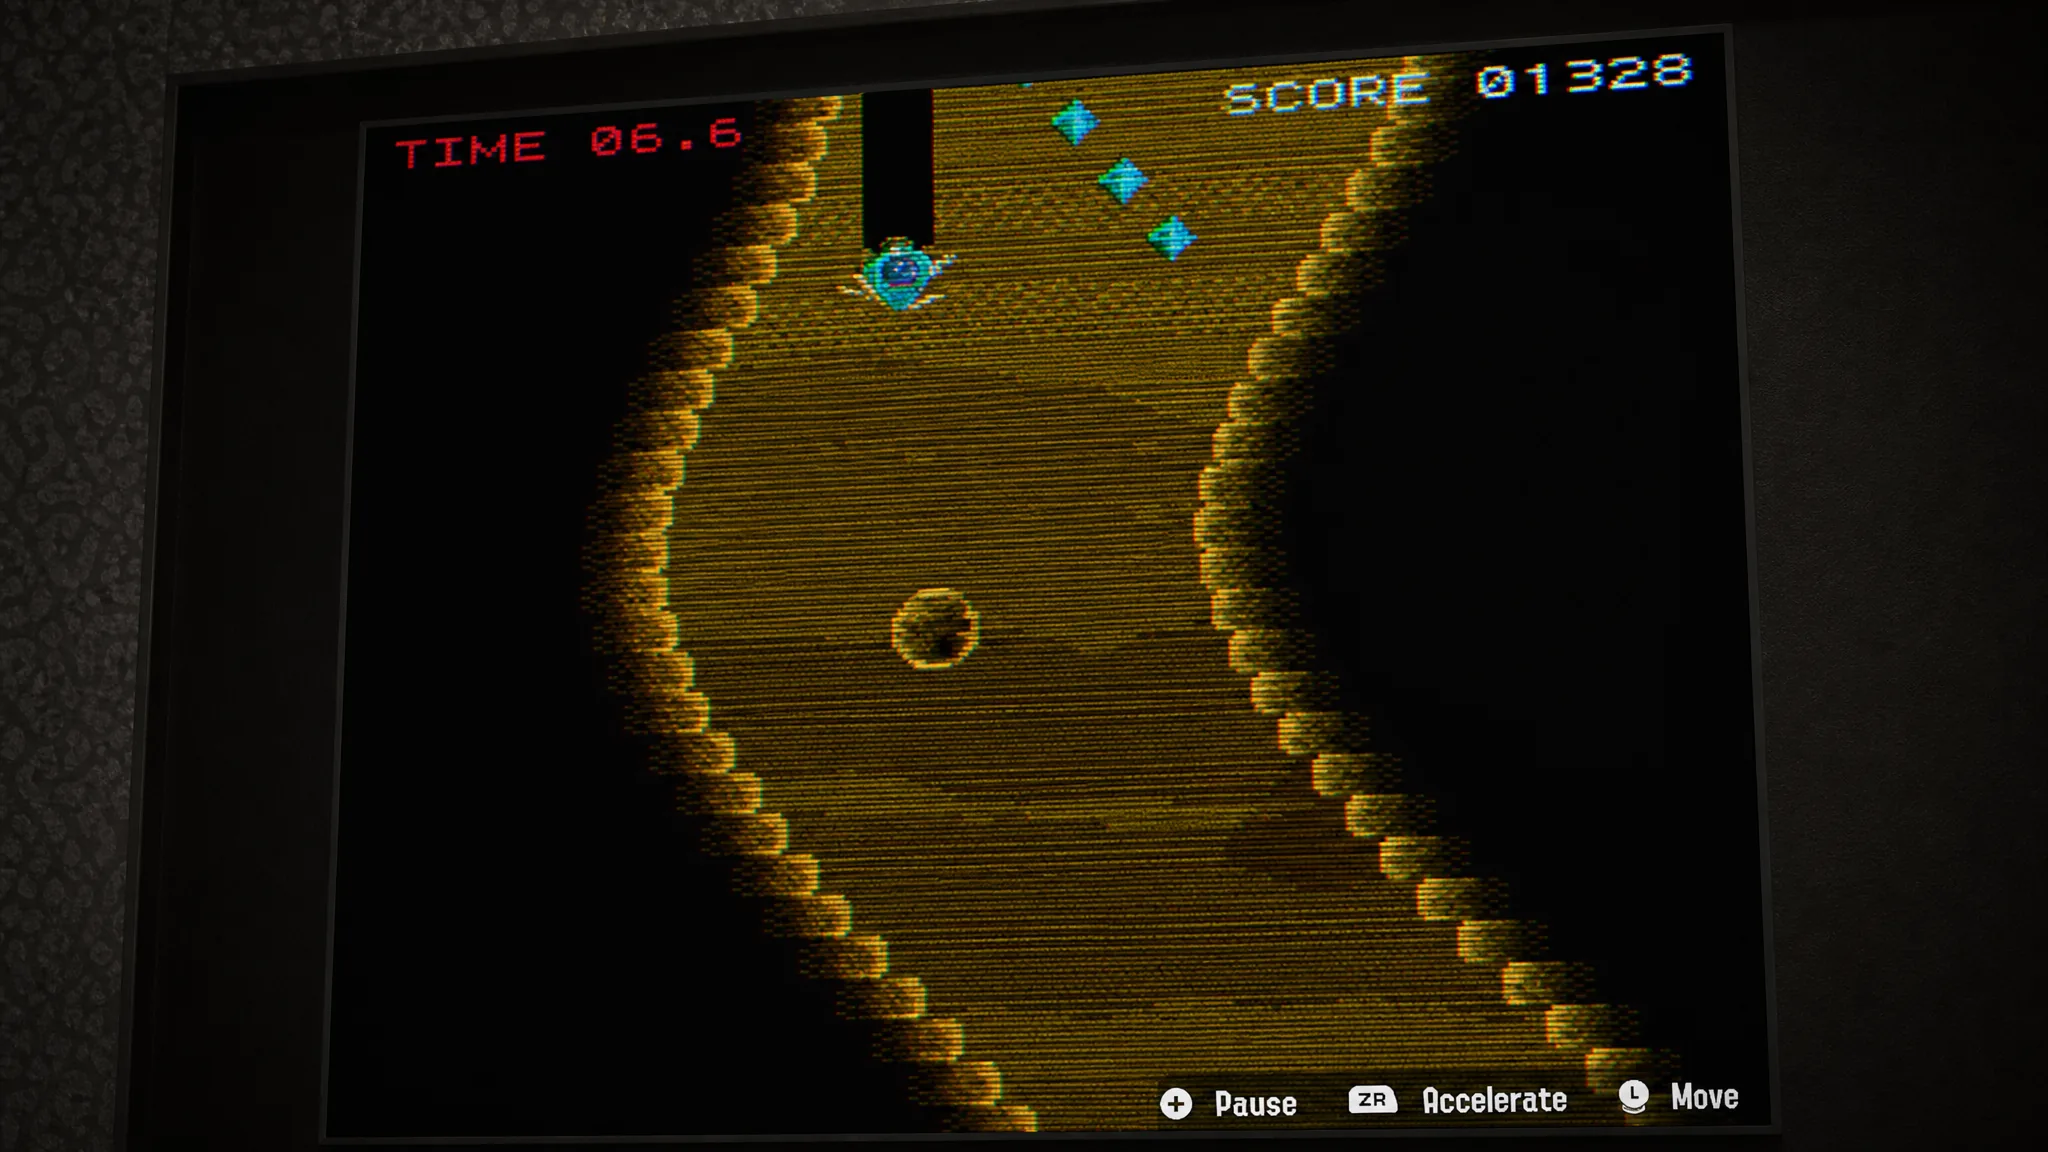
Mining: drill deep and hold your speed
You start with 40 seconds to drill straight down through the ground while dodging large boulders. Hold ZR to build speed, but let go before tight corners, because you stop dead if you clip a wall or a rock and lose precious time. Speed carries over even after you release ZR, so tap it back on as soon as you clear an obstacle to recover momentum quickly.
Collecting Spirhalite shards and the occasional power egg adds time to the clock, and how many shards appear is partly down to luck. Points scale with how deep you get, so the trick is staying fast and clean. Reaching the third change in soil color puts you around the 6,000 mark you need.
Hopping: keep the squid airborne
Hopping gives you 60 seconds and asks you to toss a squid into the air with the Exploration Bot, keeping it aloft by bouncing on the Salmonids scattered on the ground and in the sky. Bouncing extends your timer, but only a little at a time.
| Action | Time change |
|---|---|
| One bounce | +0.1s |
| Two bounces | +0.2s |
| Three bounces | +0.5s |
| Hit a Salmonid | −7.5s |
| Drop the squid | −10s |
The penalties are steep, so survival matters more than greed. Grab the golden enemies whenever they spawn for the biggest gains, and be careful once you pass the B-rank zone, because the pace speeds up and stray hitboxes can catch your squid. A rank lands at 5,500 points.
Juggling: no timer, just five lives
Juggling drops the clock entirely. You control two characters on opposite sides of the court and keep falling Salmonids bouncing on their heads. Drop one and you lose a heart. Lose all five and the game ends.
Spirhalite shards fall as bonus points, but they only matter once your Salmonid juggling is under control, so prioritize the enemies. This game is far easier with a second player locally, with each person handling one stick. If you are on your own, relax your focus toward the center of the screen and let your hands react. You need 7,000 points for A rank.
Tip: Because there is no timer, you can play Juggling indefinitely, so a co-op partner and steady hands will get you there without much pressure.
Landing: cross ten stages and touch down softly
Landing spreads points across ten stages, each one asking you to fly the Exploration Bot from one side of the screen to a platform on the other. You control your movement with the shoulder triggers, and the key is to avoid holding any input down too long or you overshoot.
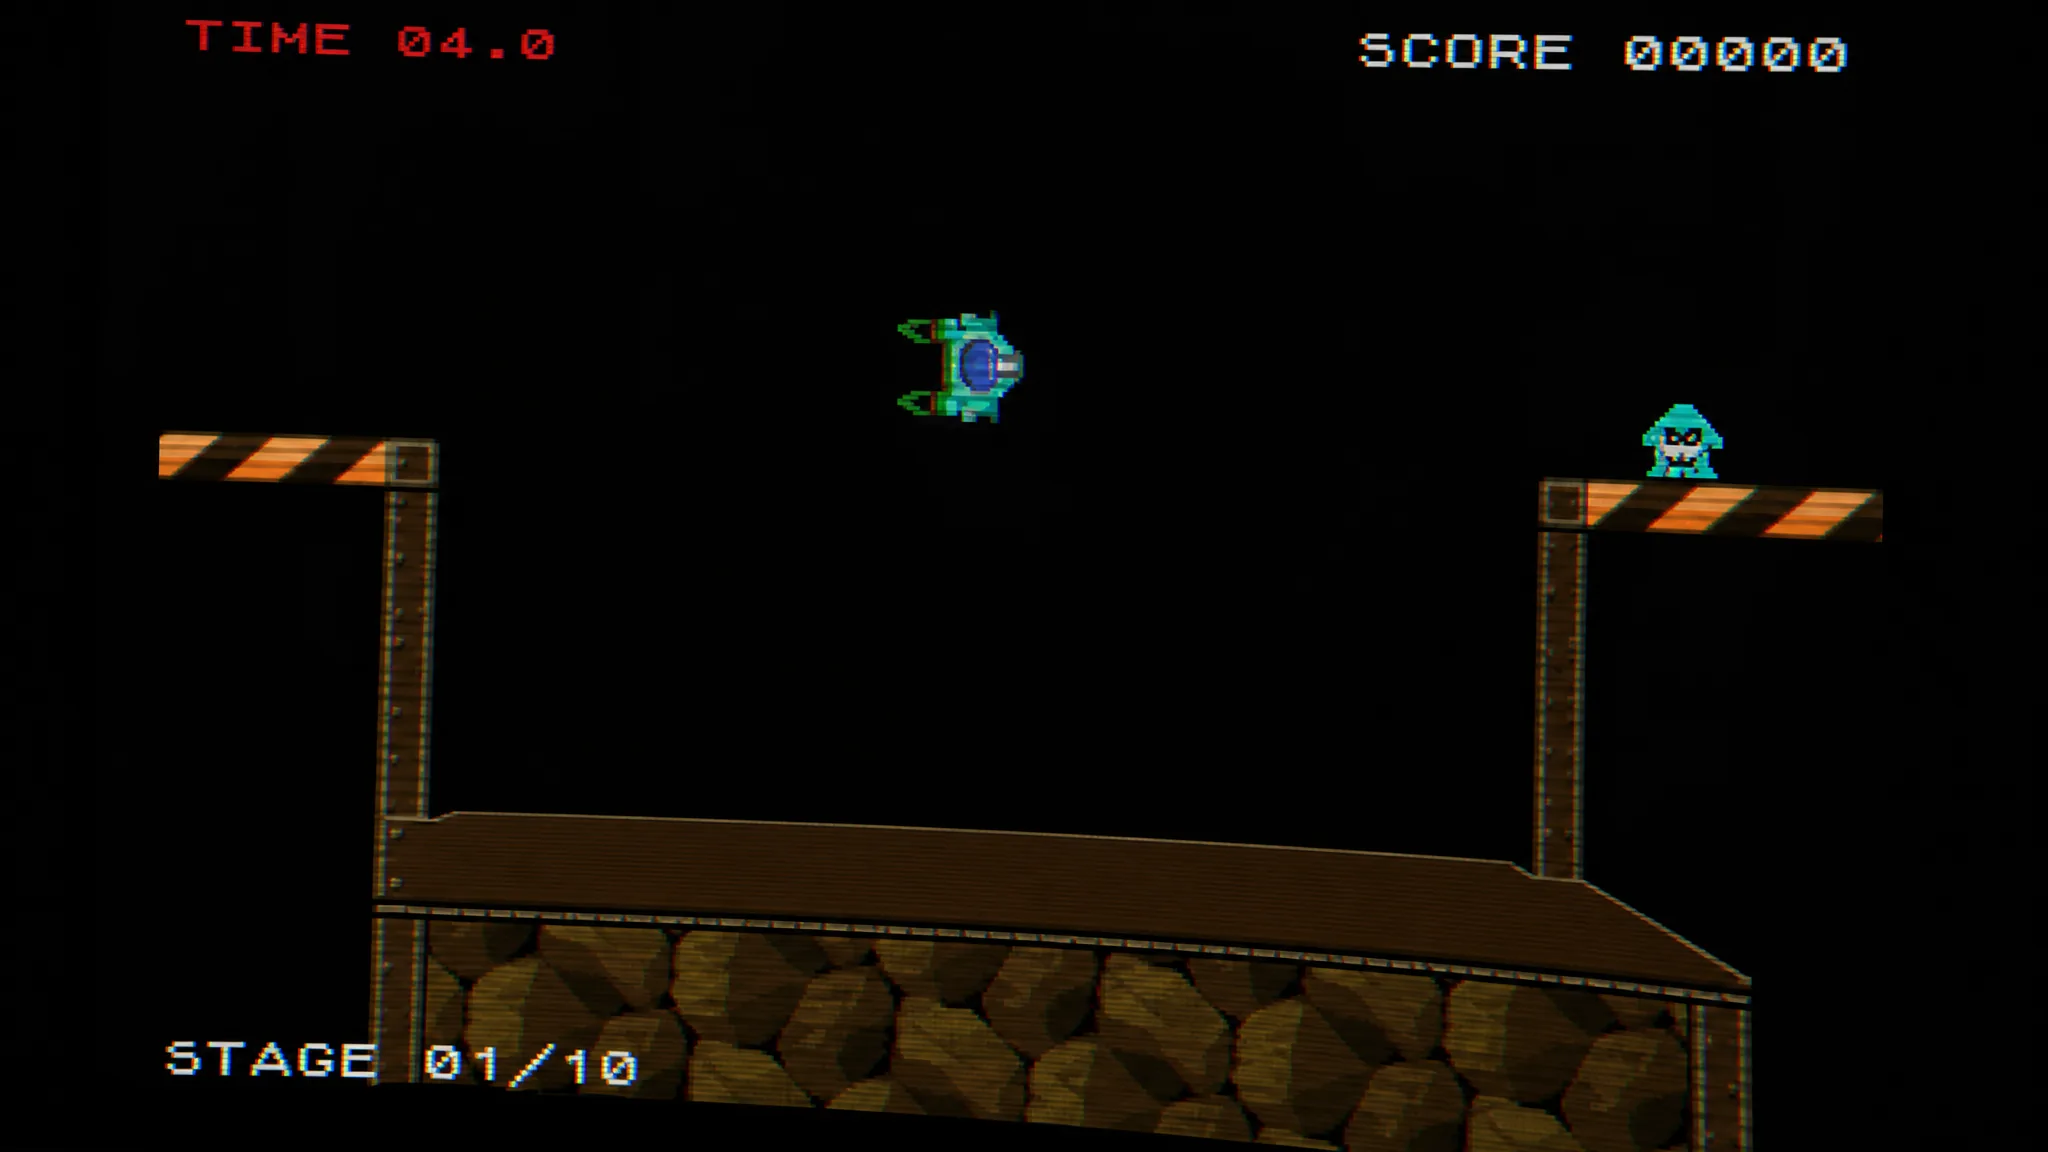
Your score comes from clearing each stage, how quickly you get across, any Spirhalite shards you grab in the air, and whether you land flat and upright on the platform. Take the simplest route rather than chasing crystals, since finishing fast is worth more than the risk. You do not need to complete stage 10 to hit A, and 9,000 points is the target thanks to time and shard bonuses along the way.
Reward for clearing all four games
Reaching rank A across Mining, Hopping, Juggling, and Landing unlocks the Speedster Bot Pro outfit. You will know it worked when the outfit becomes available in your wardrobe after the fourth A rank is registered.
A appears to be the top rank on offer. Pushing well past the threshold, even into five figures on Mining, still returns an A rather than anything higher, so once you clear the target scores there is no reason to keep grinding for a better grade. Lock in your four A ranks, grab the outfit, and you are free to leave the arcade behind for good.