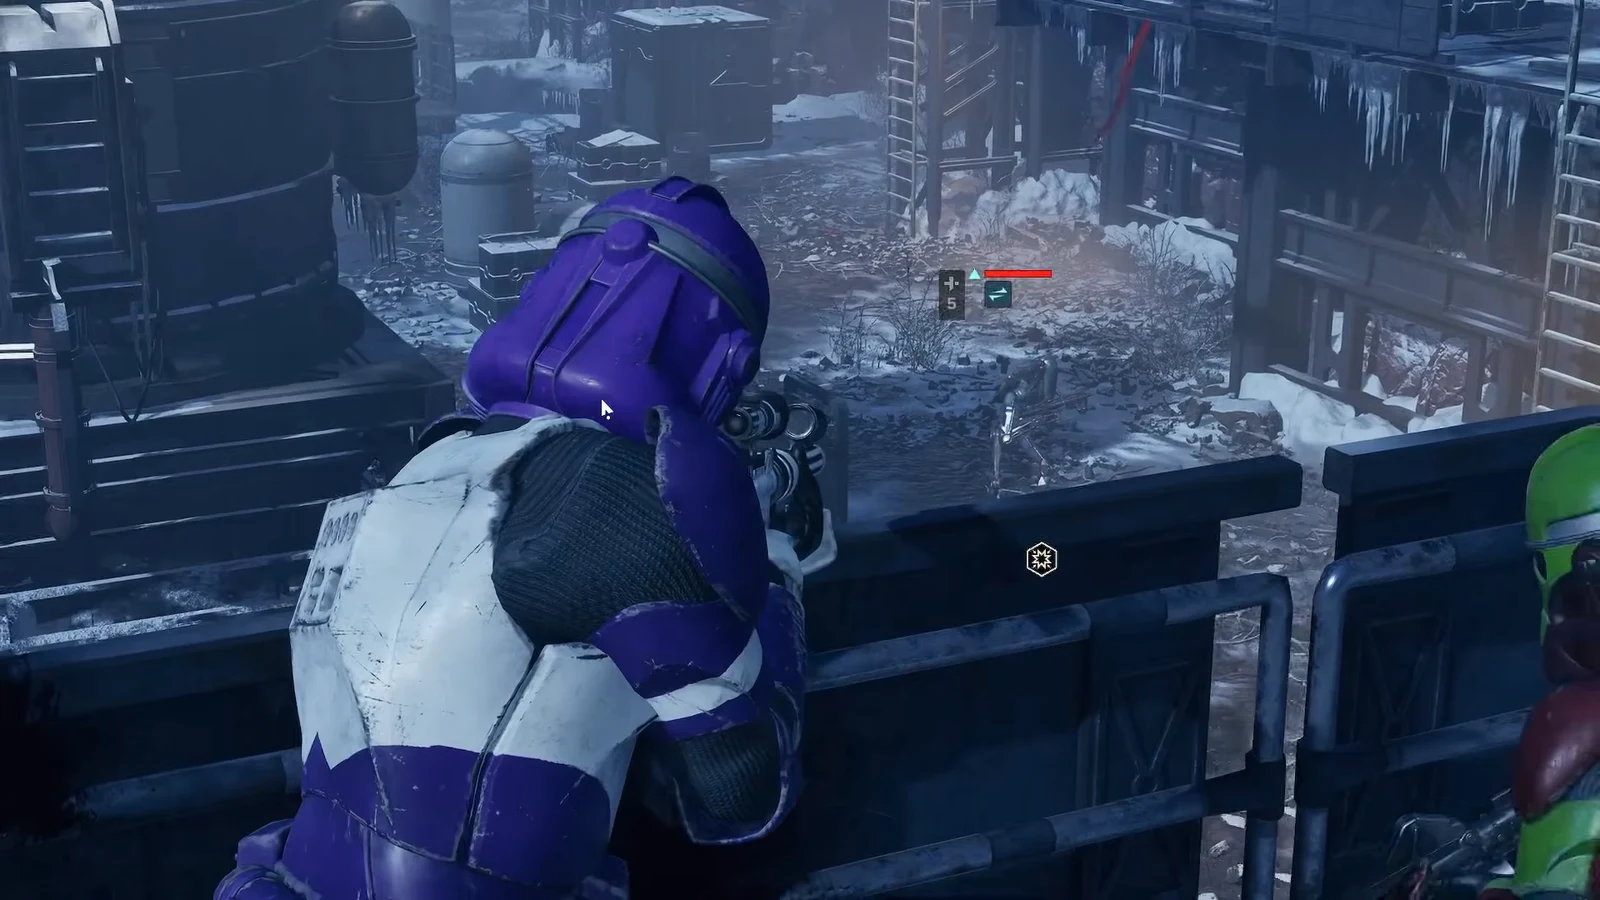
Reactive Plating is one of the B2 Battle Droid Tech operations in Star Wars Zero Company, and it exists for a single reason: cutting into the Coil’s defensive tech. The fight is a compact, cover-heavy engagement that mixes standard Coil infantry with battle droids and finishes with an Elite B2 Super Battle Droid. It rewards patient positioning far more than raw damage output.
Quick answer: Wipe the Coil infantry with area-of-effect explosives first, use Force Pull to drag scattered enemies into your firing lines, then focus everything on the Elite B2 Super Battle Droid before moving your squad to the extraction point. Clearing it pays out credits, intel, and a focus point bonus for your operators.
Reactive Plating objectives and enemy lineup
The objective panel lists “Defeat the Coil Forces” for the bulk of the encounter, followed by extraction once the field is clear. Nothing is on a timer, so you can end turns without pressure and let overwatch and cover do part of the work. What matters is the order you kill things in.
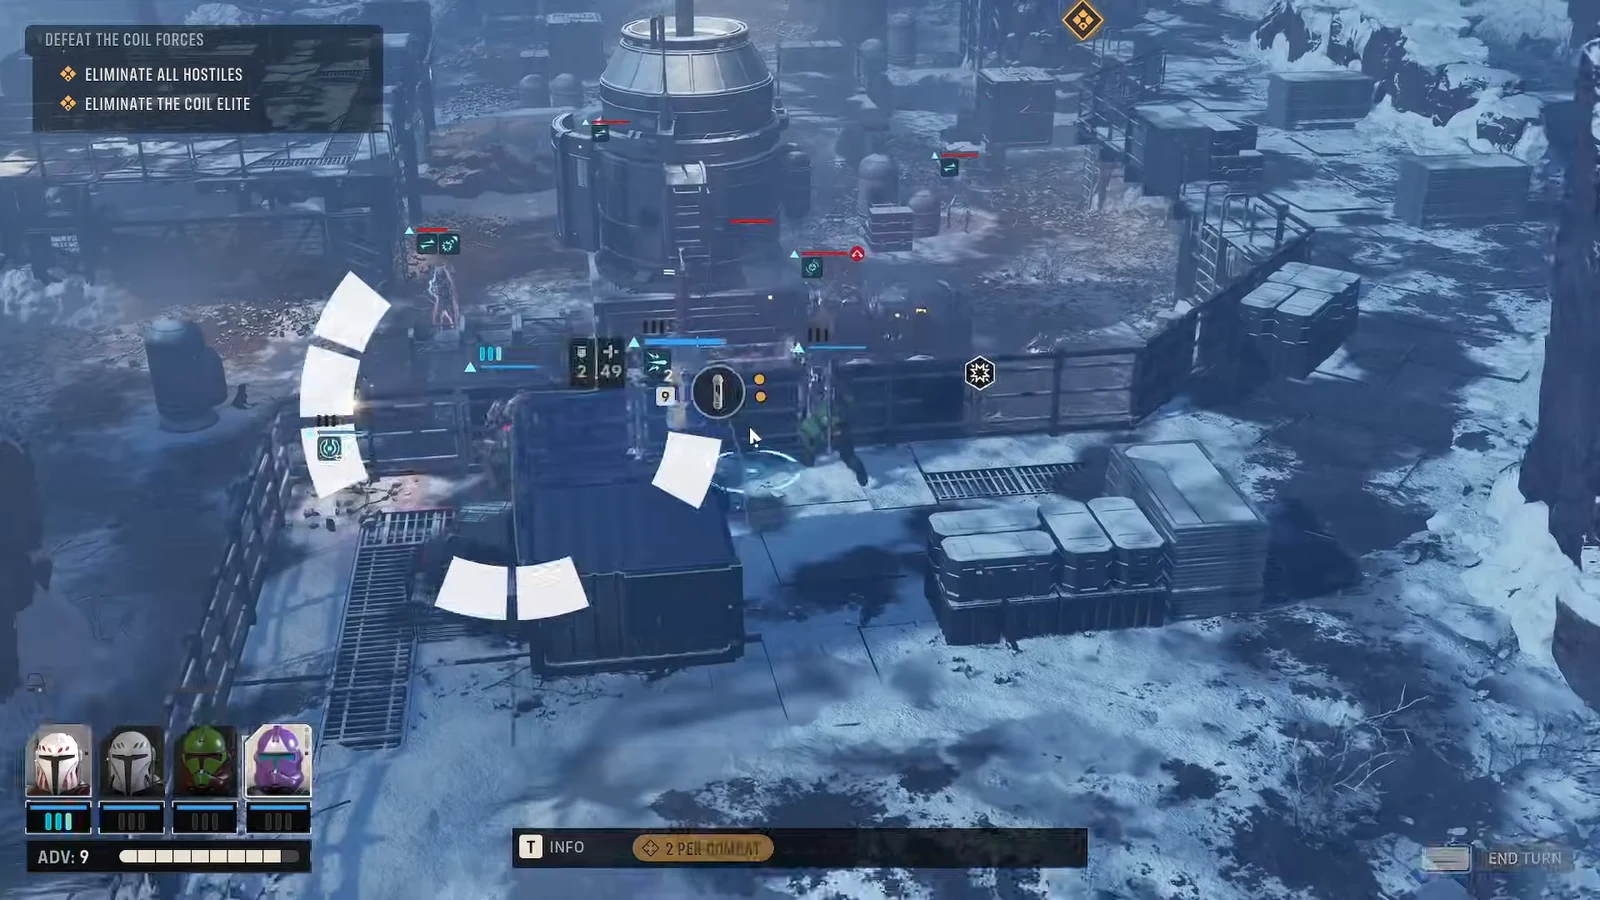
Four enemy types show up, and each one wants a different answer.
| Enemy | How to handle it |
|---|---|
| Coil Brute | Highest health of the regular Coil units. Open with sustained fire from a repeating blaster, then follow up with a second operator to shock and finish it. |
| Coil B1 Battle Droid | Fragile. A single blaster rifle shot destroys one, so never spend an explosive on these alone. |
| Coil Striker | Tends to hang back behind cover. Force Pull drags it into the open and damages it in the process. |
| Elite B2 Super Battle Droid | The armored finisher. Strip its escorts first, then concentrate every remaining action on it in one turn. |
Squad picks that make the fight simple
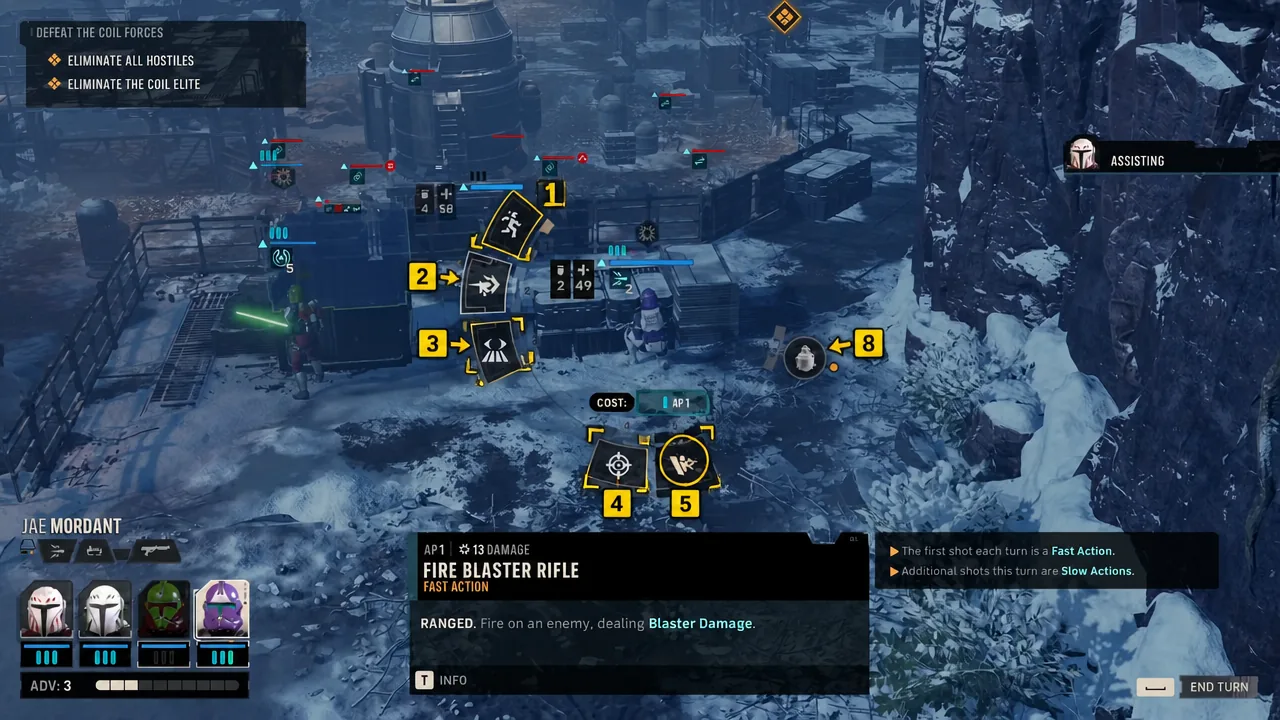
A four-operator team of Jae Mordant, Tel-Rea Vokoss, Tesh Hawks, and Trick covers every job this map asks for. You need one heavy suppressor, one explosive or Force user, one long-range shooter, and one flexible clean-up gun.
| Operator | Job on this map |
|---|---|
| Trick | Opens fights with Fire Repeating Blaster to soften the Coil Brute and hold a lane. |
| Tel-Rea Vokoss | Impact Bomb for grouped enemies, plus Force Pull and Push to reposition anything hiding. |
| Tesh Hawks | Shock shots and Fire Longarm Blaster for accurate damage at range. |
| Jae Mordant | Blaster rifle clean-up on weakened targets and one-shot kills on B1 droids. |
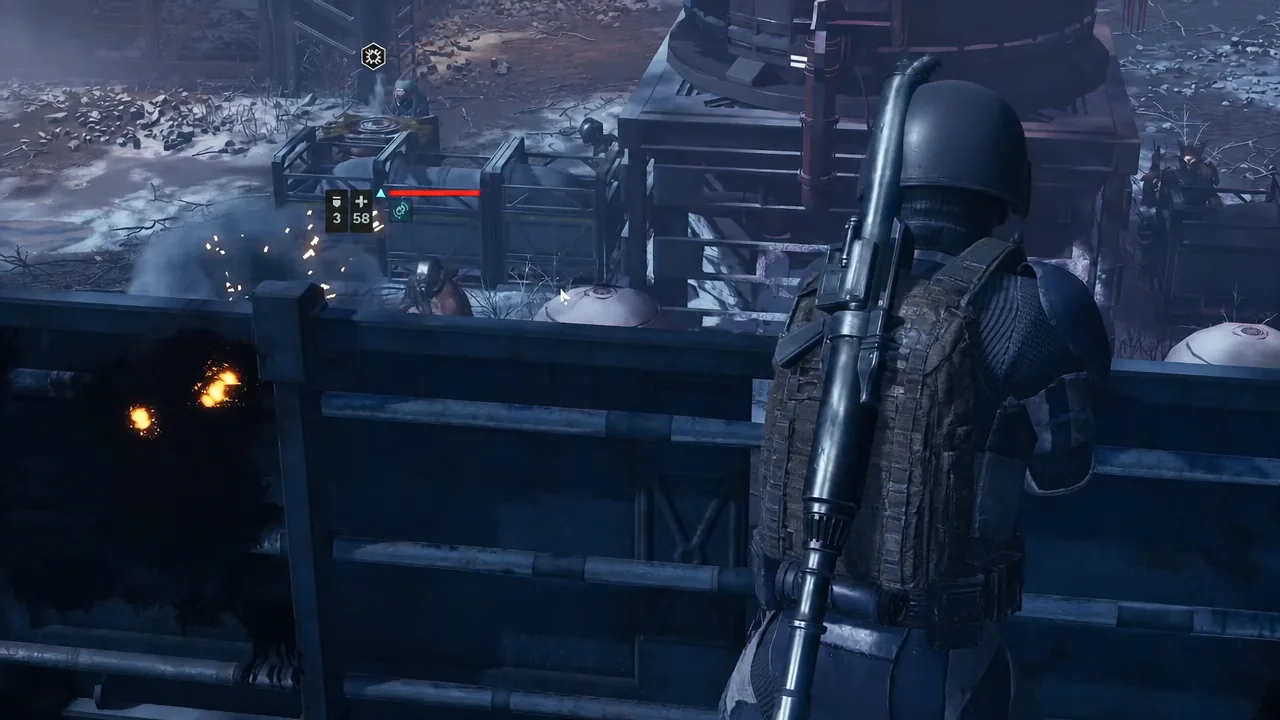
Clearing the first Coil group
Pushing down the ramp with Force abilities
The second half of the map drops down a ramp, and the surviving Coil units use that terrain to break line of sight. This is where Force abilities matter more than movement.
Taking down the Elite B2 Super Battle Droid
The Elite B2 Super Battle Droid is the reason this operation exists, and it is the last thing standing between you and extraction. It is far more durable than the B1 droids around it, so trading single shots with it wastes turns.
Extraction and Reactive Plating rewards
Once the last hostile is gone, the objective flips to extraction and the mission ends as soon as your squad reaches the marked point. You will know it worked when the extraction sequence plays and the results screen appears instead of another enemy turn.
| Reward | What it does |
|---|---|
| Credits | Spent on gear upgrades and squad management back at base. |
| Intel | Banked and used when selecting and preparing future operations. |
| Focus point bonus | Applied to your Zero Company operators as a post-mission bonus. |
Note: the payout is tied to completing the extraction, not to clearing the enemies. If you wipe the field and then stall, the mission is not finished and the rewards do not land.
Reactive Plating is short enough that a clean first turn usually decides the whole run. Group the Coil with an early explosive, let Force Pull break their cover discipline, and the Elite B2 becomes a single-round problem rather than a war of attrition.