The Astromech is the only class in Star Wars Zero Company that never fires a shot. It carries no blasters and cannot equip weapon mods, so every point of value it adds to a squad comes from handing out action points, stripping enemy defenses, and throwing utility items. Built correctly, a single droid raises the damage output of the other three operators far more than a fourth gun would.
Quick answer: Build a droid at the Droid Repair Bay for 2,000 credits, keep all three utility slots filled, and spend Focus in this order — Built-in Comlink to Tier 3, then Enhanced Scanners, then the storage passives. Never build the Astromech for damage.
How to unlock the Astromech class in the Den
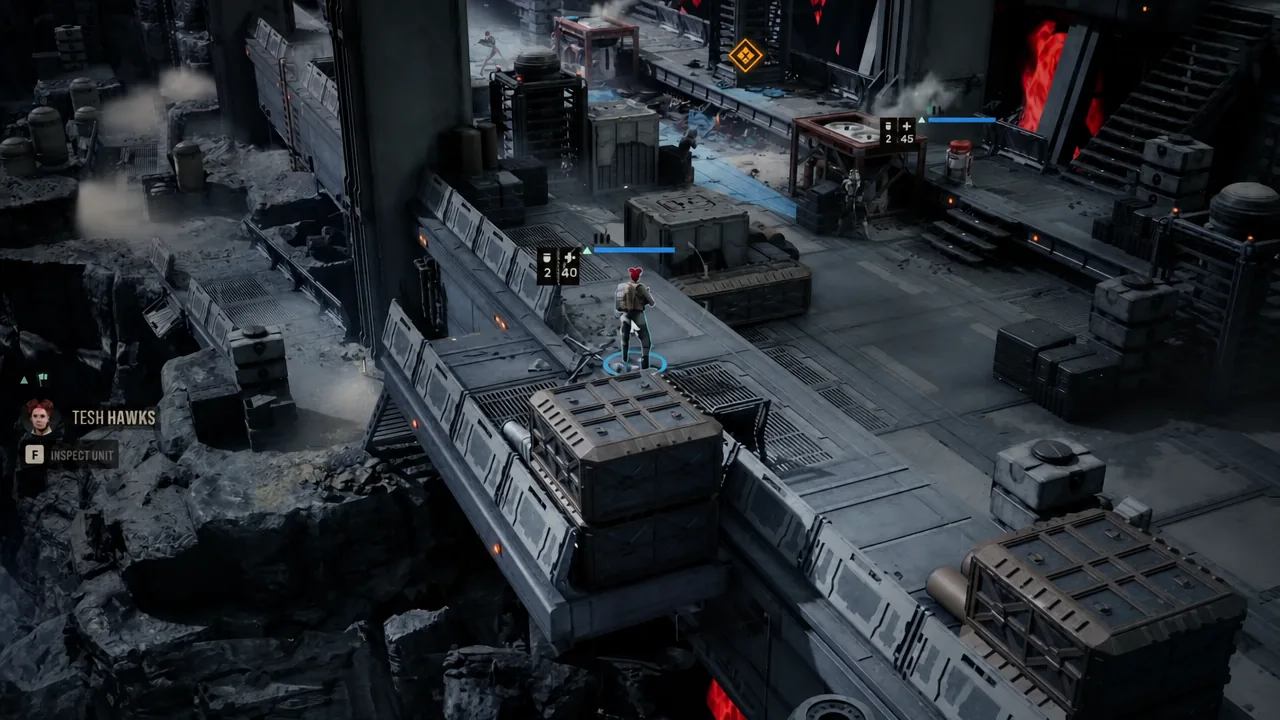
Droids are not recruited like human or alien operators. You construct them at a facility inside the Den, which means the class stays locked until you have upgraded the base and paid for the bay. The whole process takes one build cycle once the credits are spent.
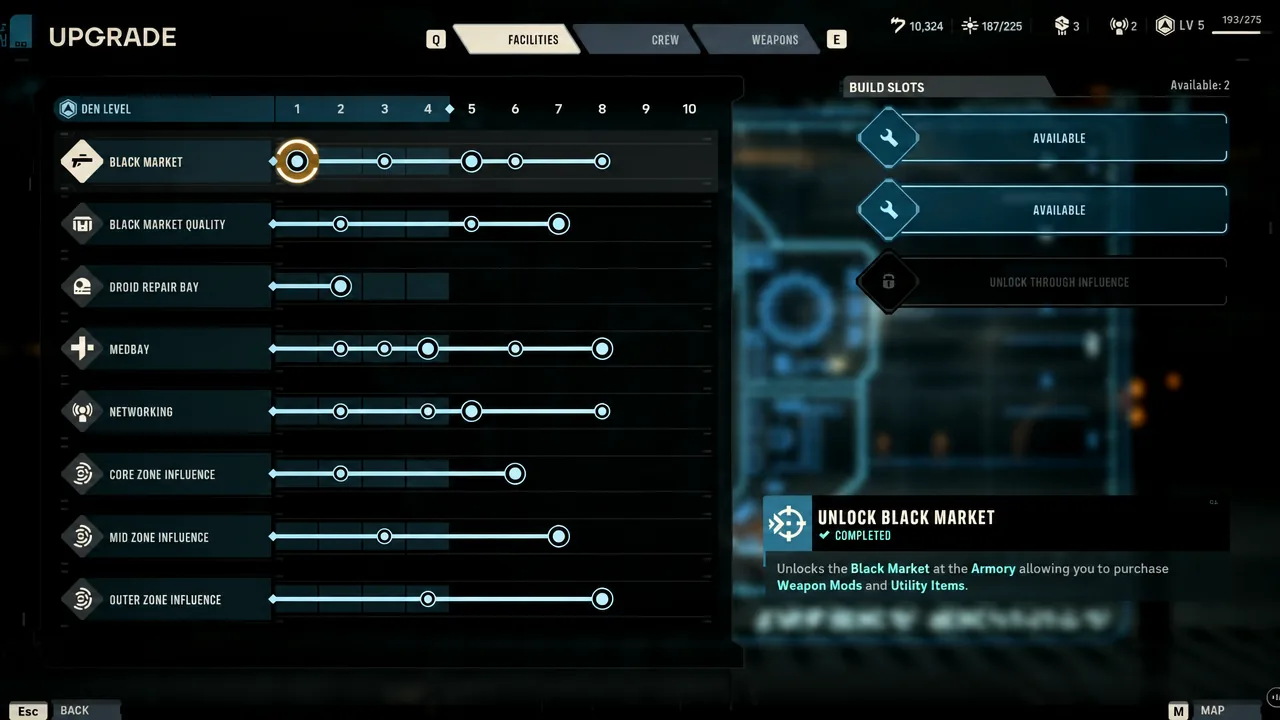
From then on you choose a chassis when building further droids. The R2, R3, R4 and R5 series are available alongside BR-1, a model designed specifically for this game. Chassis choice is cosmetic — it changes the silhouette, not the stats or abilities.
Astromech rules that shape the build
Three hard constraints decide everything else. The droid cannot equip blasters or weapon modifications of any kind. It starts with three utility item slots unlocked by default, and the Tinkerer passive adds +4 damage to every utility item it carries. Finally, standard Medpacs and Medic abilities do not work on droids, which makes Self Repair the only way to recover health mid-mission.
Because the Astromech occupies a support slot without being a living, bonded operative, it is also insulated from the sting of permadeath in a way your human squadmates are not. Only Hawks is mandatory on non-story missions, so all three remaining slots can be filled with droids if you want to lean entirely into utility.
Core abilities and what each tier gives you
| Ability | Effect and scaling |
|---|---|
| Coordinated Support (Ultimate) | Grants every operator 1 AP, up to the 3 AP cap. Costs 10 Advantage at Tier 1, falling to 6 by Tier 5. Tier 6 grants 2 AP for that same 6 Advantage. |
| Enhanced Scanners (Standard, 1 AP) | Scans all enemies in range, negating their Defense entirely and raising hit chance by roughly 20 percent. Range runs from 14m at Tier 1 to 24m at Tier 6, where scanned targets can also be made Vulnerable. |
| Extended Storage (Passive) | Limited-use utility items gain +1 additional use. |
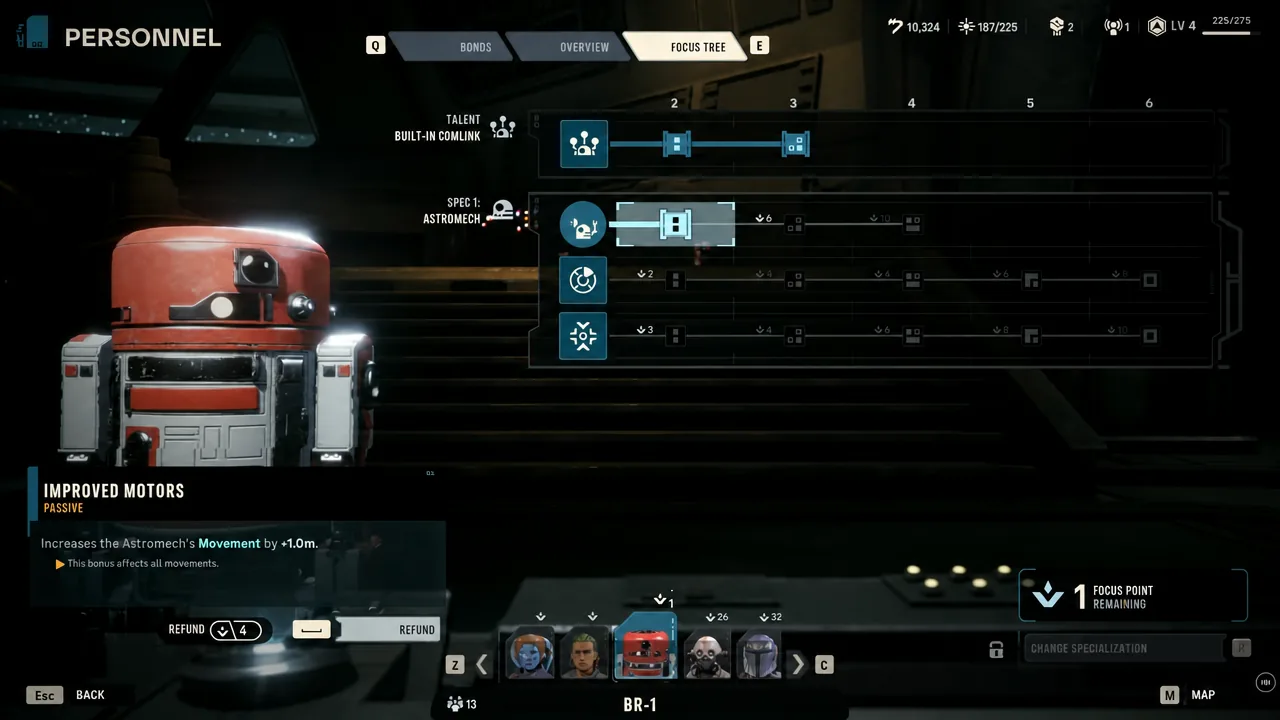
| Improved Motors (Passive) | +1.0m movement, applied to every move. |
| Hardened Frame (Passive) | +2 Defense. |
| Storage Optimization (Passive) | Another +1 use on limited-use items, stacking with Extended Storage for two extra charges each. |
| Built-in Thrusters (Passive) | Vertical jumps without restriction, so elevation never costs extra movement. |
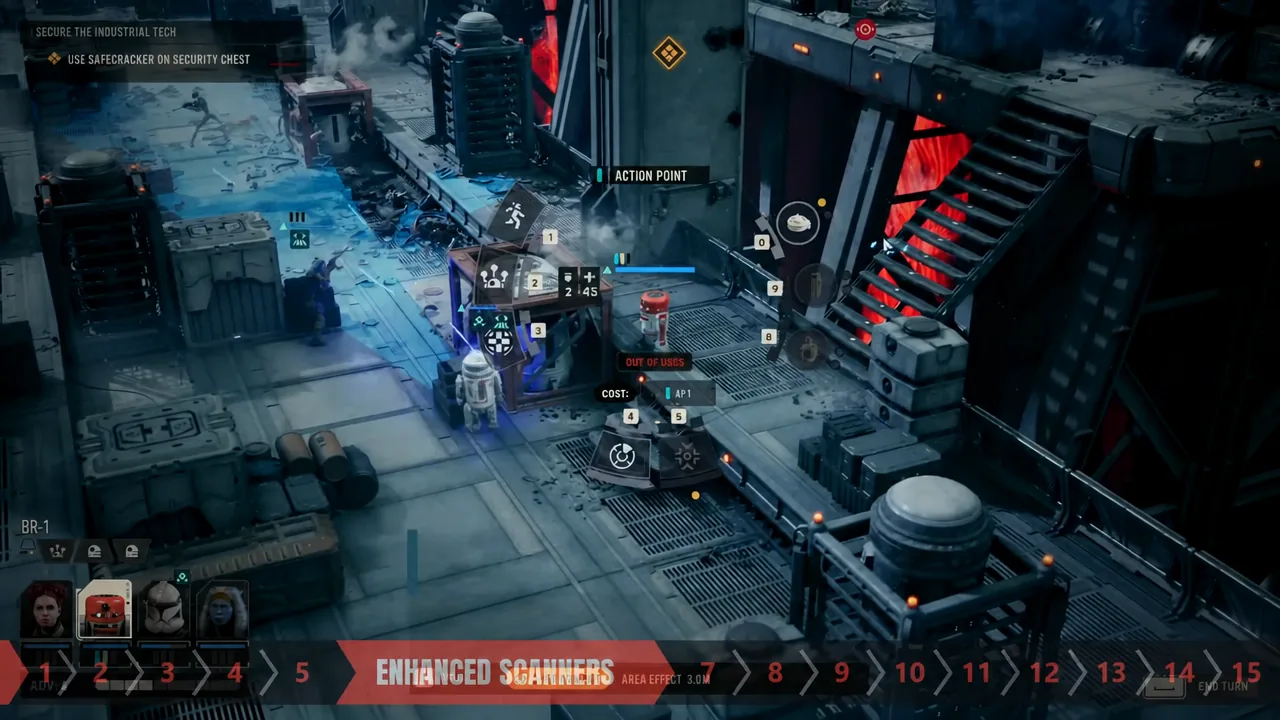
Enhanced Scanners is the most undervalued button in the kit. Wiping Defense off a group of enemies applies to every attack made against them that turn, so a single 1 AP cast can convert three shaky shots across the squad into near-certain hits.
Built-in Comlink is the fixed talent
Unlike other custom operators, the Astromech’s talent cannot be swapped. Built-in Comlink spends 1 AP to give an ally 1 AP, which sounds like a wash until you consider who receives it. Move the point onto a Sharpshooter or a high-damage attacker and the trade is heavily in your favor.
| Tier | Built-in Comlink |
|---|---|
| Tier 1 | +1 AP to an ally, once per turn |
| Tier 2 | +1 AP to an ally, twice per turn |
| Tier 3 | +1 AP to an ally, unlimited uses per turn |
Tier 3 removing the per-turn cap is the single biggest power spike the class has. At that point the droid can pour its entire turn into whichever operator is best positioned to use the points.
The Analytics secondary specialization
Secondary specializations unlock at Cycle 18, and the Astromech’s is locked to Analytics — you cannot pick anything else. Secondary trees also cap at Tier 5, so plan Focus accordingly.
Deep Target Scan costs 1 AP and performs an intensive read on one enemy, Scanning and Spotting it while removing all Evasion. It is the answer to high-dodge targets that Enhanced Scanners alone does not fully solve.
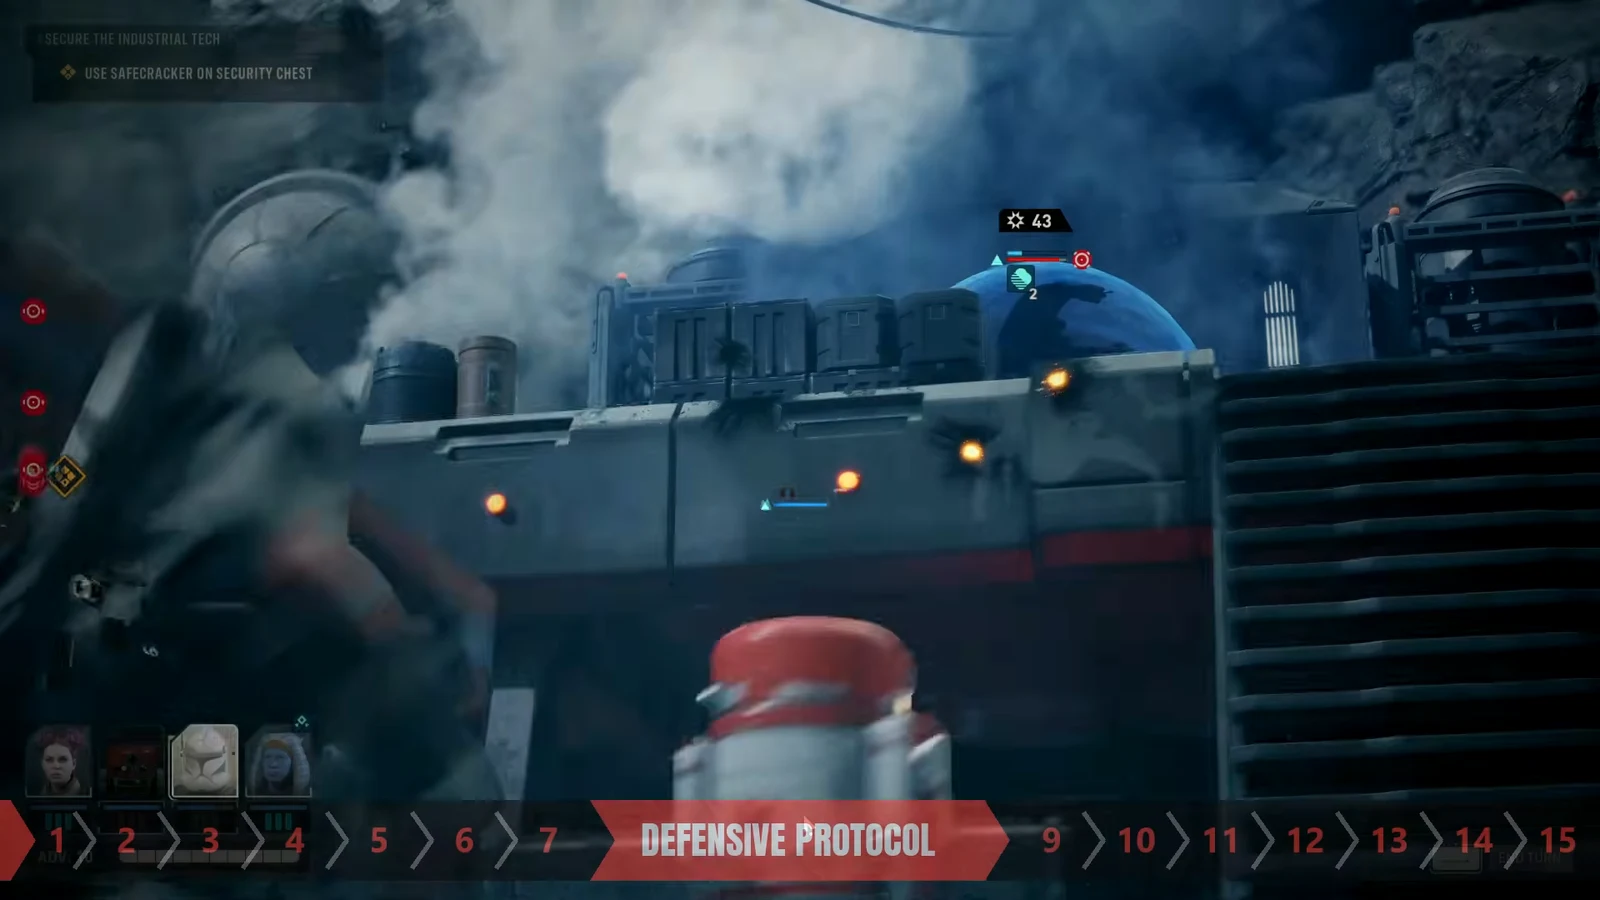
The tree’s ultimate, Defensive Protocol — listed as Predictive Analytics in the focus tree — grants every ally Defense for the rest of the turn, scaling from +2 at Tier 1 to +6 at Tier 5. It is the button to press when you have overextended and the enemy turn is going to hurt.
Self Repair and keeping the droid alive
Self Repair restores 50 percent of the Astromech’s maximum health and consumes all remaining AP as a final action. Since Medpacs and Medic heals do not affect droids, this is your only in-mission recovery tool, and it costs you the entire turn’s contribution when you use it.
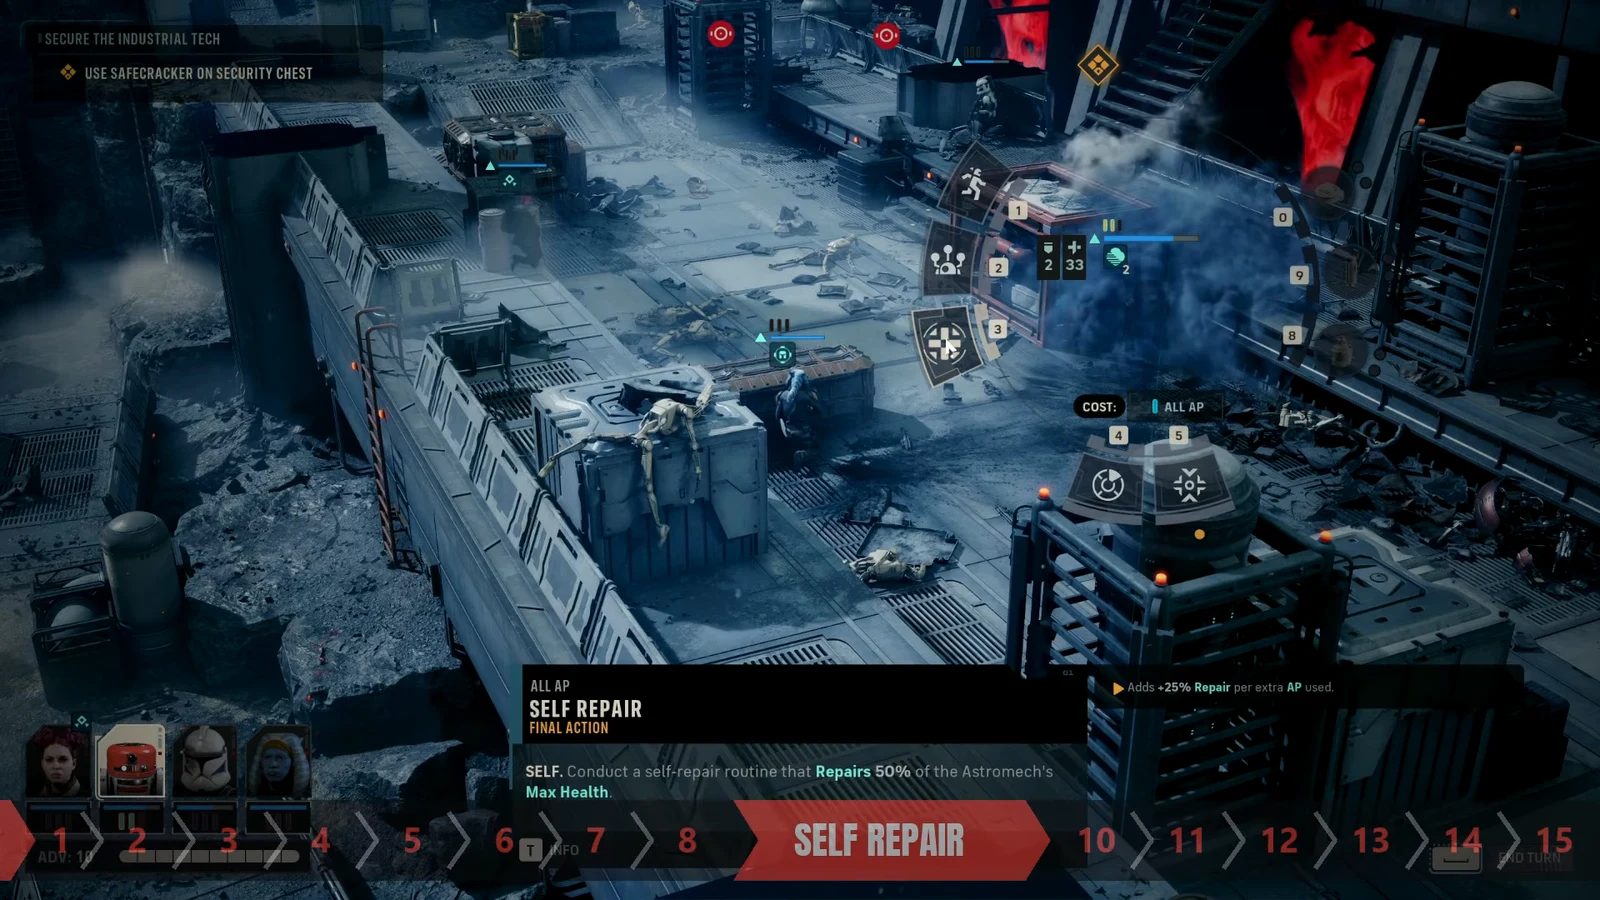
Tip: repair early rather than at critical health. A turn spent healing at 60 percent is cheaper than losing the droid and the AP economy it was feeding the squad.
Best utility loadout for the Astromech
All three utility slots should always be occupied. Tinkerer’s flat +4 damage applies to every item, and the storage passives give each limited-use item up to two extra charges, so the slots effectively hold far more than three uses by the mid-game.
A dependable spread is one single-target damage option such as a Concussion Grenade, one area clearing tool such as Sweeping Salvo, and a Smoke Bomb for creating cover where the map does not provide it. Grenades are there to finish wounded enemies, not to serve as the droid’s main job.
Focus tree priority order
| Priority | Node | Reason |
|---|---|---|
| 1 | Built-in Comlink to Tier 3 | Removes the once-per-turn limit on handing out AP, which is the class’s entire identity. |
| 2 | Enhanced Scanners | Longer range means you can strip Defense from a full enemy group without walking into their line of fire. |
| 3 | Storage passives | Extra utility charges keep grenades and smoke available across long missions. |
| 4 | Coordinated Support tiers | Cost reductions matter most once you have an Advantage-generating squad, and Tier 6 doubles the AP payout. |
Which squad to build around the droid
Extra action points are worth the most on operators with expensive, high-payoff attacks. Pair the Astromech with a Sharpshooter that deletes priority targets, or an Assault that wants to close distance and still shoot in the same turn. Scanning first and then feeding AP to that attacker is the core loop.
Coordinated Support scales with your Advantage income, so bringing a Scout to generate Advantage lets you fire the ultimate far more often. At Tier 6 that becomes 2 AP for every operator in a single button press.
Mistakes that ruin the build
- Building for damage. Grenades are a finisher, and the droid will never out-damage a proper attacker no matter how much Focus you sink into utility items.
- Parking the droid at the back of the map. Both Built-in Comlink and Enhanced Scanners are range-limited, so a droid hiding out of reach contributes nothing.
- Leaving utility slots empty. There is no weapon to fall back on, so an unequipped slot is a permanently wasted action every turn.
- Relying on your Medic. Droids are outside the healing system entirely, and expecting a Medpac to save one is how you lose it.
Played the way it is designed, the Astromech is a force multiplier rather than a fourth shooter. Keep it inside scanning range, spend its AP on the operator who will convert it into a kill, and use Built-in Thrusters to reach the elevated ledge that keeps it in position without burning movement.