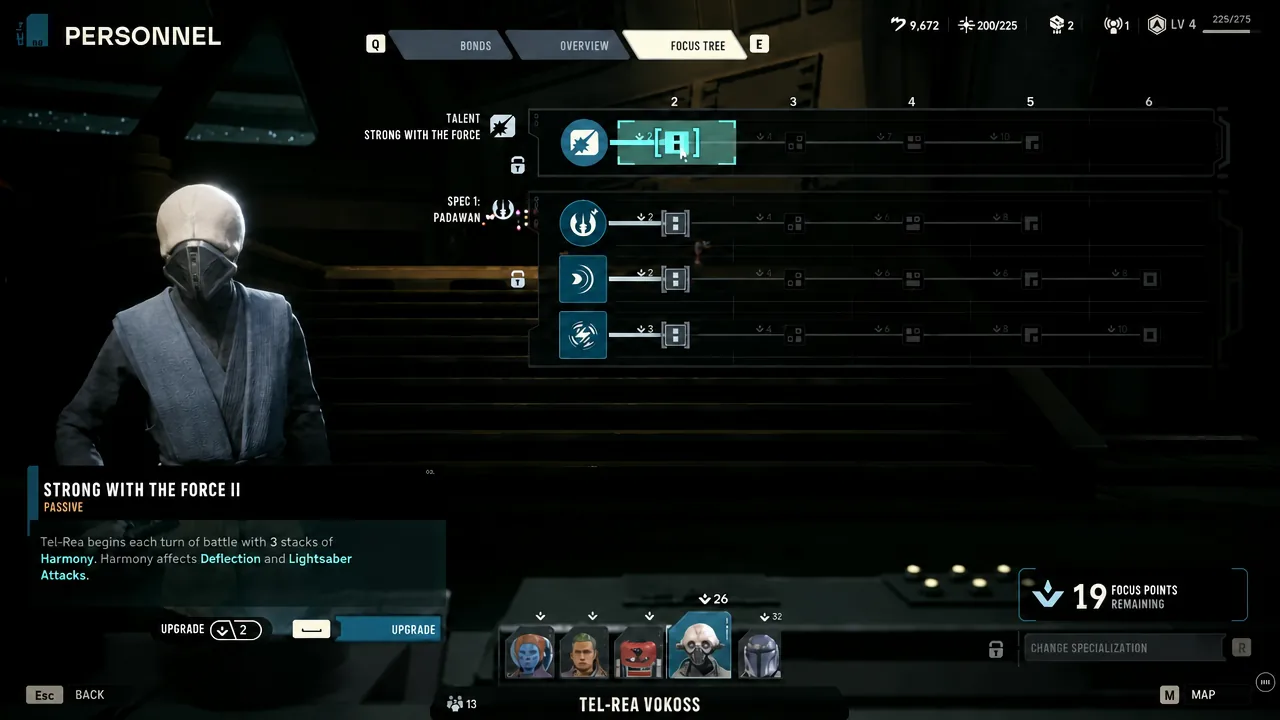
A complete operator in Star Wars Zero Company is more than a class label. It is five decisions working together: your specialization, a talent, a weapon class, weapon modifications, and the focus tree path you buy into. The one detail most players get wrong is the last one. Focus points are limited, and the order you spend them changes how a character performs from the very next mission onward.
Quick answer: Buy the focus tree tier that carries your class’s main job first, then support it. Some classes want their ultimate early, others want a passive first. The per-class order is listed below. If you spend points in the wrong order, you can refund and respec at the Den under the Personnel menu at no permanent cost.
Why focus tree order matters
Each specialization gives you three upgradeable abilities: an ultimate, a standard, and a passive. You improve them by spending focus points earned through unit bonds. Because those points are scarce early, you cannot max everything at once. Pouring points into an ultimate that costs a large chunk of shared Advantage does nothing if you cannot afford to fire it yet. Sinking them into a passive that scales your primary attacks pays off every single turn.
That is the whole logic behind class-specific ordering. A few classes want the big ultimate pushed to the top so it hits harder the moment they can cast it. Most want a passive or standard ability first so their basic turns get stronger immediately. Nothing here is locked in. Builds are fully reversible at the Den, so treat the orders below as the fastest route to a working character rather than a one-time commitment.
Best build and focus order for every standard class
Each row below gives the recommended weapon, talent, secondary specialization, and the exact focus tree sequence. Read the focus order left to right; the first entry is your first purchase.
| Class | Weapon | Talent | Secondary | Focus order |
|---|---|---|---|---|
| Assault | Repeater | Grit | Soldier | Sweeping Salvo II → Bull Rush → Fleet of Foot |
| Gunslinger | Blaster Pistol | Cold Blooded (or The Bigger They Are) | Sharpshooter | Quick Draw → Open Fire → Keen Eye |
| Heavy | Repeater | Taunt | Soldier | Unstoppable II → Bulwark → Conditioning |
| Medic | Blaster Rifle | Anticipation | Scout | Combat Stim → Life Saving Measures → Morale Boost |
| Scoundrel | Blaster Pistol | Cold Blooded | Sharpshooter | Never Play Fair → Identify Weakness → Easy Mark |
| Scout | Blaster Rifle | Cold Blooded | Medic | Combat Recon → Tactical Timing → Ambush |
| Sharpshooter | Long Arm | The Bigger They Are (or Cold Blooded) | Scoundrel | Zero In II → Pick Them Off → Precision Shot (last) |
| Soldier | Blaster Rifle (or Repeater) | Sabotage | Heavy | Rocket Strike → Strength → Brutal Strike |
Assault
The Assault operator is an in-your-face fighter built around movement and close-range fire. Take the Repeater, the Grit talent, and Soldier as the secondary. Buy Sweeping Salvo II first, then Bull Rush, and finish with Fleet of Foot. In combat, use Bull Rush to slam into a target and expose it, apply Strike the Flanks for extra crit chance, then dump any remaining action points into Repeater fire. Repulsor Units and a Scattergun round out the loadout.
Gunslinger
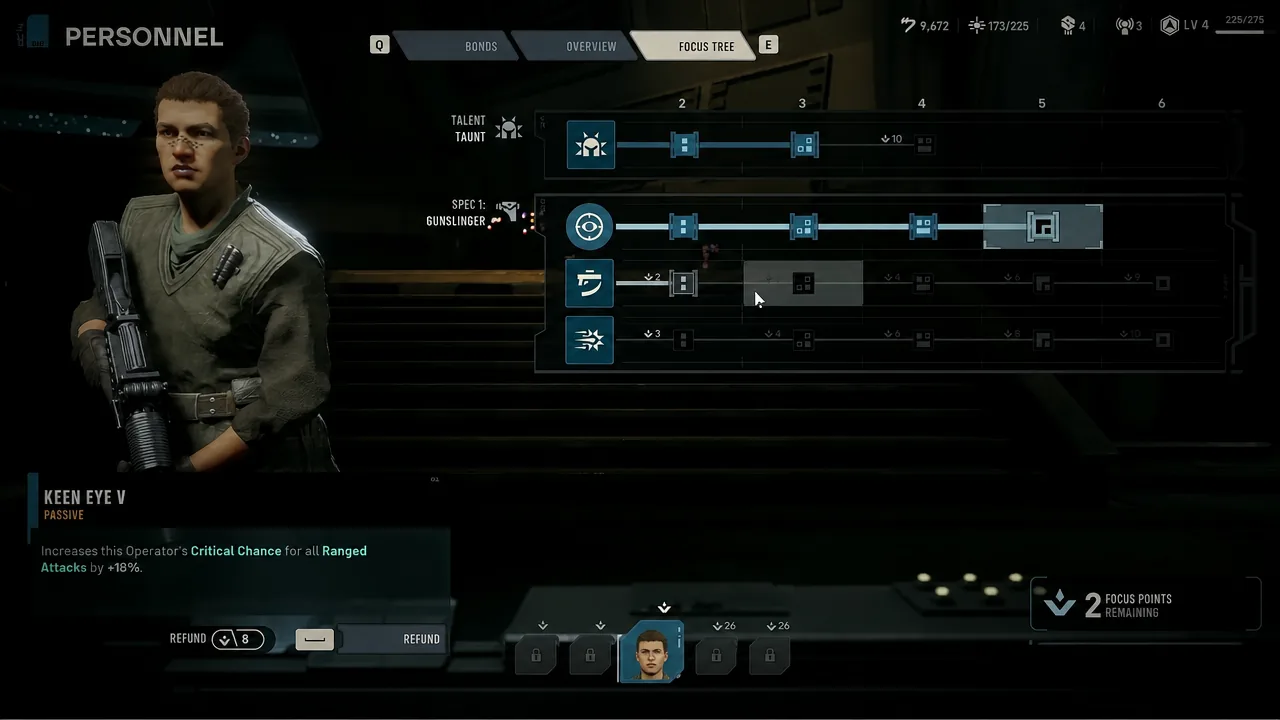
The Gunslinger is your fast, multi-target pistol specialist. Run the Blaster Pistol, Cold Blooded (The Bigger They Are is a fine alternative), and Sharpshooter as the secondary. Spend focus on Quick Draw first, then Open Fire, then Keen Eye. Quick Draw fires a low-cost sidearm shot separate from your primary weapon, which makes it an ideal finisher on low-health targets. Keen Eye then stacks flat critical chance across every ranged attack, and because the Gunslinger fires so many shots per turn, that crit bonus compounds quickly.
Heavy
The Heavy is the game’s tank. Take the Repeater, the Taunt talent, and Soldier as the secondary. Buy Unstoppable II first, then Bulwark, then Conditioning. Bacta Stem and Reinforced Underlay push survivability further. One warning worth heeding: do not run two tanks in the same four-person squad. A second Heavy adds durability you rarely need at the cost of damage and utility the team does.
Medic
With operator permadeath in play, the Medic is one of the most important roles you can field. Equip the Blaster Rifle, the Anticipation talent, and Scout as the secondary. The focus order is Combat Stim first, then Life Saving Measures, then Morale Boost. Combat Stim buffs an ally’s max health and damage, Life Saving Measures increases how much your medpacs restore, and Morale Boost gives the whole nearby squad regenerating health. Round out the kit with a Tracking Scope, a Trauma Kit, and Medpacks.
Scoundrel
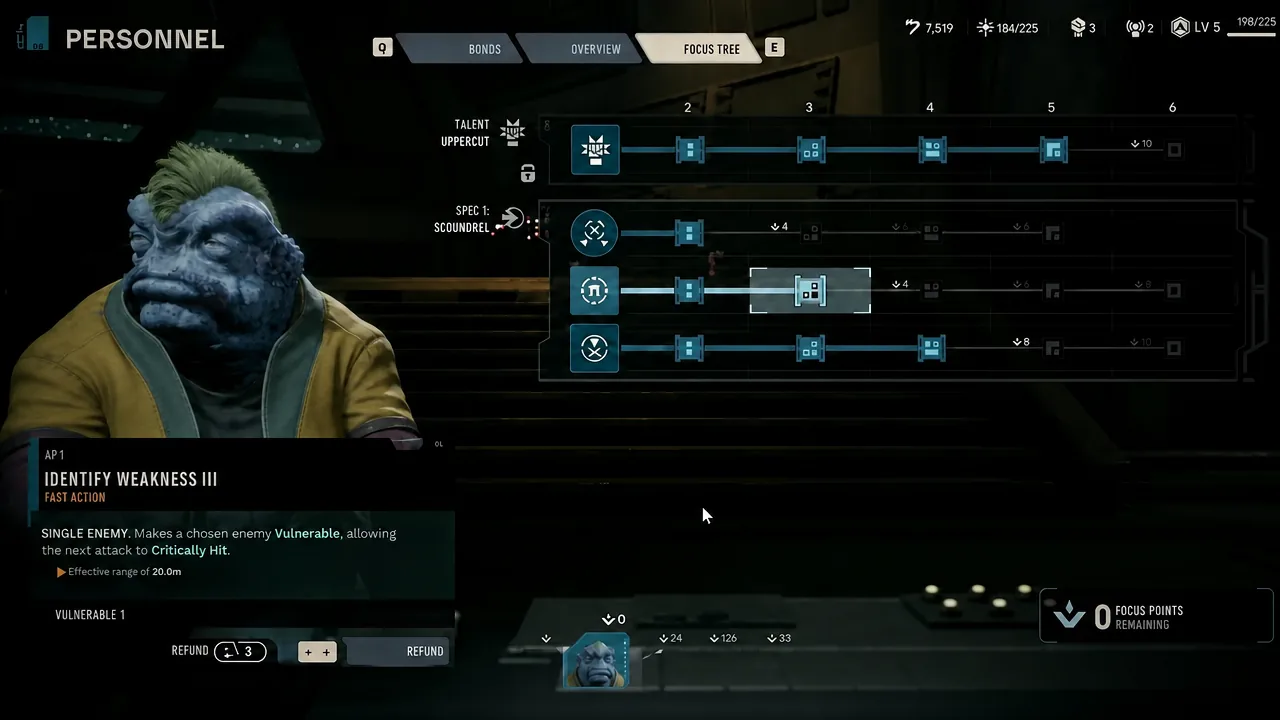
The Scoundrel is a support striker who sets up your damage dealers. Take the Blaster Pistol, Cold Blooded, and Sharpshooter as the secondary. Spend focus on Never Play Fair first, then Identify Weakness, then Easy Mark. Identify Weakness is the standout: it applies vulnerable to a target, which is the setup that powers the strongest pairing in the game. Add a Cycler Barrel, an Assassin Scope, and a Targeting Visor.
Scout
The Scout is the squad’s resource engine, generating the shared Advantage everyone spends on ultimates. Run the Blaster Rifle, Cold Blooded, and Medic as the secondary. Buy Combat Recon first, then Tactical Timing, then Ambush. Combat Recon scans an area and grants Advantage for each enemy detected, and higher tiers reveal hidden foes. Tactical Timing adds a chance to gain more Advantage on kills, and Ambush is a flexible ultimate whose damage scales with however much Advantage you pour into it.
Sharpshooter
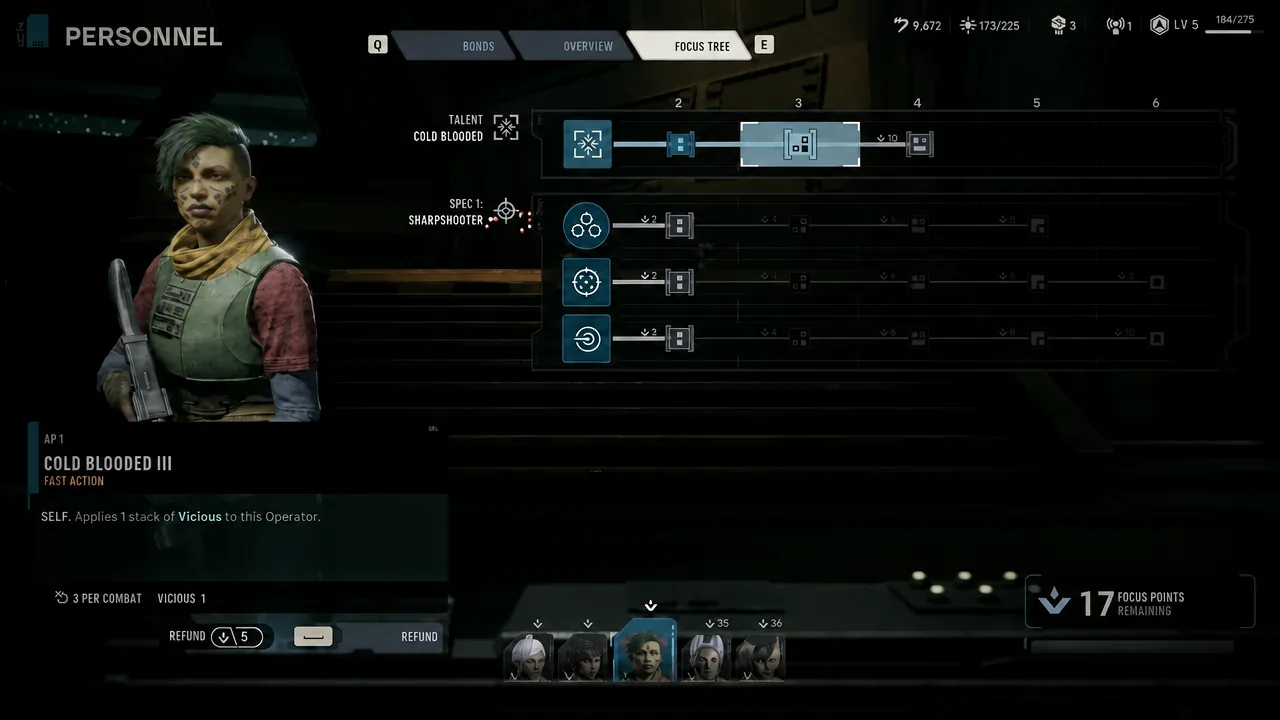
The Sharpshooter deletes single targets from maximum range. Equip the Long Arm blaster, The Bigger They Are (or Cold Blooded), and Scoundrel as the secondary. The focus order matters here more than most: buy Zero In II first, then Pick Them Off, and leave Precision Shot for last. Zero In stacks Lethal for higher hit and crit chance, which makes every follow-up shot land. A Bracing Stabilizer helps hold your aim. As with tanks, do not stack two snipers in one squad.
Soldier
The Soldier is your reliable, versatile damage dealer and the early-game area attacker. Take the Blaster Rifle or Repeater, the Sabotage talent, and Heavy as the secondary. Buy Rocket Strike first, pushing it toward Tier 6, then Strength, then Brutal Strike. Rocket Strike is a wide-blast ultimate that carries the class through the opening hours of the campaign. Bring an Impact Bomb to extend the Soldier’s explosive output.
Four weapon mods every operator wants
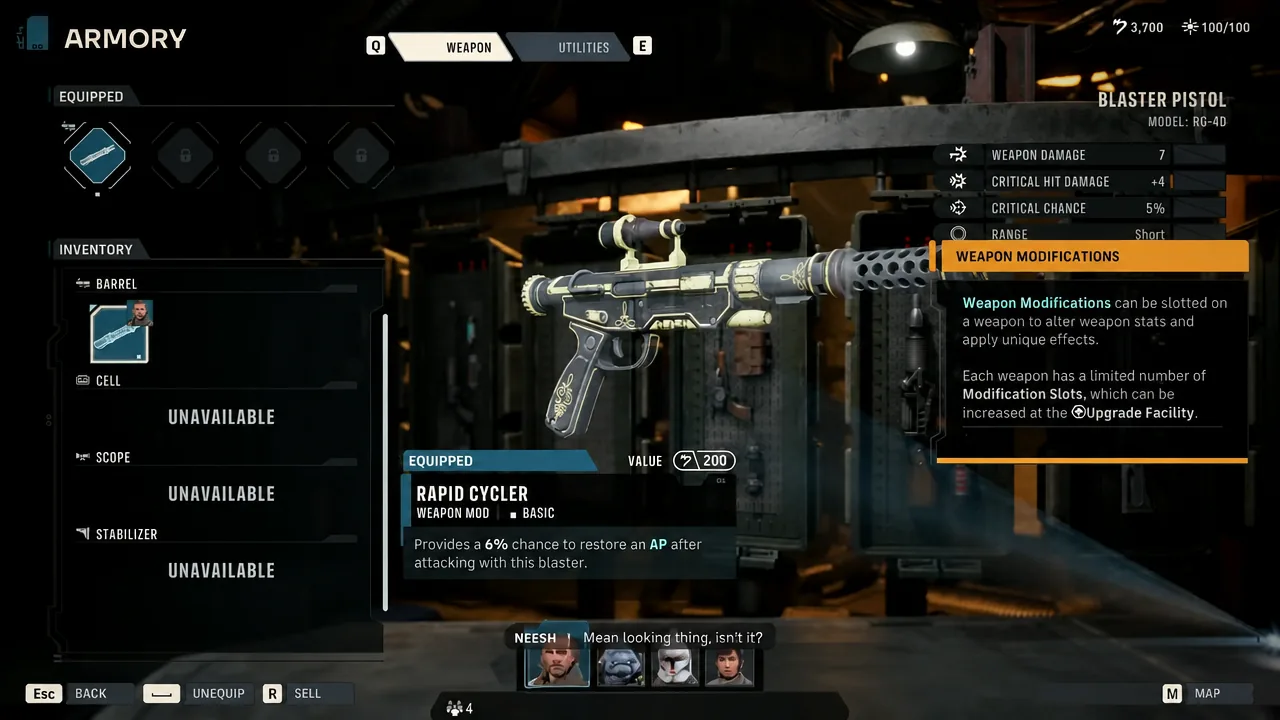
Some weapon modifications are strong regardless of class. Four stand out as near-universal picks, and you upgrade weapons at the facility in the Den.
| Mod | Effect |
|---|---|
| Cycler | Chance to restore an action point after attacking (Rapid Cycler gives a 6% chance) |
| Assassin Scope | Increases critical chance |
| Stabilizer | Builds evasion stacks when you fire |
| Shock Modulator | Inflicts shock on hit |
Beyond those, specialist mods like the Bracing Stabilizer, Amplifier, Condenser, Tracking Scope, and Ergonomic cover specific roles. Match them to the class rather than fitting them everywhere.
Cross-training passives from bonds
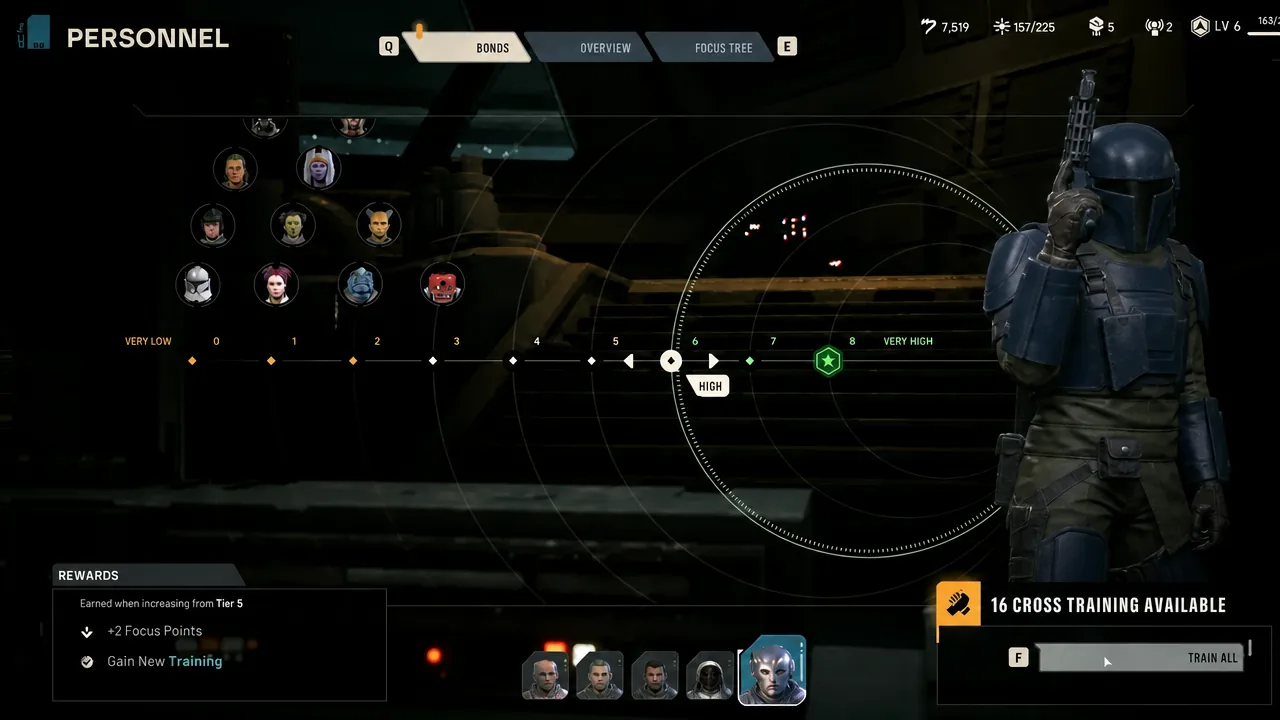
As operators build bonds, they unlock cross-training passives that carry across classes. A few are worth prioritizing on almost any character.
| Passive | Effect |
|---|---|
| Fitness Work | +4 max health |
| Speed Training | +0.5m to first movement |
| Free Form Training | +2 focus points |
Other picks worth watching for include Close Combat Drills, Ranged Combat Drills, and Target Practice, depending on how a given operator fights.
The strongest pairing: Scoundrel and Sharpshooter
The single most effective two-class combo puts a Scoundrel next to a Sharpshooter. The Scoundrel uses Identify Weakness to apply vulnerable to a priority target. That vulnerable status guarantees a critical hit for the Sharpshooter’s follow-up Long Arm shot, which is already boosted by Zero In. The result is a reliable, high-damage strike that removes elite and boss targets in a single exchange.
Keep the three takeaways in mind and every operator falls into place. Build around five parts, spend focus points in the order that fits the class’s job, and pair roles so their abilities feed each other. If a choice ever feels wrong, head to the Personnel menu at the Den, refund the points, and try a different path.