Bonds in Star Wars Zero Company are separate relationship meters between two specific operators, and each pair climbs its own scale from level 1 to 8. Every time a pair reaches a new level, you pick one of three Cross Training rewards that permanently apply to both operators, and higher levels also hand out Focus Points for upgrading talents. The fastest way to raise a Bond is to lock onto one target pair and stack every free combat interaction on top of guaranteed mission progress.
Quick answer: Deploy the same two operators together, use Call for Backup twice per mission (10 Bond each), spam a Medic’s minor healing or buff actions five times (4 Bond each), and finish the mission with both alive. That yields roughly 70+ Bond in a single mission. Run low-risk Holotable Operations between missions and upgrade the Teamwork node in the Den for passive Bond XP.
What Bonds unlock at each level
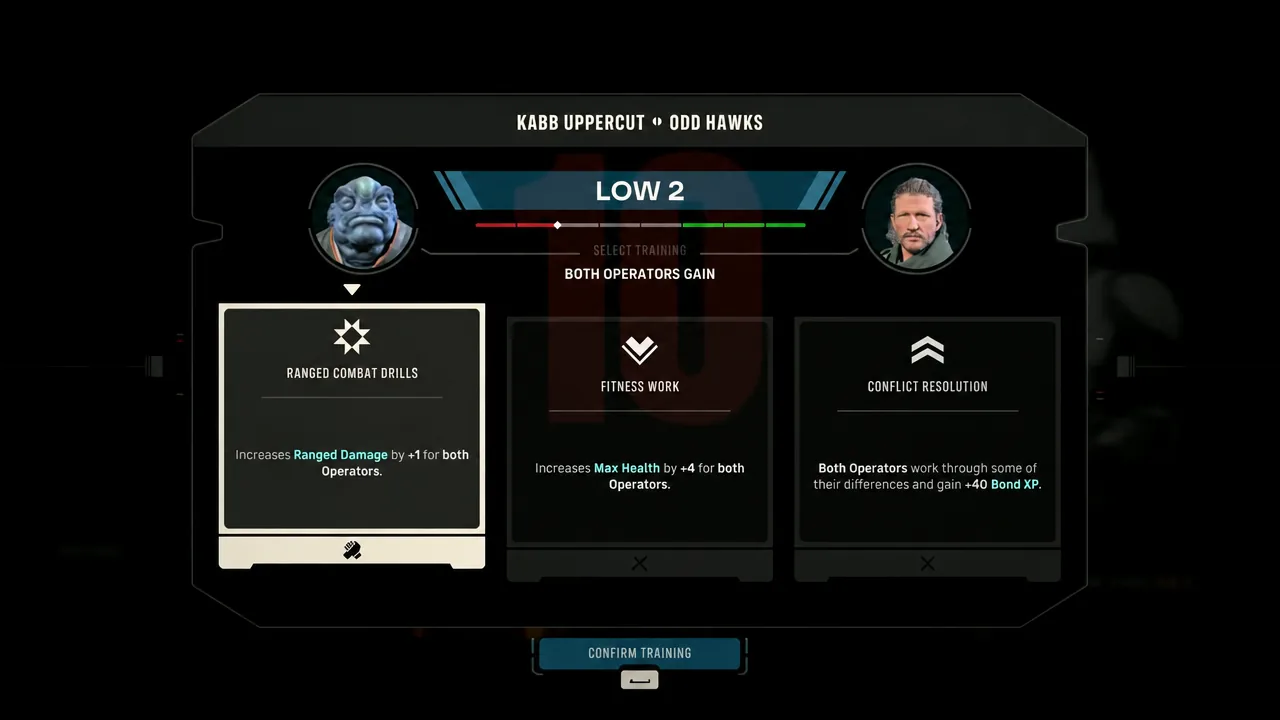
A Bond only exists between a specific pair, so raising Hawks and Trick does nothing for Trick and another operator. The named tiers run Low, Neutral, High, and Very High, mapped across the 1 to 8 scale. Each level-up opens Cross Training, which lets you choose one of three permanent passives for both operators, such as increased health, critical hit chance, or grenade damage.
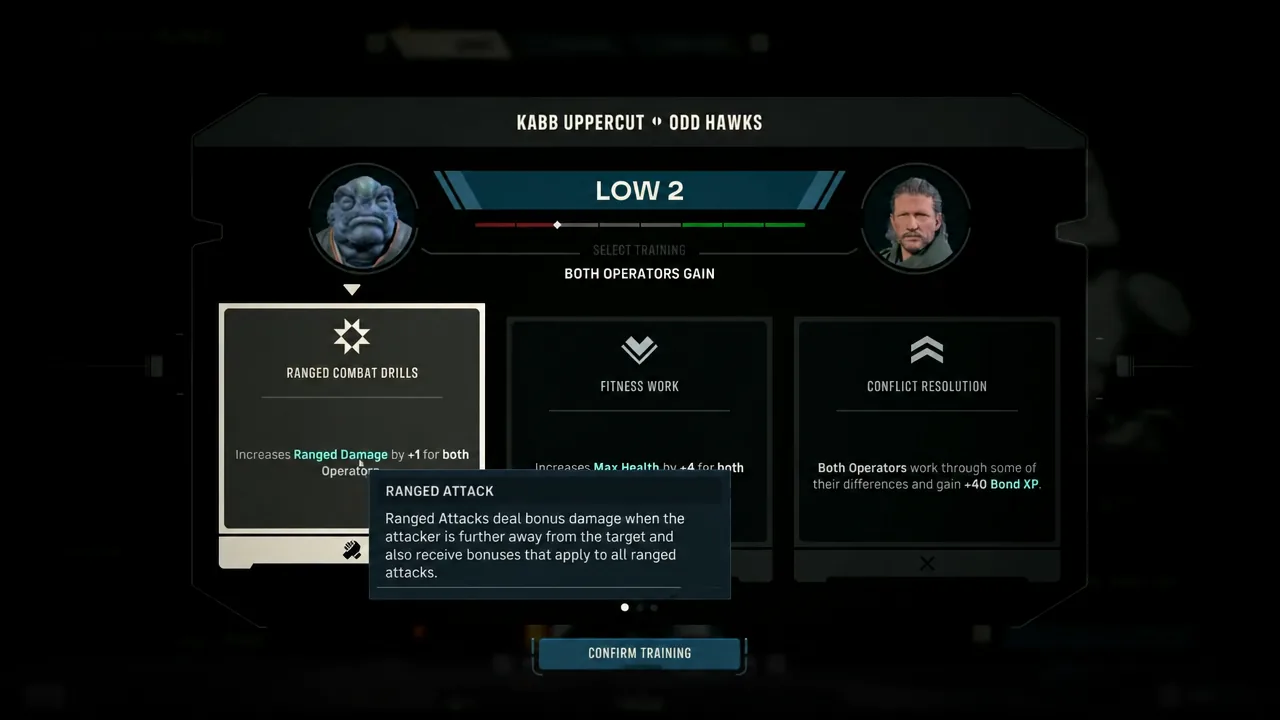
Focus Points are the other major payout. They arrive primarily from raising Bonds, with larger amounts at the top of the scale, and you spend them in each operator’s Focus Tree to upgrade abilities and specializations. Reaching the maximum Bond opens a special Cross Training that grants a Passive Ability, the strongest reward and the main combat reason to finish one pairing before rotating your squad.
| Reward | What it does | When to take it |
|---|---|---|
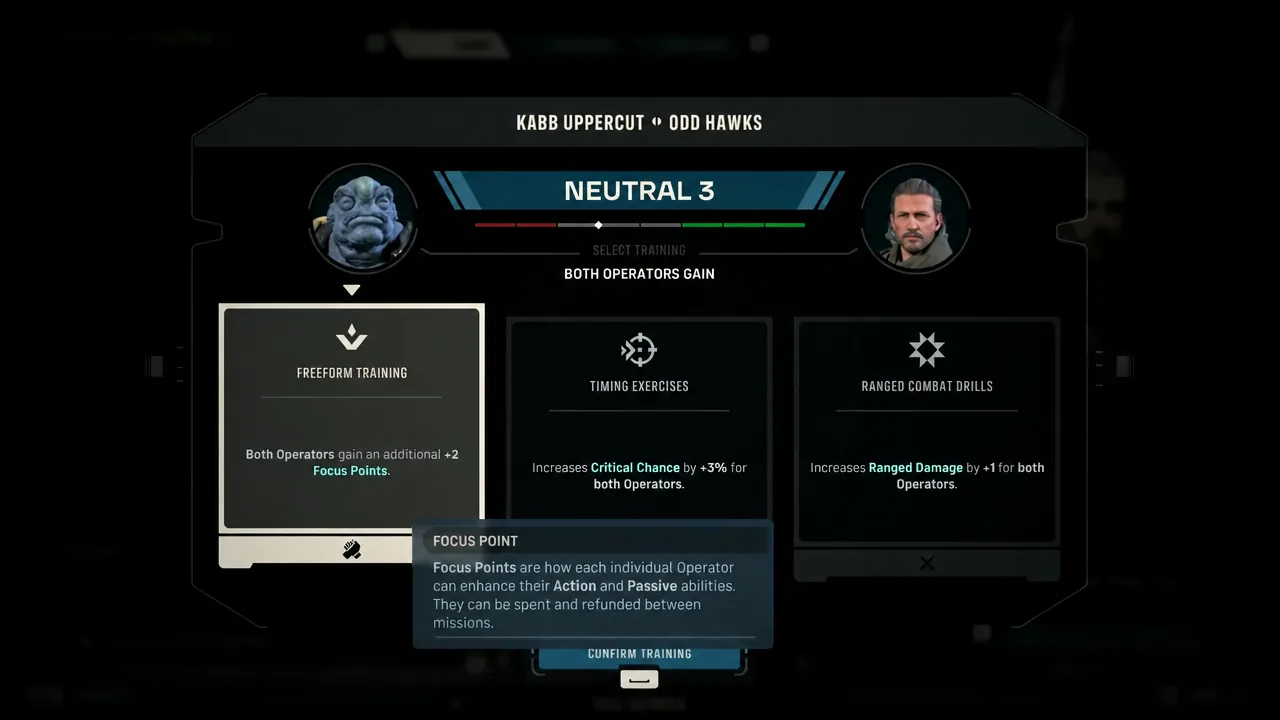
| Freeform Training | Gives 2 Focus Points to each operator (4 total) | When both need immediate upgrades; Focus can be reset later |
| Permanent stat | Fixed bonus to crit, health, grenade damage, and similar | When it clearly fits both builds; cannot be changed after picking |
| Max Bond passive | A unique Passive Ability for the pair | Automatically the goal for any core pairing |
Every way to gain and lose Bond
Bond experience comes from several sources, and each Bond level needs a set amount of experience to advance. You can check any pair’s current level and remaining progress in the Personal section under the Bonds tab.
- Completing Tactical Missions with the same two operators.
- Completing Holotable Operations together.
- Call for Backup and other minor combat actions.
- Medic heals and combat stim buffs on a squadmate.
- Correct dialogue choices during Den conversations.
- Cross Training rewards and main-story progression.
- Upgrading the Teamwork node in the Den for passive XP.
Bonds can also fall. Poor dialogue choices, certain story moments, some Operation outcomes, and the death of a partner all reduce Bond. Dilemmas are the biggest risk because they present three choices, and every option raises or lowers the Bond of every operator in your employ at once. Read each outcome fully before committing, especially when pushing a pair toward Very High.
The fastest per-mission Bond routine
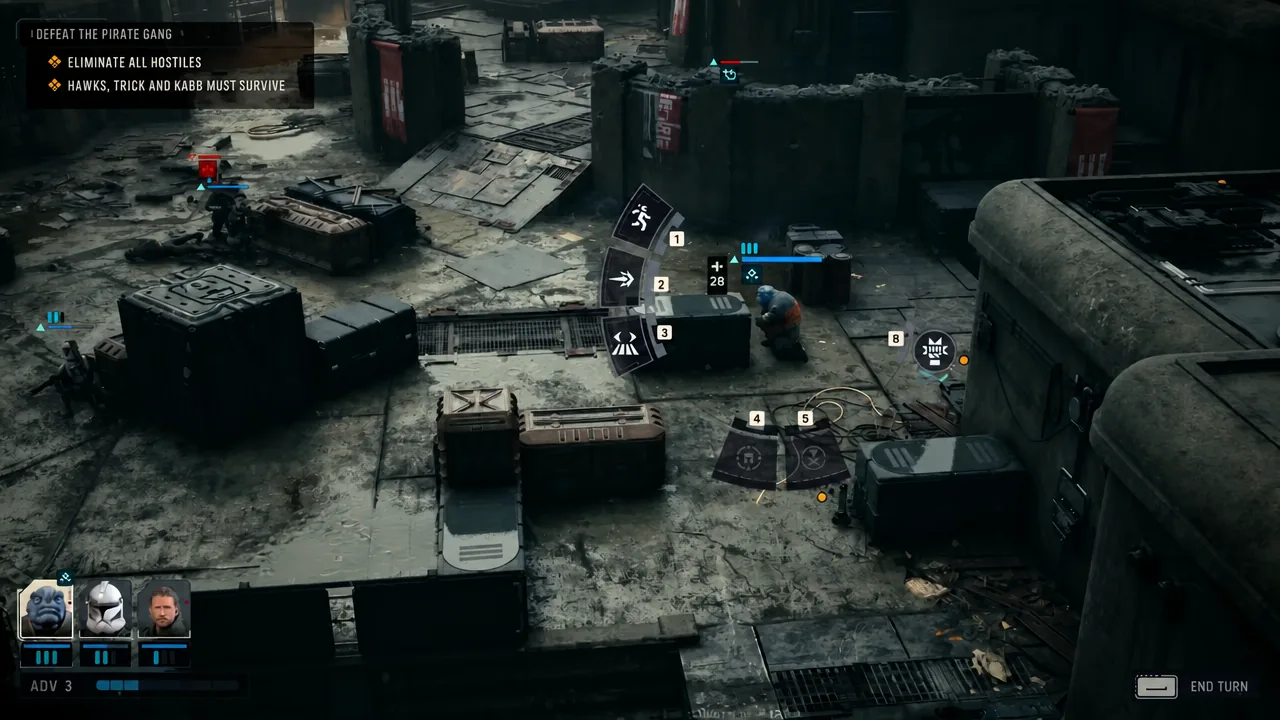
Missions are where the bulk of your Bond comes from, and a single well-played mission can produce around 70 or more Bond for one pair. The math breaks into three parts: roughly 30 for finishing the mission together, up to 20 from Backup, and up to 20 from minor combat actions. Focus on one pair at a time, because the random Backup caller makes split farming far less reliable.
Note: some chapters connect into mission chains, and Bond progress carries across them without resetting. There is a shared Bond limit that applies across the whole connected chain, so plan your actions with that cap in mind rather than assuming each linked mission starts fresh.
Build a Medic to maximize minor actions
A Medic is the cleanest way to hit the minor-action cap every mission. Because heal and buff abilities cost Action Points rather than consumables, you can repeat them within a turn. Hawks works well here, since he can buff an ally to raise health and damage while feeding Bond through each cast.
Used three times on the same operator in one turn, that produces 12 Bond, and a second turn pushes you to the 20 Bond minor-action cap. Combine this with your two Backup uses first, then top off the remaining minor-action Bond with Medic healing and combat stim buffs.
Use Operations for Bond outside combat
Holotable Operations build Bond without any fighting, which makes them a strong companion to mission farming. You choose how to handle a scenario, then assign the operators who go on it, and everyone sent bonds together based on the outcome.
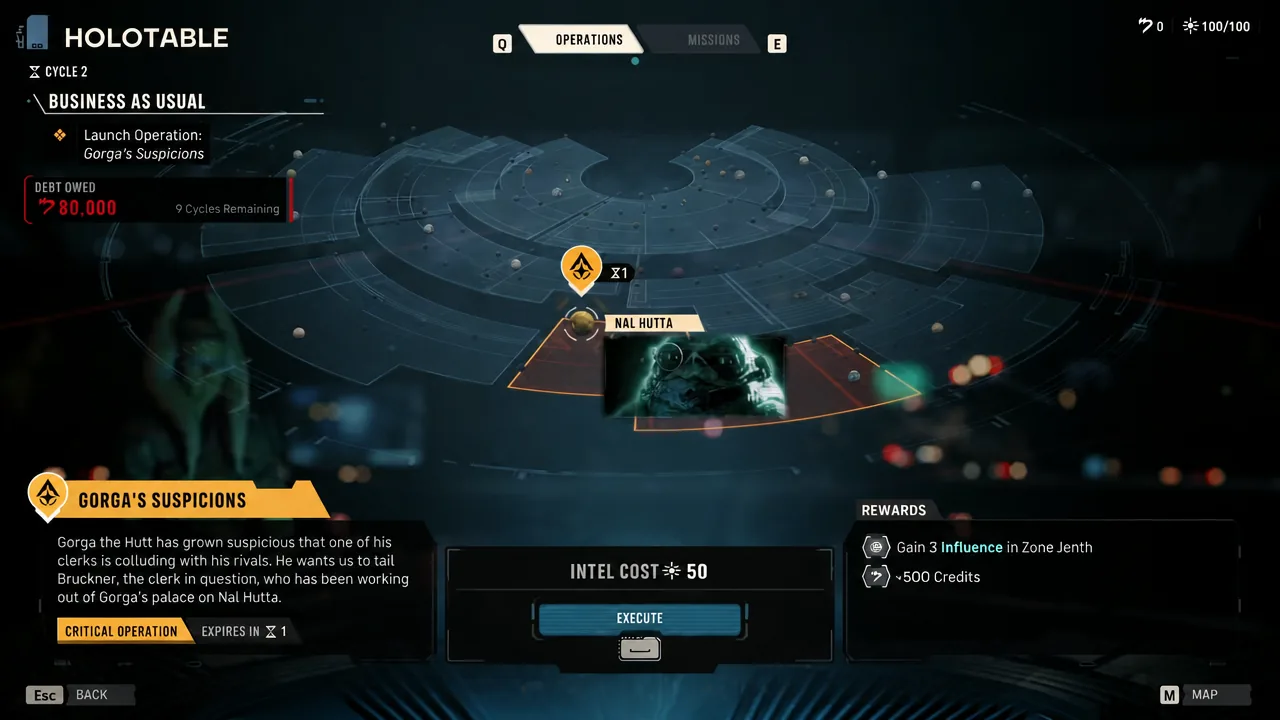
Some Operations require a set number of operators, and many carry a risk level that can cause injuries or worse. Always read the displayed risk before committing key characters, and prefer low-risk Operations you run deliberately. Because Operations can also lower Bonds, review every outcome and opinion before you execute. Finish relevant conversations and Operations before deploying on a Tactical Mission, since missions advance the campaign to the next Cycle.
Passive Bond XP from the Teamwork upgrade
Upgrading the Teamwork node in the Den grants passive Bond XP to every operator who is not on a mission. It is only 5 XP per operator, but across a large roster of benched characters that quietly compounds, so buying it early pays off over a long campaign. Recruit widely so more operators are gaining Bond while you focus your active squad elsewhere.
Earn and spend Focus Points
Focus Points come mainly from raising Bonds, with Tactical Missions, Operations, and the Freeform Training reward adding more. You spend them at the Personnel facility inside each operator’s individual Focus Tree, and upgrades bought for one character never carry over to anyone else.
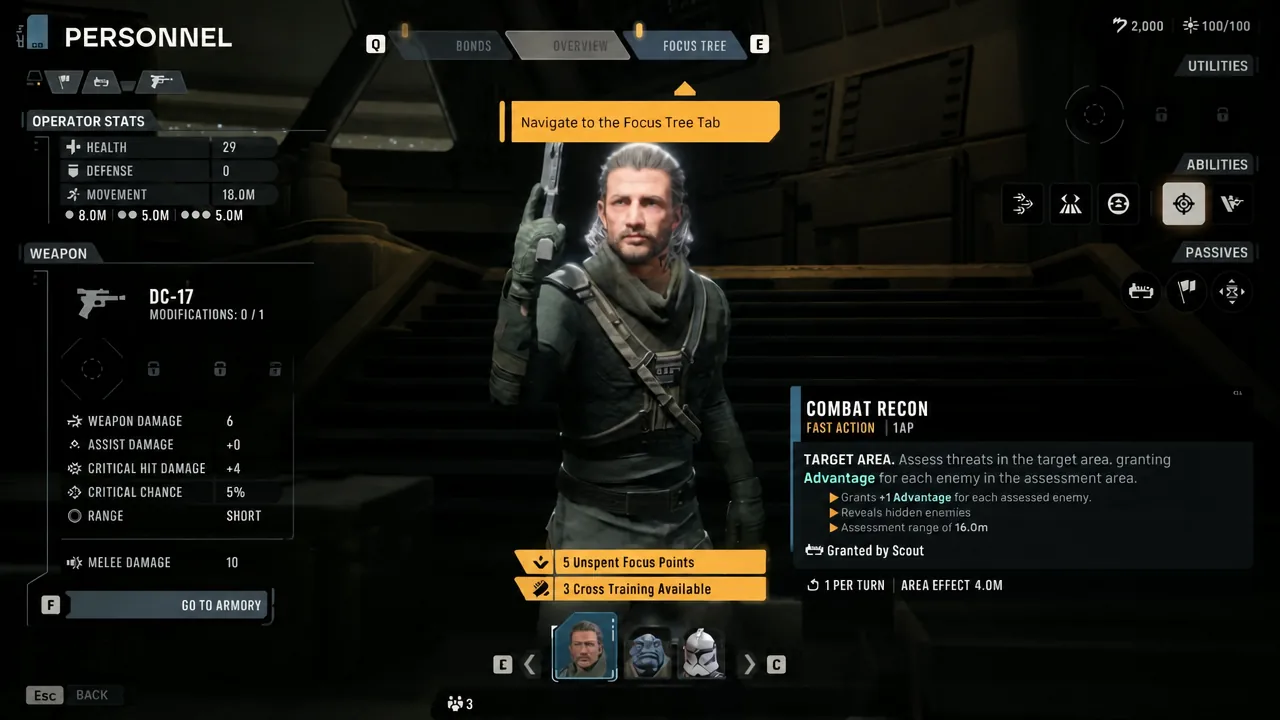
For damage dealers, upgrade the core damage Passive first when it affects every shot in a normal turn, then the Ultimate if it is the main burst tool, then the Standard Ability. For support operators, prioritize the Standard Ability and team-facing Passive, improving healing, buff duration, targeting range, or resource generation before an Ultimate you use once per fight. Invest in a personal Talent when its next rank changes the operator’s role rather than just adding numbers.
You can respec later. From Cycle 3, changing an operator’s Class Specialization at the Den is free and refunds the Focus spent in that Specialization, so early experiments are not wasted. Focus placed in an authored character’s fixed Talent is not refunded. To respec, interact with the Personnel console beside the Holotable, open the Focus Tree tab, select Change Specialization in the lower-right corner, then choose the new Specialization and reassign the refunded points.
You will know a pairing is progressing when the Bonds tab shows a new level and the Cross Training prompt appears at Personnel. Claim that reward as soon as it unlocks, keep the same pair deployed, and repeat the mission routine until they hit Very High for the max-Bond Passive Ability.