
Hawks leads Zero Company and shows up on nearly every story mission, so the build you pick sticks with you for most of the campaign. The strongest all-round setup keeps Hawks dealing ranged damage while healing and buffing the rest of your four-person squad. That means Gunslinger as the primary class and Medic as the secondary, tied together by his fixed Fearless Leader talent.
Quick answer: Build Hawks as a Gunslinger first, take Medic as the second specialization when it unlocks, equip a Blaster Rifle (or a Blaster Pistol if you want more mobility), and prioritize upgrading Fearless Leader.
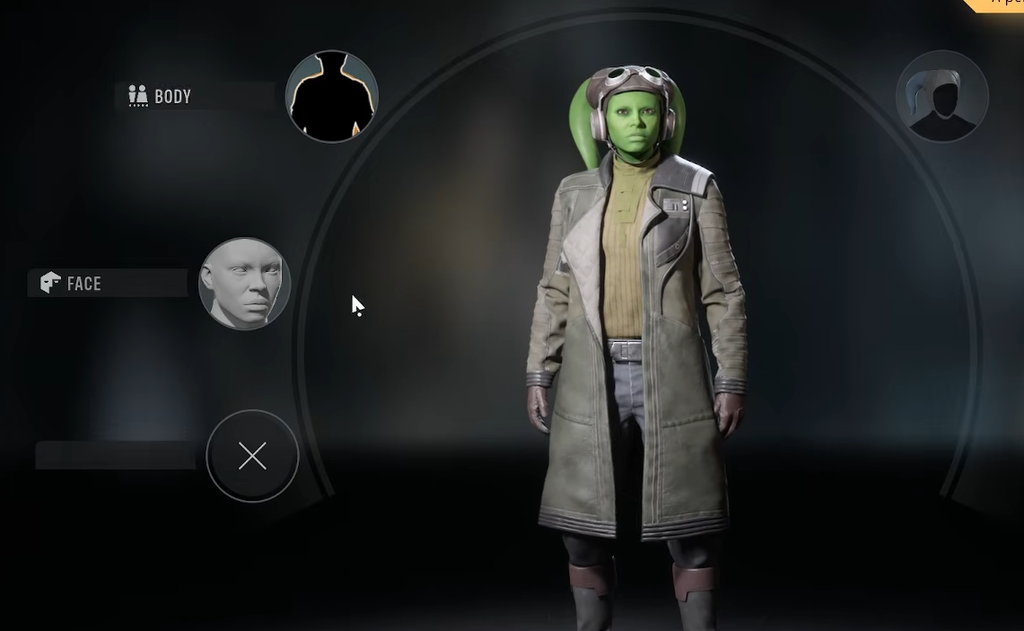
Fearless Leader: the talent that never changes
Hawks has one fixed talent, Fearless Leader, and it stays active no matter which class you spec into or how often you respec. While Hawks is in the squad, every operator gains bonus Assist Damage, and higher ranks also add Defense to the whole team. Because Hawks is almost always deployed, this buff is essentially permanent, which is why it should be one of your first upgrade priorities.
Assists work like free extra attacks, so raising Assist Damage across four operators adds up fast. The talent also feeds directly into abilities and bonds that rely on assists.
| Fearless Leader tier | Bonus |
|---|---|
| Tier 1 | +1 Assist Damage |
| Tier 2 | +1 Assist Damage, +1 Defense |
| Tier 3 | +2 Assist Damage, +1 Defense |
| Tier 4 | +2 Assist Damage, +2 Defense |
| Tier 5 | +3 Assist Damage, +2 Defense |
| Tier 6 (max) | +4 Assist Damage, +3 Defense |
Hawks can also spend the squad’s shared Advantage pool to refresh one squadmate’s Action Point once per turn, which pairs well with keeping him in a support-leaning role.
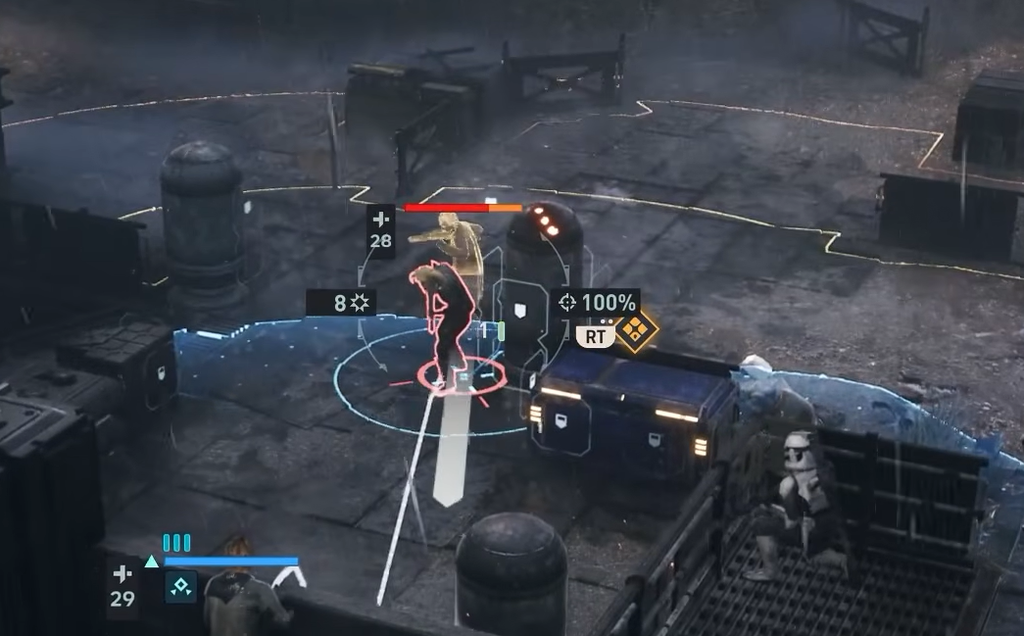
Primary class: Gunslinger
Gunslinger fits Hawks as a mobile, high-crit ranged attacker who chains kills to keep firing. Quick Draw is the workhorse. It costs a single Action Point, and defeating an enemy with it restores that AP, letting you fire repeatedly on strong turns. Keen Eye pushes his critical chance higher, Open Fire spreads damage across multiple targets as an ultimate, and Onslaught stacks bonus blaster damage the more he attacks in a turn.
| Gunslinger ability | Type | Effect |
|---|---|---|
| Open Fire | Ultimate | Fires twice at any mix of enemies for 6 base damage per shot; costs 9 Advantage, dropping to 7 by rank 2 with added Chance-to-Hit. Max rank fires three times. |
| Quick Draw | Standard | 1 AP sidearm shot at 6 base damage with a ranged Chance-to-Hit penalty. Defeating an enemy restores 1 AP. Triggers no Overwatch or Retaliation and ignores weapon mods. |
| Keen Eye | Passive | Increases Critical Hit Chance on all ranged attacks, scaling from +6% up to +18%. |
| Onslaught | Passive | Each attack in a turn grants +1 Blaster Damage, applied only to the primary blaster. |
The Chance-to-Hit penalty on Quick Draw shrinks as you rank it up, so early investment here makes his cheap shots far more reliable.
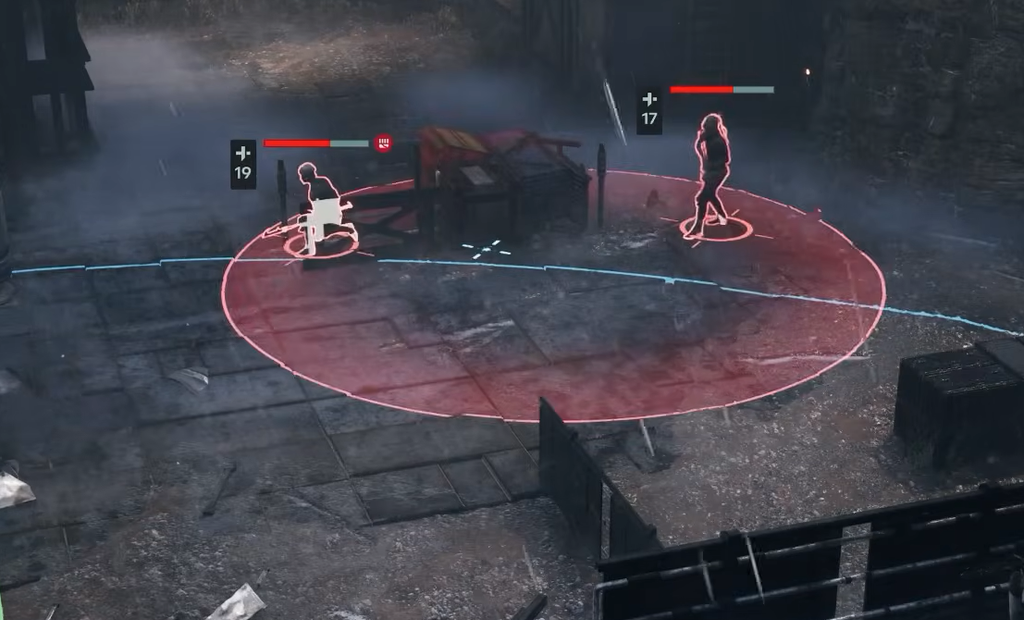
Secondary class: Medic
Once the second specialization unlocks midway through the campaign, Medic is the best pairing. It keeps Hawks offensive with his Gunslinger kit while letting him heal and buff teammates, which matters a lot in a game with operator permadeath. Because you already move Hawks around the battlefield, getting him within range to patch up allies is rarely a detour.
Combat Stim is the standout synergy. It raises an ally’s Max Health, Melee Damage, and Ranged Damage for two turns, so stimming a teammate before Hawks opens fire turns his volley into a burst.
| Medic ability | Type | Effect |
|---|---|---|
| Morale Boost | Ultimate | Grants 4 stacks of Morale to Hawks and nearby allies once per combat for 7 Advantage. Each stack restores 2 HP per turn and ignores Chance-to-Hit penalties from Injury. |
| Combat Stim | Standard | 1 AP buff giving an ally Stimulant for 2 turns: +8 Max Health and +2 Melee/Ranged Damage, rising to +12 and +3 at max rank. |
| Lifesaving Measures | Passive | Medpacs used by Hawks restore additional Health. |
| First Responder | Passive | Permanently equips a Medpac without using a utility slot. Rescuing an ally with Rally fully heals them. |
First Responder is a strong reason to run Medic on Hawks specifically. It frees a utility slot and lets you fully revive a downed teammate, which can save a run on harder difficulties.
Best weapon for Hawks: Blaster Rifle or Blaster Pistol
Weapon choice depends on whether you want Hawks anchored for damage or darting around to heal and reposition. The Blaster Rifle delivers higher base and critical damage, firing once per turn for 1 AP with extra shots costing 2 AP each. The Blaster Pistol trades power for speed, firing repeatedly at 1 AP with Short range, which keeps him mobile and pairs naturally with Quick Draw.
| Stat | Blaster Pistol | Blaster Rifle |
|---|---|---|
| Weapon Damage | 6 | 10 |
| Critical Hit Damage | +4 | +6 |
| Critical Chance | 11% | 11% |
| Range | Short | Medium |
| AP cost | 1 AP, unlimited shots | 1 AP first shot, 2 AP each additional |
If Hawks is your main damage dealer, go Blaster Rifle for the harder hits at Medium range. If you lean into the healer role and want to move every turn, the pistol keeps him firing while covering ground. Either weapon carries mod slots (Barrel, Cell, Scope, Stock on the rifle), starting with one slot and expanding up to four as you earn or buy mods from the Black Market and from Operations.
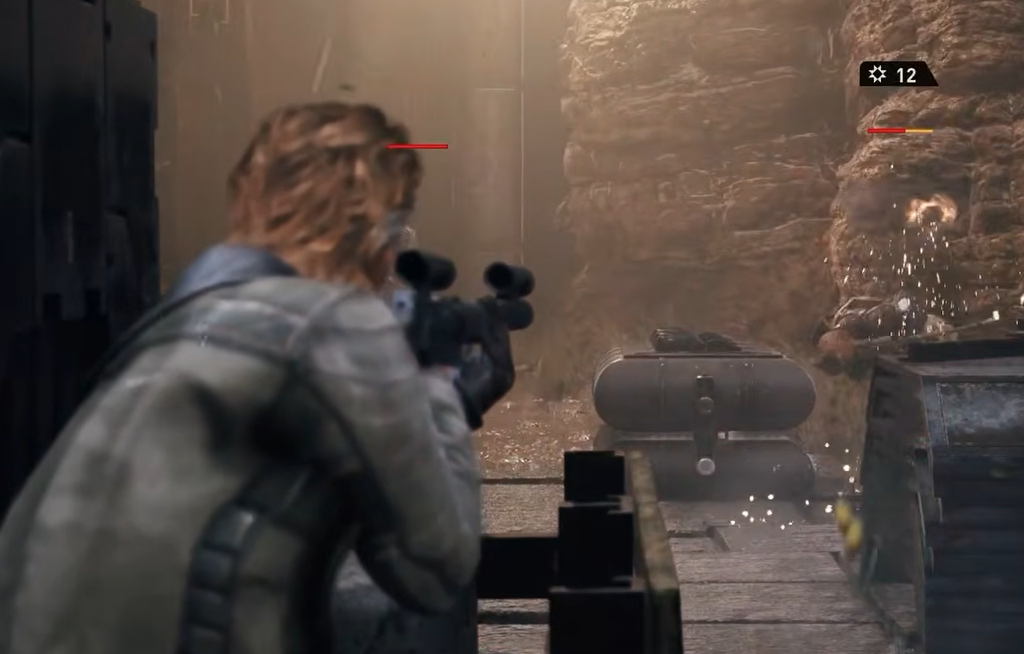
What to upgrade first
Squad fit and bonds
Because Hawks is on every story mission, his Bonds build faster than anyone’s, and Bonds are the main source of Focus Points. Keep a steady core rotation so those relationships grow and don’t decay from sitting out. Trick is a natural bonded partner after being injured saving Hawks on Antine, and any operator you run alongside him regularly gains a bond and its cross-training bonus.
Hawks is fully customizable and can slot into any of the eight standard classes, so this Gunslinger-Medic setup is a recommendation rather than a lock. If your squad already has strong sustain, Scout can generate more Advantage for earlier ultimates, and Hawks can temporarily cover Sharpshooter duties before that dedicated sniper joins later in the campaign. The Gunslinger-Medic pairing simply gives him the widest usefulness across offense and support, which is exactly what a mandatory squad member should offer.