Combat in Star Wars Zero Company runs on flat, readable numbers. Every status effect either shifts your hit chance, changes movement, ignores defense, or forces a target choice, and knowing the exact value behind each one lets you plan a turn instead of gambling on it. The rules below cover hit modifiers, control effects, buffs, droid handling, and the enemy traits that bypass your normal protections.
Quick answer: Cover cuts an attacker’s hit chance by 35% unless the target is flanked, Scanned adds +20% hit and strips 4 defense, Burning deals 1 damage per stack while ignoring defense, and droids can only be repaired (never healed) and take extra damage from Ion.
Hit chance modifiers you control
Most of what decides whether a shot lands comes down to a short stack of percentages. Cover is the biggest single swing. A unit in cover gives attackers a flat -35% to their hit chance, but that penalty disappears entirely the moment the target is flanked, so moving an operator to the enemy’s side or rear is often worth more than any damage buff.
Injuries work against your own operators. Each injury a unit takes stacks a -10% penalty to that unit’s hit chance, and a third injury results in permanent death. That makes injured operators progressively less reliable, and it is the clearest signal to pull someone out of the line of fire.
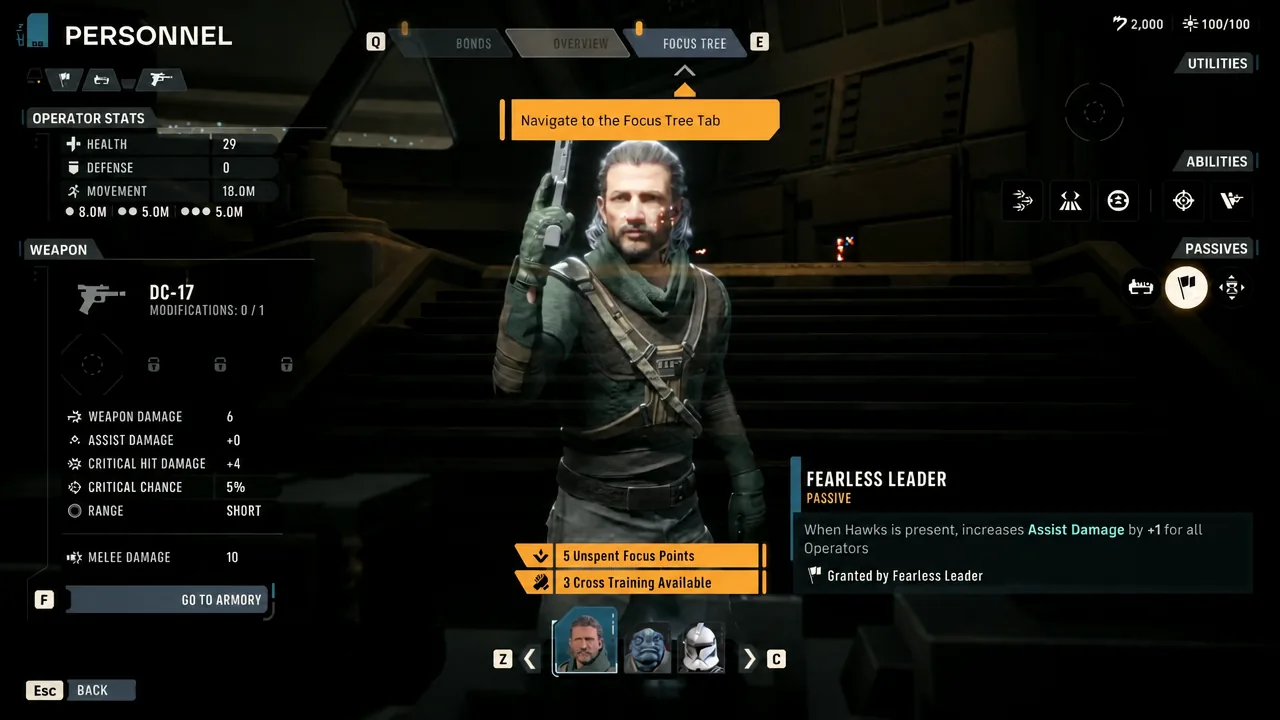
Two debuffs push your odds the right way when applied to enemies. Scanned reduces a target’s flat defense by 4 and grants +20% hit chance against it, which combines well with attacks that already ignore defense. Vulnerable is more decisive still, since it guarantees that the next attack against the target lands as a critical hit.
| Effect | Result |
|---|---|
| Cover | -35% attacker hit chance (removed when flanked) |
| Injury (per stack) | -10% hit chance; third injury is permanent death |
| Disoriented | -20% hit chance |
| Scanned | -4 defense and +20% hit chance against the target |
| Vulnerable | Next attack against the target is a guaranteed crit |
| Vicious | The operator’s next attack is a guaranteed crit |
Movement, control, and effects that slow or lock a target
Some statuses hit movement rather than accuracy. Shocked cuts a unit’s movement speed by 50%, which is enough to strand an enemy short of cover or keep it out of range for a full turn. Disoriented, by contrast, is an accuracy penalty and applies -20% to hit chance.
Hard control has a built-in limit. Dazed and Stunned both take a target out of action, but once either effect wears off the unit gains Stun Resistance and cannot be dazed or stunned again for the rest of the battle. You get one window per enemy, so time it for when it matters most rather than spending it early.
Taunt removes an enemy’s choice of target. A taunted unit is forced to attack whatever applied the taunt, which lets a durable operator pull fire away from weaker squad members.
Damage that ignores defense
Burning bypasses armor entirely. Each stack deals 1 damage and ignores defense, and it triggers every time the affected unit performs an action. Against a heavily armored target that shrugs off normal fire, stacking Burning is often the fastest way to wear it down, because the target keeps taking damage as it acts.
Buffs that reward staying in place
A group of buffs builds up in stacks but disappears the instant a unit moves or is knocked back. Lethal grants +5% hit and +3% crit per stack, and Smoke reduces incoming ranged hit chance by 10% per stack. Both are wiped by movement, so holding position becomes a real tactical decision rather than a default.
Other positive buffs worth tracking include Morale, Stimulant, Retaliation, Sharpened Senses, and Machine Learning. On defense, the key layers are Evasion, Invulnerable, Impervious, Immovable, and Deflection, each covering a different way of avoiding or reducing incoming damage.
| Stacking buff | Effect per stack | Lost on movement? |
|---|---|---|
| Lethal | +5% hit, +3% crit | Yes |
| Smoke | -10% incoming ranged hit chance | Yes |
Droid rules: repair, not heal
Droids do not follow the same recovery rules as organic operators. They cannot be healed by medpacs or standard medic abilities and must be repaired instead. A medpac restores 30% of an ally’s health, but it will not work on a droid at all.
Their weakness is Ion damage. Droids are uniquely vulnerable to it, so an Ion-based attack is the direct counter when a droid is holding a position or soaking your fire.
Enemy traits that break your rules
Certain enemies play by different rules than your squad, and each one undermines a tactic you would normally rely on. Relentless units, such as the B2 Super Battle Droid, do not take cover and cannot be Exposed, so flanking gives you nothing extra against them.
Ray Shield blocks all incoming damage until it is fully depleted, and it recharges by 50% of its lost strength each turn. That means you need concentrated fire in a single turn to break through, because a slow chip-away lets the shield recover. Plague Armor reduces all incoming damage by 50%, which is where defense-ignoring options like Burning become valuable.
| Enemy trait | What it does | Counter |
|---|---|---|
| Relentless | Ignores cover, cannot be Exposed | Flanking gives no bonus; use raw damage |
| Ray Shield | Blocks all damage until depleted; recharges 50% of lost strength each turn | Focus fire in one turn to break it |
| Plague Armor | Reduces all incoming damage by 50% | Use defense-ignoring damage like Burning |
The three rules that decide the most fights are cover and flanking, the one-time nature of stun through Stun Resistance, and the split between defense-based damage and effects that ignore defense entirely. Star Wars Zero Company is a single-player turn-based tactics game from Bit Reactor and Electronic Arts, released on August 27, 2026 for PC, PlayStation 5, and Xbox Series X|S. Once you read every enemy by its traits and match your damage type to its protection, most encounters come down to spending your hit modifiers and control windows in the right order.