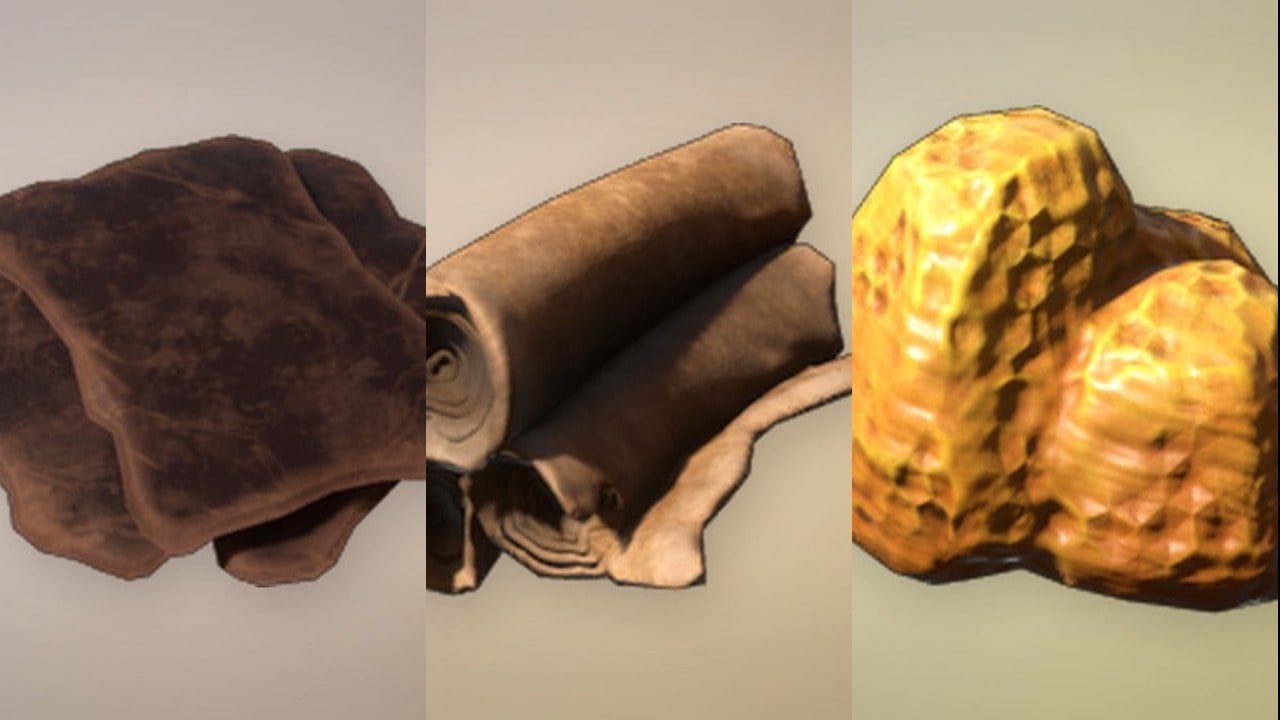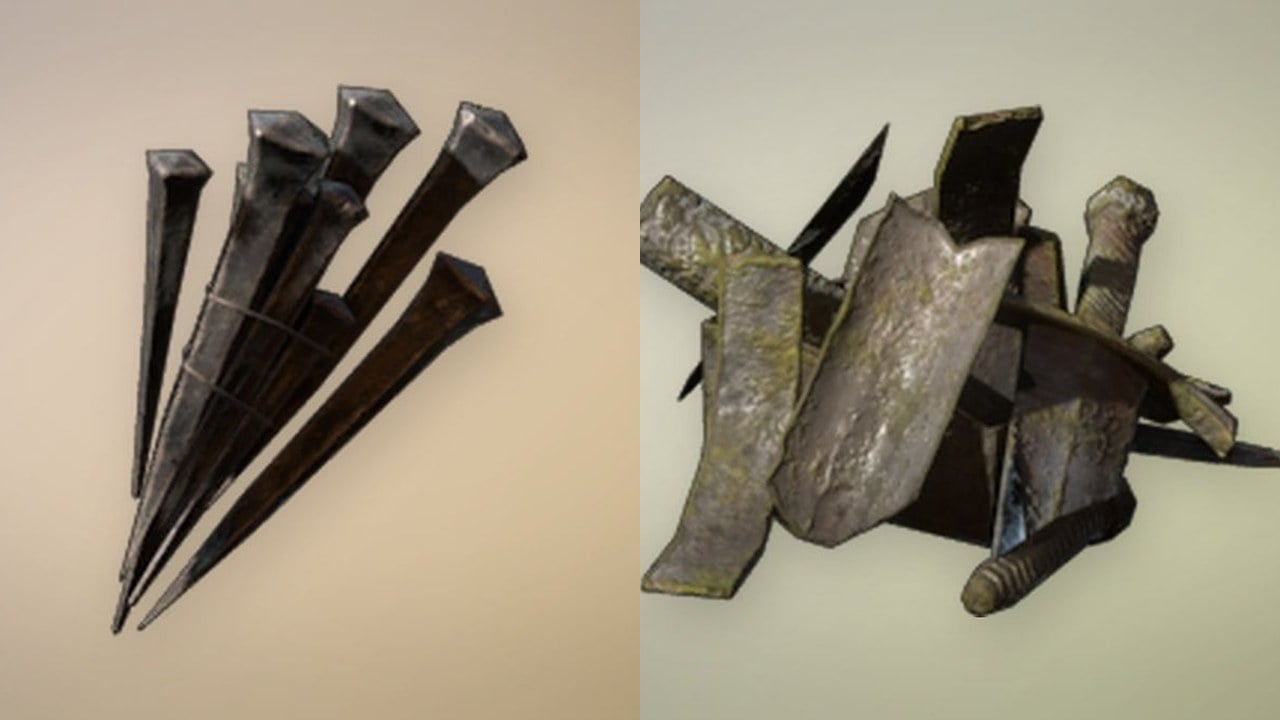
Destroy the Experimental Reactor is a sabotage job, and sabotage missions in Star Wars Zero Company always end the same way. You plant explosives on the target, then you get everyone out. The reactor itself is never the hard part. The hard part is the walk back, because the moment the charges go down, fresh droids start arriving between your squad and the extraction point.
Quick answer: Push the squad forward in cover, wipe the B1 and B2 droids around the reactor with area damage and melee, plant the charges, then move all four operators into the evacuation zone on the right side of the map while one unit holds Overwatch to slow the reinforcements.
Mission objectives, squad, and enemies
The briefing runs three objectives in sequence, and the second and third only appear once the one above them is done. Nothing here asks you to clear the map, so kills are a means to an end rather than the goal.
| Element | Detail |
|---|---|
| Objectives | DESTROY THE EXPERIMENTAL REACTOR, then PLANT THE CHARGES, then EVACUATE ALL OPERATORS |
| Squad | Jae Mordant, Cly Kullervo, Tel-Rea Vokoss, and Trick |
| Enemies | B1 Battle Droids, B2 Super Battle Droids, and BX Droid Commandos |
| Completion | All four operators standing inside the evacuation zone |
Every enemy on the map is a Separatist droid, which makes this a good mission for anything with an ion or shock effect. The B1s die to almost anything, including a single Blaster Pistol shot, so they are cheap to remove with leftover Action Points. B2 Super Battle Droids and BX Droid Commandos are the units worth spending real abilities on.
Abilities to hold for the reactor fight
Four tools do most of the work here. Everything else on the bar is filler by comparison, at least until the evacuation phase starts.
| Ability | When it earns its cost |
|---|---|
| Impact Bomb | Droids bunched around the same crate or wall segment |
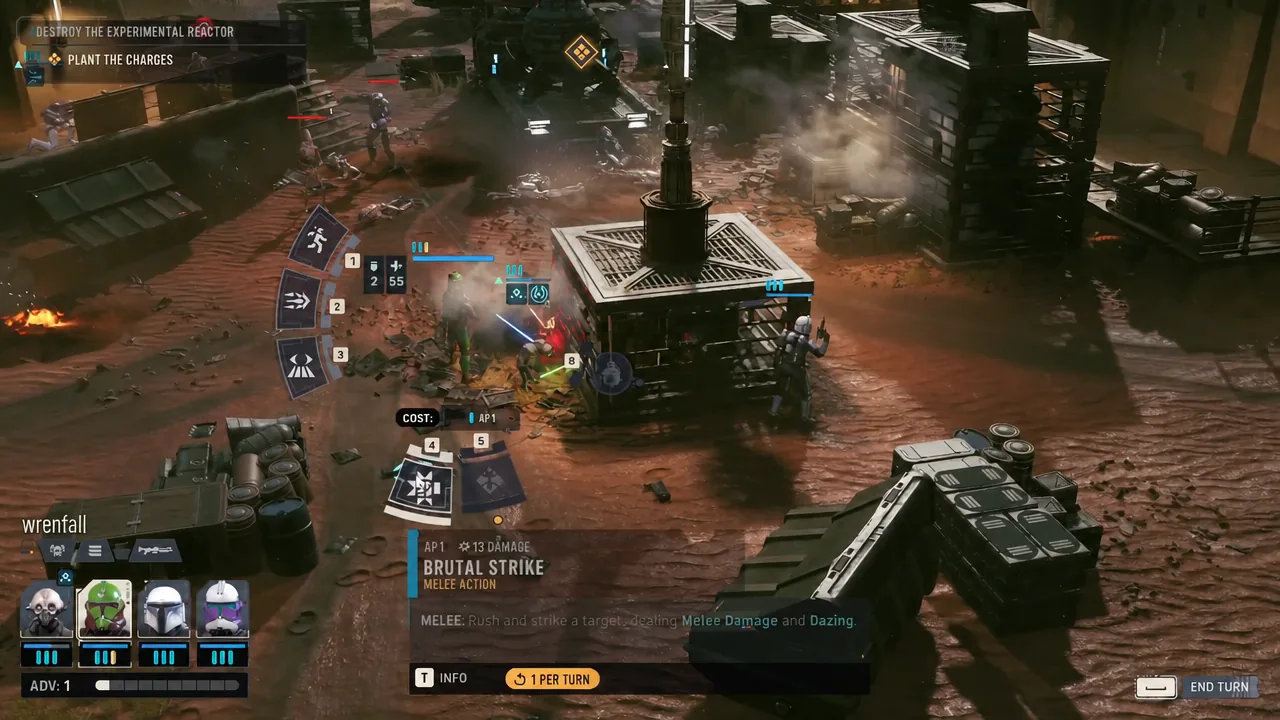
| Lightsaber Strike / Brutal Strike | Finishing wounded droids next to the reactor without spending a full turn shooting |
| Combat Jump | Closing distance across open ground in one action instead of two moves |
| Overwatch | Covering the retreat once the charges are down |
Electroweb Dart III, Electroweb Surge II, Shockwave II, and Noble Stance also sit in the squad’s kit and are worth cycling through when the big abilities are on cooldown. Just do not save them so carefully that you finish the mission with a full bar and two dead operators.
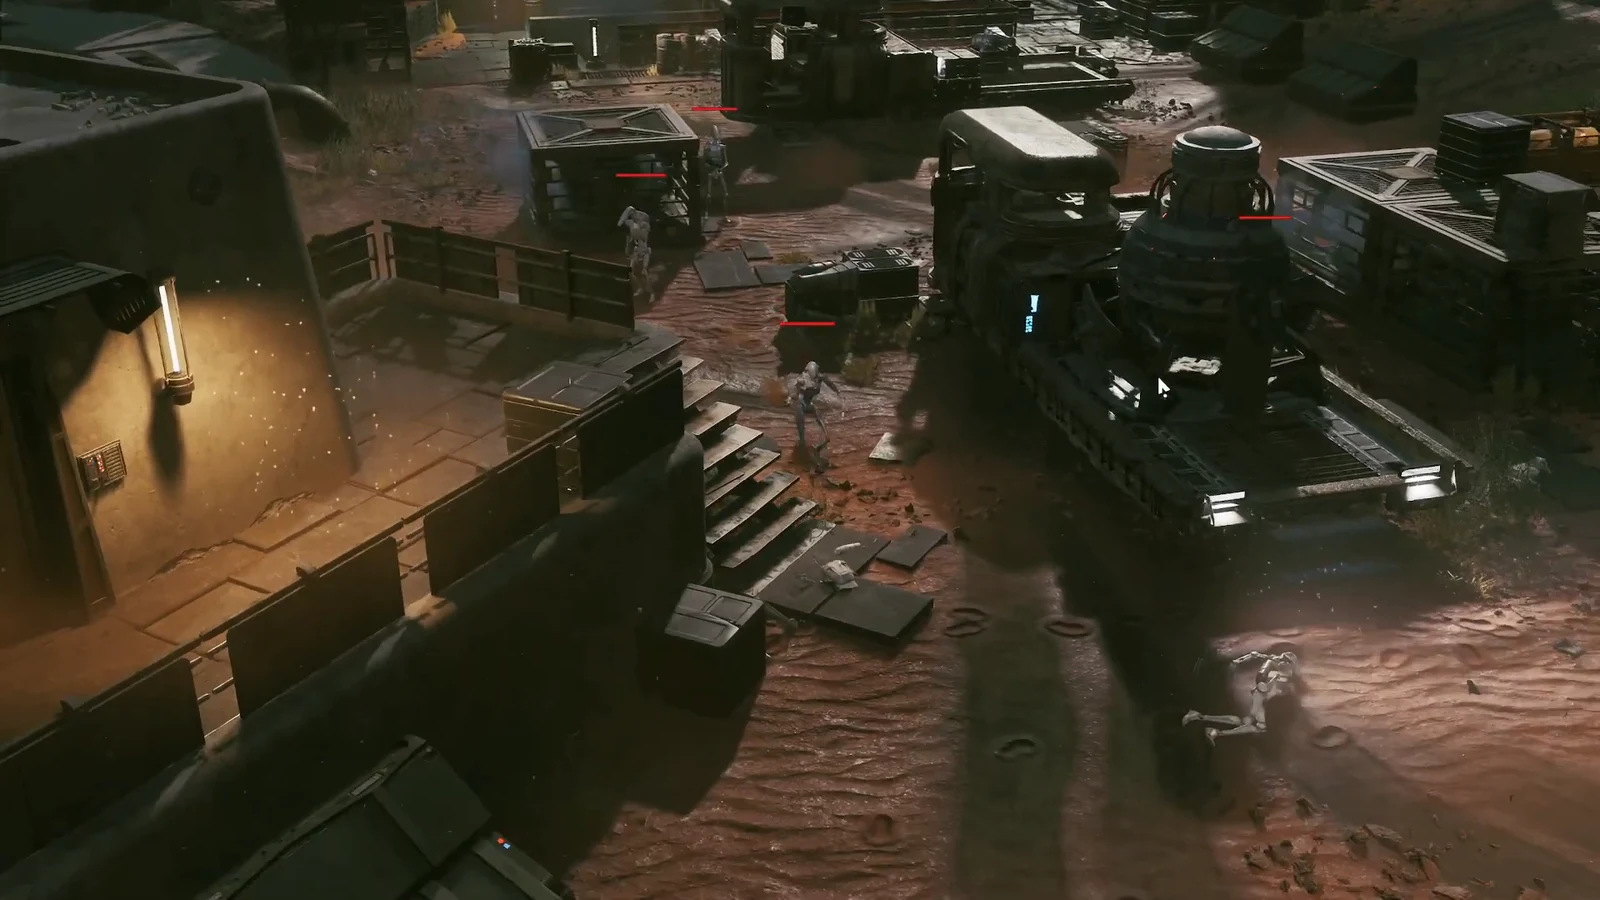
Clearing the yard around the reactor
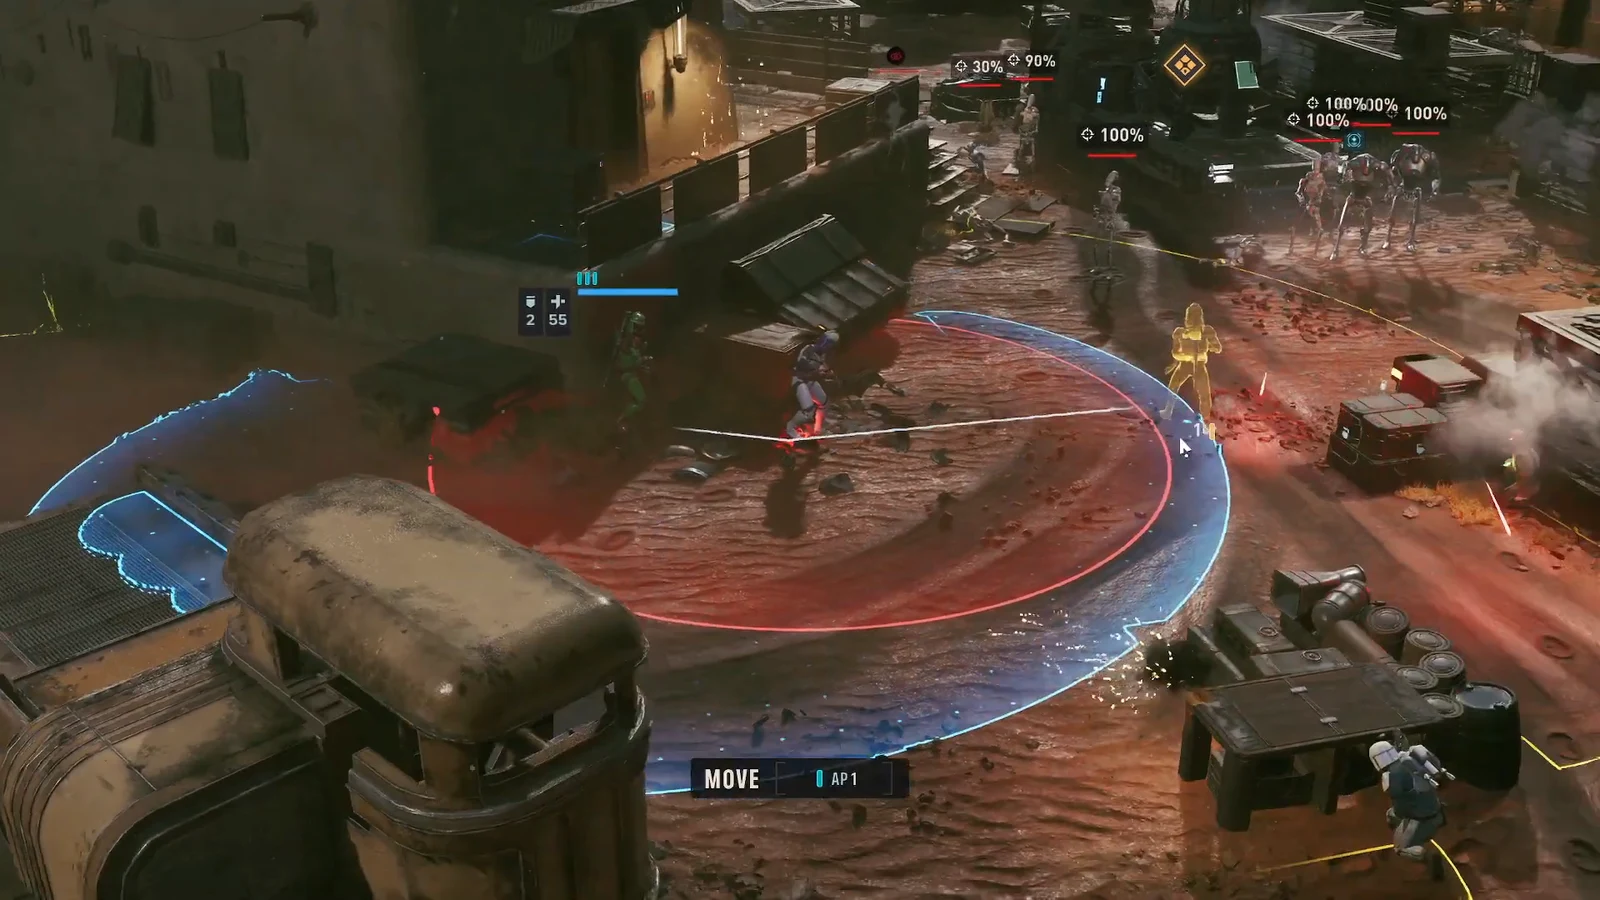
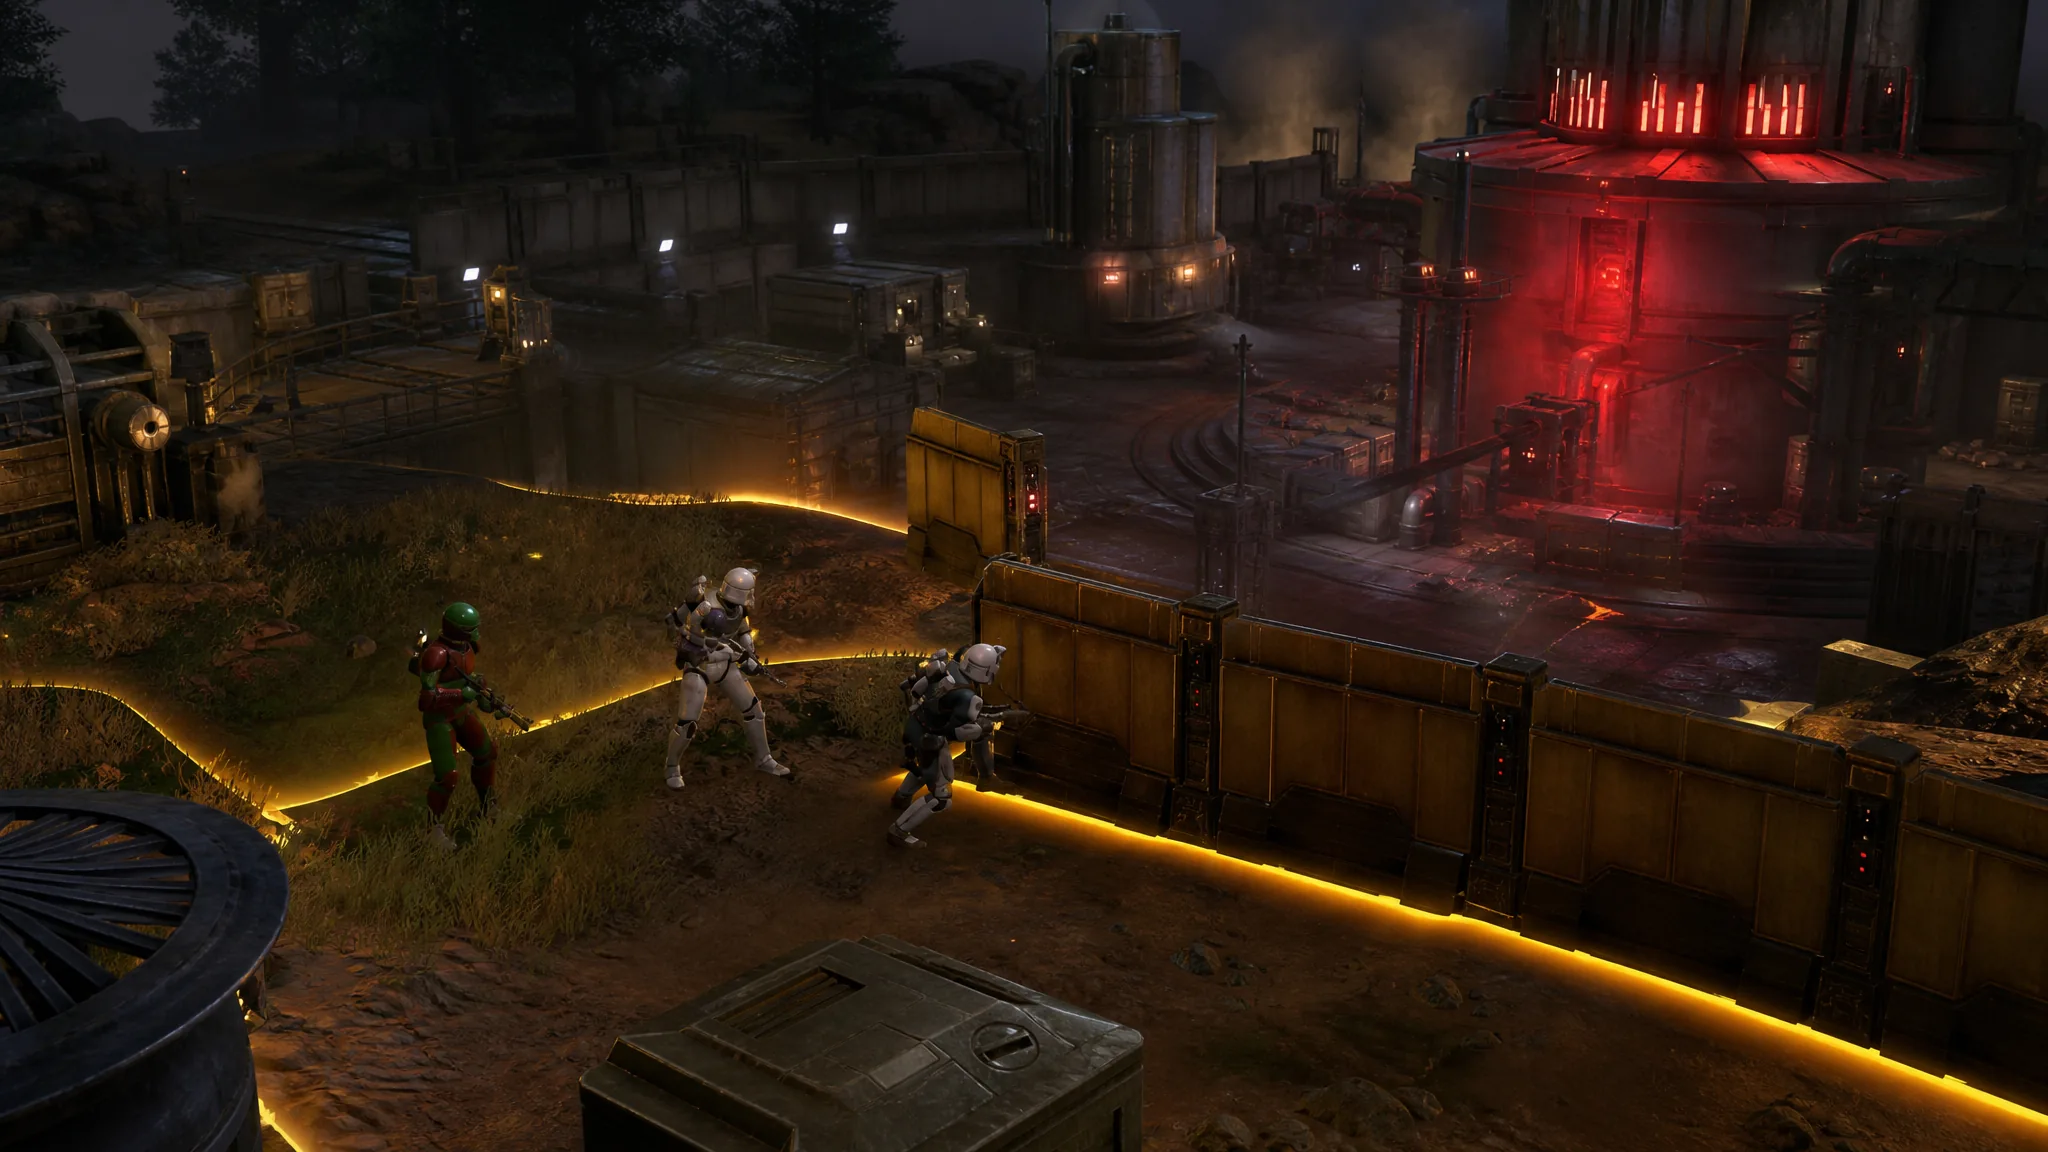
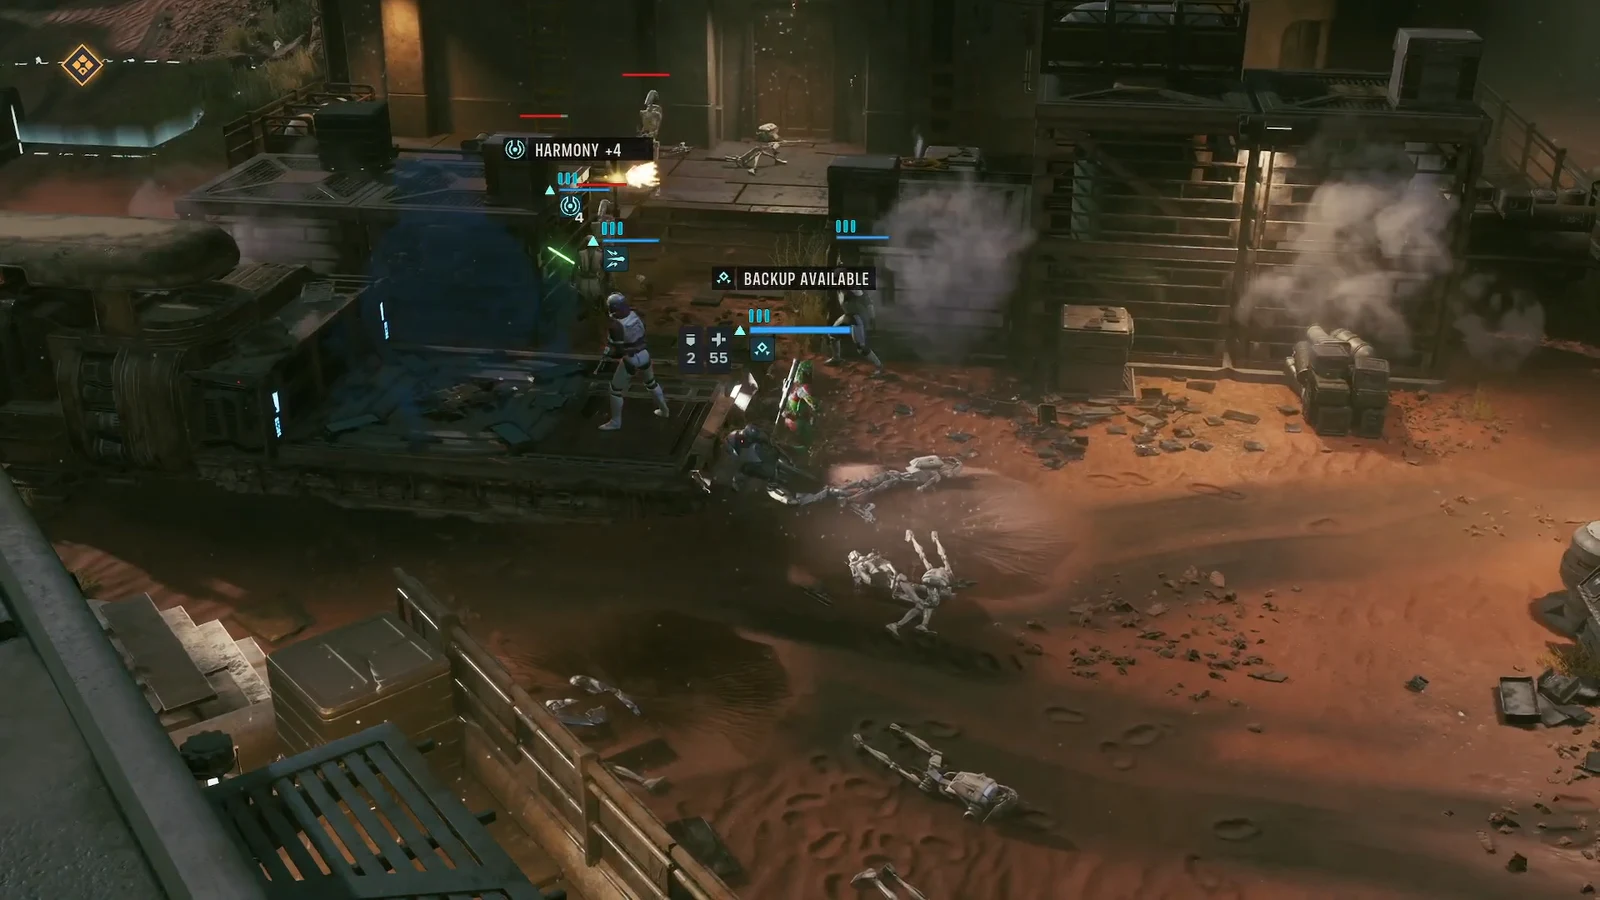
Check the silhouette on every unit before you end the turn. Blue means the operator is in cover, orange means they are exposed, and even a B1 will land shots on an exposed target. The first enemy turn comes back with grenades as well as blaster fire, so a unit standing in the open is the one that ends up in the MedBay.
Planting the charges
With the immediate area clear, walk an operator onto the experimental reactor and use the plant action. The objective tracker flips to EVACUATE ALL OPERATORS as soon as the charges are set, and that is also the cue for the map to start spawning fresh droids.
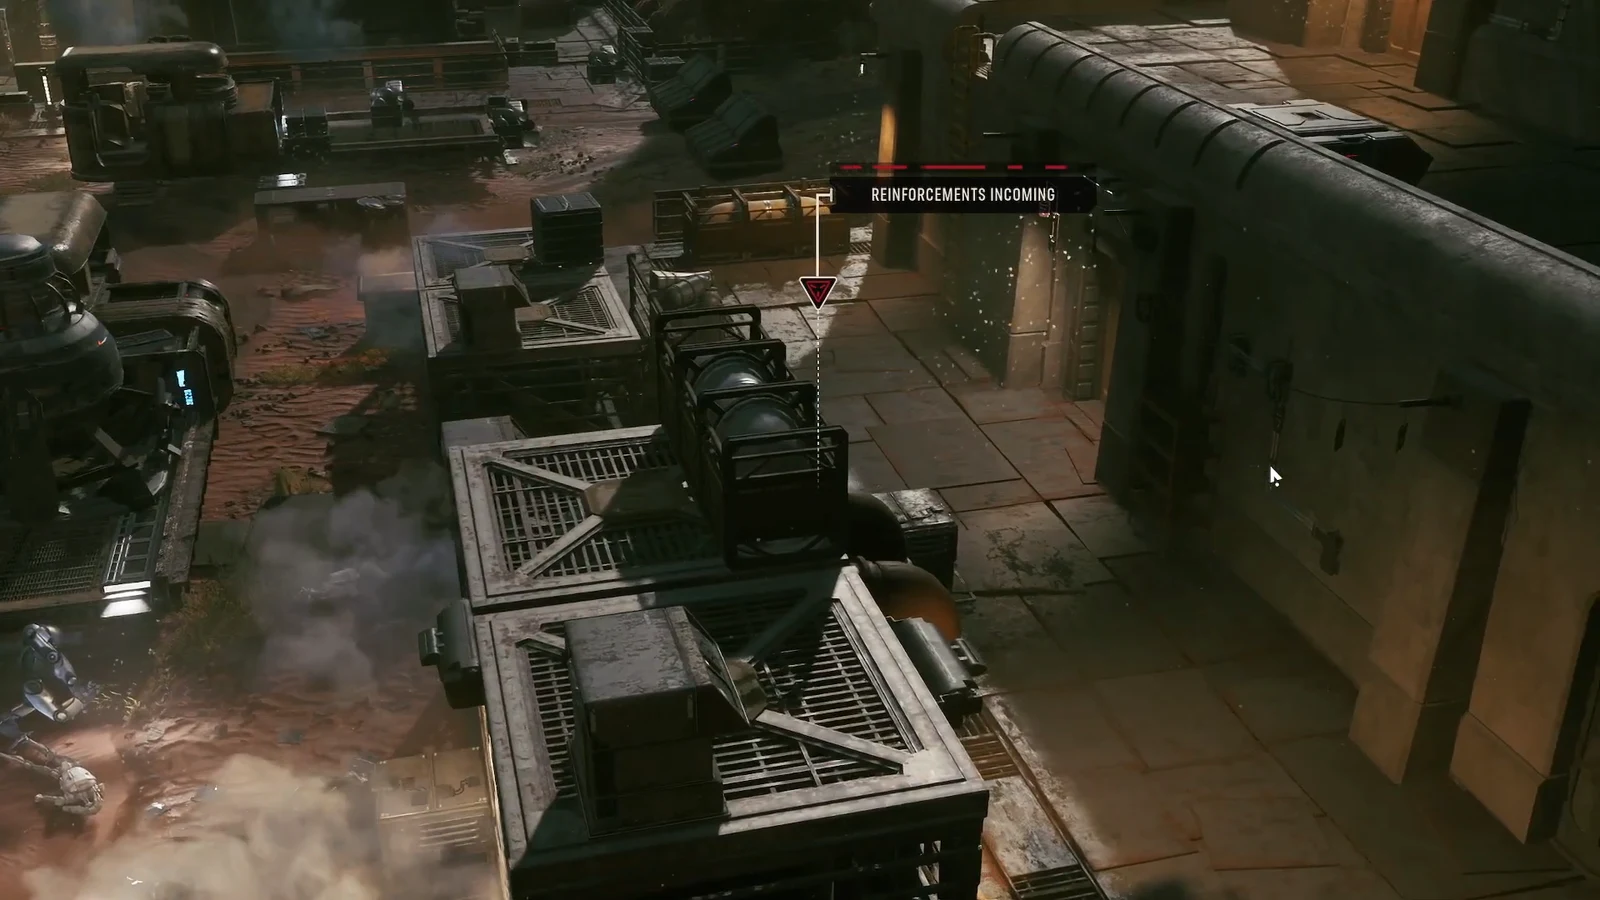
Do not plant with your last Action Point of the turn if the rest of the squad is still scattered. The reinforcement warning fires immediately, and you want everyone already pointed toward the exit when it does.
Getting all four operators to the evacuation zone
How to confirm the mission is complete
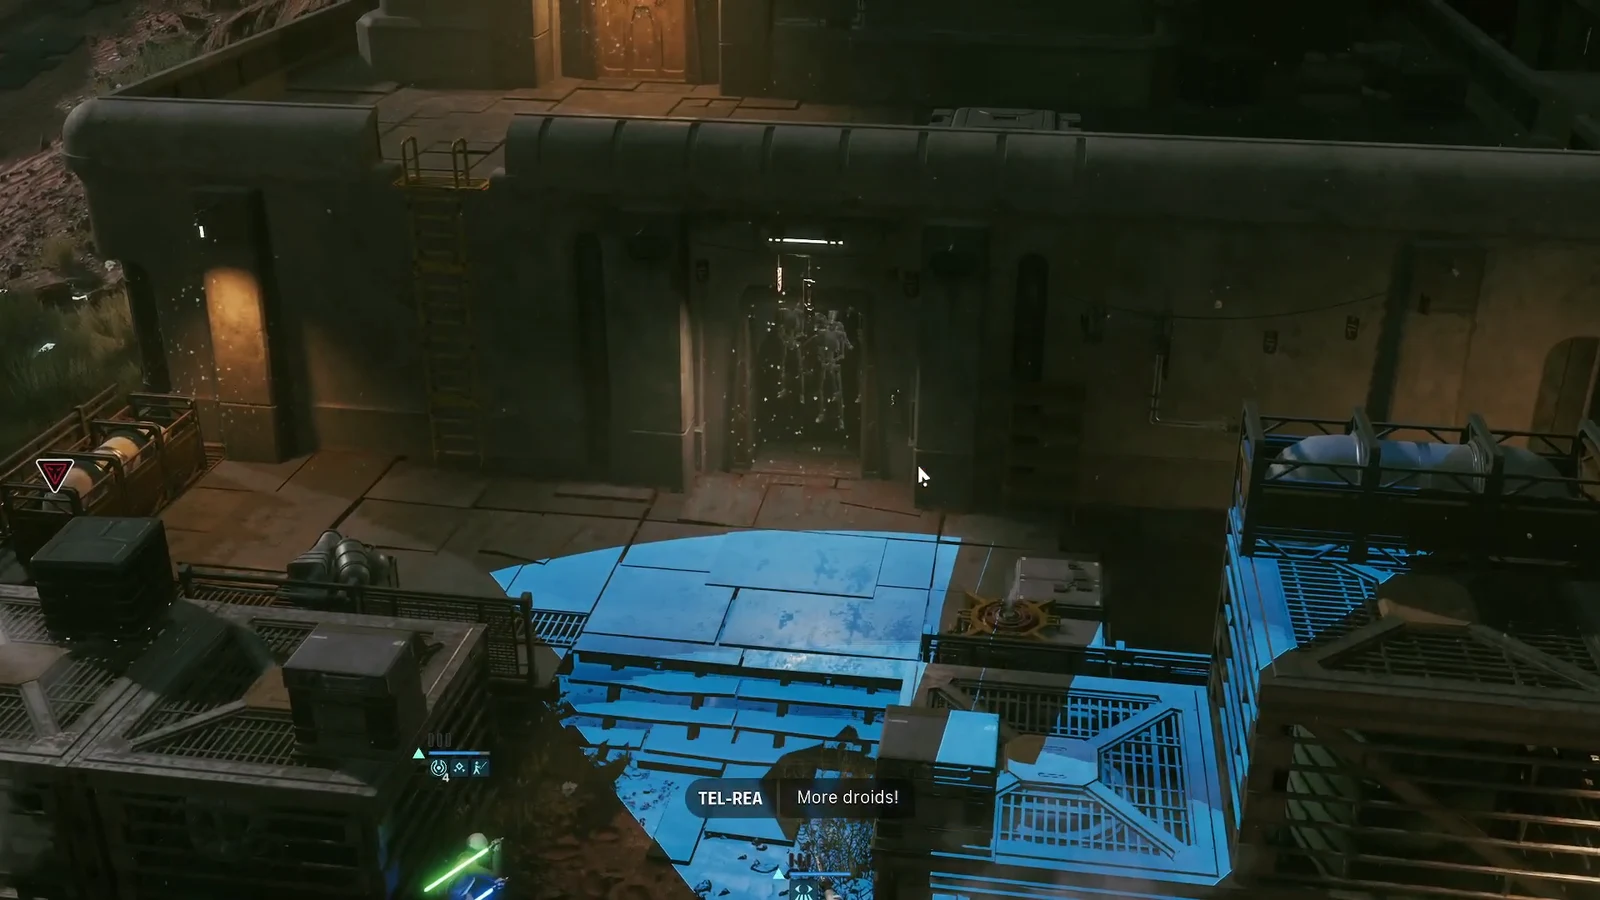
The mission resolves the instant the fourth operator stands inside the evacuation zone. Until then the objective stays listed as EVACUATE ALL OPERATORS, which is the fastest way to check whether someone has been left behind mid-fight.
Two things usually stop the mission from ending. One operator is still short of the zone by a tile or two because their second move of the turn was shorter than expected, or a squadmate went down outside the zone and nobody picked them up. Both are movement problems, not combat ones, so count your operators inside the zone before you spend another turn shooting.
Note: droids that escape a mission alive come back stronger in later encounters, so if the exit is already secure and you have spare Action Points, spending them on the last stragglers is not wasted.
Treat the whole thing as a timed walk rather than a battle and it goes smoothly. The reactor is a two-second action at the halfway point, and everything before and after it exists to make sure four operators are standing on the same patch of ground when the charges are counted down.