

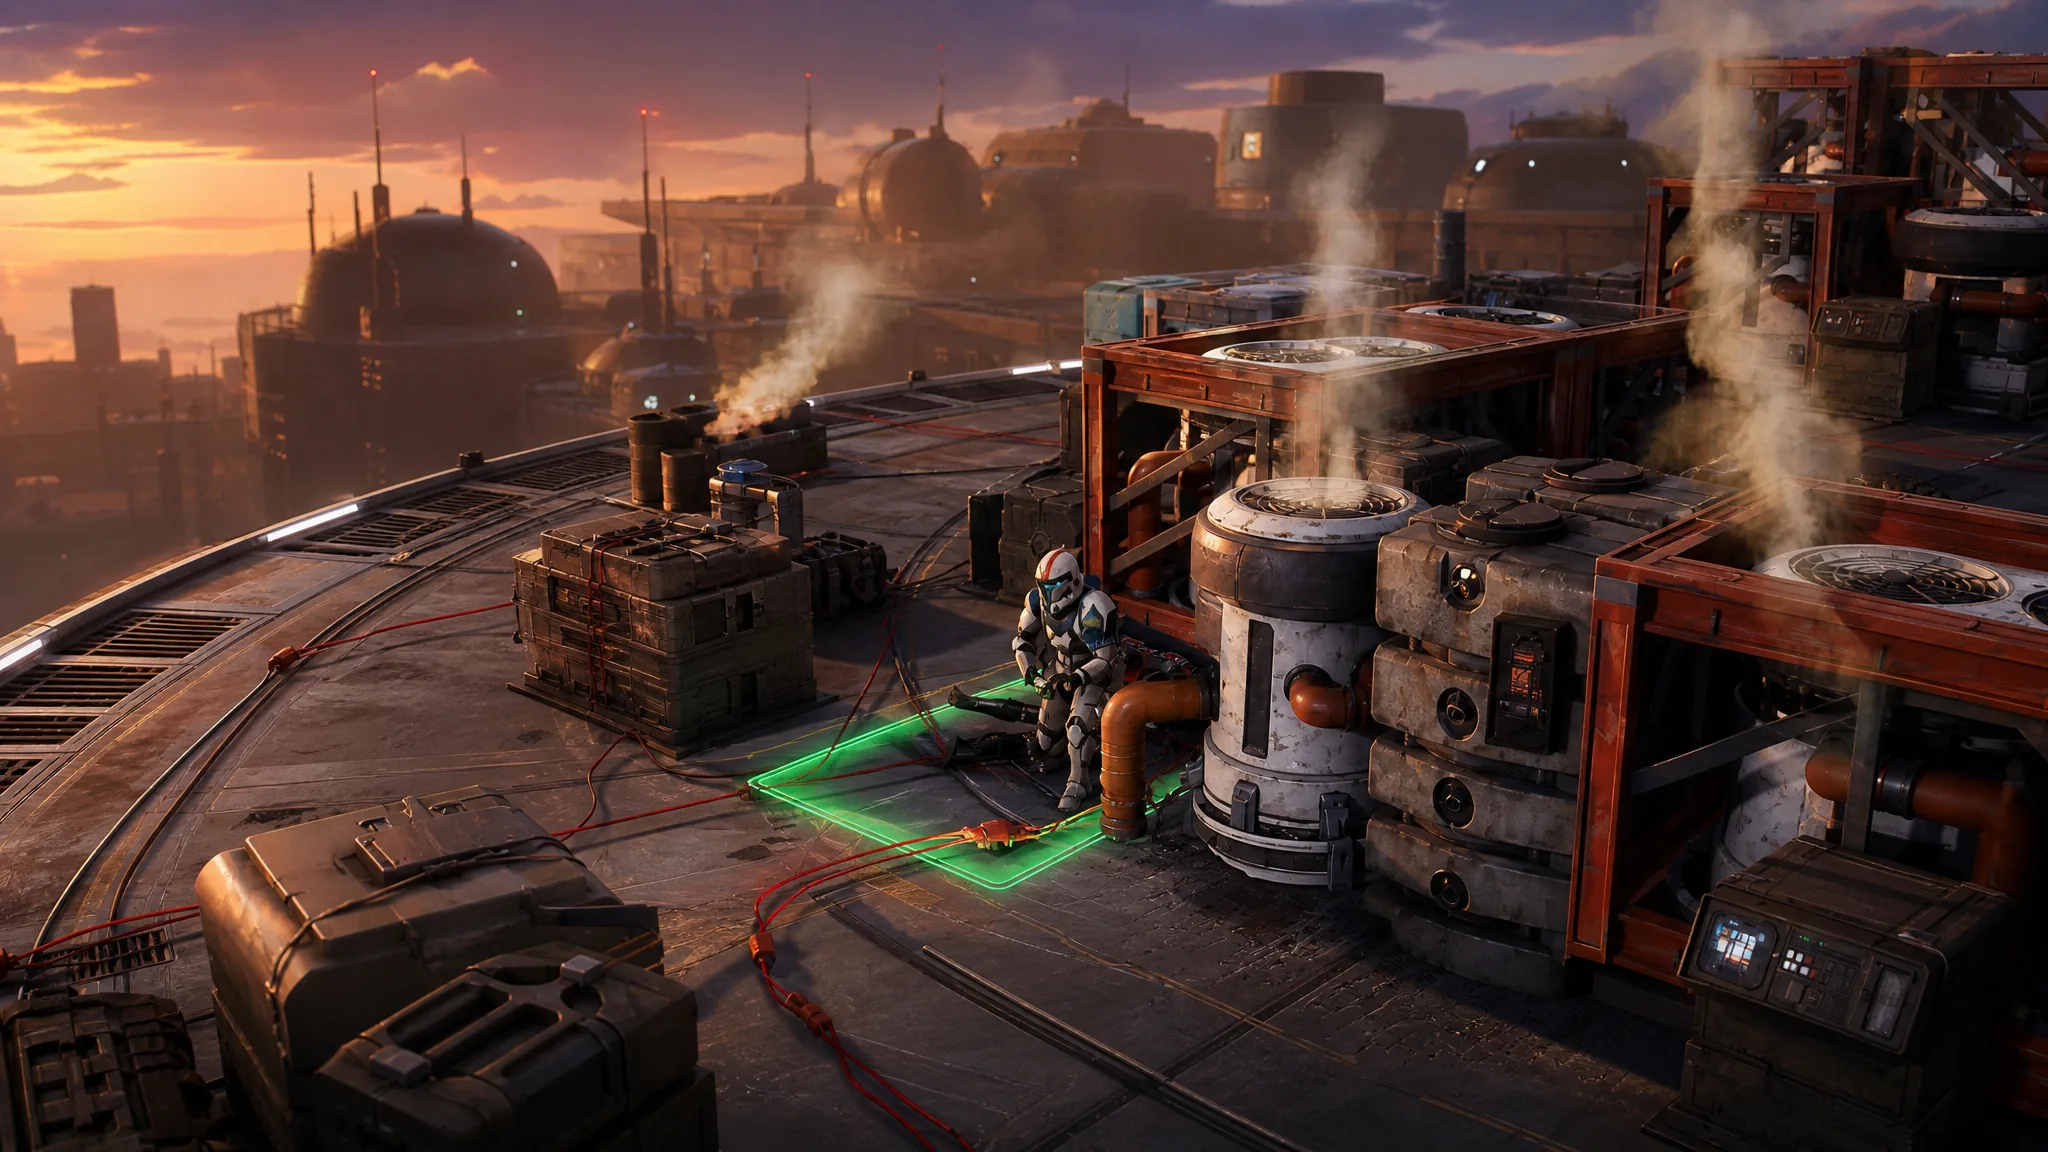
Infiltrate the Prisoner Exchange drops Hawks, Anakin Skywalker, and Luco Bronc onto a circular platform with a timer-free but pressure-heavy objective: four Coil charges are live, and the mission does not end until all of them are defused. Killing every droid on the map is not the win condition, and chasing kills is the fastest way to lose an operator to the gunship overhead.
Quick answer: Move an operator into contact with each of the four coil explosives and spend the disarm action on the spot — the counter ticks up to 4/4 — while keeping Hawks, Anakin, and Luco all alive and out of the red zones the HMP Droid Gunship marks on the ground.
Mission conditions for Infiltrate the Prisoner Exchange
Two conditions run at the same time. One is the progress objective, the other is a fail state that cannot be recovered from mid-mission.
| Condition | What it means |
|---|---|
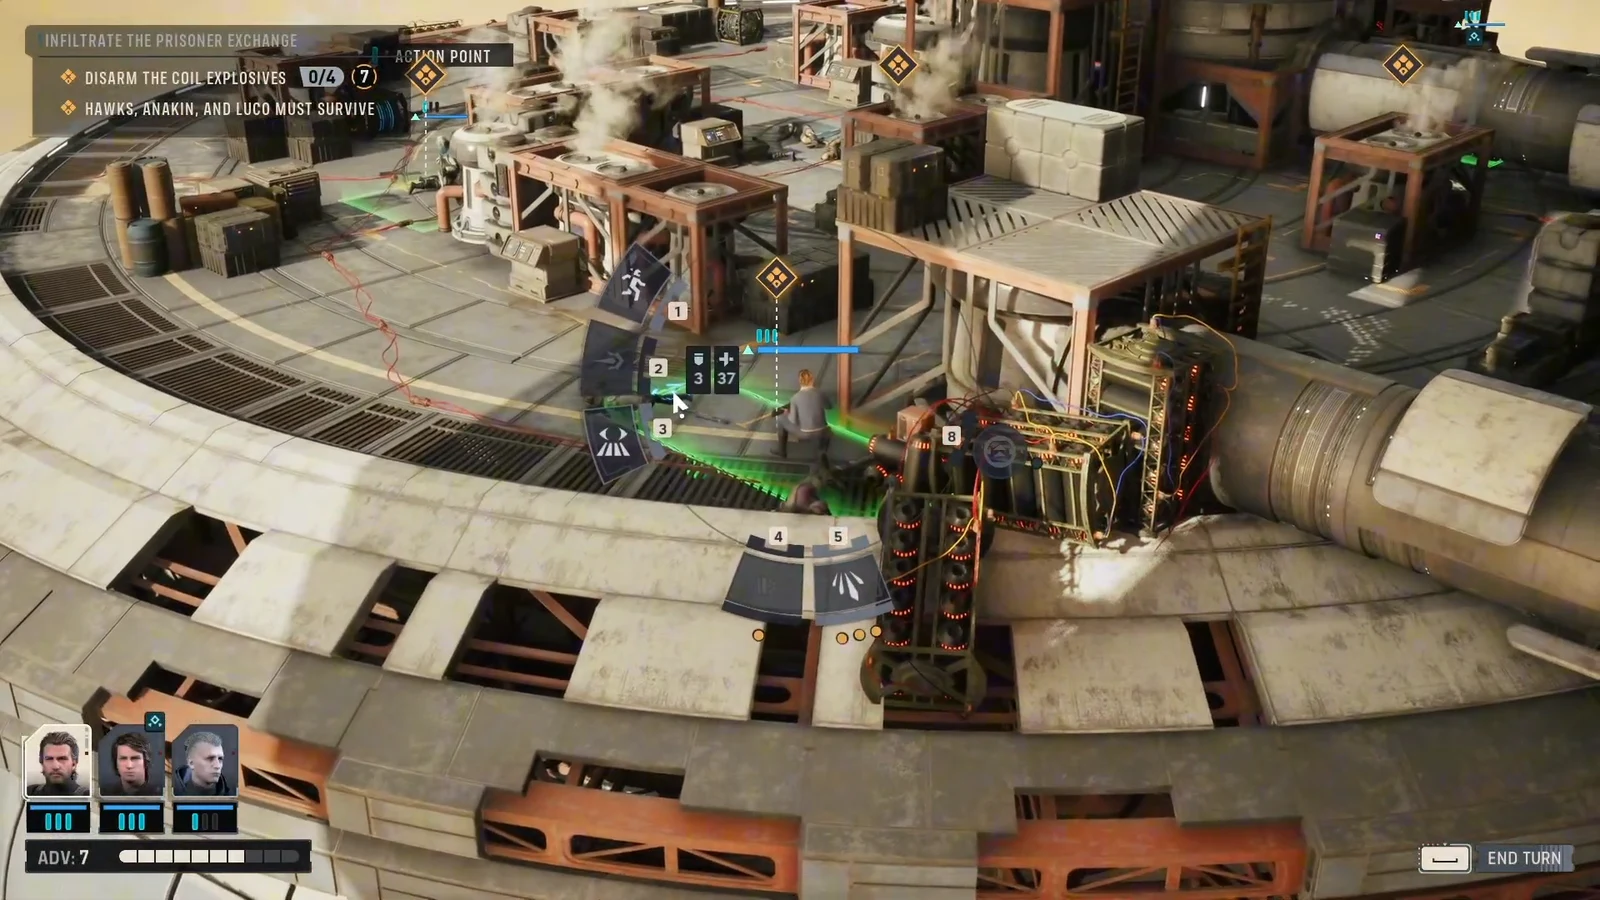
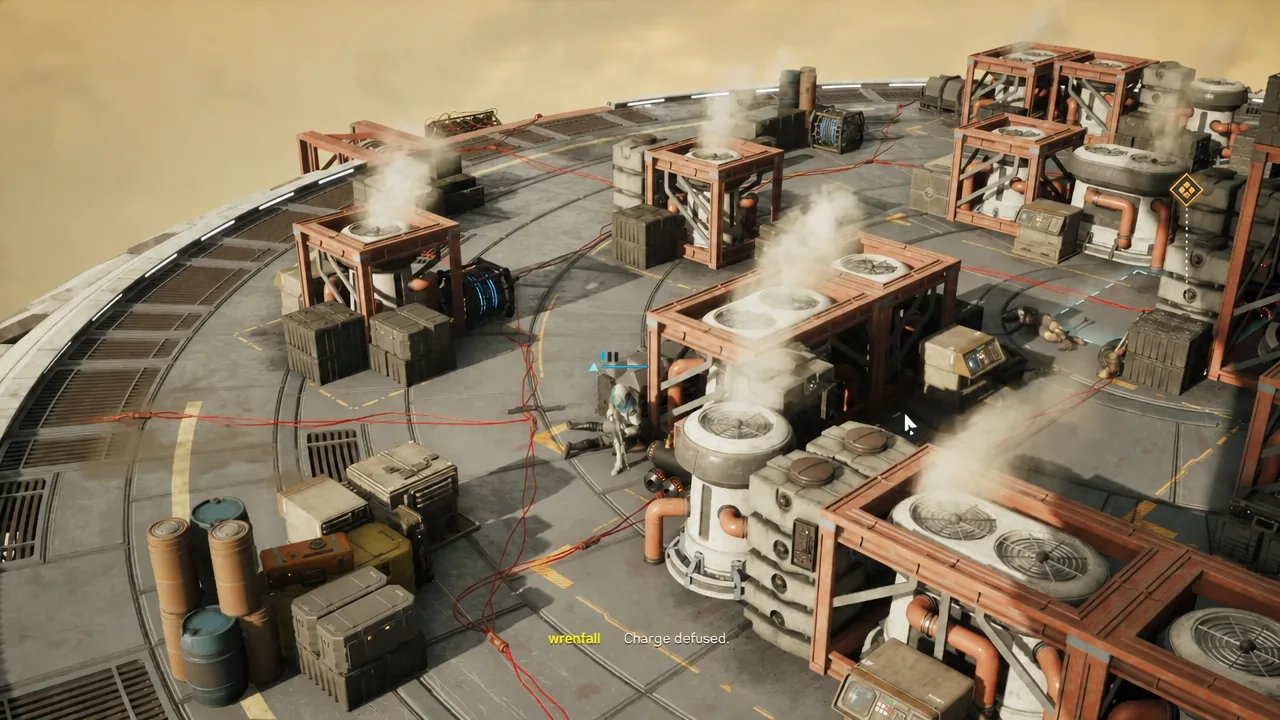
| Disarm the Coil Explosives 0/4 | Four separate charges placed around the circular platform. Each one needs an operator standing on it to defuse. |
| Hawks, Anakin, and Luco must survive | All three named operators have to be alive at the end. Losing any of them fails the operation. |
| Beware the HMP Droid Gunship | The gunship bombards marked ground for lethal damage. Operators caught inside a marked area are Downed by rocket fire. |
Enemy reinforcements arrive partway through, but they exist to slow your movement toward the charges, not to be cleared. The objective counter is the only thing that advances the mission.
How to disarm all four coil explosives
Surviving the reinforcements and the HMP Droid Gunship
Partway through the fight, a “Reinforcements Incoming” warning appears alongside a “Beware the HMP Droid Gunship” alert. Fresh droids drop onto the combat area while the gunship starts painting sections of the platform for bombardment.
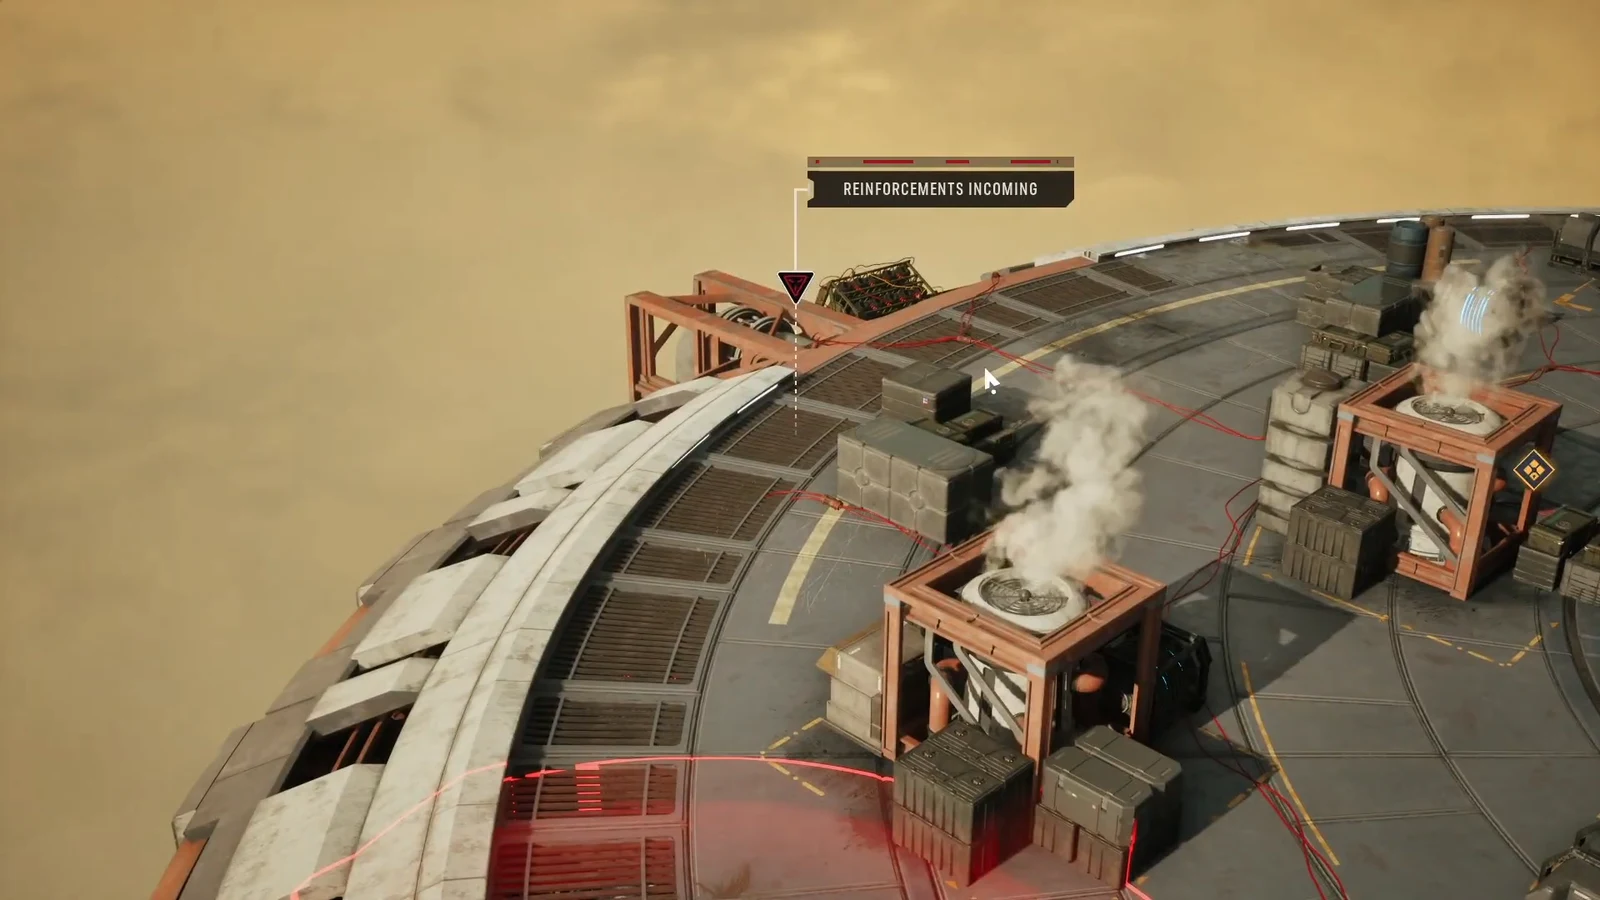
The bombardment rule is absolute. Any operator ending their turn inside a marked ground area is Downed by rocket fire, and there is no cover value that offsets it. Treat those markers as forbidden tiles when you plan movement, even if that means taking a longer path to a charge and losing a turn.
Note: because all three operators are survival-critical here, spend actions on healing early rather than saving them. A Medpac Mk. II used before someone drops is worth more than a Rally afterward, and Combat Gas III is useful for thinning the reinforcement group blocking a route to a charge.
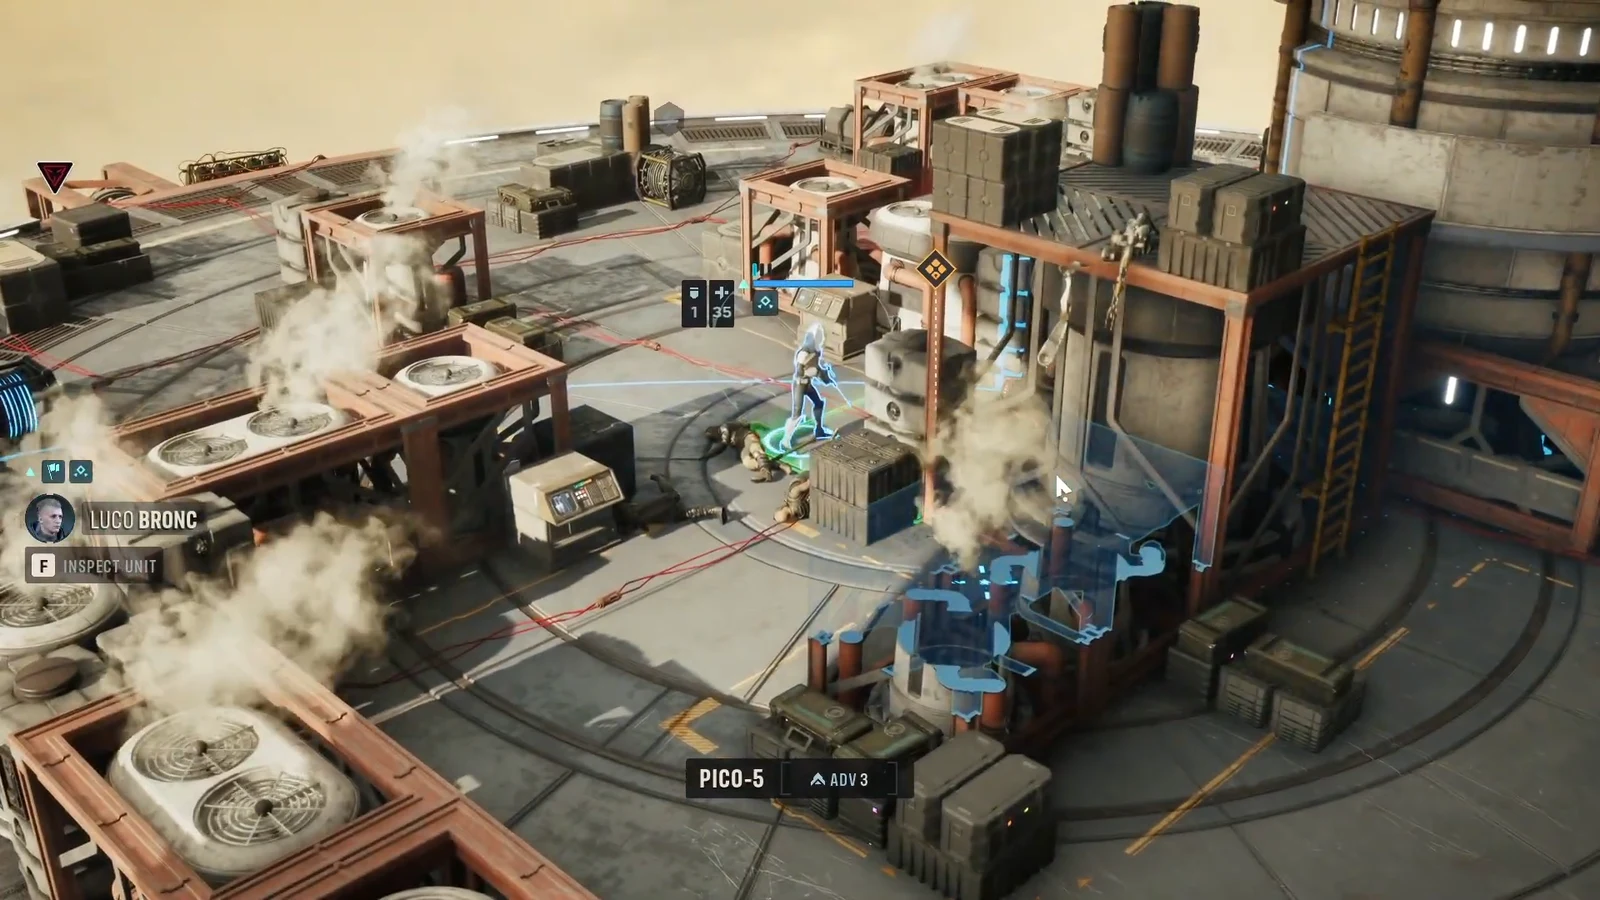
Why the objective stalls at 3/4
There are only a handful of reasons the counter stops moving, and none of them involve enemy count.
- The operator is next to the charge but not on it. The disarm action needs the operator on the marked tile, not adjacent to it.
- There are no action points left. Moving across the platform can consume the full three AP, leaving nothing for the defuse that turn.
- The last charge is inside a gunship-marked zone. Wait for the bombardment to resolve before stepping in.
- The operator you were routing there went down. Rally them, or send the nearest healthy operator instead.
If a run goes badly, the mission can be restarted from the game menu with the same operators, which is the safer option when permadeath is enabled and someone is already carrying injuries.
How you know the mission is complete
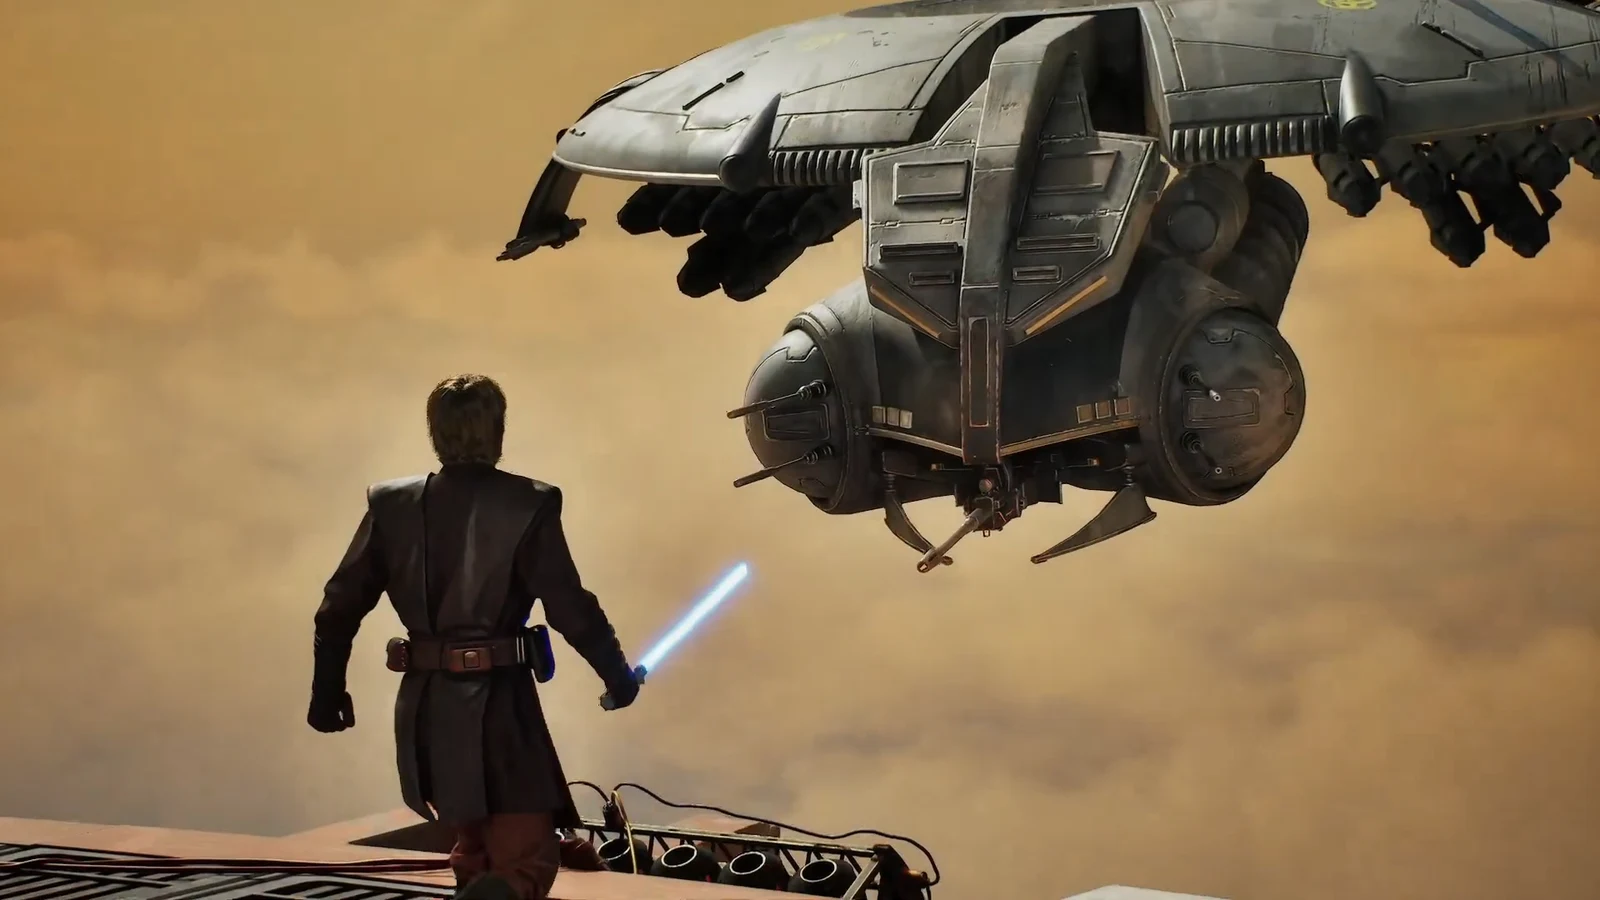
With the fourth charge defused and all three operators alive, combat ends and a cutscene takes over. Anakin leaps onto the HMP Droid Gunship and destroys it with his lightsaber, which removes the bombardment threat as a story beat rather than something you fight down yourself.
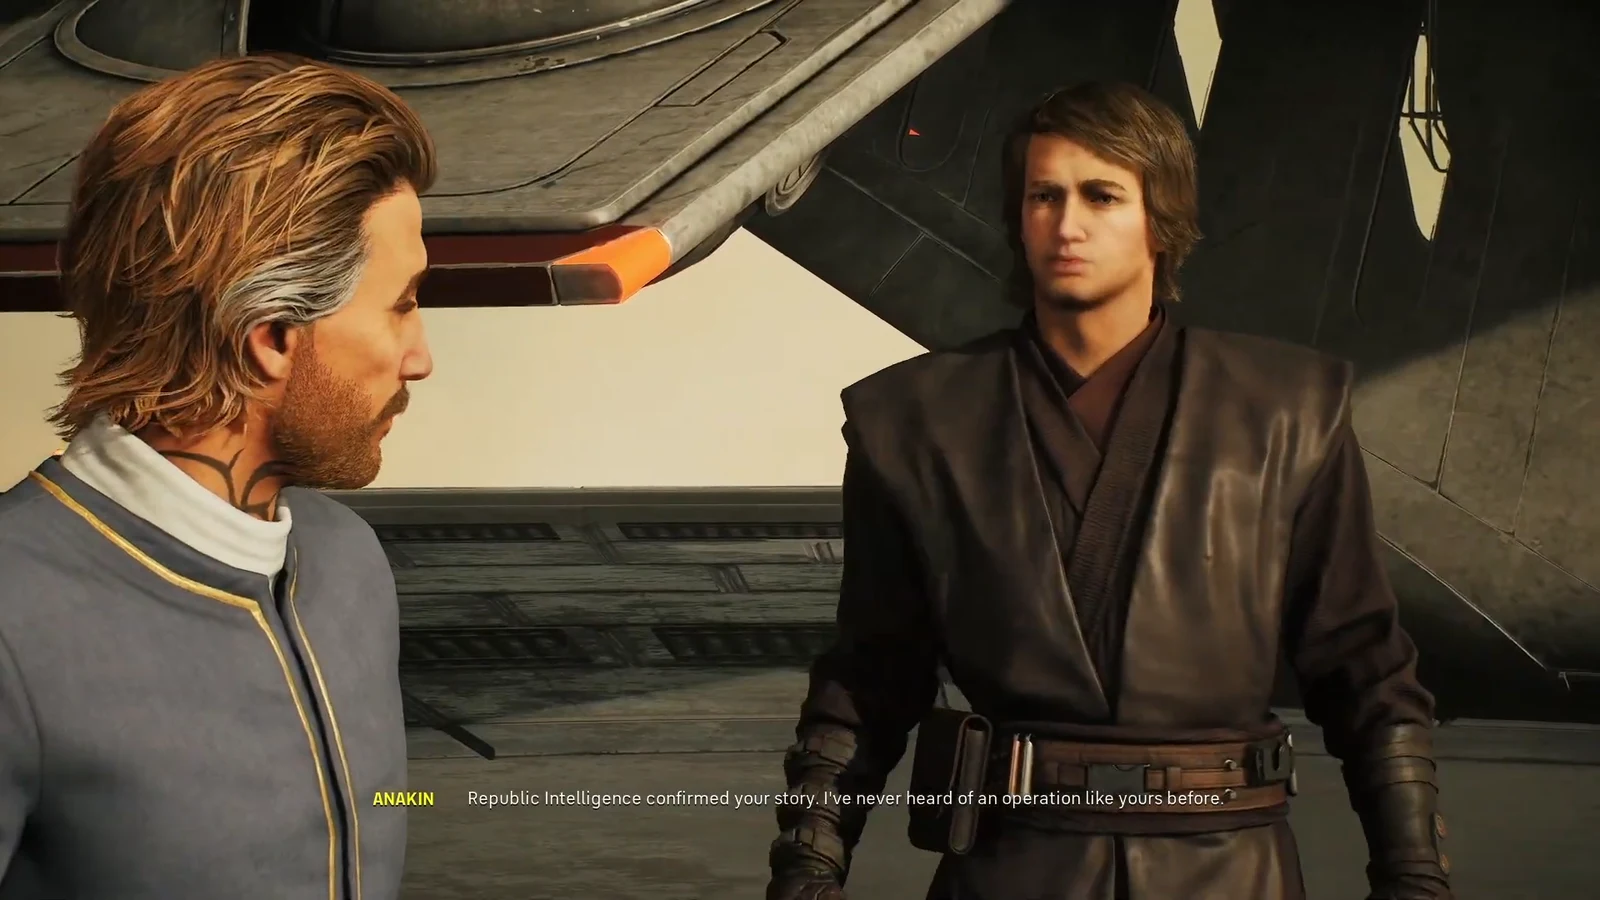
A dialogue scene follows between Anakin, Hawks, and Luco Bronc. Luco agrees to work with Hawks’ outfit going forward, despite the group’s occasional Republic contracts, and the exchange sets up the cooperation that carries into later work.
The Mission Success screen closes it out with your tactical stats. A clean run lands in the region of seven tactical rounds, around 27 enemies defeated, and roughly 1,300 damage dealt — useful as a benchmark, though none of those numbers are requirements.
The takeaway for the rest of the campaign is the same lesson this platform teaches quickly: when the objective panel changes, the win condition changes with it. Leftover droids stop mattering the moment the counter is what stands between you and extraction.





