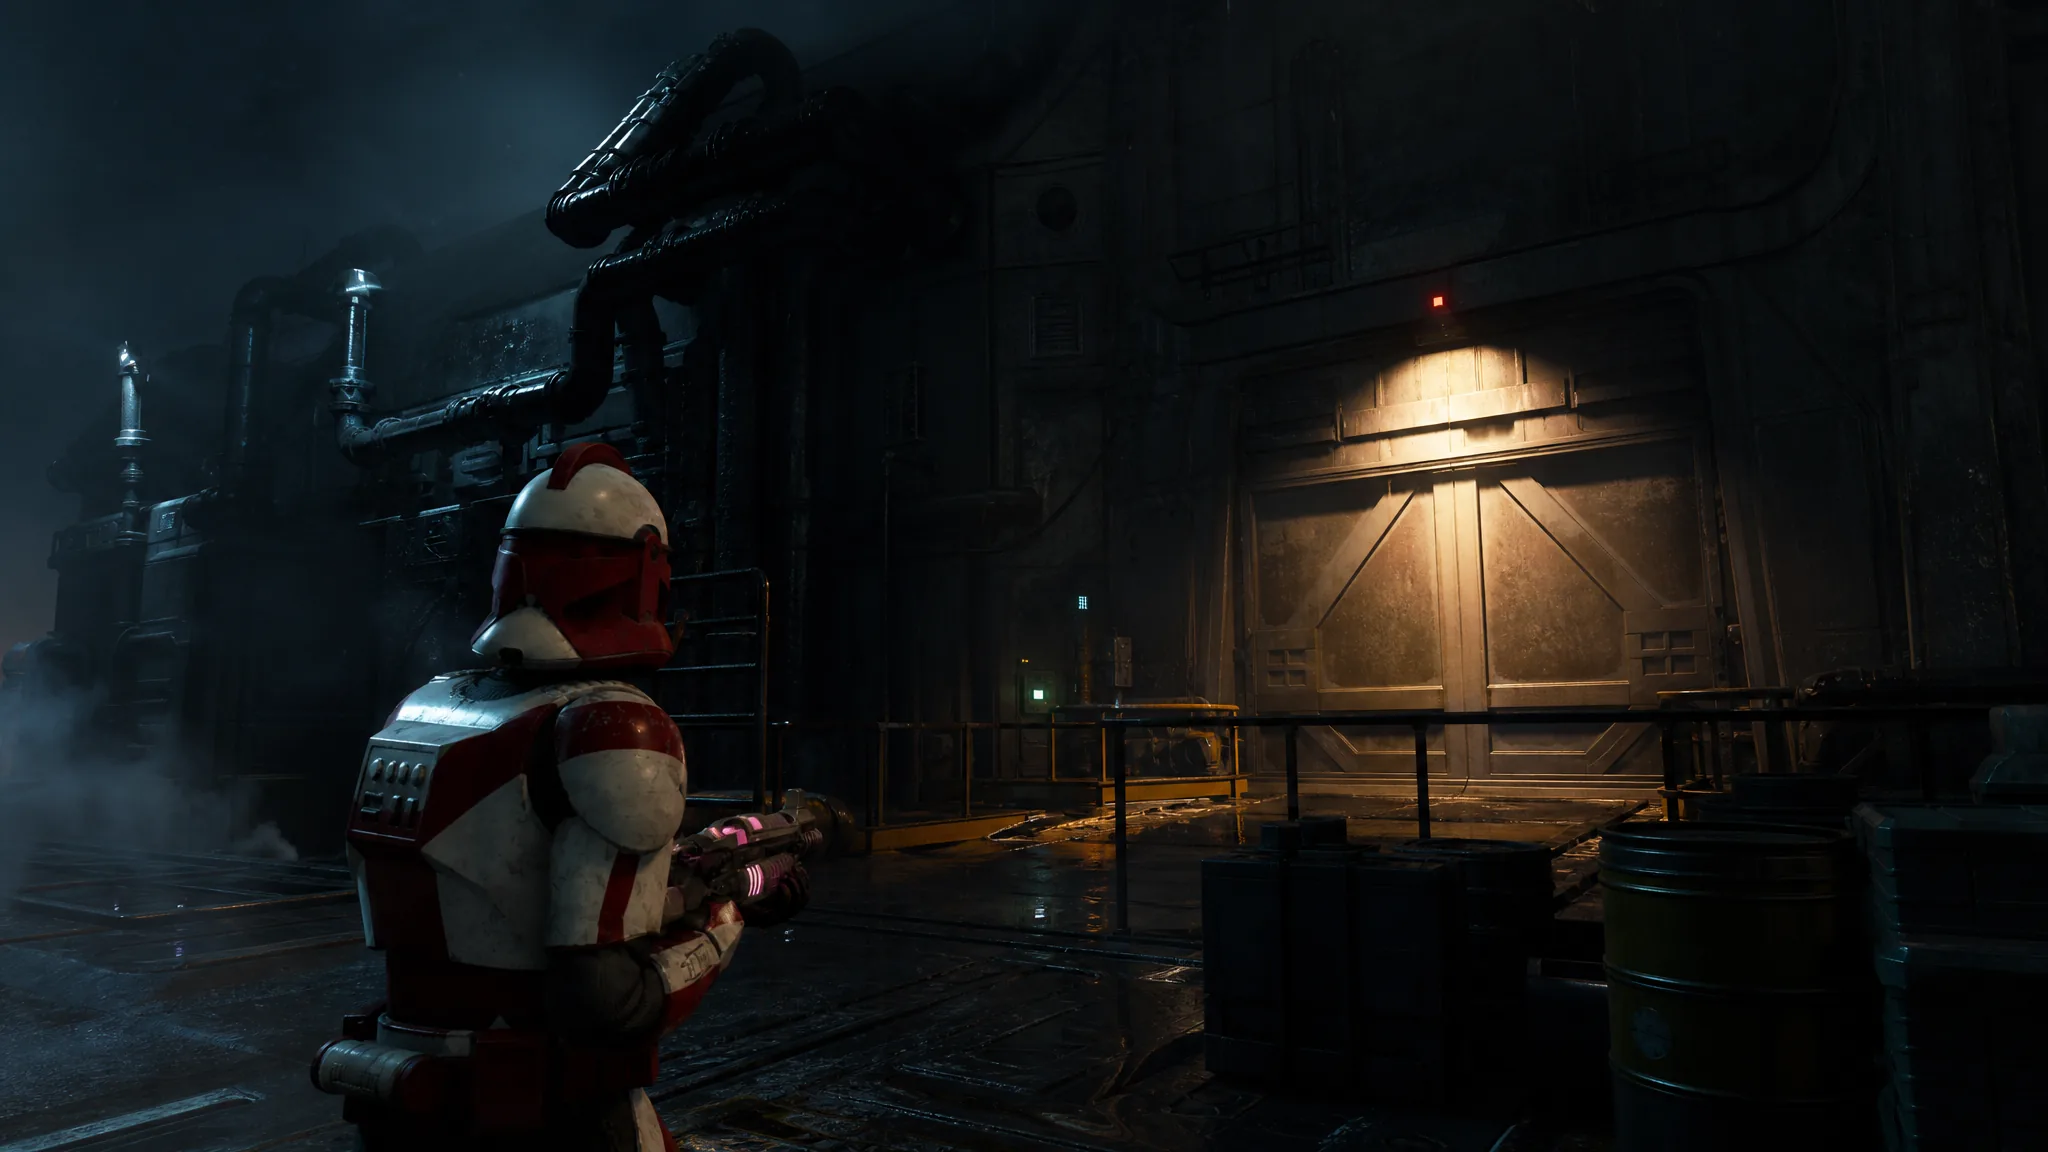
Raid the Slugrat HQ starts you in the canal district with a single instruction on screen: Find the Warehouse Entrance. There is no combat yet and no map puzzle to solve. The route is linear, and the objective completes on its own the moment you reach the right spot, so the only thing worth optimizing here is the free Intel and Advantage you can collect on the way in.
Quick answer: Run forward, drop to the lower platform, turn left and talk to the Canal Resident, then follow the path to the first blue marker, turn right to the second marker, and continue down the corridor. Entering the corridor triggers the cutscene that reveals the warehouse entrance.
Warehouse entrance route in Raid the Slugrat HQ
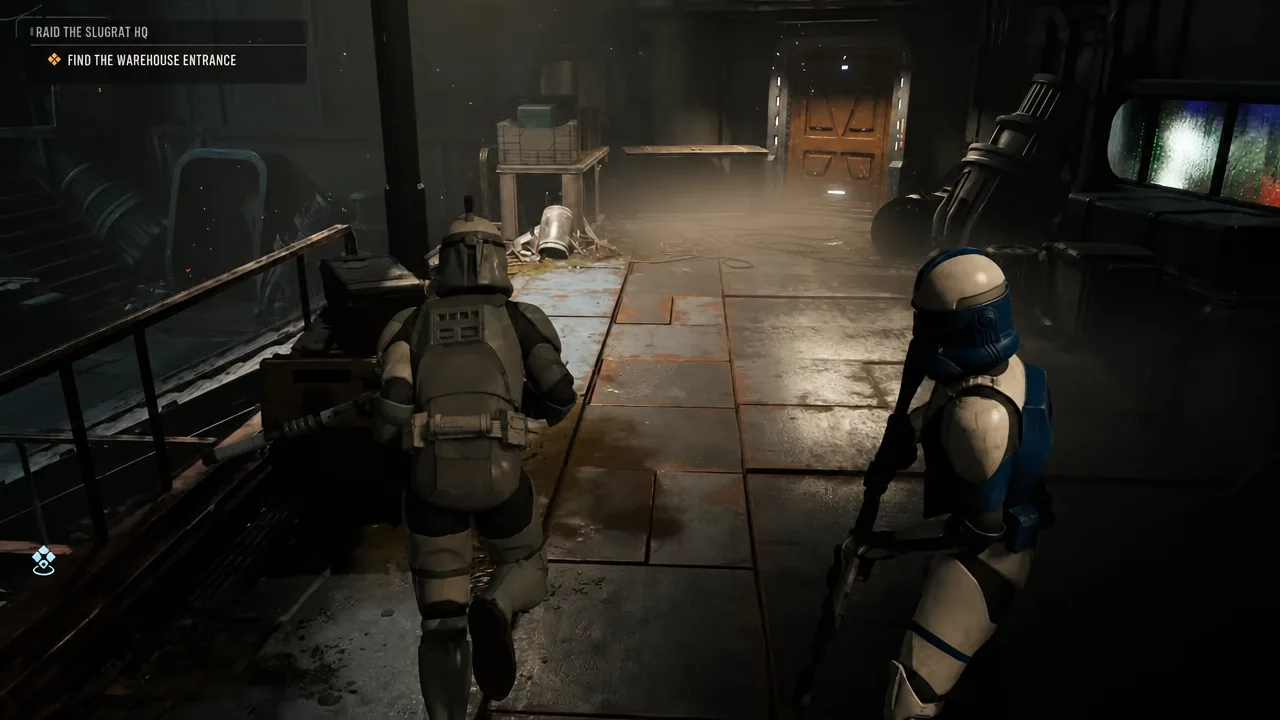
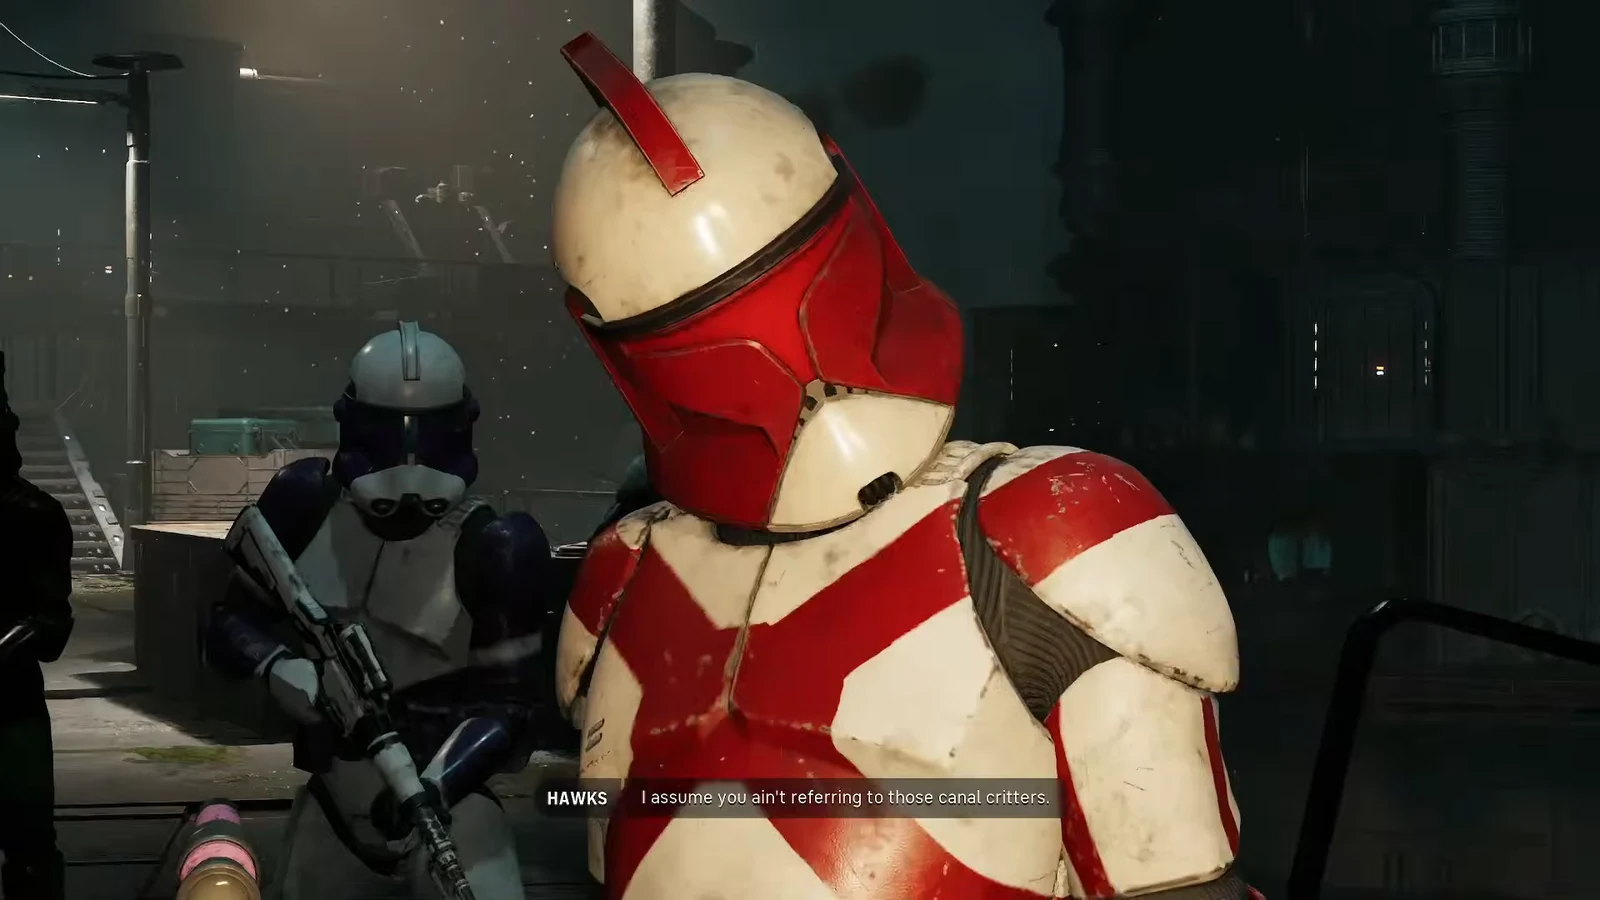
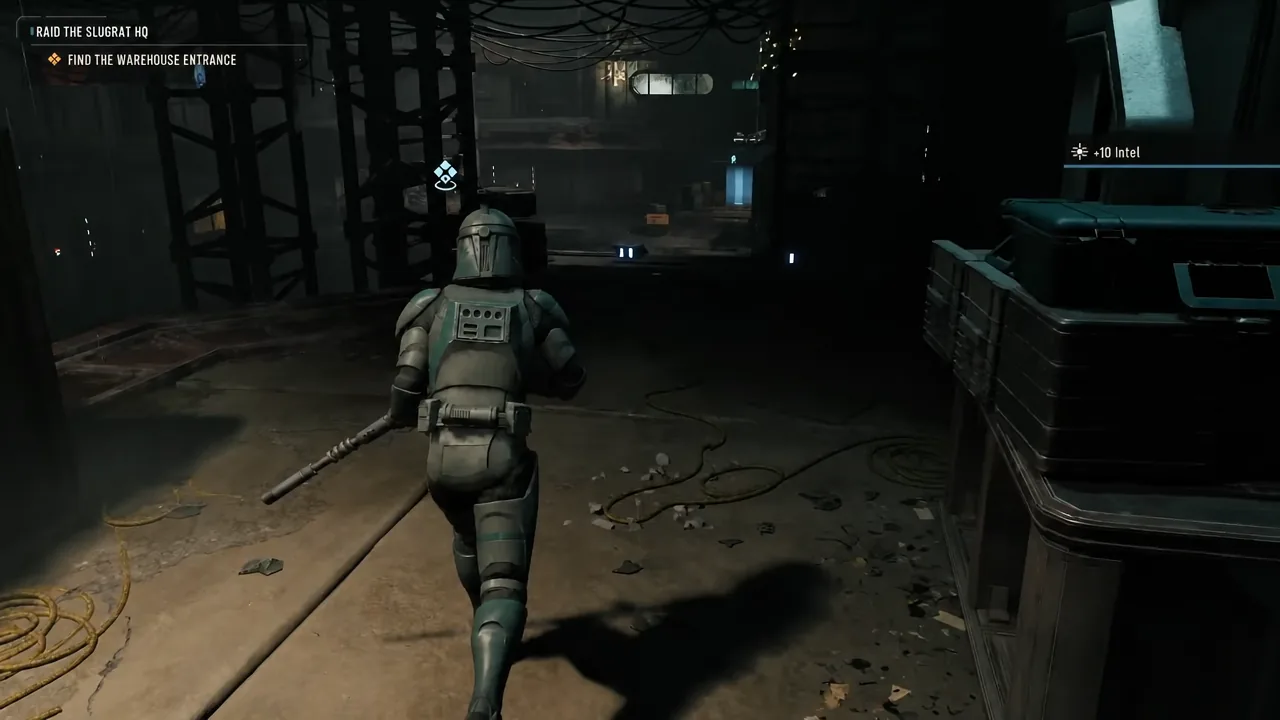
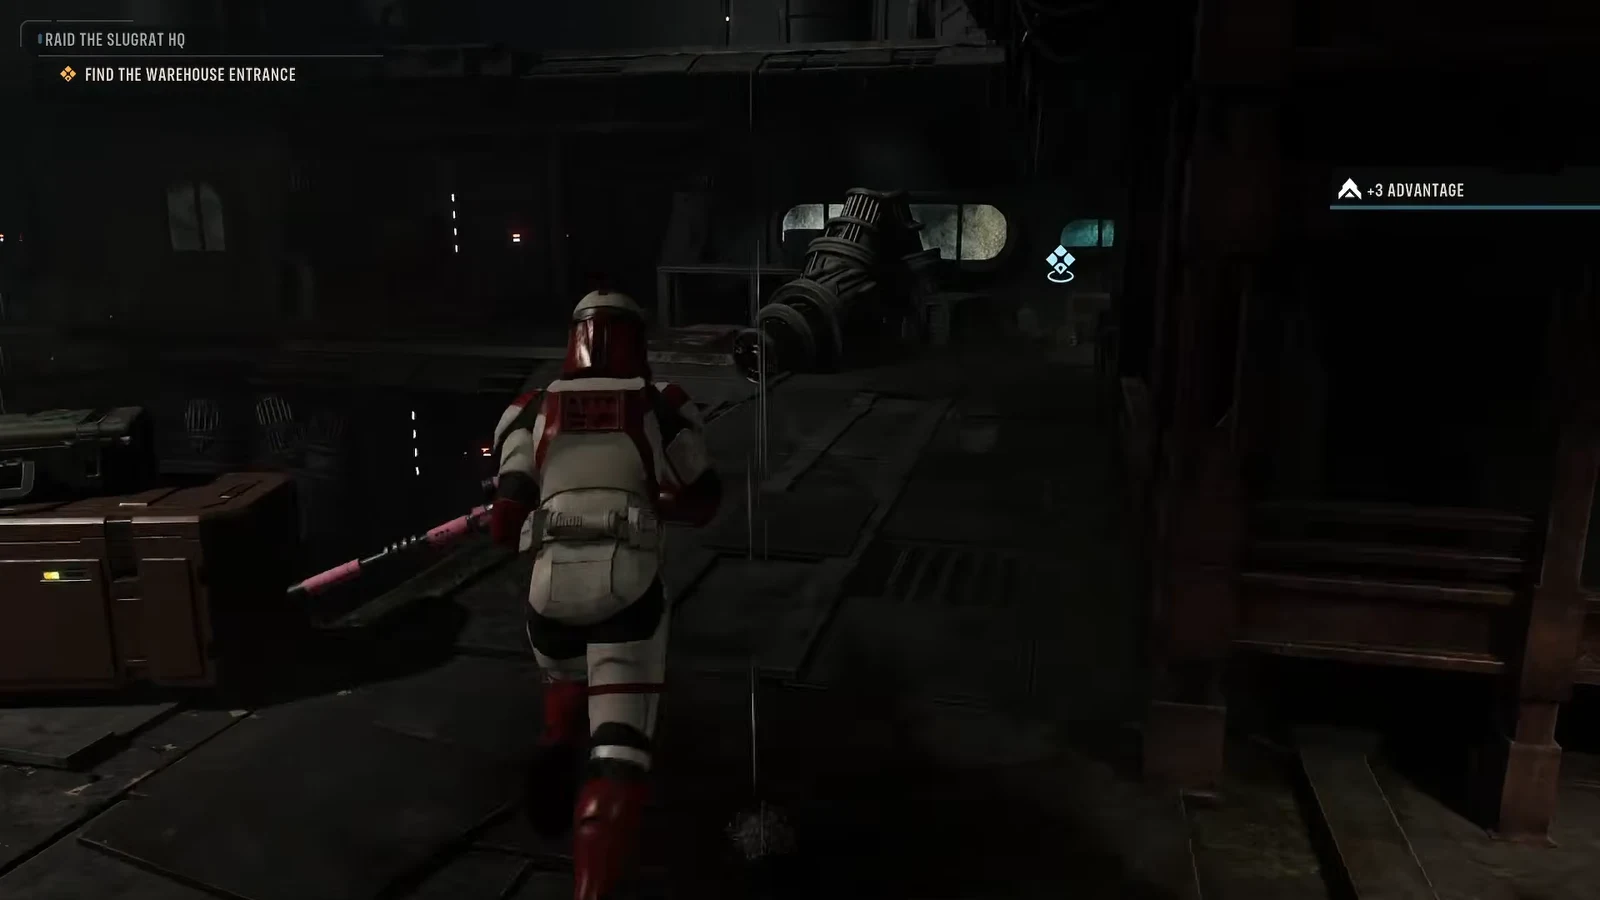
Every Intel and Advantage pickup on the approach
The whole approach is worth 20 Intel and 3 Advantage if you stop for everything. None of it is hidden behind a detour, and skipping a stop does not lock you out of the rest.
| Stop | Action | Reward |
|---|---|---|
| Canal Resident in the doorway (left after the drop) | Talk | +10 Intel |
| First blue marker, three Slugrats | Scope | +10 Intel |
| Second blue marker, two guards | Scope | +3 Advantage |
Intel is the resource you spend on non-combat Operations back at the Den, so scouting rewards during a mission feed directly into the work you take on between deployments. Advantage is the shared pool your squad draws from for its more expensive special abilities, which means the three points banked here are available the moment the fight at the warehouse begins.
How to tell the objective has completed
Completion is confirmed by the cutscene, not by a counter. Once you reach the end of the corridor, control is taken away, the camera reveals the warehouse entrance and the enemies stationed outside it, and the mission moves into its next phase. If you are still walking freely and the objective text still reads Find the Warehouse Entrance, you have not reached the corridor’s trigger point yet.
Note: the two blue scan markers and the Canal Resident are optional stops. They pay out resources, but the cutscene does not depend on them, so if you missed one earlier on the path you can keep moving forward rather than backtracking to hunt for a trigger that is not there.
Treat the whole approach as a scouting phase rather than a search. The geometry does the navigating for you as long as you commit to the drop, the left turn, and the right turn at the first marker, and the only real decision is whether you slow down for the three pickups before the shooting starts.