Star Wars Zero Company: How to Head to the Landing Pad
Clear the Separatist ambush with explosives, backup shots, and hazards, then climb to the landing pad to trigger the crane objective.
Clear the Separatist ambush with explosives, backup shots, and hazards, then climb to the landing pad to trigger the crane objective.
by Sehaj Padda
The “Head to the Landing Pad” objective drops you into one of Star Wars Zero Company’s early teaching moments, where you run Hawks toward a marker, get jumped by Separatist droids, and have to fight through a short turn-based skirmish before you can climb the stairs to the pad. It’s short, but it walks you through four core systems at once: explosives, calling for backup, environmental hazards, and interacting with objects.
Quick answer: Sprint Hawks to the objective marker, scope the area at the railing for +15 intel, then win the ambush by throwing Aurelio’s Impact Bomb, calling Trick for backup on a Separatist Enforcer, and shooting the explosive container with Kabb. Once the area is clear, run up the stairs to the landing pad to trigger a cutscene and the next crane objective.
Move to the marker and scope the area
This part is out-of-combat exploration, so you’re controlling Hawks directly rather than spending action points. Movement uses WASD, the mouse adjusts the camera, and holding Shift lets you sprint down the path faster.
Stop at the railing overlooking the area ahead and press E to scope. Surveying the battlefield here rewards +15 intel, which feeds the resources you spend on operations back at the Den.
00:11Scoping from the railing with E surveys the area and grants +15 intel. Image credit: Bit Reactor. Shown at 00:11 in PazarGamingGuides’s video.
Keep moving down the main pathway past the railing. Advancing here triggers the encounter, and Separatist droids appear to block the route to the pad.
Defeat the Separatist attackers
Now the game switches to turn-based tactics. Each operator has action points to move, attack, and use abilities, and this fight is set up to teach you three tools in order. Follow the tutorial prompts and the encounter goes down fast.
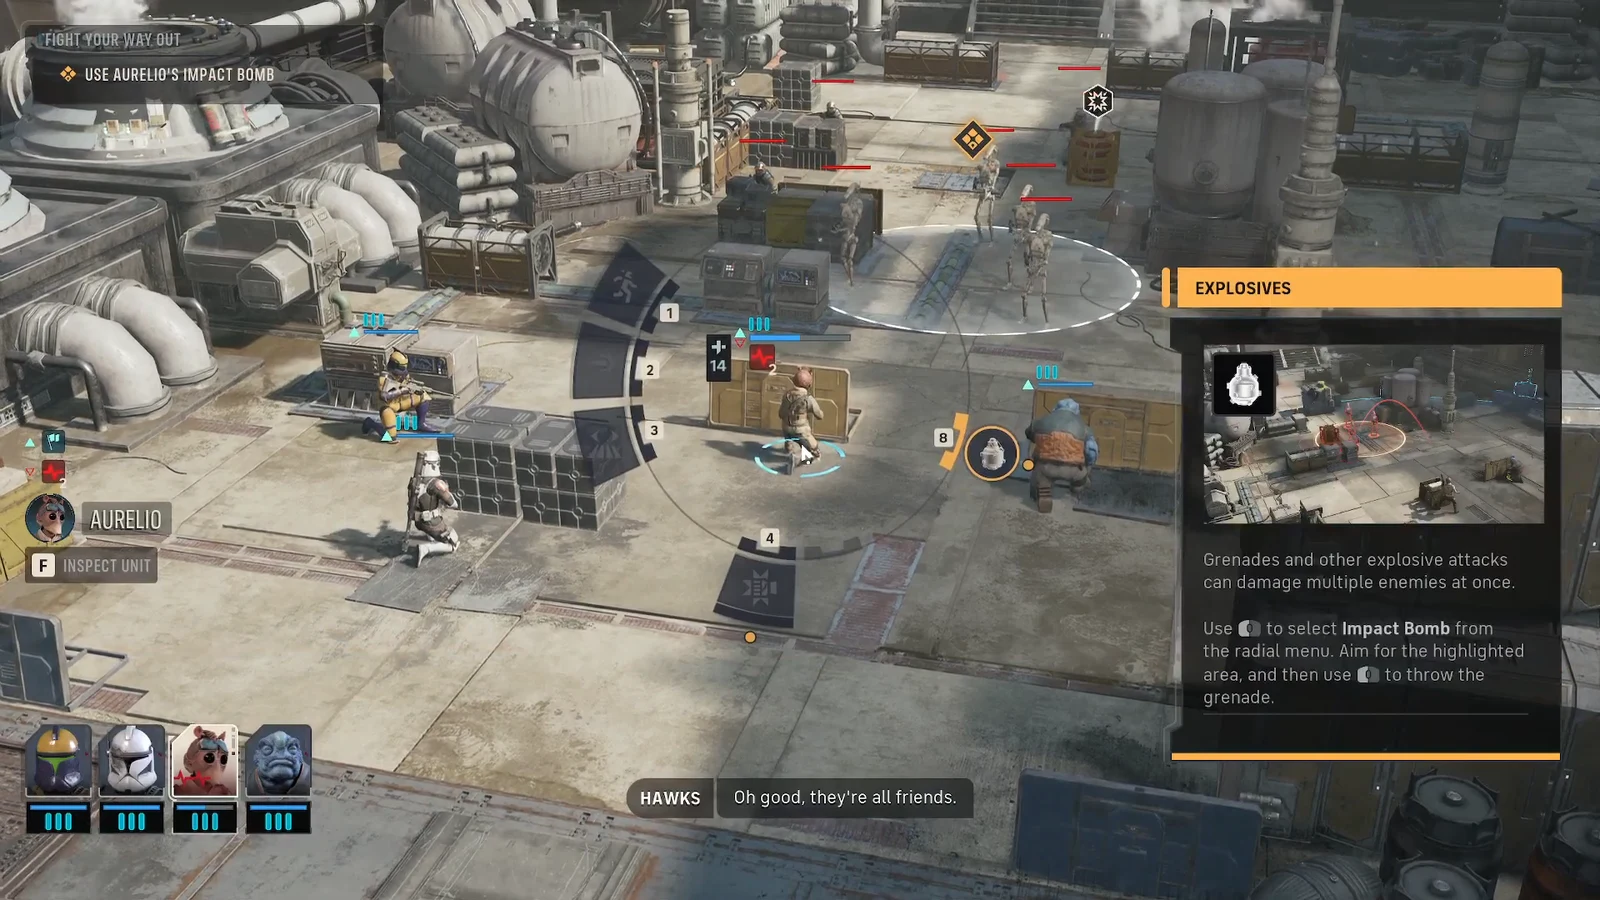
Open Aurelio’s radial menu with Q and pick the Impact Bomb. Aim at the highlighted area where the droids are clustered, then left-click to throw it. Grenades and other explosives hit multiple enemies at once, so lining up several droids maximizes the damage.
00:33Select Aurelio's Impact Bomb from the radial menu, aim at the highlighted cluster, and throw. Image credit: Bit Reactor. Shown at 00:33 in PazarGamingGuides’s video.
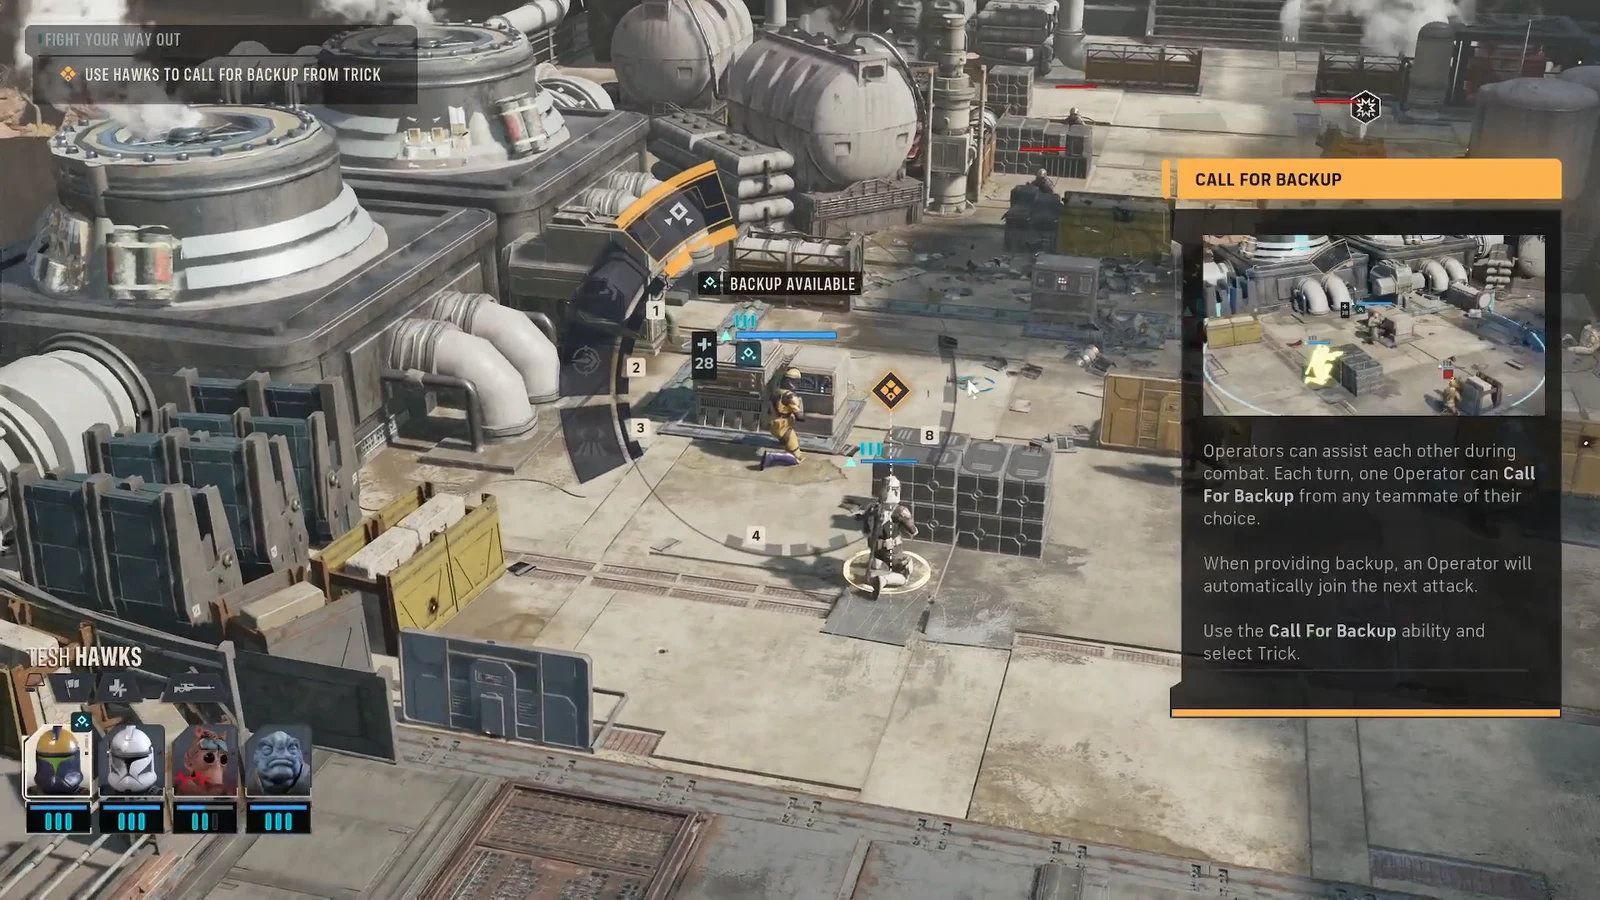
With Hawks, use the Call for Backup ability and choose Trick. Each turn one operator can request backup from a teammate, and that teammate automatically joins the next attack.
00:47After activating Call for Backup, pick Trick so he joins Hawks' next shot. Image credit: Bit Reactor. Shown at 00:47 in PazarGamingGuides’s video.
Fire on the Separatist Enforcer with Hawks. Because Trick is providing backup, he adds an assist shot of his own, stacking extra damage onto the same target.
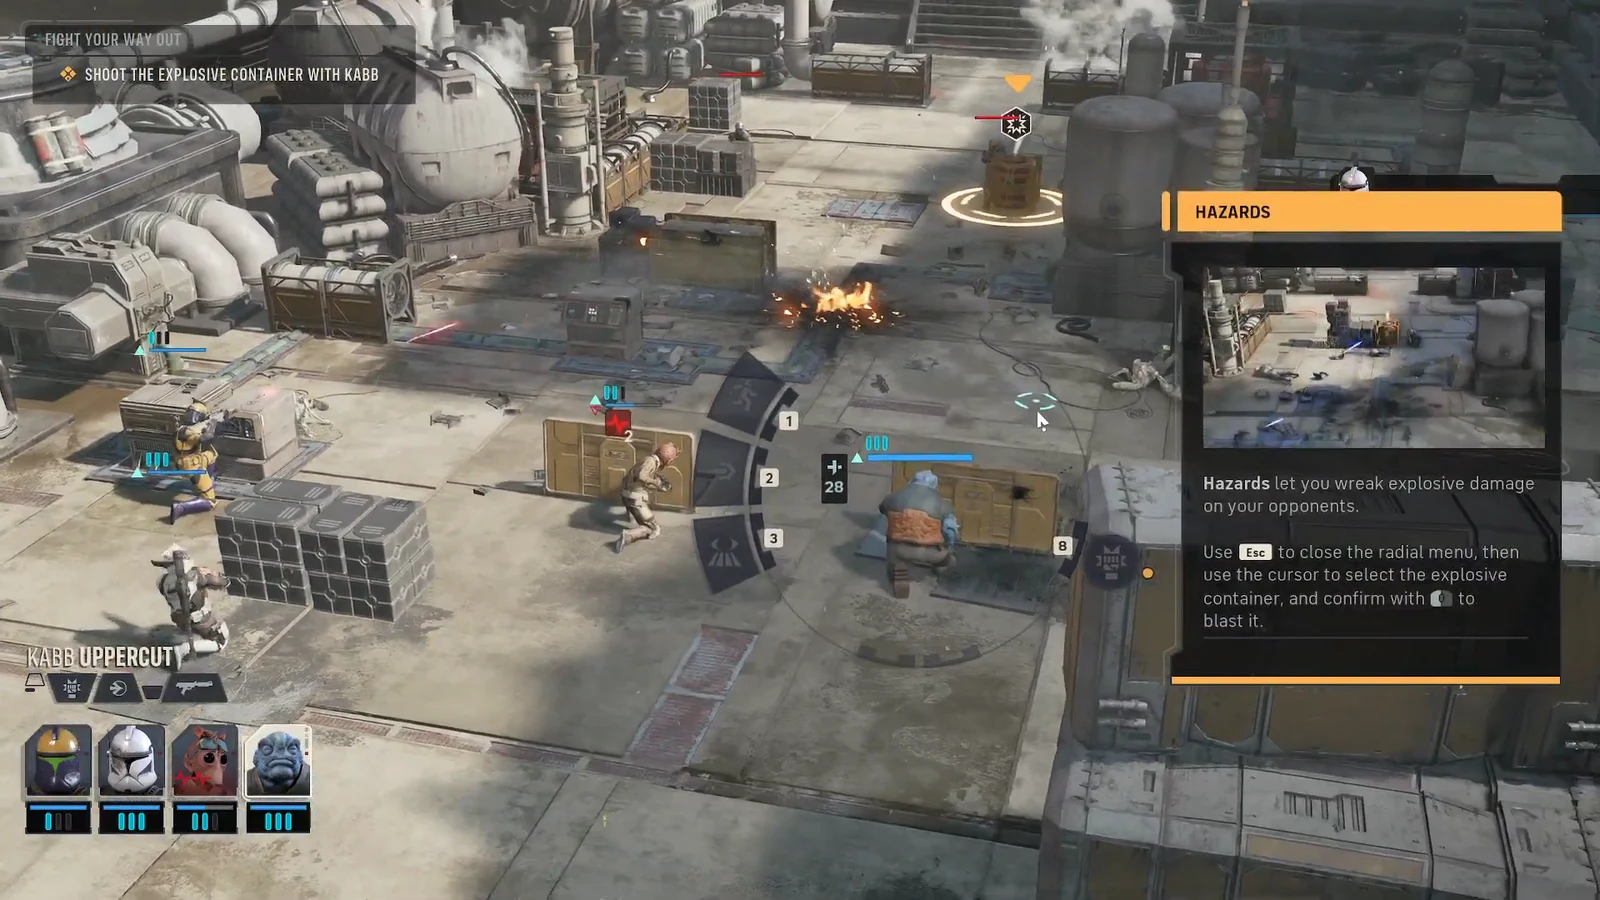
Switch to Kabb and target the explosive container in the environment. Press ESC to close the radial menu, move the cursor onto the container, and left-click to confirm the shot. Hazards deal explosive damage to any enemy standing nearby.
01:06Close the radial menu with ESC, select the highlighted explosive container, and confirm to detonate it. Image credit: Bit Reactor. Shown at 01:06 in PazarGamingGuides’s video.
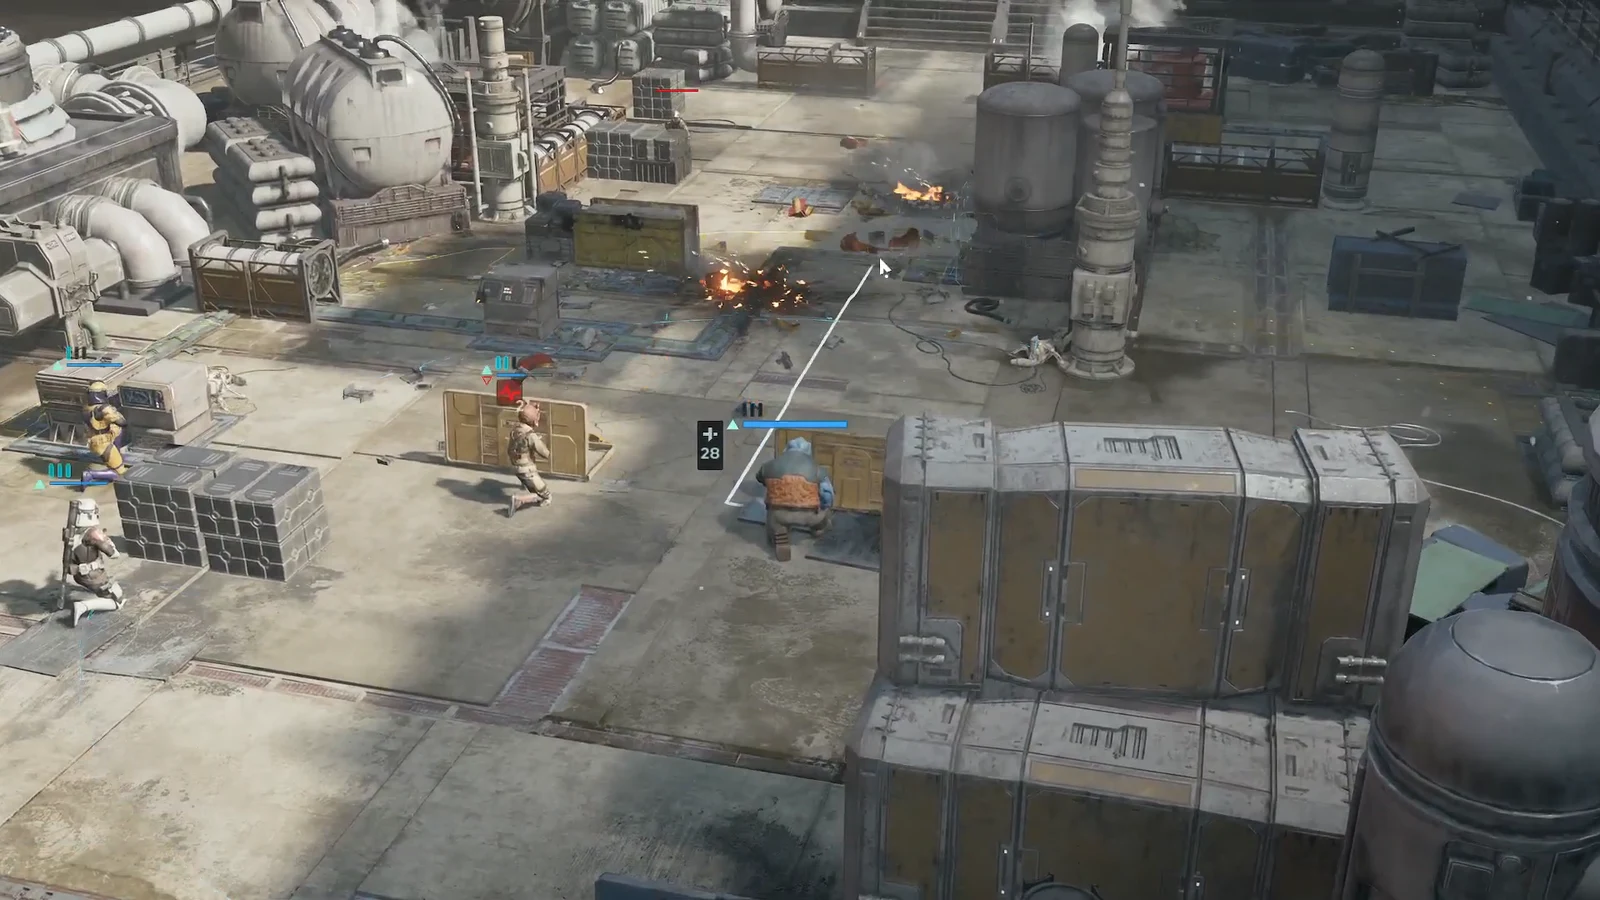
Finish off any remaining Separatist Enforcers. Reposition Trick and Hawks toward the survivors using their movement paths, then attack to clear the last of the resistance.
01:18Move your operators along the highlighted path to reach and finish the remaining Enforcers. Image credit: Bit Reactor. Shown at 01:18 in PazarGamingGuides’s video.
Climb to the landing pad
With every droid down, the area is secured and control returns to free movement. The path forward opens up toward the stairs on the industrial rooftop.
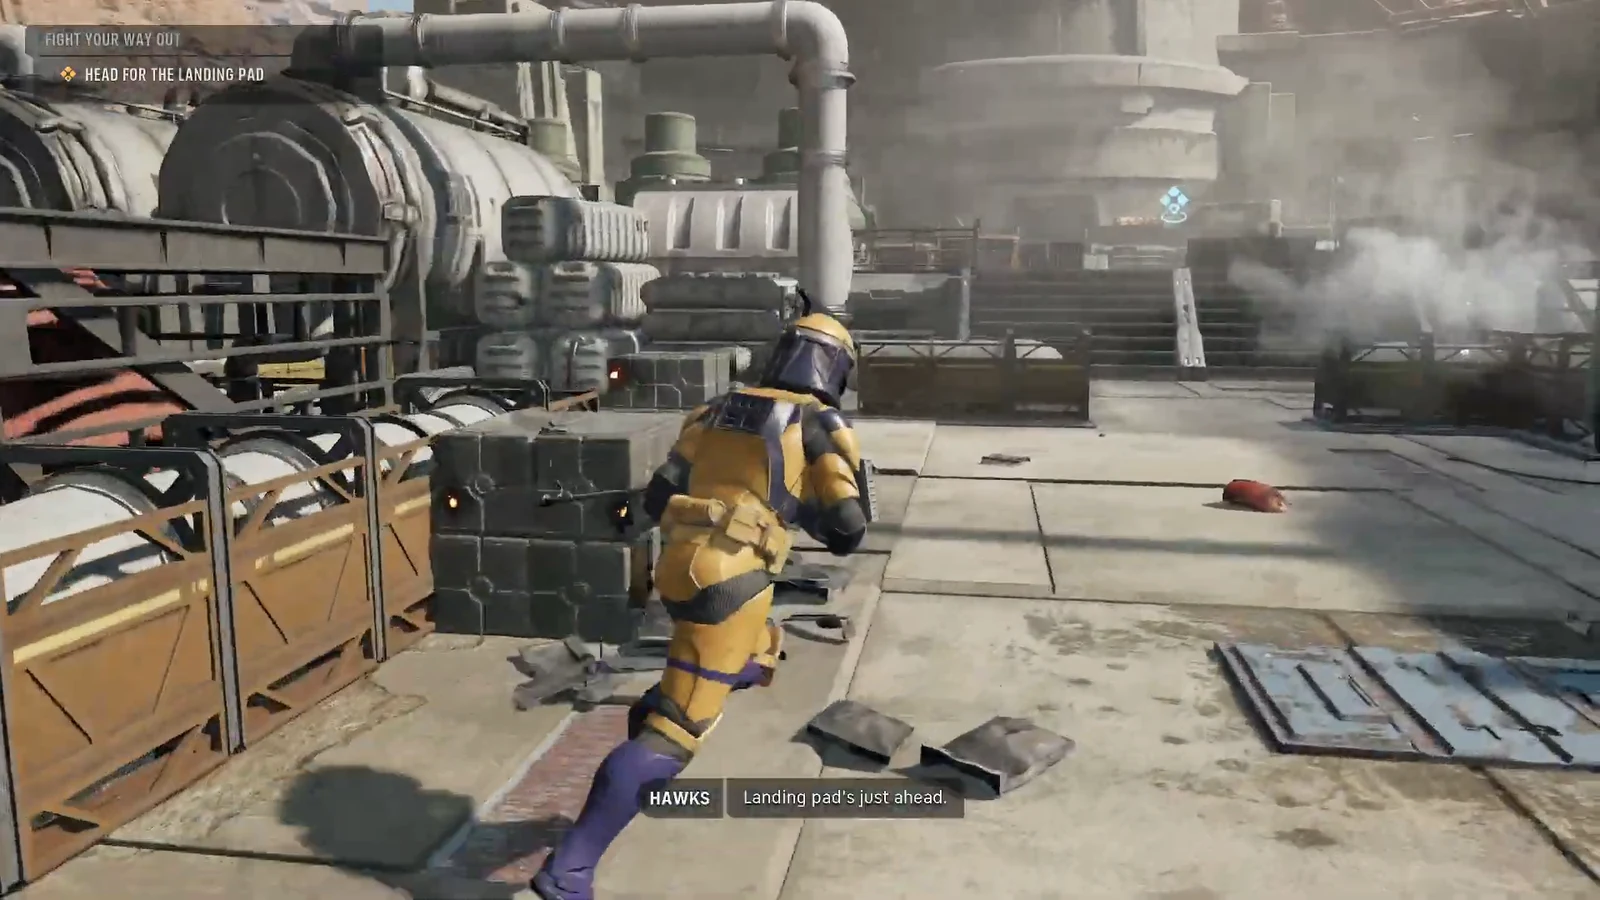
Run up the stairs to the landing pad. Reaching the top triggers a cutscene and completes the objective.
01:54The rooftop route leads up the stairs to the landing pad, closing out the objective. Image credit: Bit Reactor. Shown at 01:54 in PazarGamingGuides’s video.
You’ll know it worked when the cutscene plays and the objective updates to have Aurelio operate the crane. That’s the next interaction: highlight the console with the cursor, left-click to select it, and left-click again to confirm. Some objectives require you to interact with an object on the battlefield like this to keep the mission moving.