

Retake Mordant Citadel opens with a single instruction in the objective panel: REACH THE CITADEL. Hawks and the squad start deep in a dark industrial complex, and the walk to the front of the building is not the hard part. The mission gates entry behind a two-wave fight against Coil forces guarding the back door, and the objective only flips to ENTER THE CITADEL once every one of them is down.
Quick answer: Follow the metal walkways through the cave to the guarded rear entrance, then win the turn-based fight against the Coil Guards and their reinforcement wave. The objective updates to ENTER THE CITADEL the moment the last enemy falls.
Reach the Citadel: the approach route through the facility
This first stretch is free exploration in third person, not turn-based combat. Nothing shoots at you while you move, so use the time to look around rather than sprinting straight to the trigger point.
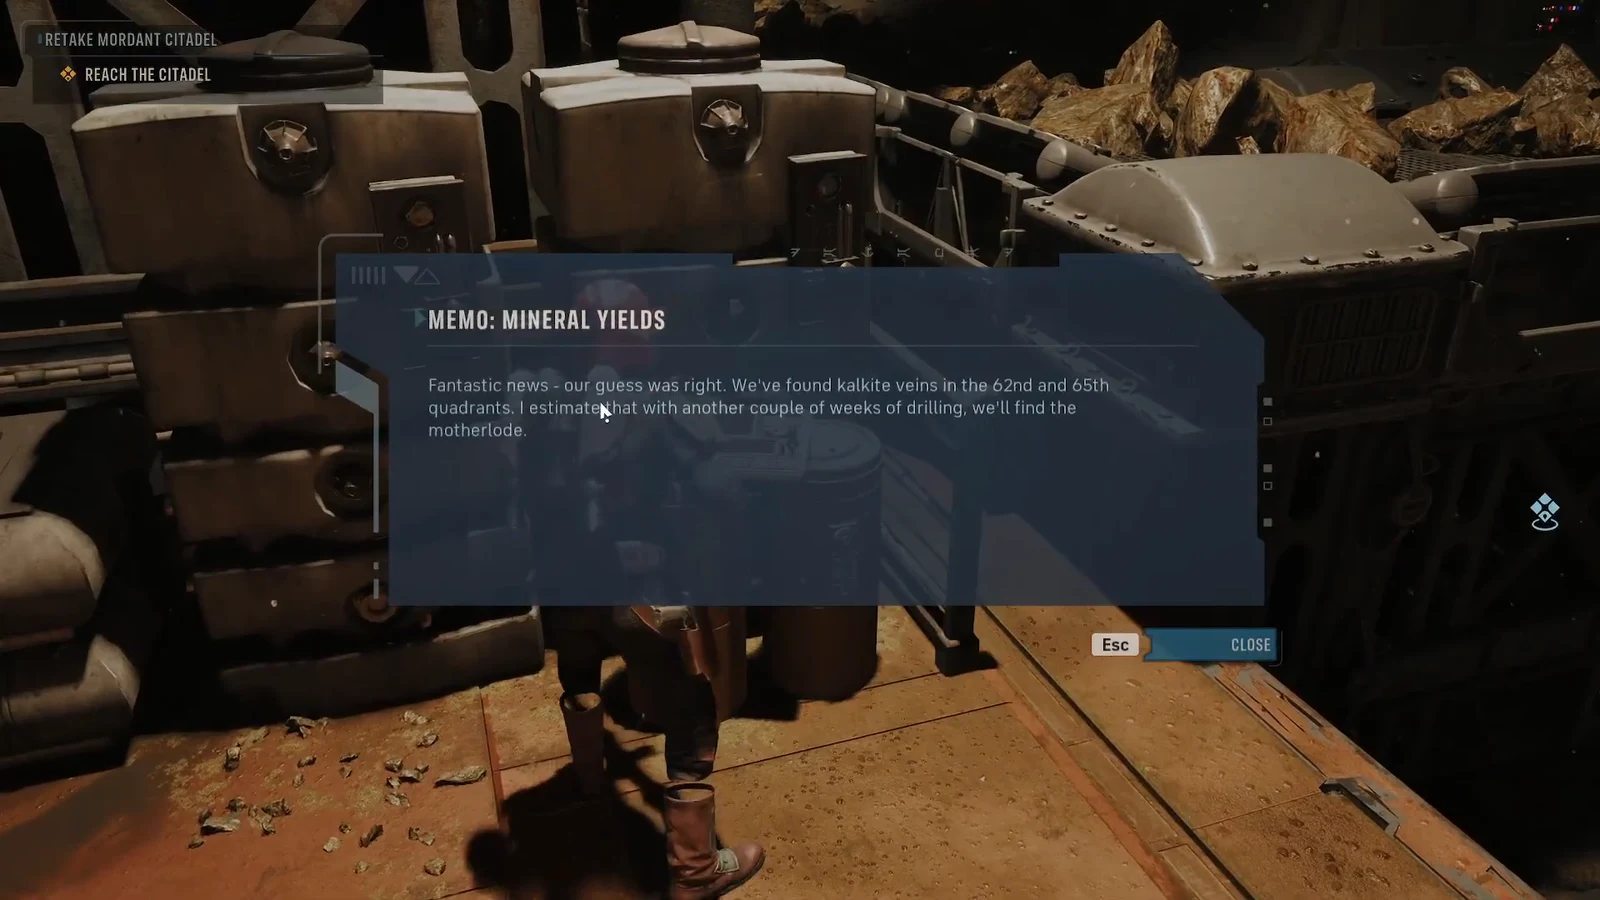
MEMO: MINERAL YIELDS datapad location and Intel reward
Partway along the walkways, before the fight starts, there is a datapad you can interact with. Reading it awards +10 Intel, the currency spent on non-combat Operations back at the Den, so it is worth the few seconds it costs.
The entry is titled MEMO: MINERAL YIELDS, and it confirms the site is a kalkite mining operation. The writer reports veins found in the 62nd and 65th quadrants, and expects to hit the main deposit after another couple of weeks of drilling. Close the memo with Esc when you are done.
Defeat the Coil Guards: enemy types in the first wave
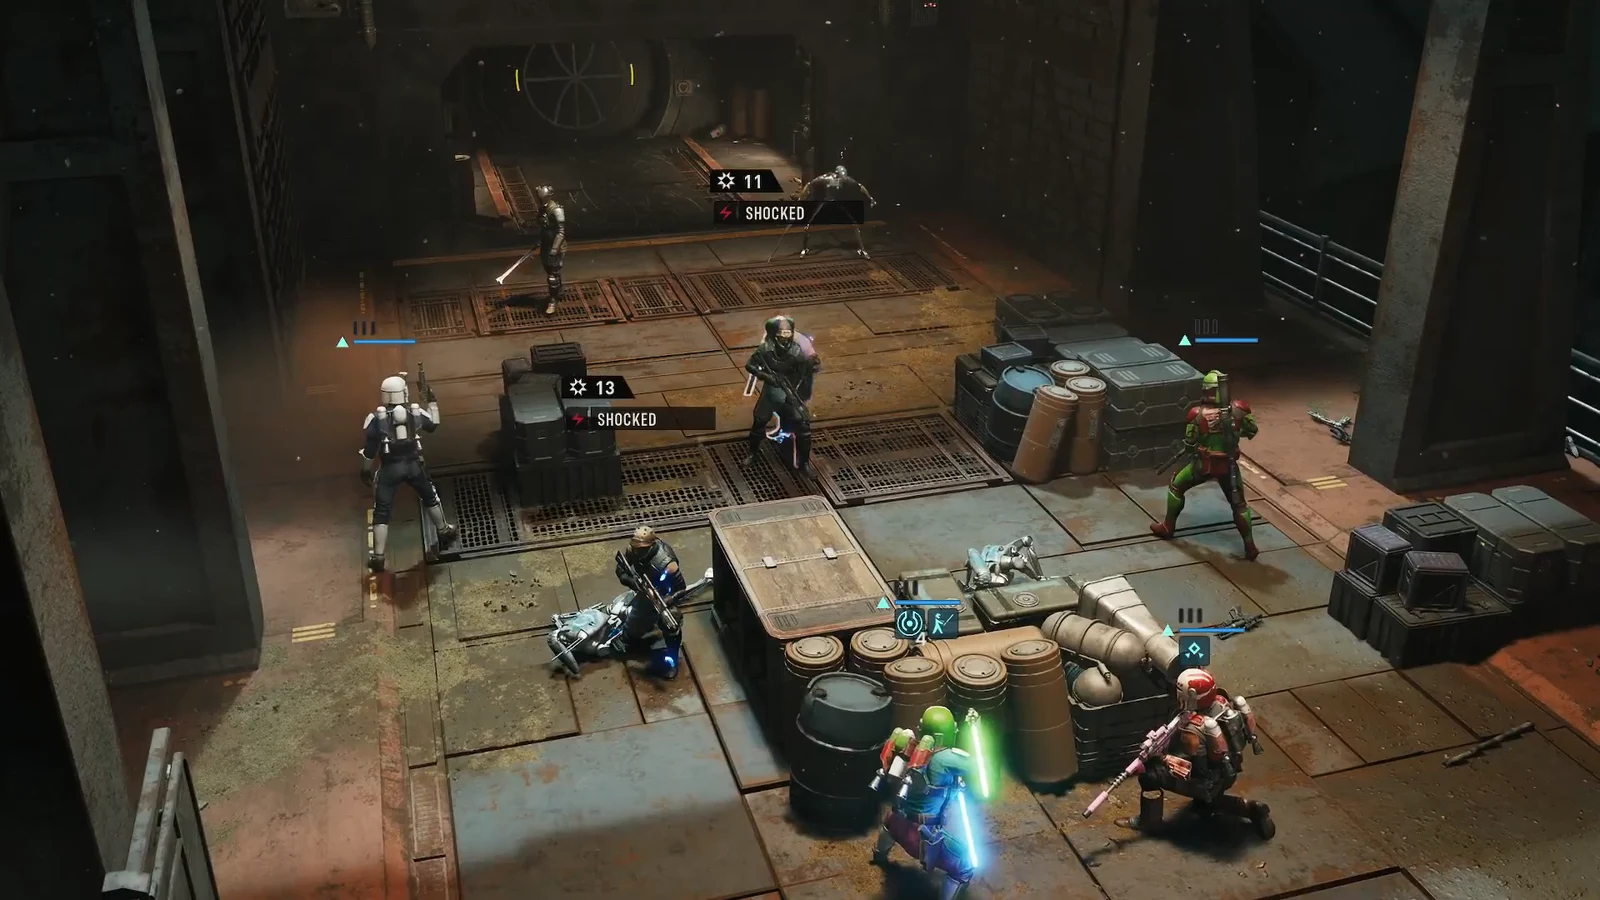
A short cutscene starts the encounter and the objective switches to DEFEAT THE COIL GUARDS. From here it is standard turn-based play, with three action points per operator and Advantage points banked as you deal damage.
The garrison mixes droids with organic Coil troops, which matters when you decide what to bring to each turn.
| Enemy | Type |
|---|---|
| COIL B1 BATTLE DROID | Droid, basic ranged |
| COIL MAGNAGUARD | Droid, melee |
| COIL BX DROID SNIPER | Droid, long range |
| COIL BRUTE | Organic, heavy |
| COIL STRIKER | Organic, frontline |
| COIL ENFORCER | Organic, elite |
Open the command wheel to reach each operator’s abilities rather than defaulting to basic attacks. The tools that carry this fight are Droid Popper against the mechanical half of the garrison, Push IV for repositioning enemies out of cover, Electroweb Dart III for locking a target down, and Tel-Rea’s Lightsaber Throw for reaching something the rest of the squad cannot hit.
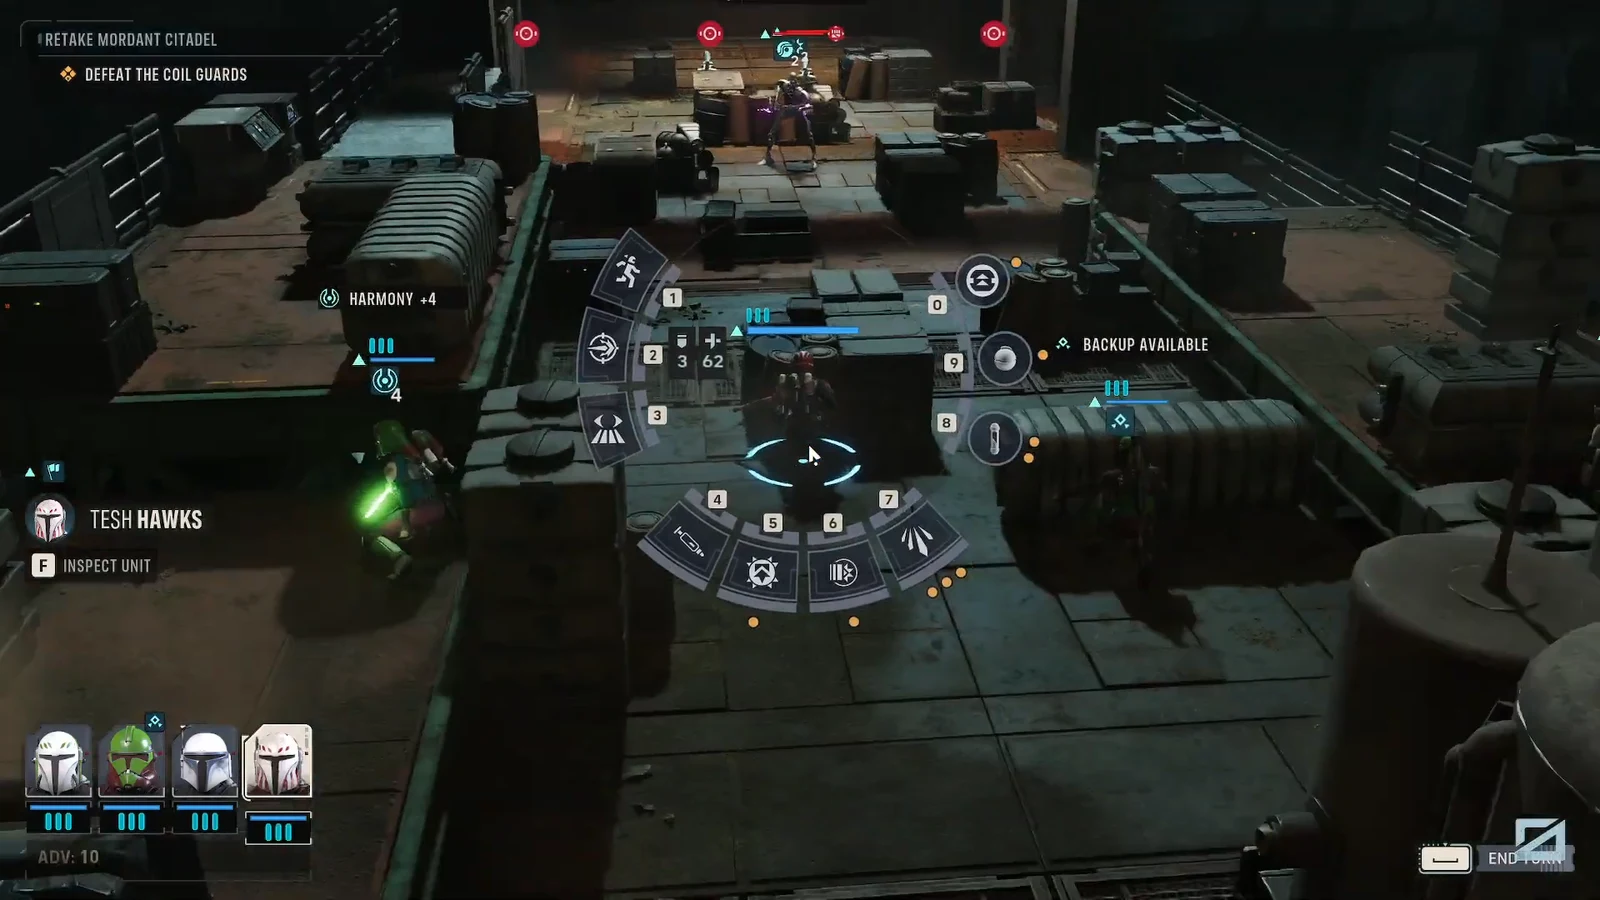
Tip: spend leftover AP on Overwatch instead of letting it expire. Enemies advancing on your position during their turn walk into free reaction shots, which trims the wave before it reaches your cover.
Reinforcements incoming: the second Coil wave
Clearing the starting group does not end the fight. Hawks calls out REINFORCEMENTS INCOMING and a second batch of Coil enemies arrives, so do not push every operator forward into open ground while finishing the first wave.
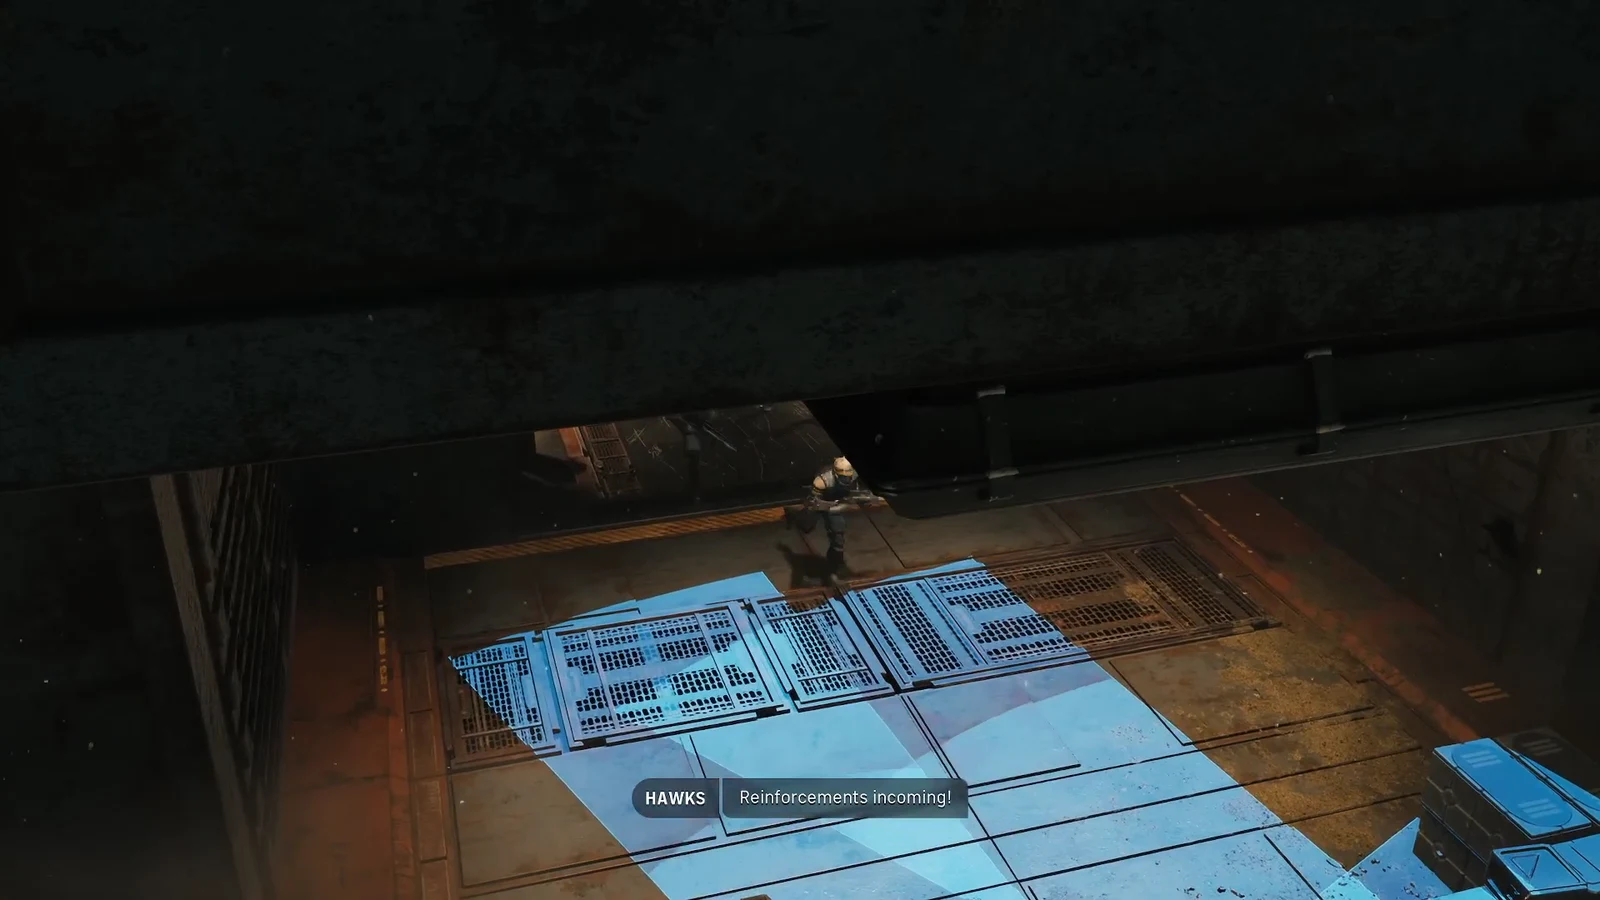
Hold cover, rally anyone who has gone down, and work through the new arrivals the same way. If an operator is knocked out, remember that each knockdown adds an injury, and three injuries kill them permanently when permadeath is switched on.
How to confirm the objective is complete
Combat ends automatically once the last reinforcement is destroyed. The turn order display disappears, control returns to free movement, and the objective panel under RETAKE MORDANT CITADEL updates to ENTER THE CITADEL.
If the objective still reads DEFEAT THE COIL GUARDS, an enemy is alive somewhere on the map, usually the BX Droid Sniper sitting at range or a straggler from the second wave. Sweep the outer edges of the arena before assuming the encounter has bugged.
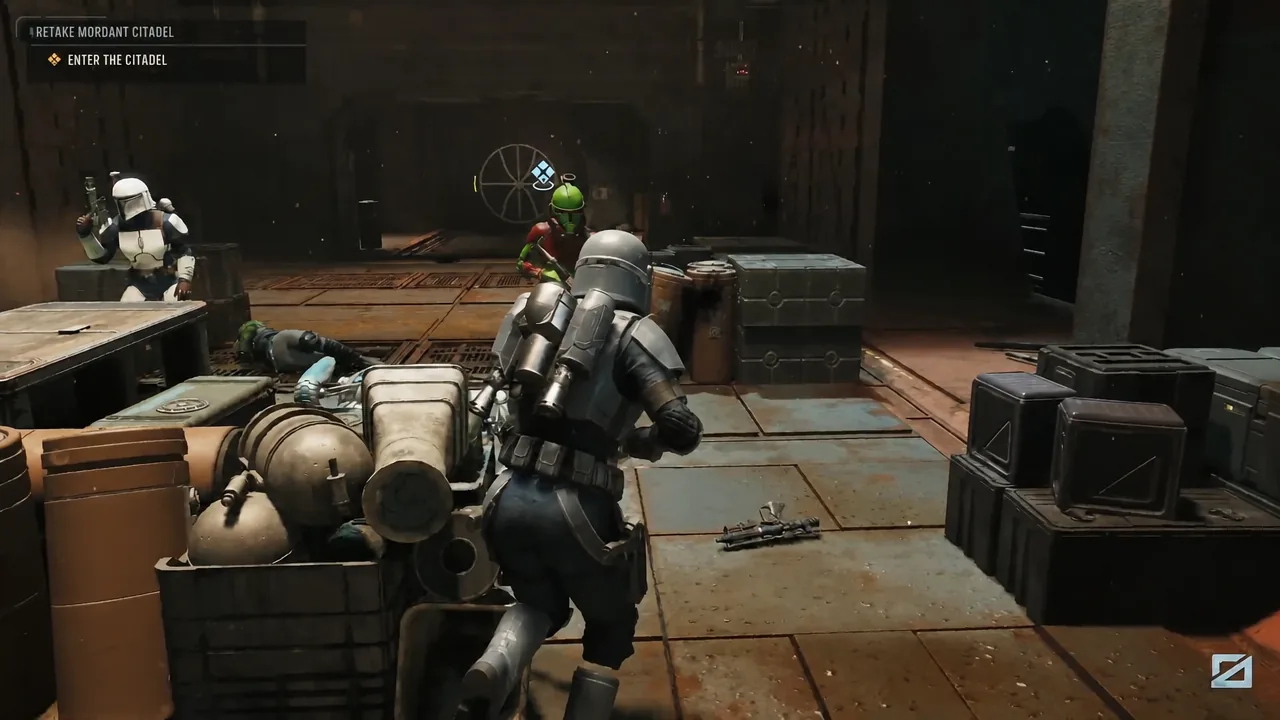
Walk the squad to the back door and the mission continues inside. Anyone carrying injuries out of this fight is worth checking on at the Den before you commit the next Cycle, since the assault on Mordant Citadel is not finished at the doorway.





