The “Use Console to Drain Canal” objective appears the moment the first fight of Dark Waters starts at Takali Canal. The console itself is never locked and never puzzle-gated. The only thing standing between you and it is a dock packed with melee Slugrats, plus a timing decision that most players get wrong on the first attempt.
Quick answer: Kill the Slugrats guarding the left side of the dock, move any operator up the stairs onto the console platform, and choose Operate Console. Do not activate it on the turn enemy reinforcements arrive, because draining the water opens a lower floor and adds more enemies to the fight.
Where the drain console sits on the dock
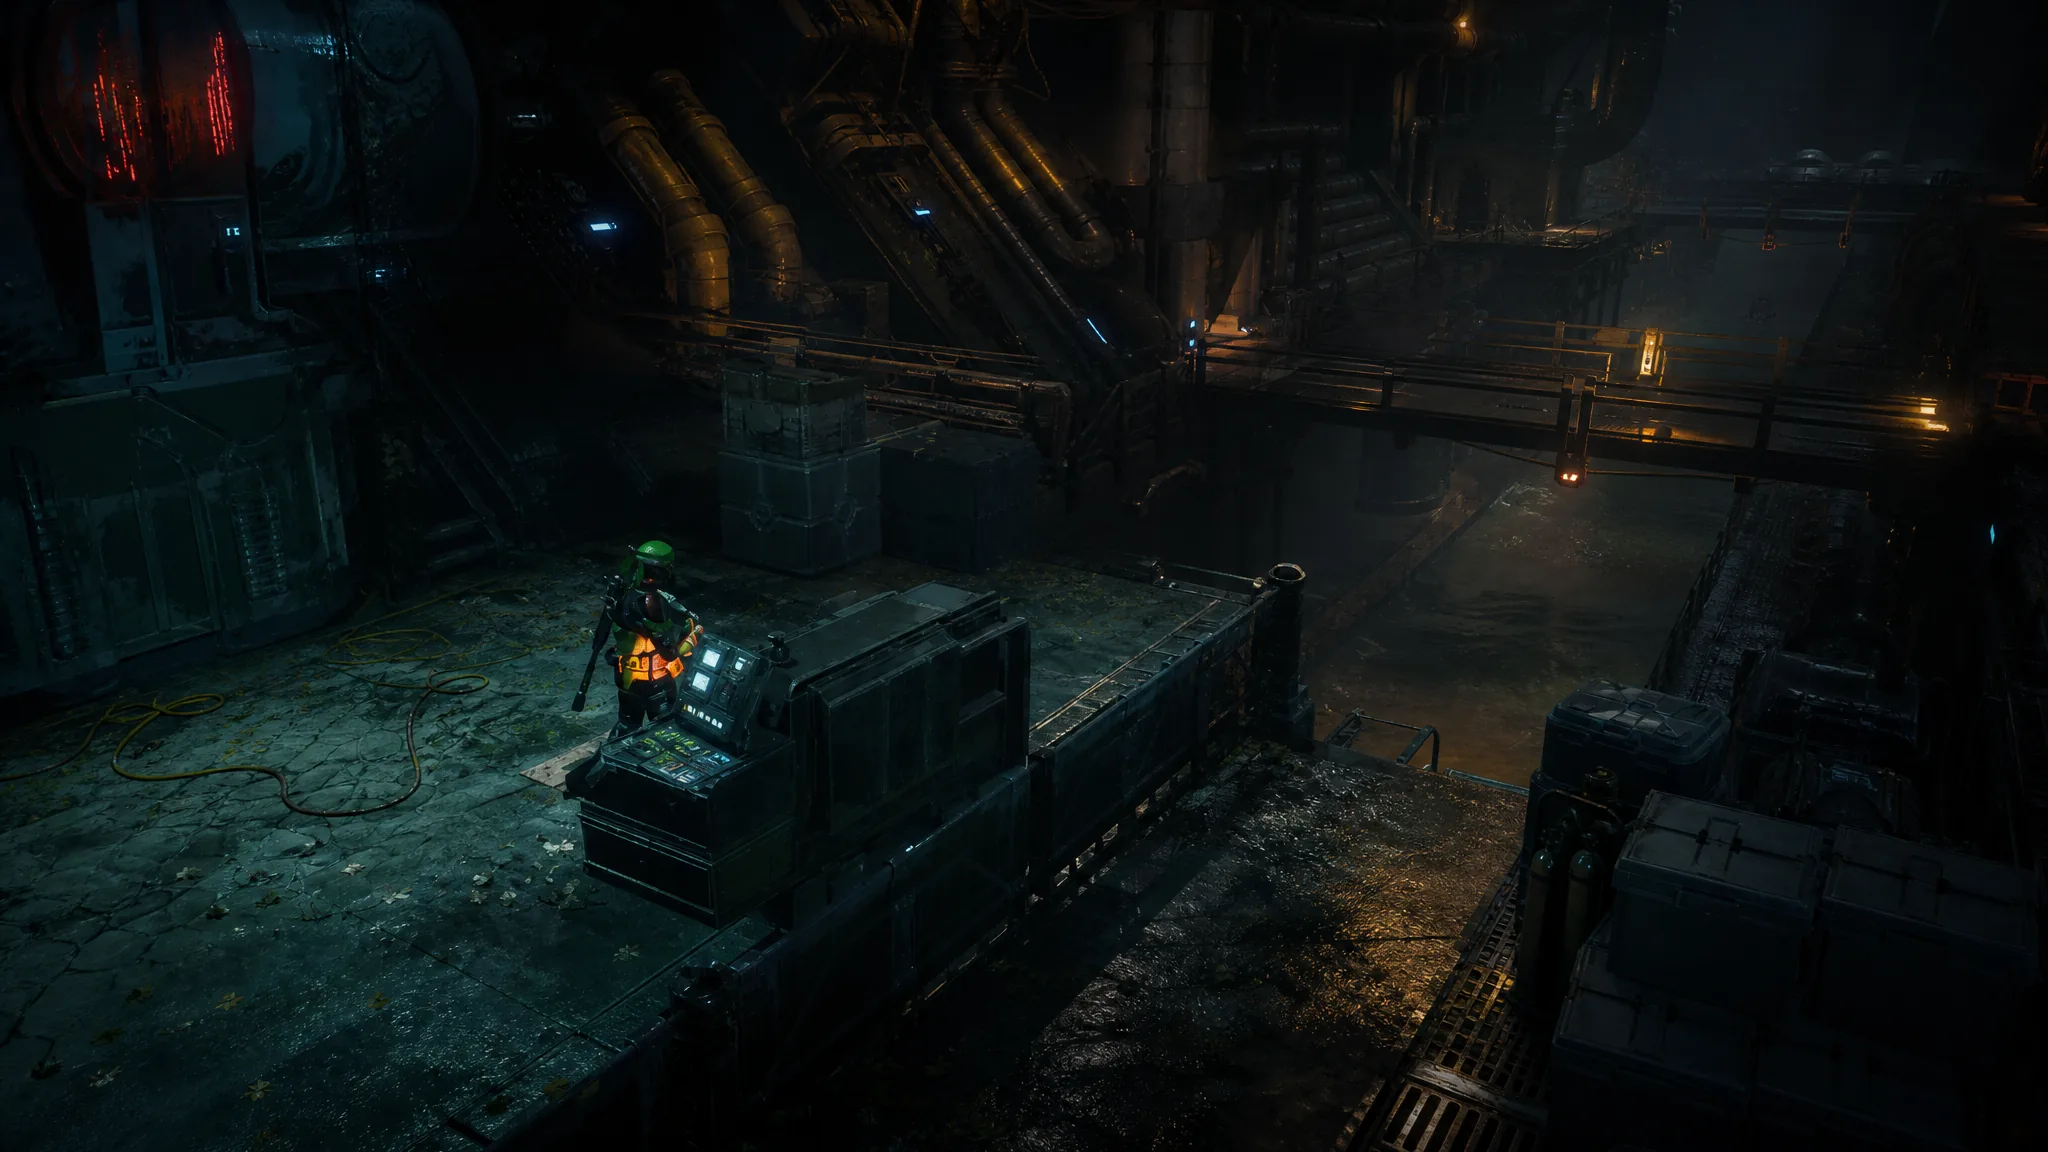
Follow the mission waypoint through the alleyway until combat triggers. Your squad drops onto a dock, and the objective banner switches to FIND THE COIL LEADER with USE CONSOLE TO DRAIN CANAL underneath it.
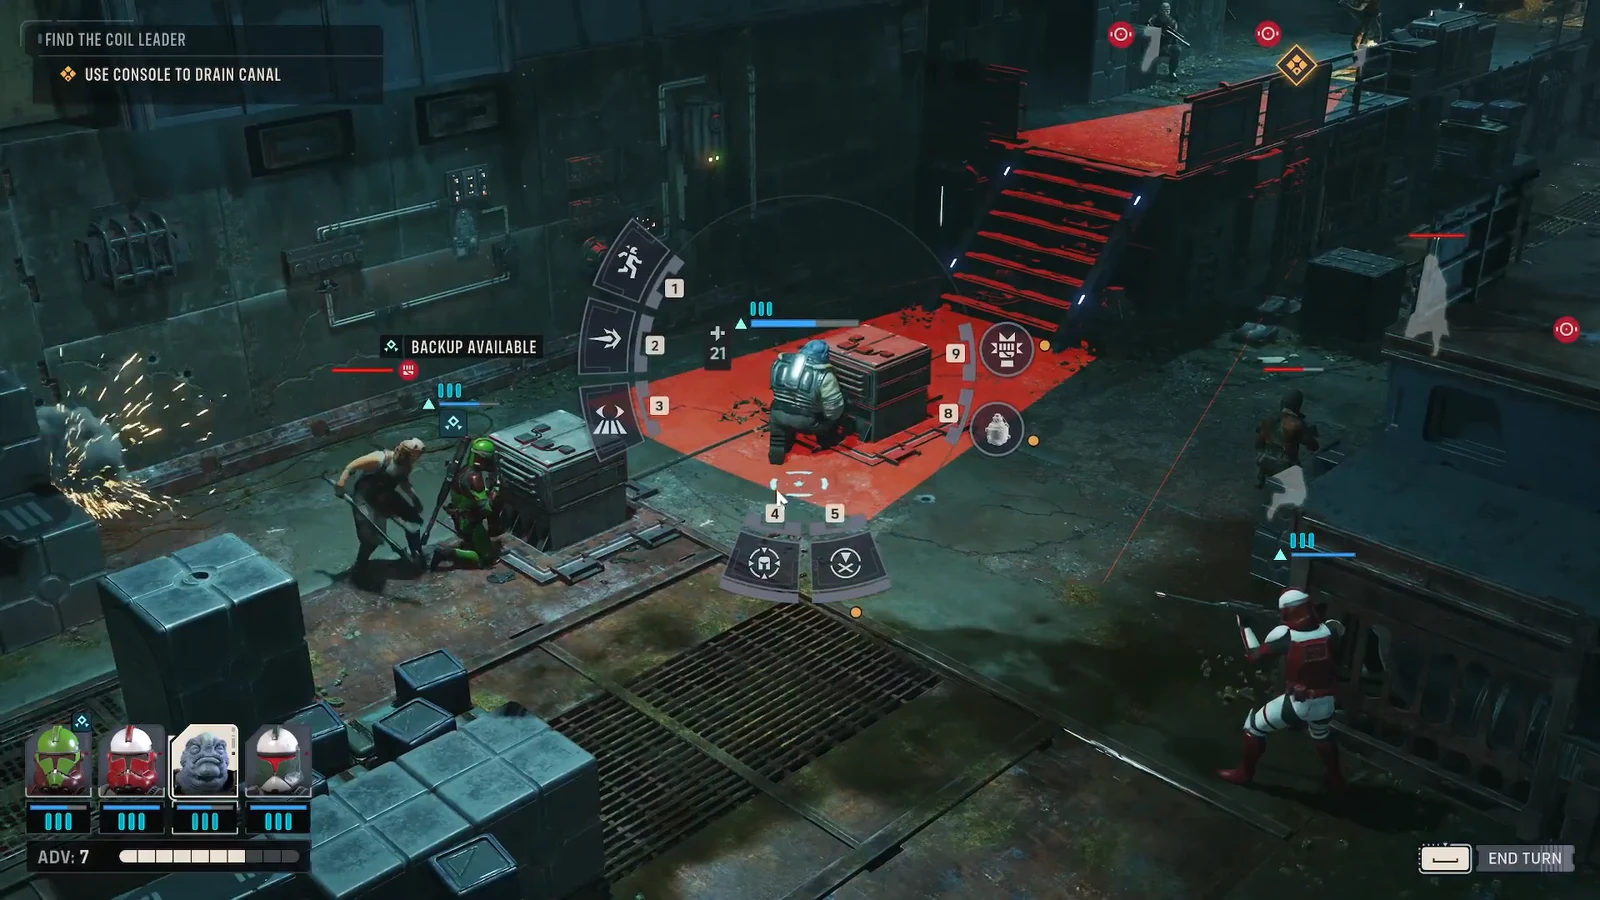
The console is along the left side of that dock, raised on a small platform reached by stairs. Slugrats are standing around it when the fight begins, so it is not something you can rush on turn one. There is high ground on the right side of the arena as well, which is where a long-range operator wants to be, and an explosive barrel sits nearby that can be shot to burn several enemies at once.
Squad and loadout for the canal fight
Almost everything you face here is a melee threat that hits hard, so range and sustain matter more than anti-droid tools. An Astromech has little to do in this encounter, since there are no droids to shut down.
| Slot | What it does here |
|---|---|
| Hawks (long-range rifle) | Holds the high ground on the right and sets Overwatch on the back of the arena. |
| Heavy | Sits in cover on the left, taunts, and absorbs the Slugrats that close in. |
| Trick | Strips enemy cover and clears clustered groups with Rocket Strike. |
| Medic (long-range rifle) | Stays in the back line, heals, and applies Morale Boost Adv and Combat Stim. |
| Utilities | Impact Bomb or Firebomb grenades, used to break Overwatch and soften tanky targets. |
Note: this is a long mission by early-campaign standards, and the canal is only the first half of it. A Medic is what keeps your other three operators from stacking injuries before the second encounter underground.
Clearing the dock before you touch the console
When to activate it: draining the canal spawns more enemies
Reinforcements arrive at the back of the arena on the enemy’s third turn, and a second wave follows from the north after that. Because they spawn far away, they are manageable as long as you are not fighting a fresh group in the canal at the same time.
That is the whole reason to delay the console. Operating it drains the water and reveals a lower floor with more Slugrats on it. Do that on the turn reinforcements walk in and you are pinched from two directions at once.
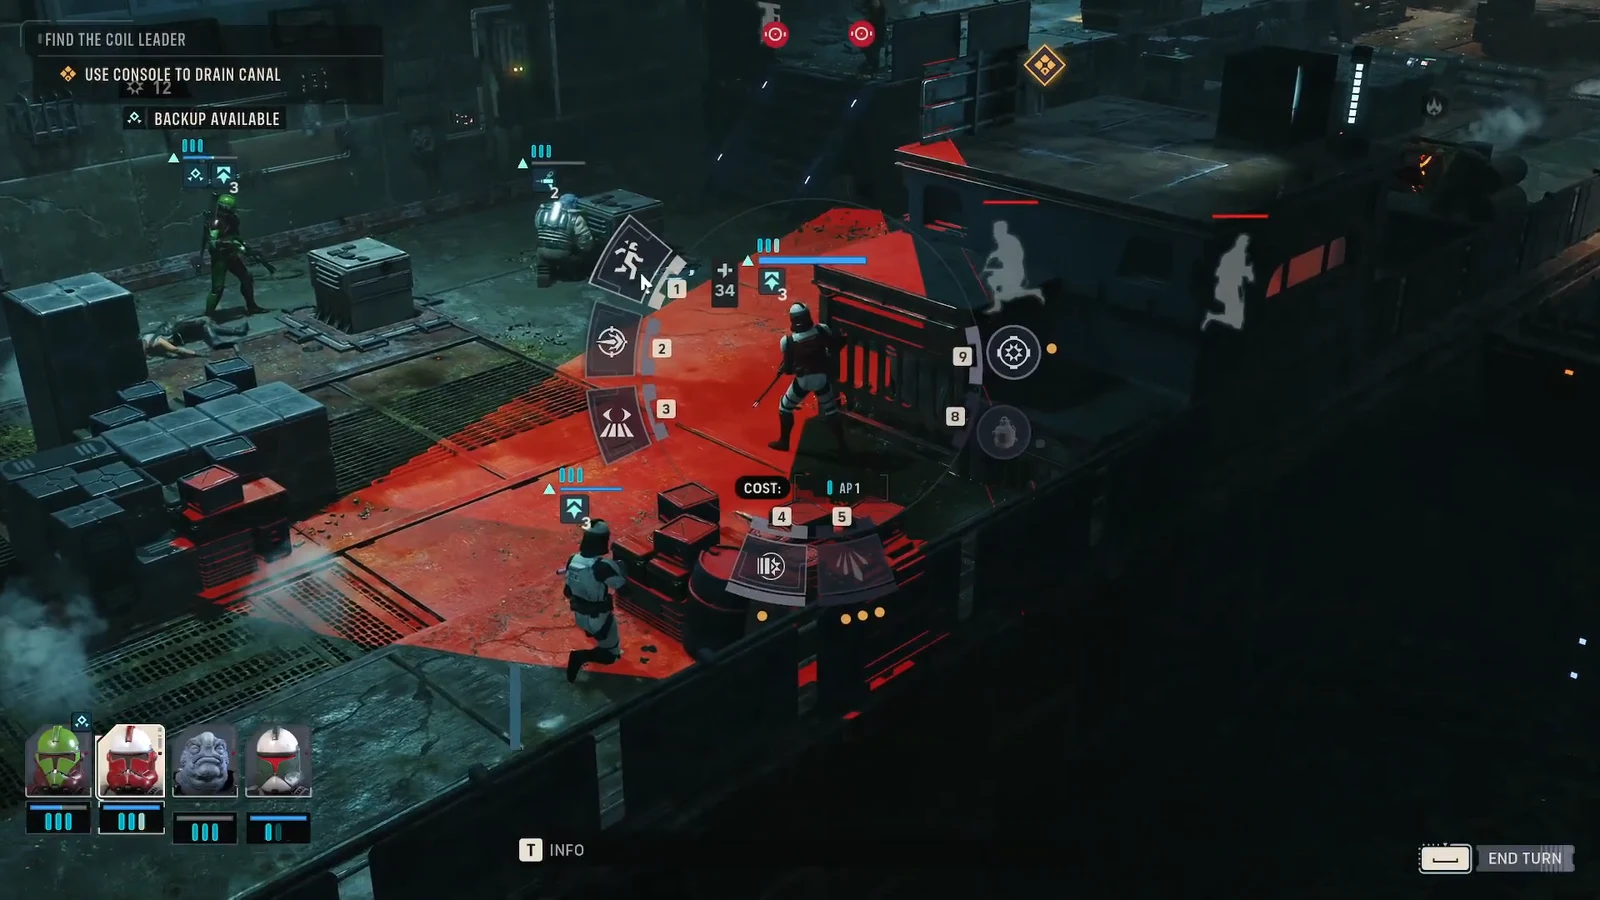
Instead, use the turn before reinforcements arrive to move your squad up near the console platform and set a defensive perimeter there. You get to shoot the three arrivals from the north on your terms, and Rocket Strike plus a grenade handles the second wave since those enemies tend to bunch together. Always prioritise anything coming from the north, because enemies down in the canal take several turns to cross the gap and some will not push the stairs immediately.
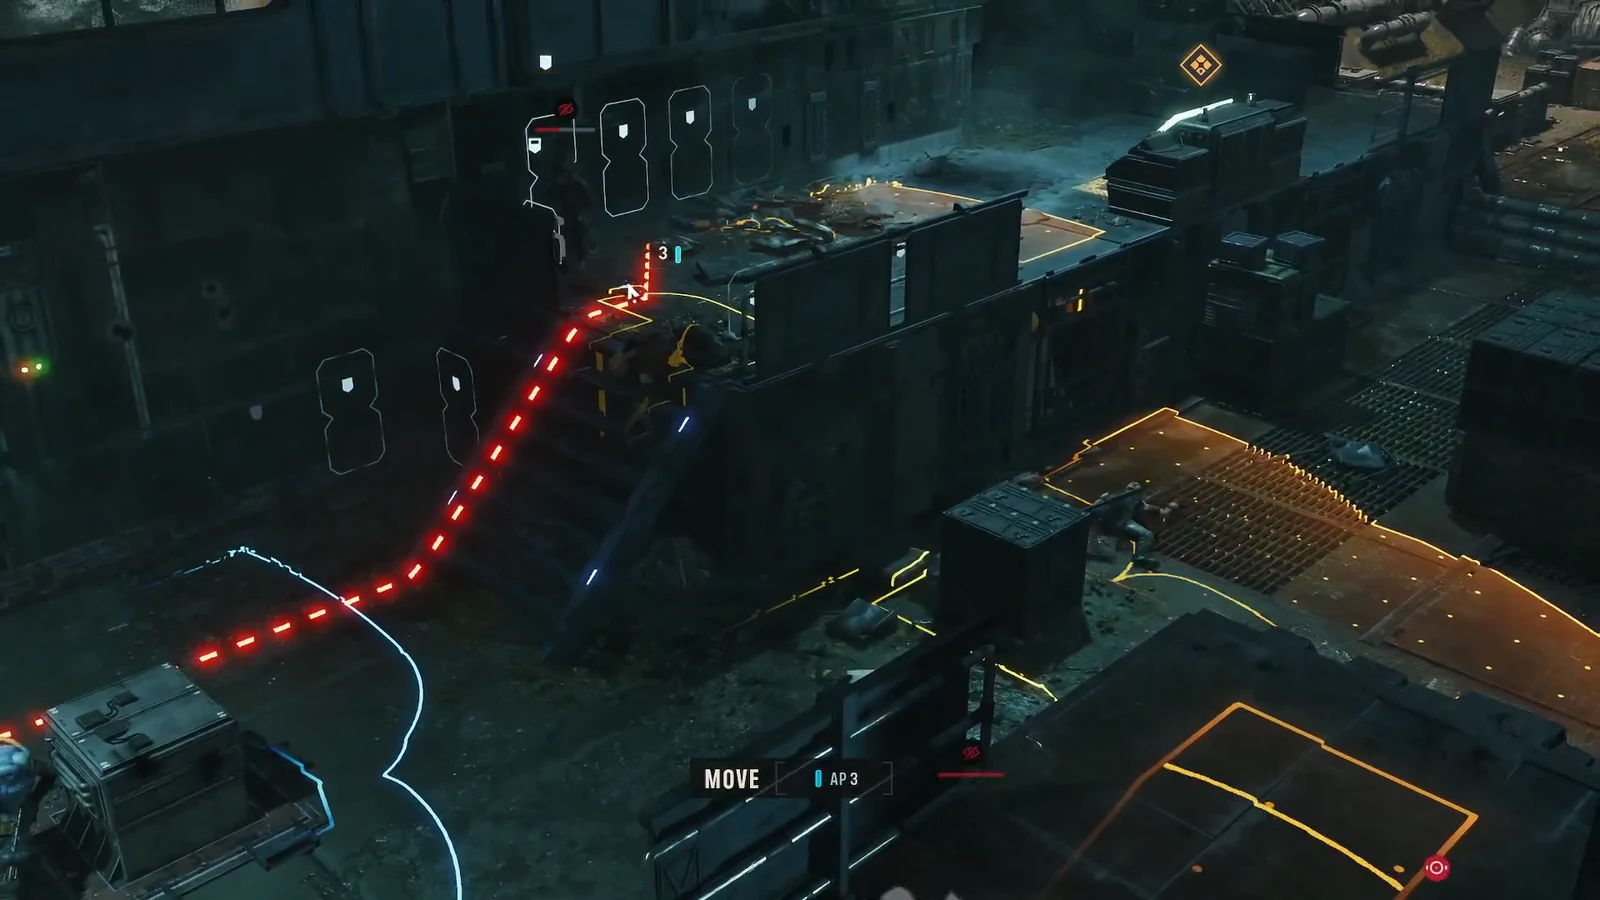
Operating the console
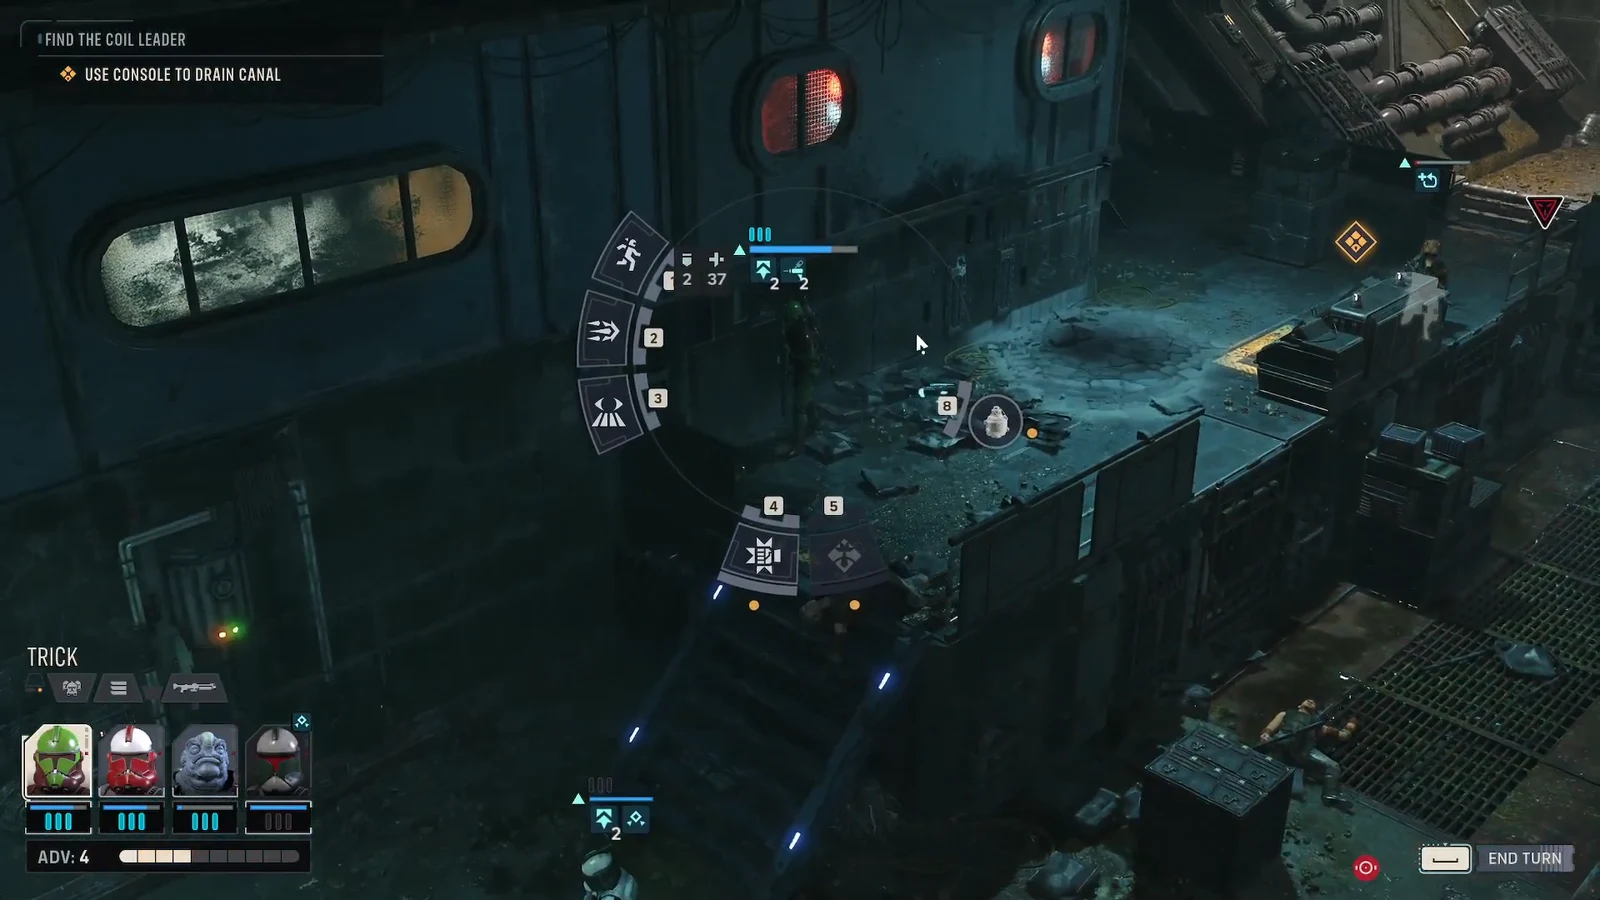
Holding the high ground after the canal drains
Once the water is gone, five enemies are waiting in the empty canal below. Do not chase them. Stay on the platform you already control and keep two operators on Overwatch, one watching each staircase, so any Slugrat climbing up takes fire and cannot reach cover.
The remaining two operators shoot down into the canal from above. Long-range weapons do most of the work here, which is why the Medic is worth arming with a rifle. Keep the Heavy taunting so incoming damage lands on the operator built to take it.
When every Slugrat is dead, the path to the underground section opens and a cutscene introduces a new ally along with more information about the Coil.
If the console will not activate
- No operator is on the platform. The prompt only appears when a unit is standing at the console itself, at the top of the stairs on the left side of the dock.
- The operator has no AP left. Move first, then interact on the same turn or the next one.
- Enemies still hold the approach. Slugrats around the platform will punish a lone unit climbing the stairs, so clear that side before sending anyone up.
Draining the canal is not the end of the mission, and clearing the dock is not the end of the fight either. Treat the console as a switch you flip on your own schedule, keep the high ground once the water drops, and the rest of Dark Waters becomes a defensive engagement rather than a scramble.