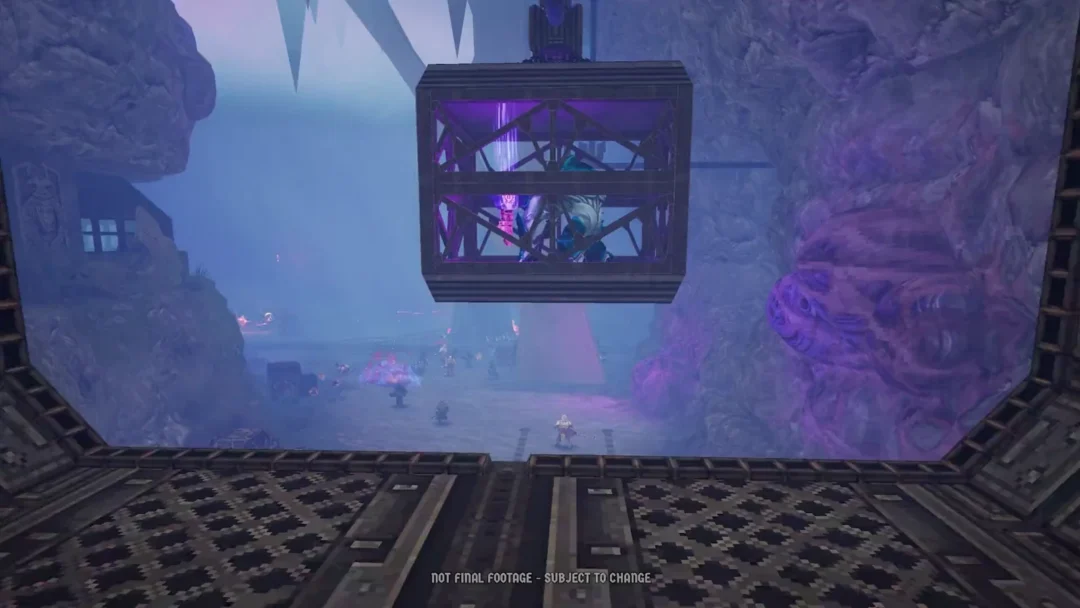
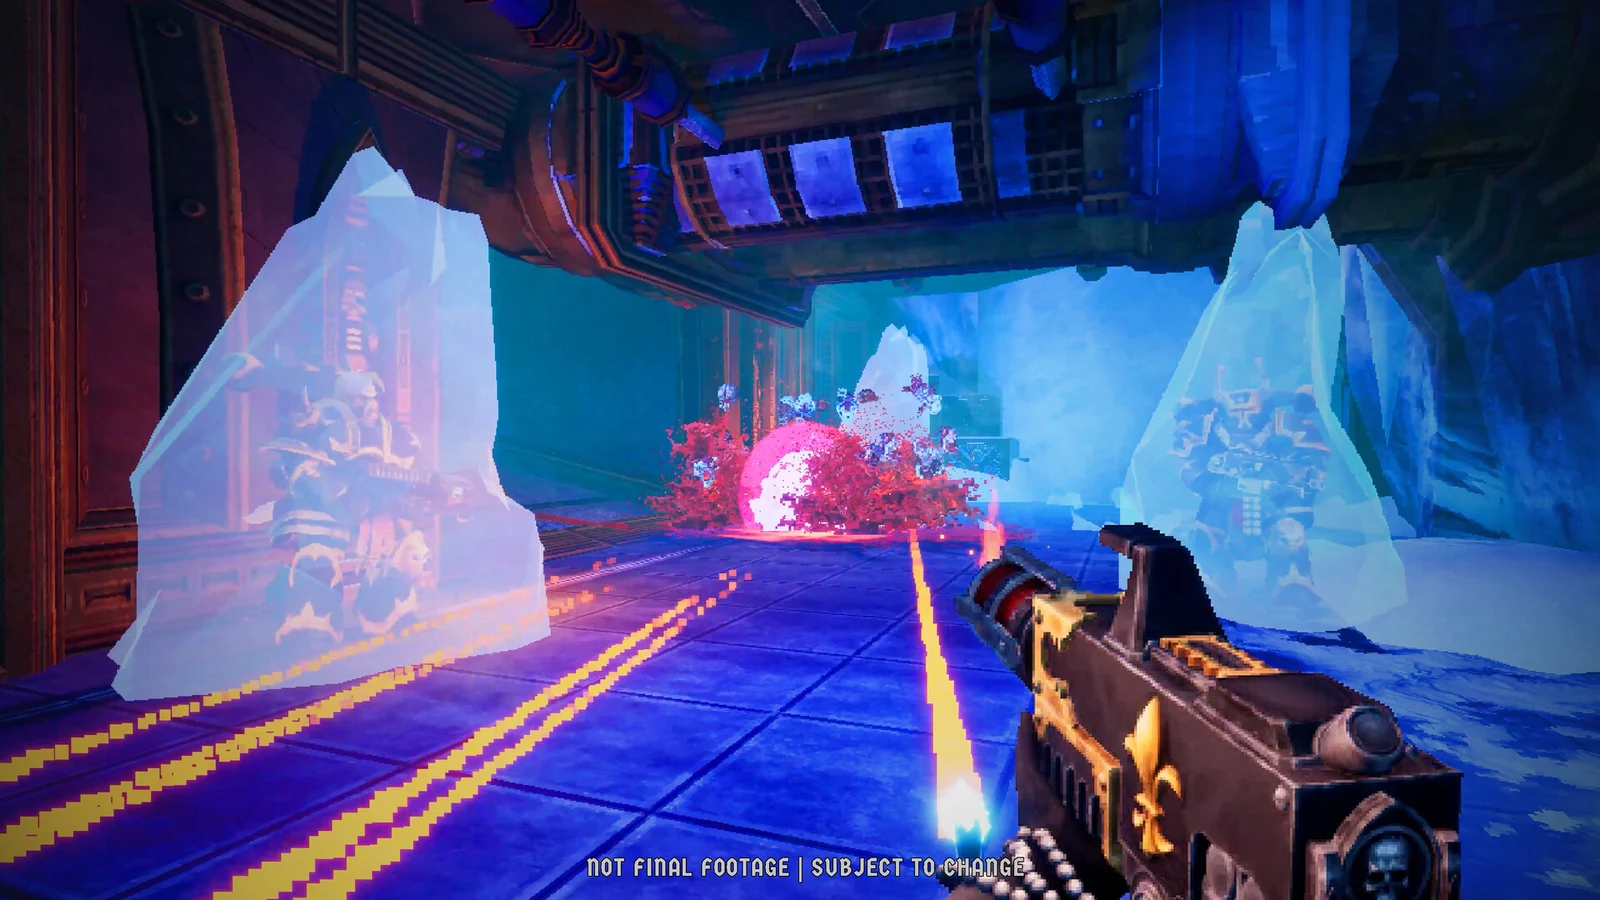
Red Dust is a two-stage tactical mission built around a single locked container. The stolen weaponry sits inside a security chest in the middle of an open courtyard, and the outlaws holding the area will keep feeding reinforcements at you while your safecracker works. The map’s saving grace is its geometry: deep pits sit right where the enemy likes to stand.
Quick answer: Move Tesh Hawks onto the security chest, use Safecracker, and keep at least one operator inside the green boundary zone for three turns until the objective flips to Eliminate All Hostiles. Force Push and Force Pull into the central pits remove enemies instantly, regardless of how much health they have left.
Red Dust objectives and win conditions
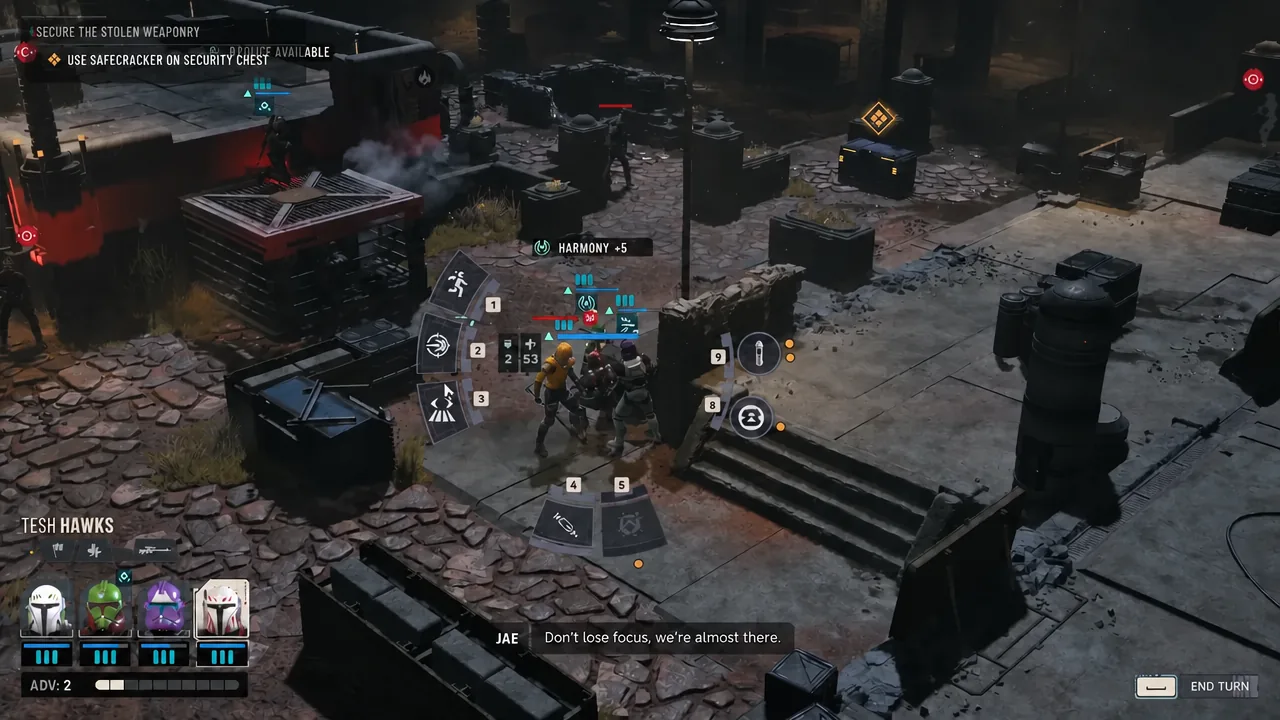
The mission opens with Capture the Weapons on screen, but the objective list is what you should actually track. The first objective is a timed hold, not a fight, and the second only appears once the chest is open.
| Stage | Objective | What it requires |
|---|---|---|
| 1 | Secure the Stolen Weaponry | Use Safecracker on the security chest and keep an operator in the green zone for three turns |
| 2 | Eliminate All Hostiles | Kill every remaining outlaw on the map, including reinforcements |
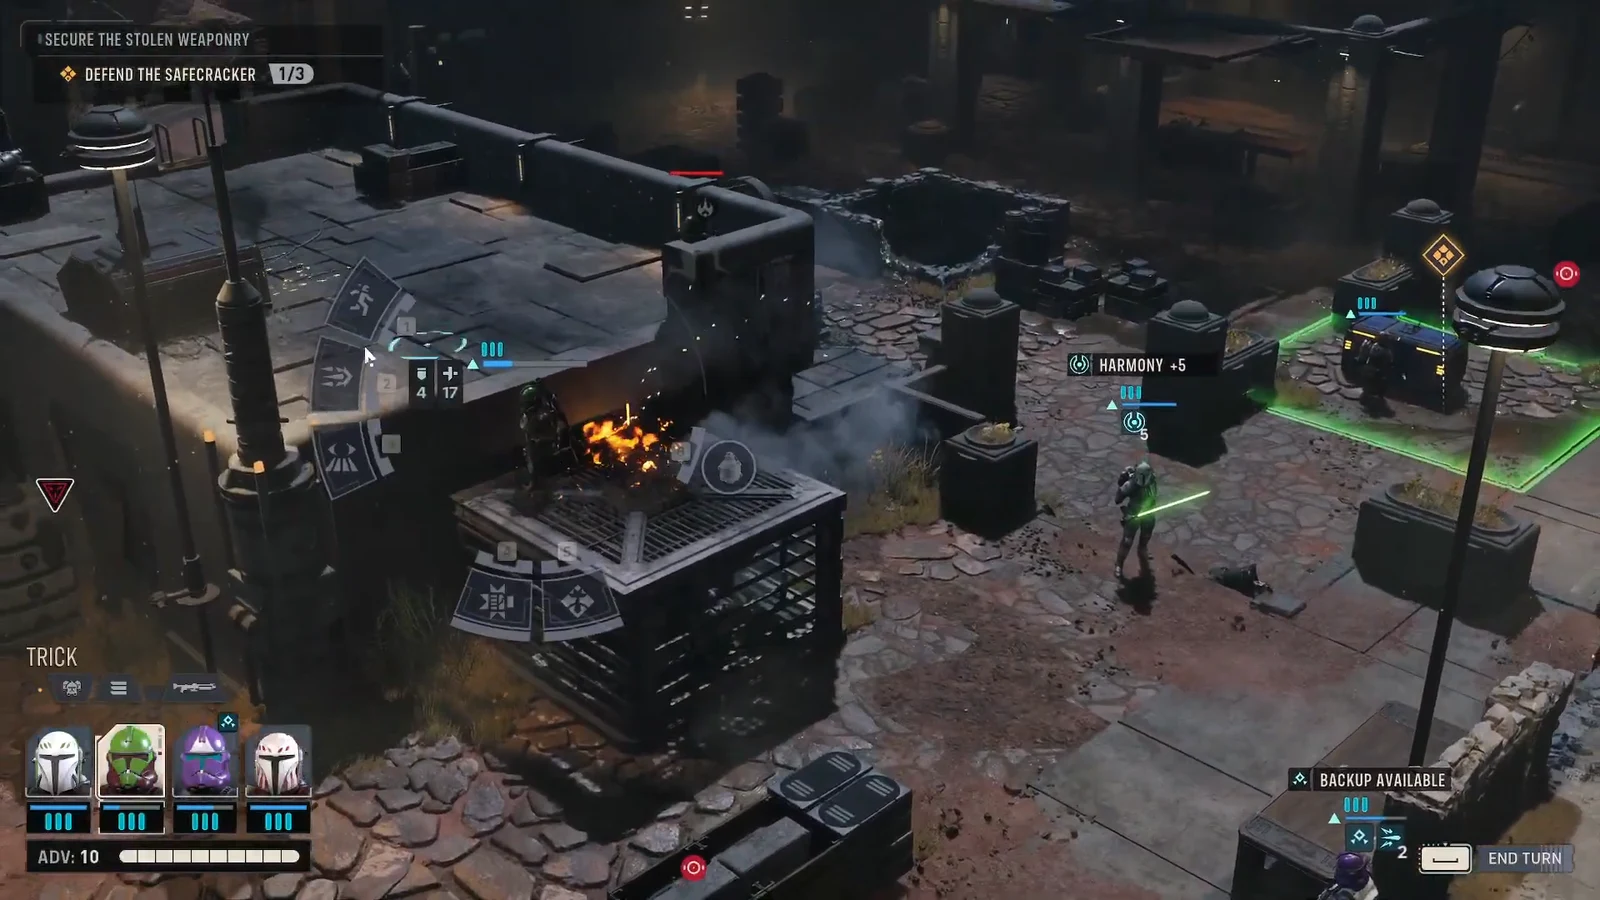
You will see supporting prompts along the way: Use Safecracker on Security Chest, Defend the Safecracker, Safecracker Working…, and Region Occupied. Reinforcements Incoming flashes up at the end of the second enemy turn, so plan the third round expecting fresh enemies rather than a clean board.
Squad roles and outlaw types on the map
Four operators handle the whole mission comfortably. Each one has a clear job, and swapping those jobs around is where runs tend to fall apart.
| Operator | Job on Red Dust | Key abilities |
|---|---|---|
| Tel-Rea Vokoss | Front line, pit control | Push III, Pull, Lightsaber Strike, Impact Bomb |
| Trick | Damage soak and area damage | Rocket Strike II, Fire Repeating Blaster |
| Jae Mordant | Ranged cleanup and overwatch | Fire Blaster Rifle, Ambush II |
| Tesh Hawks | Safecracker and support | Safecracker, Combat Stim III, Morale Boost IV |
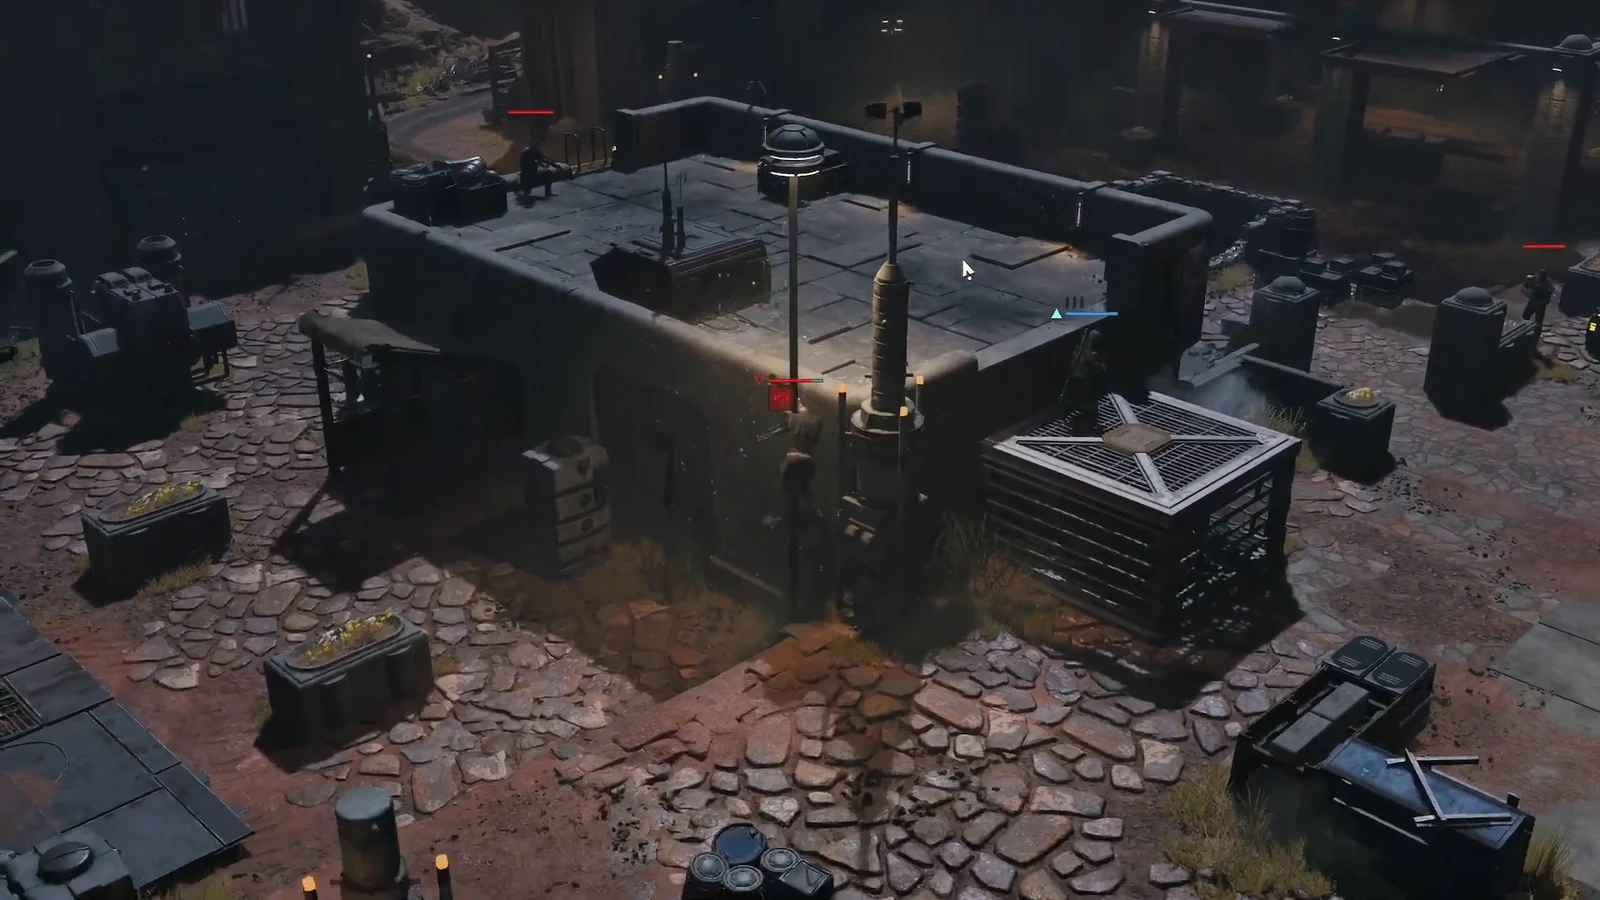
The opposition is made up of Outlaw Strikers, Outlaw Enforcers, Outlaw Marauders, and at least one Outlaw Sniper. Enforcers tend to hold the roof, which puts them out of reach of the pits, so those are the targets you shoot rather than throw. The sniper is the one enemy that punishes an exposed safecracker, and it is best answered with a pre-placed overwatch rather than a chase.
Round-by-round route through Red Dust
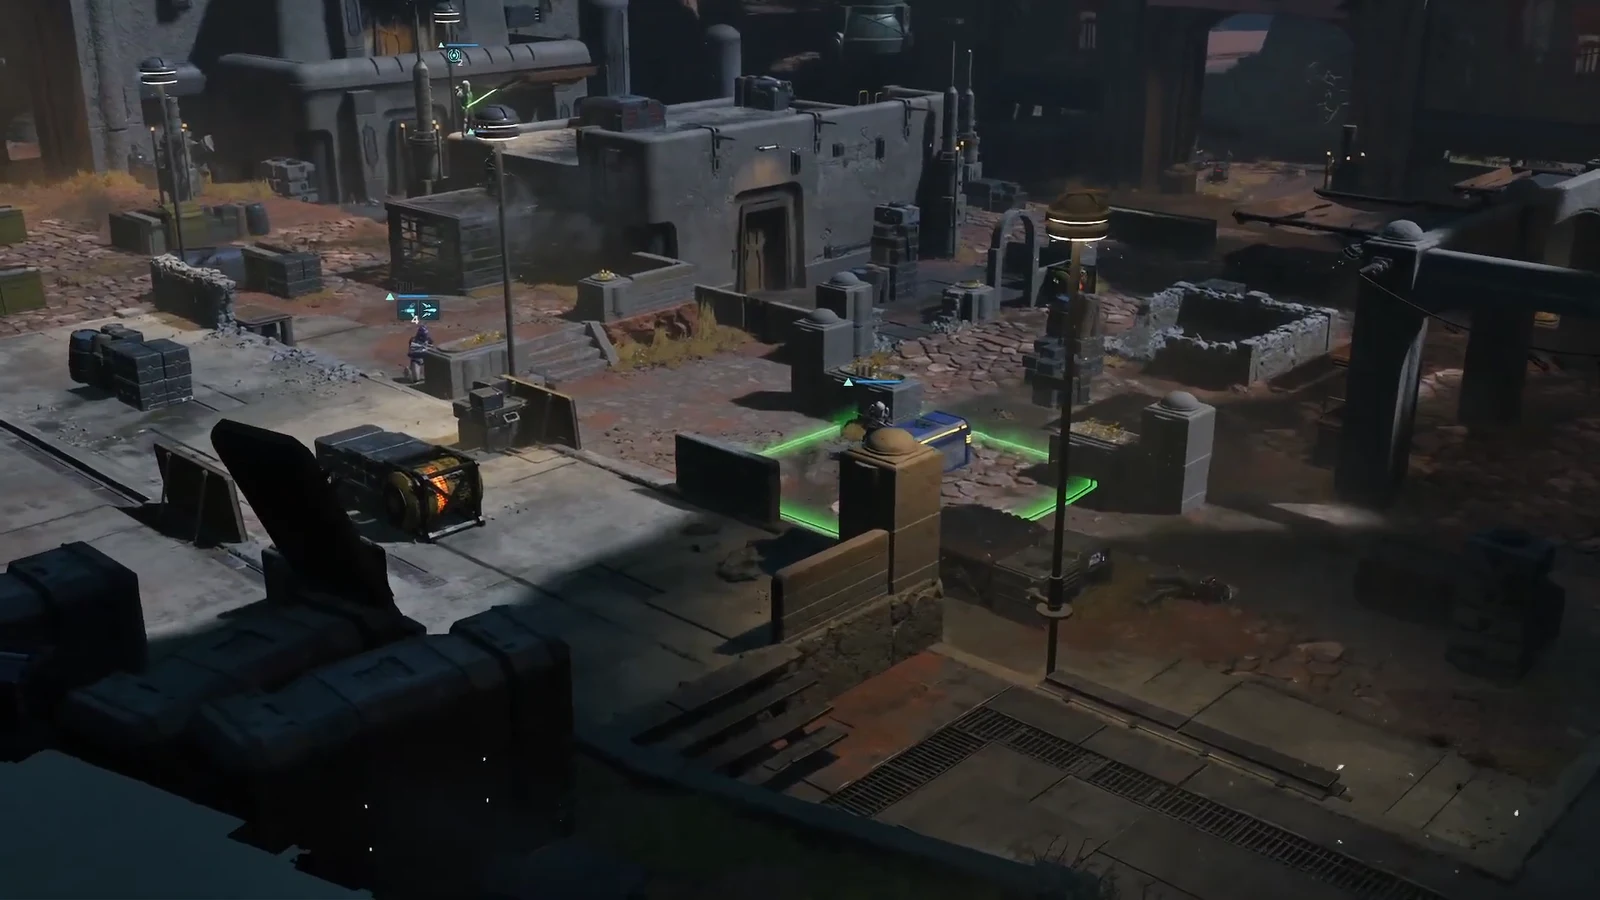
How the pits work as an instant kill
The open pits in the middle of the courtyard are the reason Red Dust can be finished in five rounds. Any outlaw knocked in with Force Push or dragged in with Force Pull is defeated on the spot, no matter how much health or armor it had. That turns a tanky Marauder into a one-action problem instead of a three-turn firefight.
Two limits are worth remembering. Enemies on the roof cannot be pushed into a pit, so they still need to be shot down. And Pull is the better tool when a target is already past the pit and closing on your squad, because it repositions the enemy back toward the hazard rather than away from it.
Holding the green zone while the safecracker works
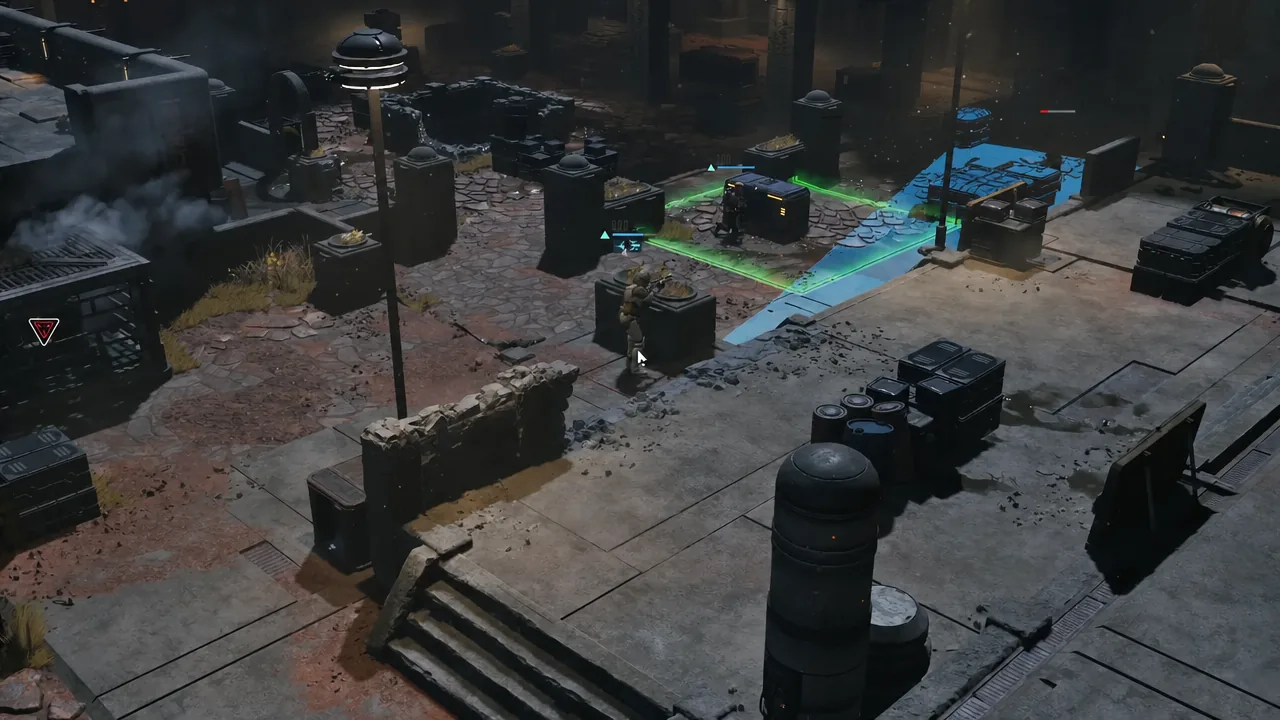
Safecracking is a presence check. At least one operator has to stay inside the green boundary around the security chest for three turns, and the Region Occupied prompt confirms you are meeting that condition. If everyone steps outside the ring, progress stalls until someone moves back in.
Note: Tesh Hawks does not have to be the operator standing there once the crack is running, but he is the one who starts it, so keep him healthy and in cover. Position the other three around him in cover facing the approach lanes rather than pushing forward to chase kills.
Confirming Red Dust is complete
There are two clear confirmations. The first is the objective line changing from Secure the Stolen Weaponry to Eliminate All Hostiles, which means the chest is open and the hold phase is done. The second is the Mission Success screen, which only appears after the last outlaw is gone.
| Result | Clean-run figure |
|---|---|
| Total Tactical Rounds | 5 |
| Enemies Defeated | 11 |
| Damage Dealt | 420 |
The damage figure stays low precisely because pit kills do not register as damage, so a fast run will always look light on that stat. If Mission Success has not triggered after the weapons are secured, an outlaw is still alive somewhere on the map, most often an Enforcer holding position on the roof or a straggler from the reinforcement wave. Sweep those before assuming the mission has hung.