

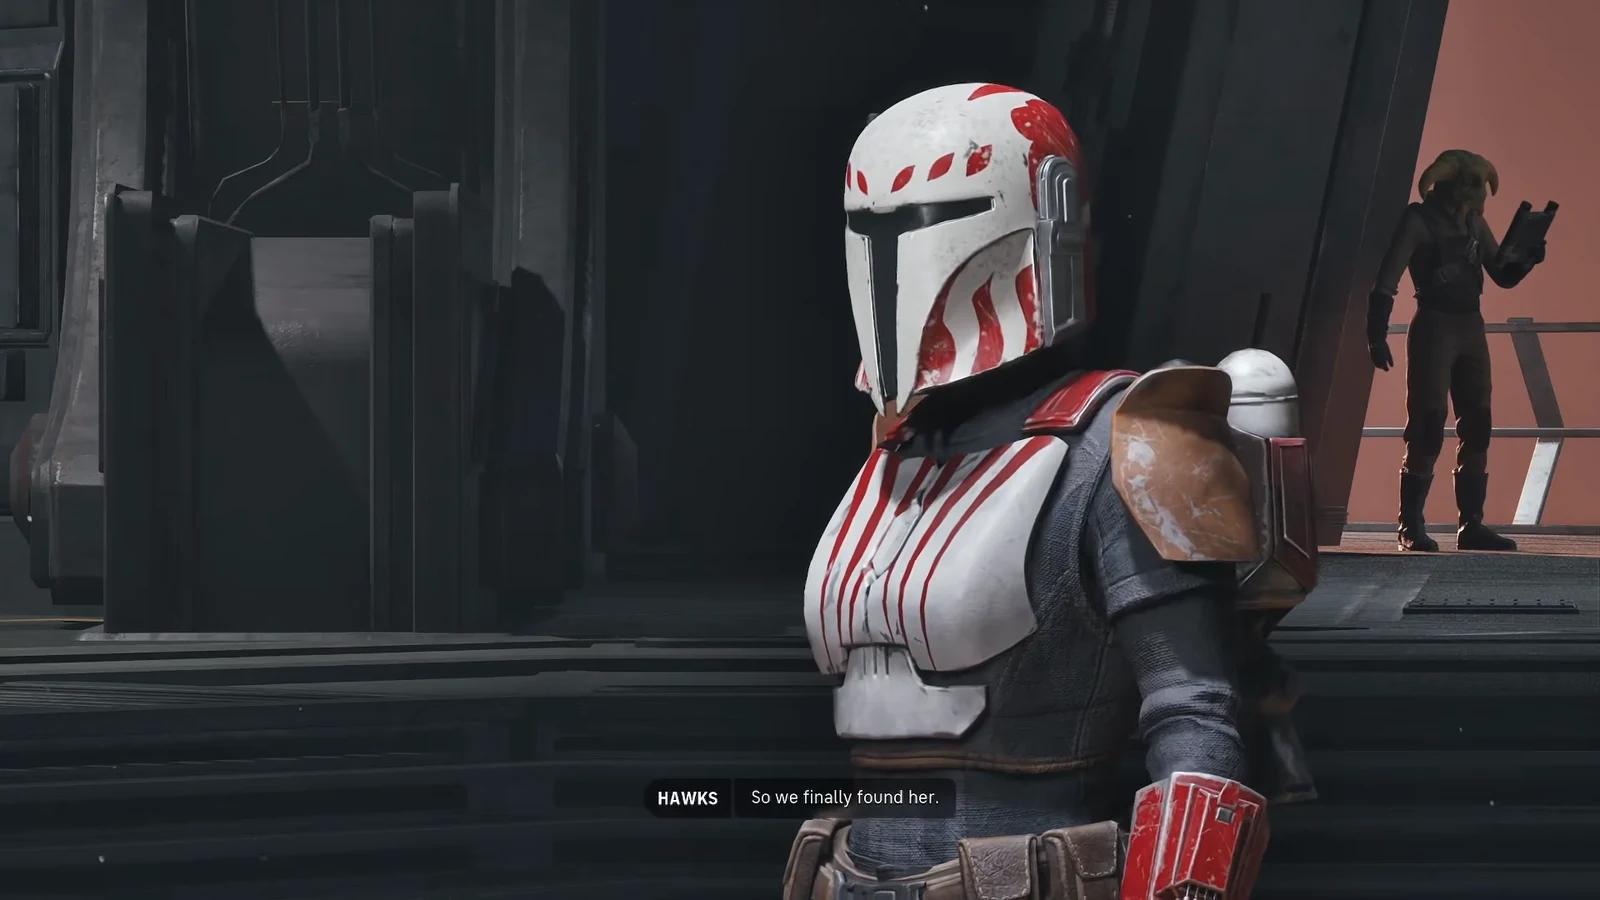
The Infinite Coil is the last operation in Star Wars Zero Company, and it runs on Bardan at the Cindermoor orbital shipbreaking station. It is a single, uninterrupted trip through three combat encounters with no chance to swap operators between them, capped by the confrontation with Kundri Fathom aboard Bennic Halloren’s cruiser.
Quick answer: Take Hawks plus three operators who cover area damage, single-turn kills, and healing, then clear the mission in order — slice the security terminal and hold it through the droid waves, destroy Typhon and every remaining droid on the command mast, and focus fire on Fathom alone in the hangar while keeping Hawks far from the squad.
The Infinite Coil Unlock Requirements and Three-Cycle Deadline
The operation appears on the Holotable during the Fathom’s Grand Designs chapter, the thirteenth of the game’s fourteen chapters. Once it is available, you have three cycles before the game pushes you into it, so anything you still want to finish has to happen inside that window.
Spend those cycles on operator bonds and gear rather than saving credits. The mission is long, every fight feeds into the next, and there is no mid-mission reinforcement or squad change. The game also flags the point of no return before you launch, and that warning is accurate — starting the operation commits you to the ending.
Note: Bringing extra main characters does not unlock hidden scenes. Beyond a few lines of banter between fights, the roster you pick changes only your tactical options.
Squad Selection: Hawks Is Locked In
Hawks is mandatory and has to survive the whole operation, which leaves three open slots. Because the mission throws large groups of Coil droids at you in tight arenas, area damage and reliable finishing blows matter far more than raw single-target output.
| Slot | What it needs to cover |
|---|---|
| Hawks (locked) | Must survive. Keep positioning flexible, since Fathom can turn Hawks against the squad. |
| Cly Kullervo | Area-of-effect damage plus Combat Jump, which repositions and damages in one action. |
| Jae Mordant | Final Shot cleans up low-health enemies without spending a full turn on them. |
| Medic or Trick | A medic who can revive to full health if Hawks has no self-sustain, otherwise a heavy damage soldier. |
Mission Structure and Objective Order
The squad drops into the Cindermoor hangar and works inward. Each phase ends on a specific objective clear, and the next one starts immediately afterward.
| Phase | Objective and end condition |
|---|---|
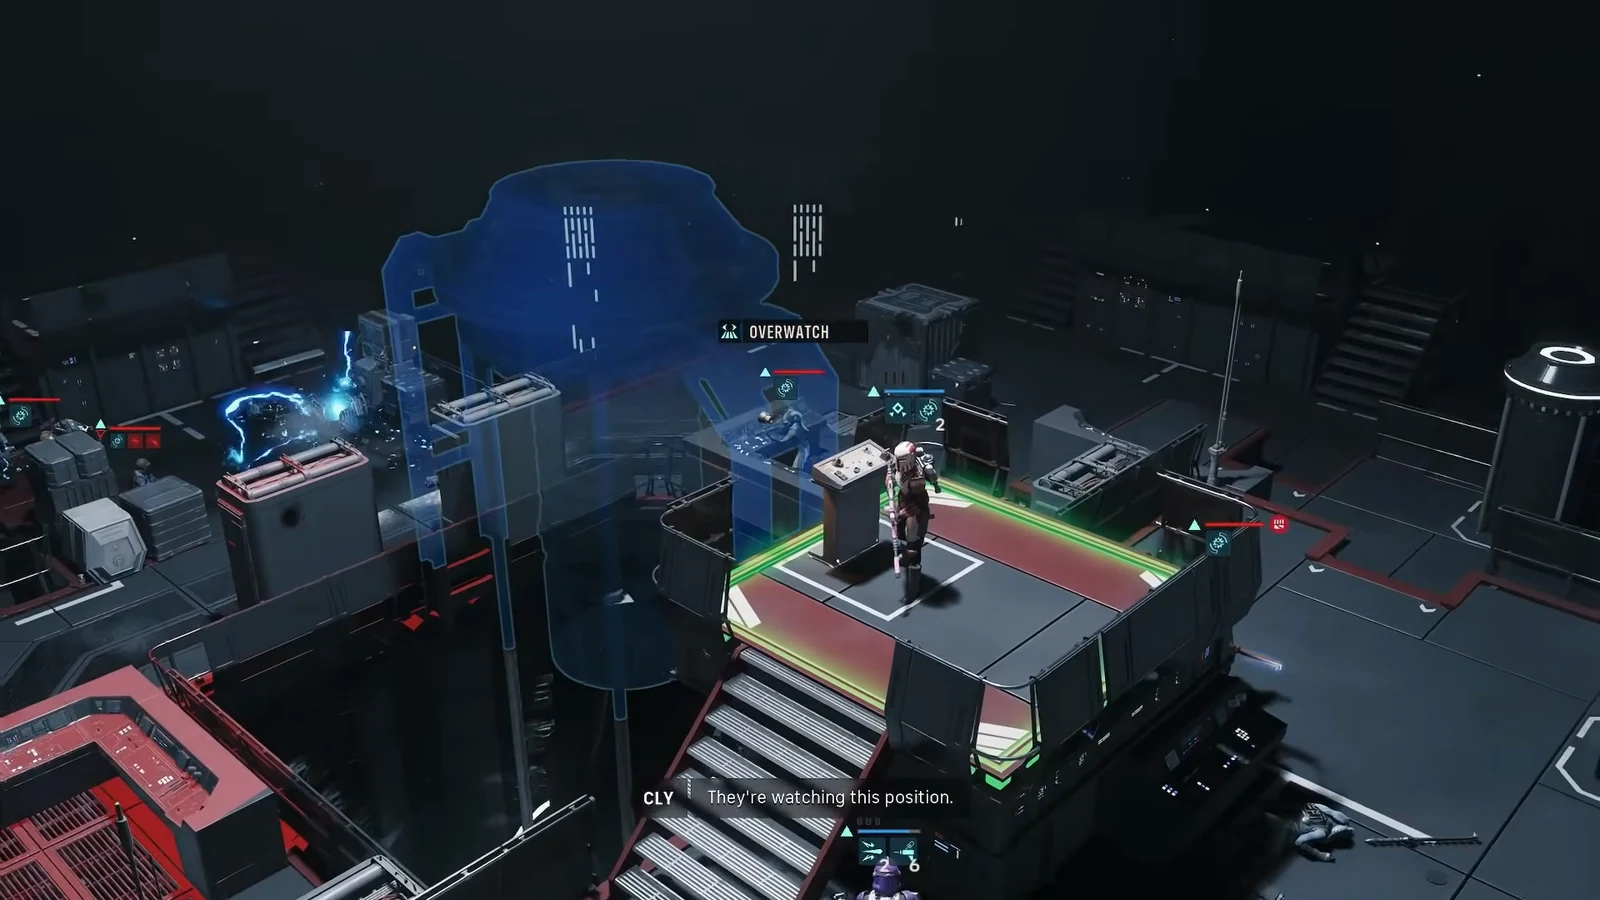
| Infiltration | Reach and slice the security terminal to locate Fathom. A datapad on the route carries the ARQUITENS RECALL memo. |
| Terminal defense | Hold the terminal through droid waves, then DEFEAT THE COIL FORCES to clear the platform. |
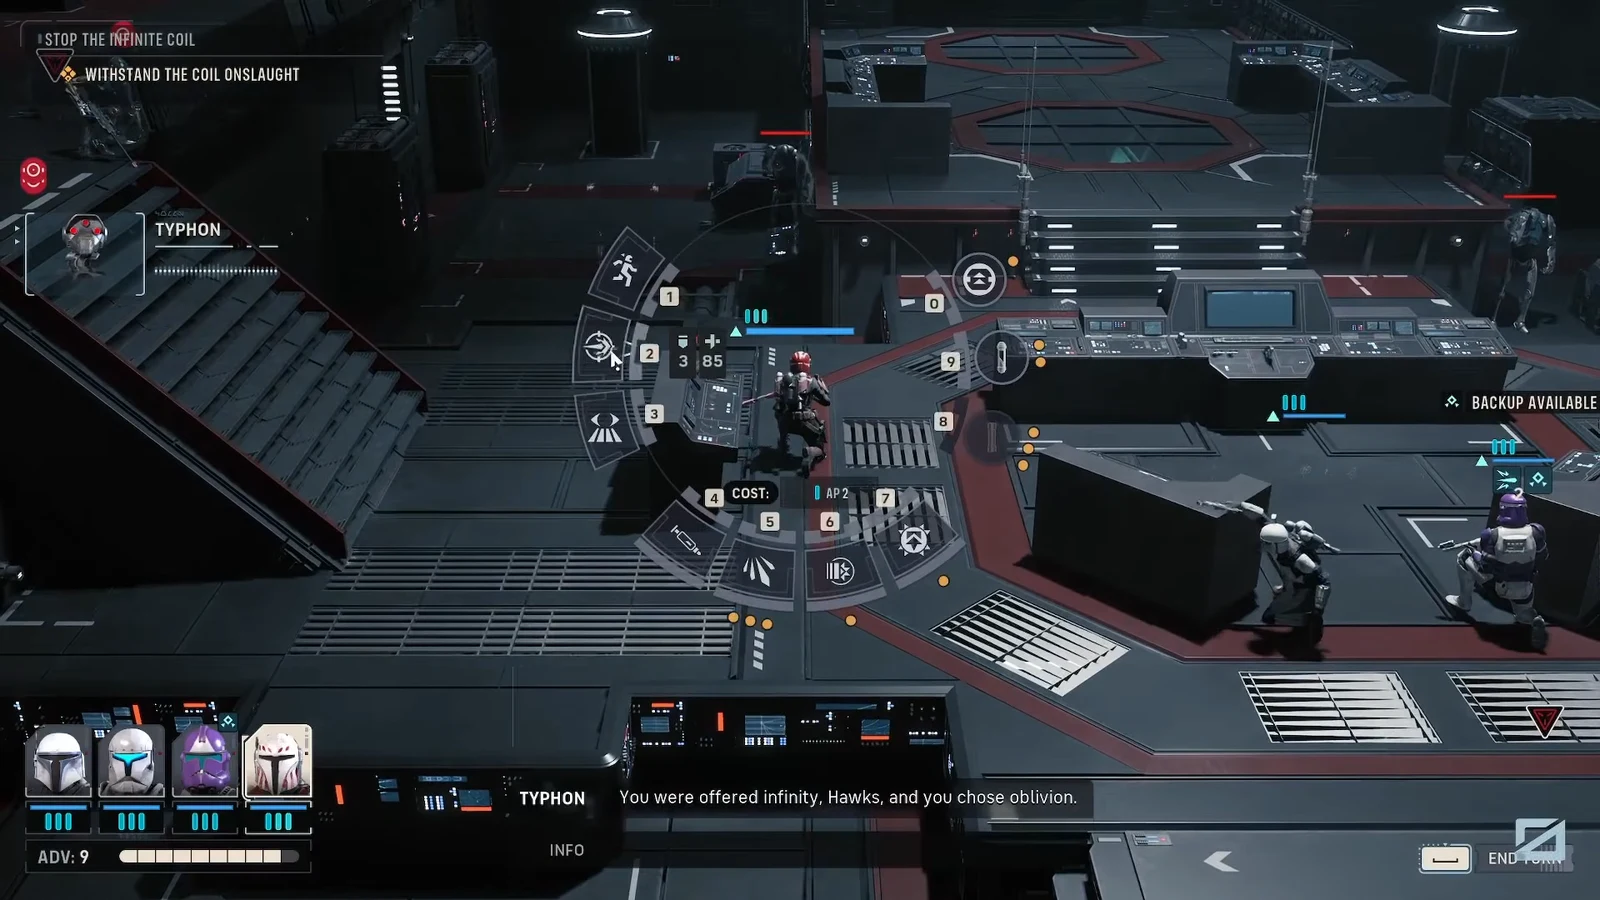
| Command mast | Activate the tractor beam console, then WITHSTAND THE COIL ONSLAUGHT against Typhon and his escort. |
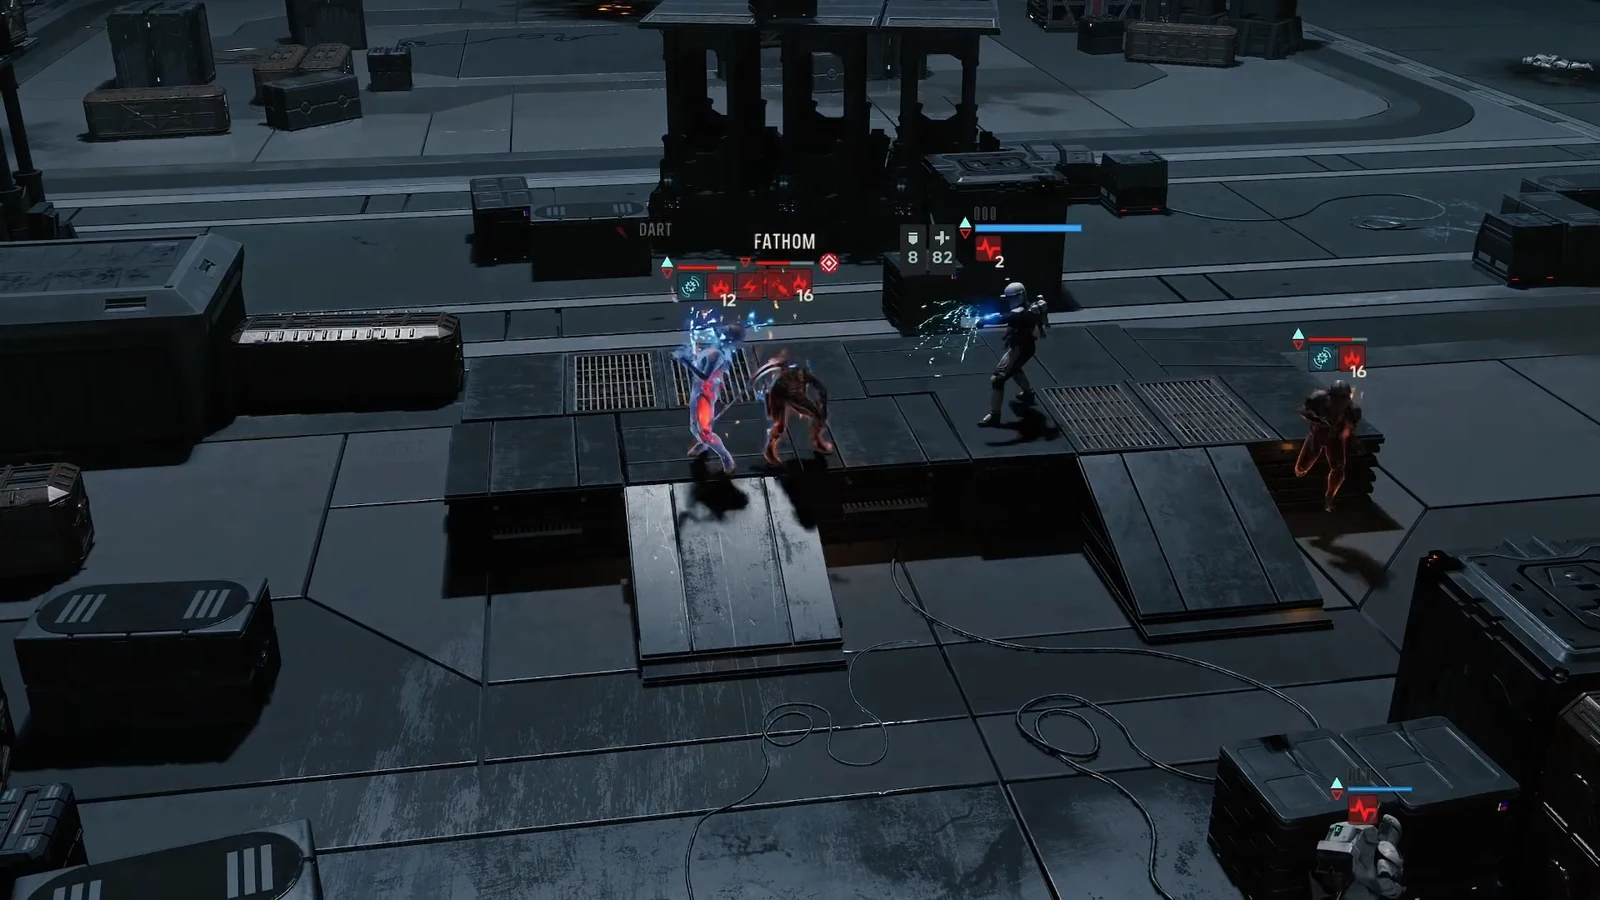
| Cruiser hangar | DEFEAT FATHOM aboard Bennic’s ship. Her guardians and infected clones can be ignored. |
Fight 1: Slice and Hold the Security Terminal
Fight 2: Typhon on the Command Mast
After the terminal, the route continues through the station to a turbolift up to the command mast. A large window along the way is worth inspecting for +10 intel. Hawks then activates the tractor beam console, Typhon taunts the squad over the screens, and the ambush begins.
Fight 3: Defeat Fathom in the Cruiser Hangar
With the mast secured, Runa confirms Fathom is aboard Bennic’s cruiser. The squad flies through the debris field, boards, and meets her in the hangar, where she fights with a staff weapon alongside Coil Guardians and infected clone troopers.
How to Confirm the Final Mission Is Complete
Fathom’s defeat plays out in cutscene rather than in a results screen. The parasite driving her leaves her body and disintegrates, which breaks her hold over the infected clones and cures Hawks. Bennic pulls Hawks up, then discards his Imperial rank badge and commits to Zero Company, while Ender and the surviving clones regain their own will and pledge to join.
Runa flags incoming Imperial ships and the squad withdraws, and the Mission Success screen appears with your tactical rounds, enemies defeated, damage dealt, and credits earned. From there the game moves to the epilogue at The Den, where you can talk to the crew and plan smuggling routes around Imperial checkpoints at the holotable before the credits run.
Common Reasons the Final Mission Stalls
- The slice keeps resetting. An enemy reached melee range of the operator on the terminal. Keep a guard adjacent and kill anything that closes in on the same turn.
- Typhon’s fight will not end. Killing the boss is not enough. Every droid on the command mast has to be destroyed.
- Operators drop early against Typhon. Damaging him triggers a retaliation order, and the snipers grow stronger every turn they survive.
- Your own squad takes heavy damage in the hangar. Hawks was standing close enough to be turned against the team by Fathom.
- The run ends outright. Hawks has to survive the operation, so a fallen Hawks means restarting the encounter.
The Infinite Coil rewards preparation more than improvisation. Build bonds and gear during the cycles before it unlocks, bring a squad that can delete a crowded room in a single round, and treat each of the three encounters as a resource problem rather than a damage race. Play it that way and the last stretch on Bardan runs cleanly through to the epilogue at The Den.





