Windows 11 powers down idle hard drives to save energy, which is why a disk can vanish from Task Manager and then take a second to spin back up the moment you open a file. If those pauses keep interrupting downloads, backups, or large transfers, you can switch the behavior off in Power Options by changing a single value.
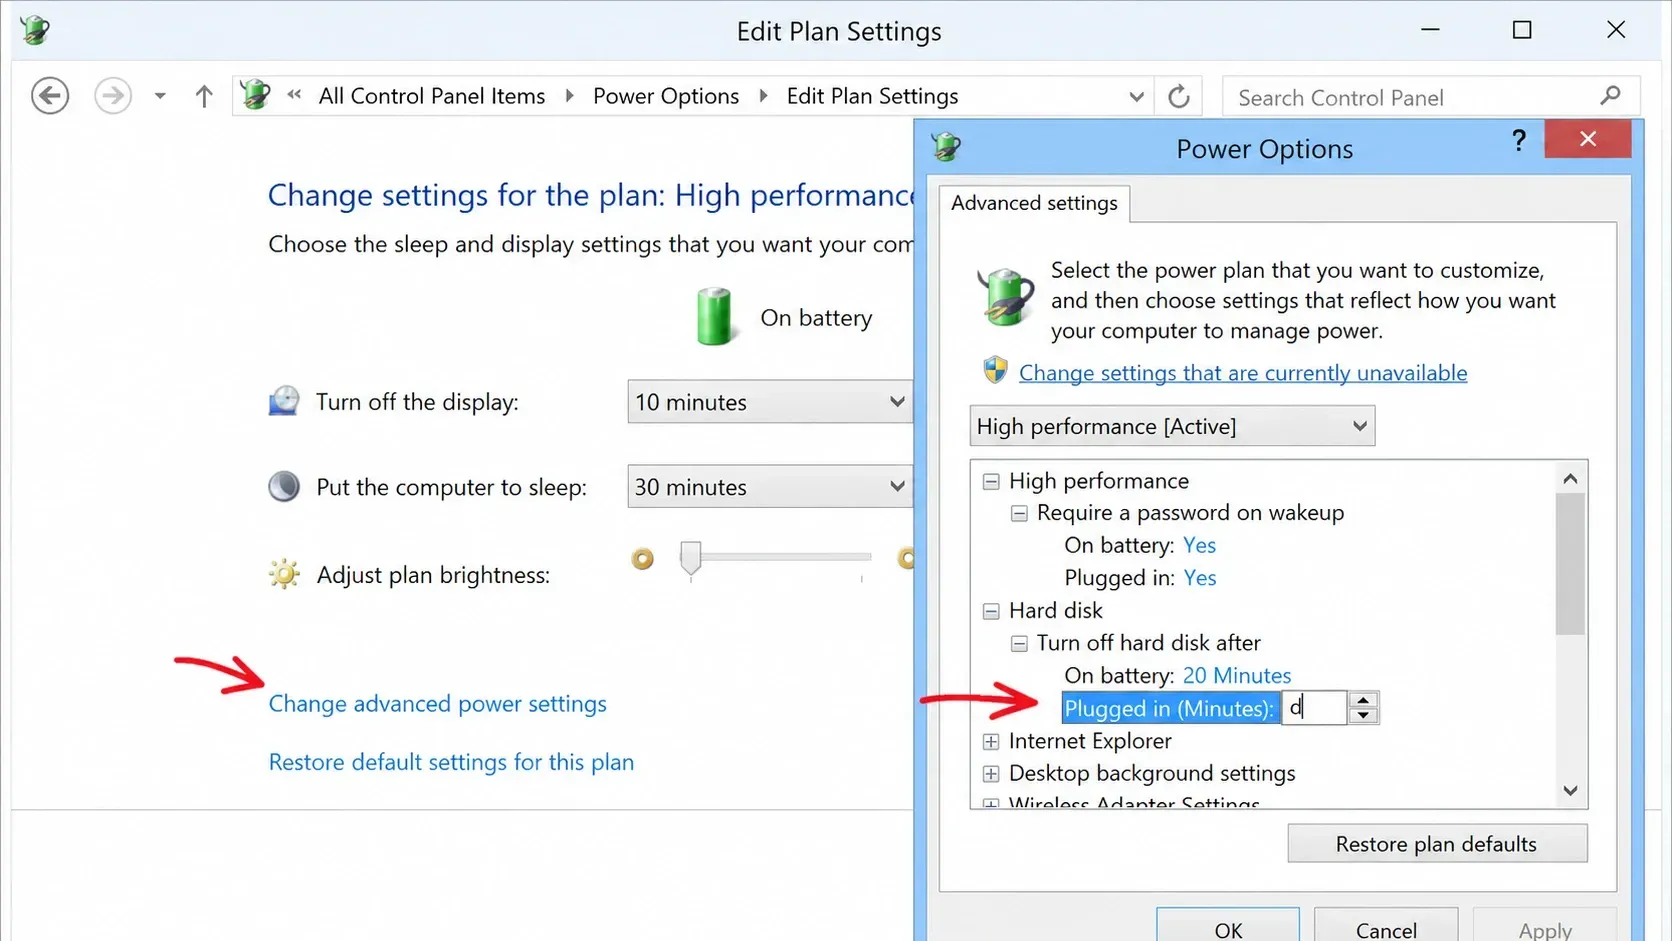
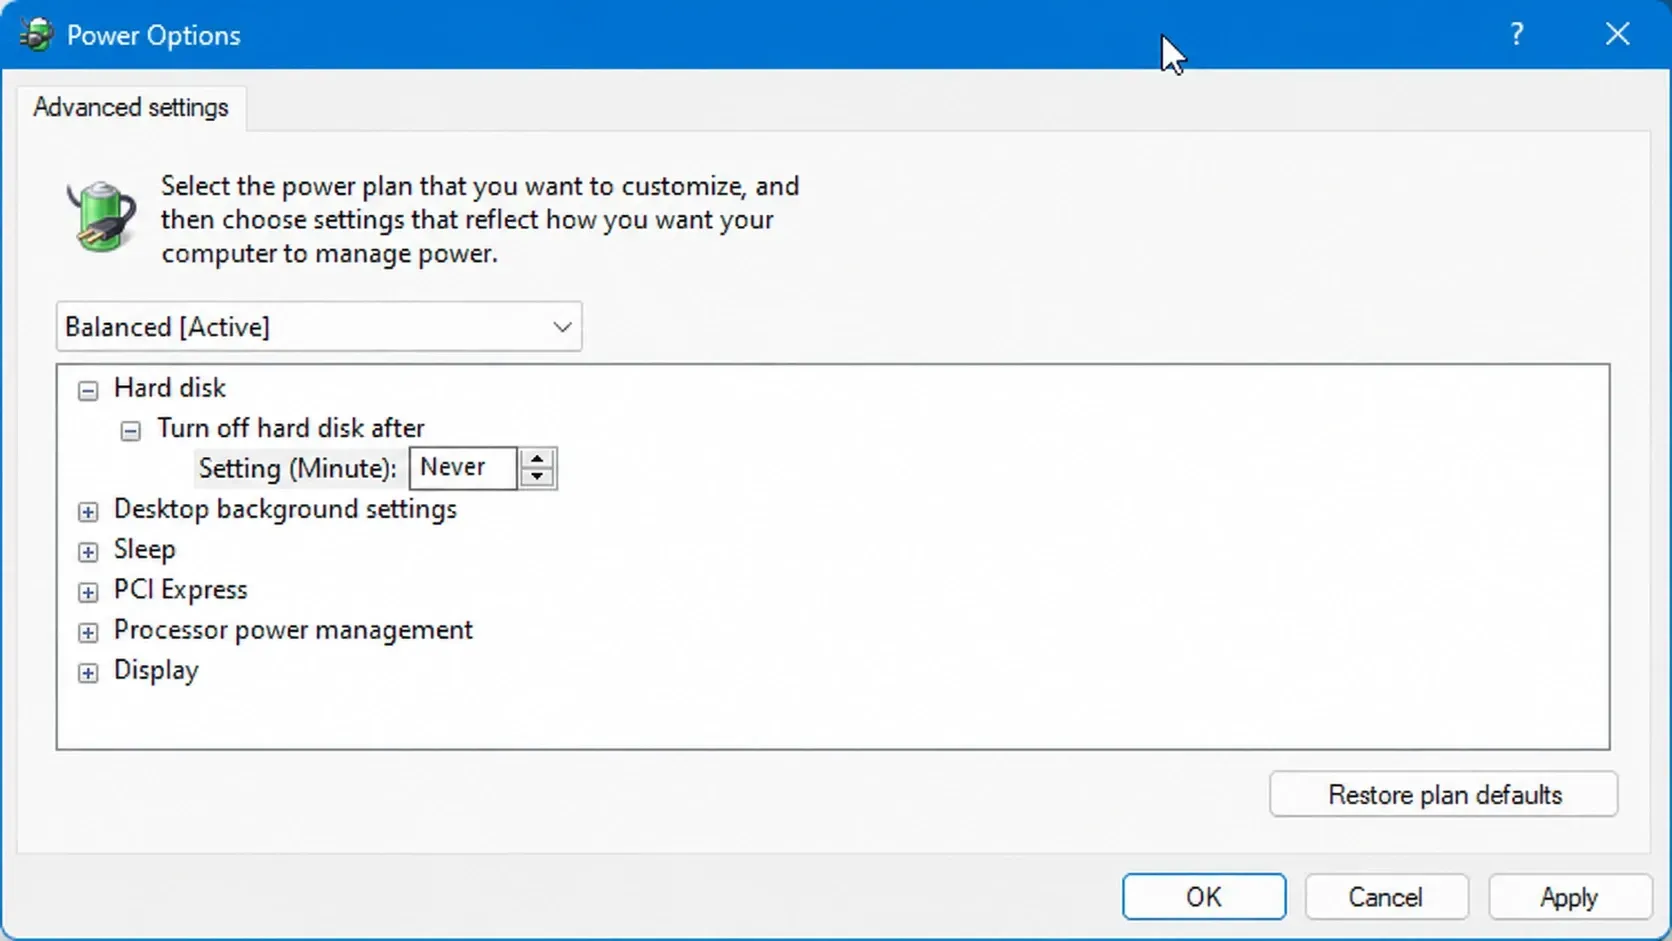
Quick answer: Open Power Options, go to Change advanced power settings, expand Hard Disk, and set Turn off hard disk after to Never (or type 0). Click Apply and OK. The drive will stay awake.
How the hard disk sleep setting works
Sleep is a power-saving state that lets the system return to full operation quickly when you start working again. The same logic applies to storage. When the PC idles, the power plan stops the drive unless something triggers a wake-up call, and this affects both mechanical hard drives and SSDs.
By default, the Turn off hard disk after value is set to 20 minutes. After that window of inactivity, the drive drops into a low-power state. Raising the value, or setting it to Never, keeps the disk available so there is no spin-up delay when you access it.
One thing to keep in mind: a setting change takes effect over the full idle window. If you set the timer to 20 minutes, the drive only powers down after 20 minutes of no activity, not after one. Testing it correctly means waiting out the timer you actually configured.
Change “Turn off hard disk after” in Power Options
This method covers your primary and secondary internal drives. Newer Windows 11 builds show the same option, except the value reads as Never instead of a number of minutes.
You know it worked when the drive no longer disappears from Task Manager during idle periods and there is no spin-up delay when you open files on it.
Tip: On a laptop you will usually see two fields, one for On battery and one for Plugged in. Set both to Never if you want the drive to stay awake regardless of power source.
Stop an external USB hard drive from sleeping
External drives often ignore the Power Options change and spin down after only a few minutes. The fix is in Device Manager, where USB power management can override the power plan.
control.exe powercfg.cpl,,3Note: You must repeat the Device Manager steps for every USB storage device you connect, since the setting is per device.
When the drive still spins down
Some external USB drives keep sleeping after roughly four to five minutes even with every Windows setting changed. That is because many enclosures manage power in their own firmware, independent of the operating system. There is no guaranteed Windows-only switch for those cases.
The workaround is to keep the drive busy on a schedule so its idle timer never reaches zero. A small periodic access does the job without forcing the platters to stay spinning all the time.
| Approach | What it does | Trade-off |
|---|---|---|
Periodic read (e.g. a scheduled dir command) | Touches the drive so the idle timer resets | Needs Task Scheduler setup; drive letter changes break it |
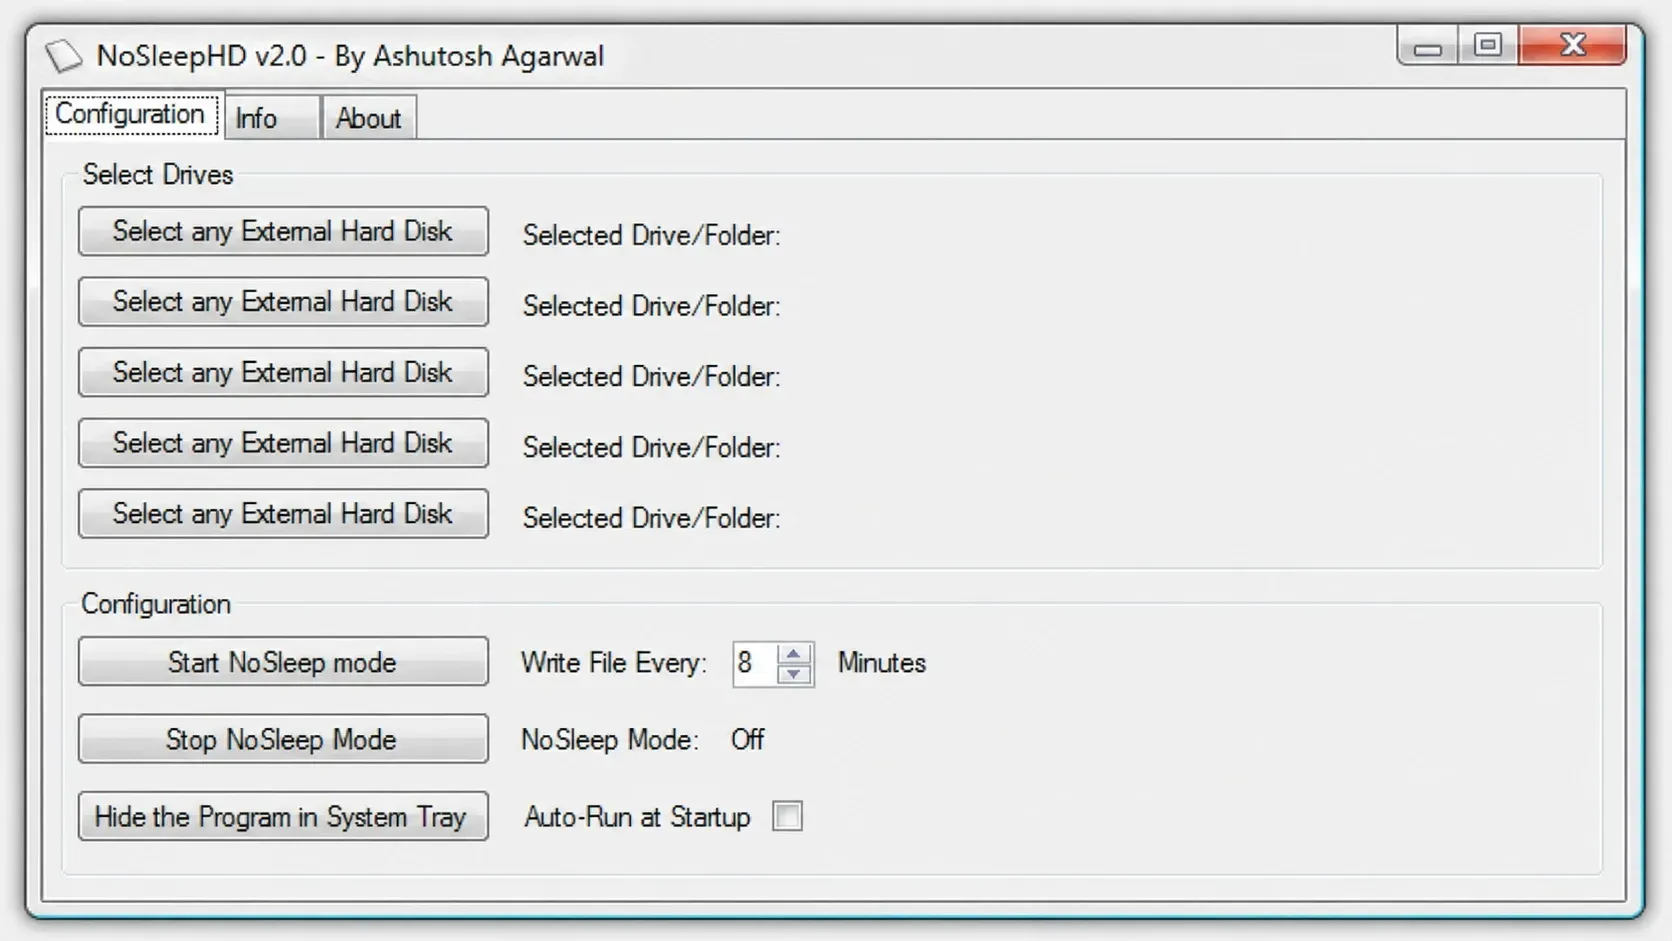
| Empty-file write tools (KeepAliveHD, NoSleepHD) | Writes a small file every few minutes to keep the disk active | Writes to the drive; won’t work if the disk is write-protected |
| Spin-up utility on a timer | Restarts the drive’s idle countdown | Keeping the disk spinning continuously can shorten lifespan on drives not rated for 24/7 use |
A scheduled task that simply checks for the drive’s root works well. Set the action to run cmd with arguments such as /c if exist e:\ (exit), replacing e:\ with your drive letter, and have it repeat at an interval shorter than the sleep timeout.
Periodically writing a tiny file does not measurably reduce a drive’s lifespan, so a keep-alive tool is a reasonable choice unless the disk is write-protected. Keeping the disk physically spinning around the clock is the option to think twice about, since rated spin hours vary by model and you can check the limit in the drive’s datasheet.
Leaving an external HDD plugged in full time is otherwise fine. Just avoid disconnecting it mid-task, because pulling a drive during a backup or file transfer can corrupt data.


