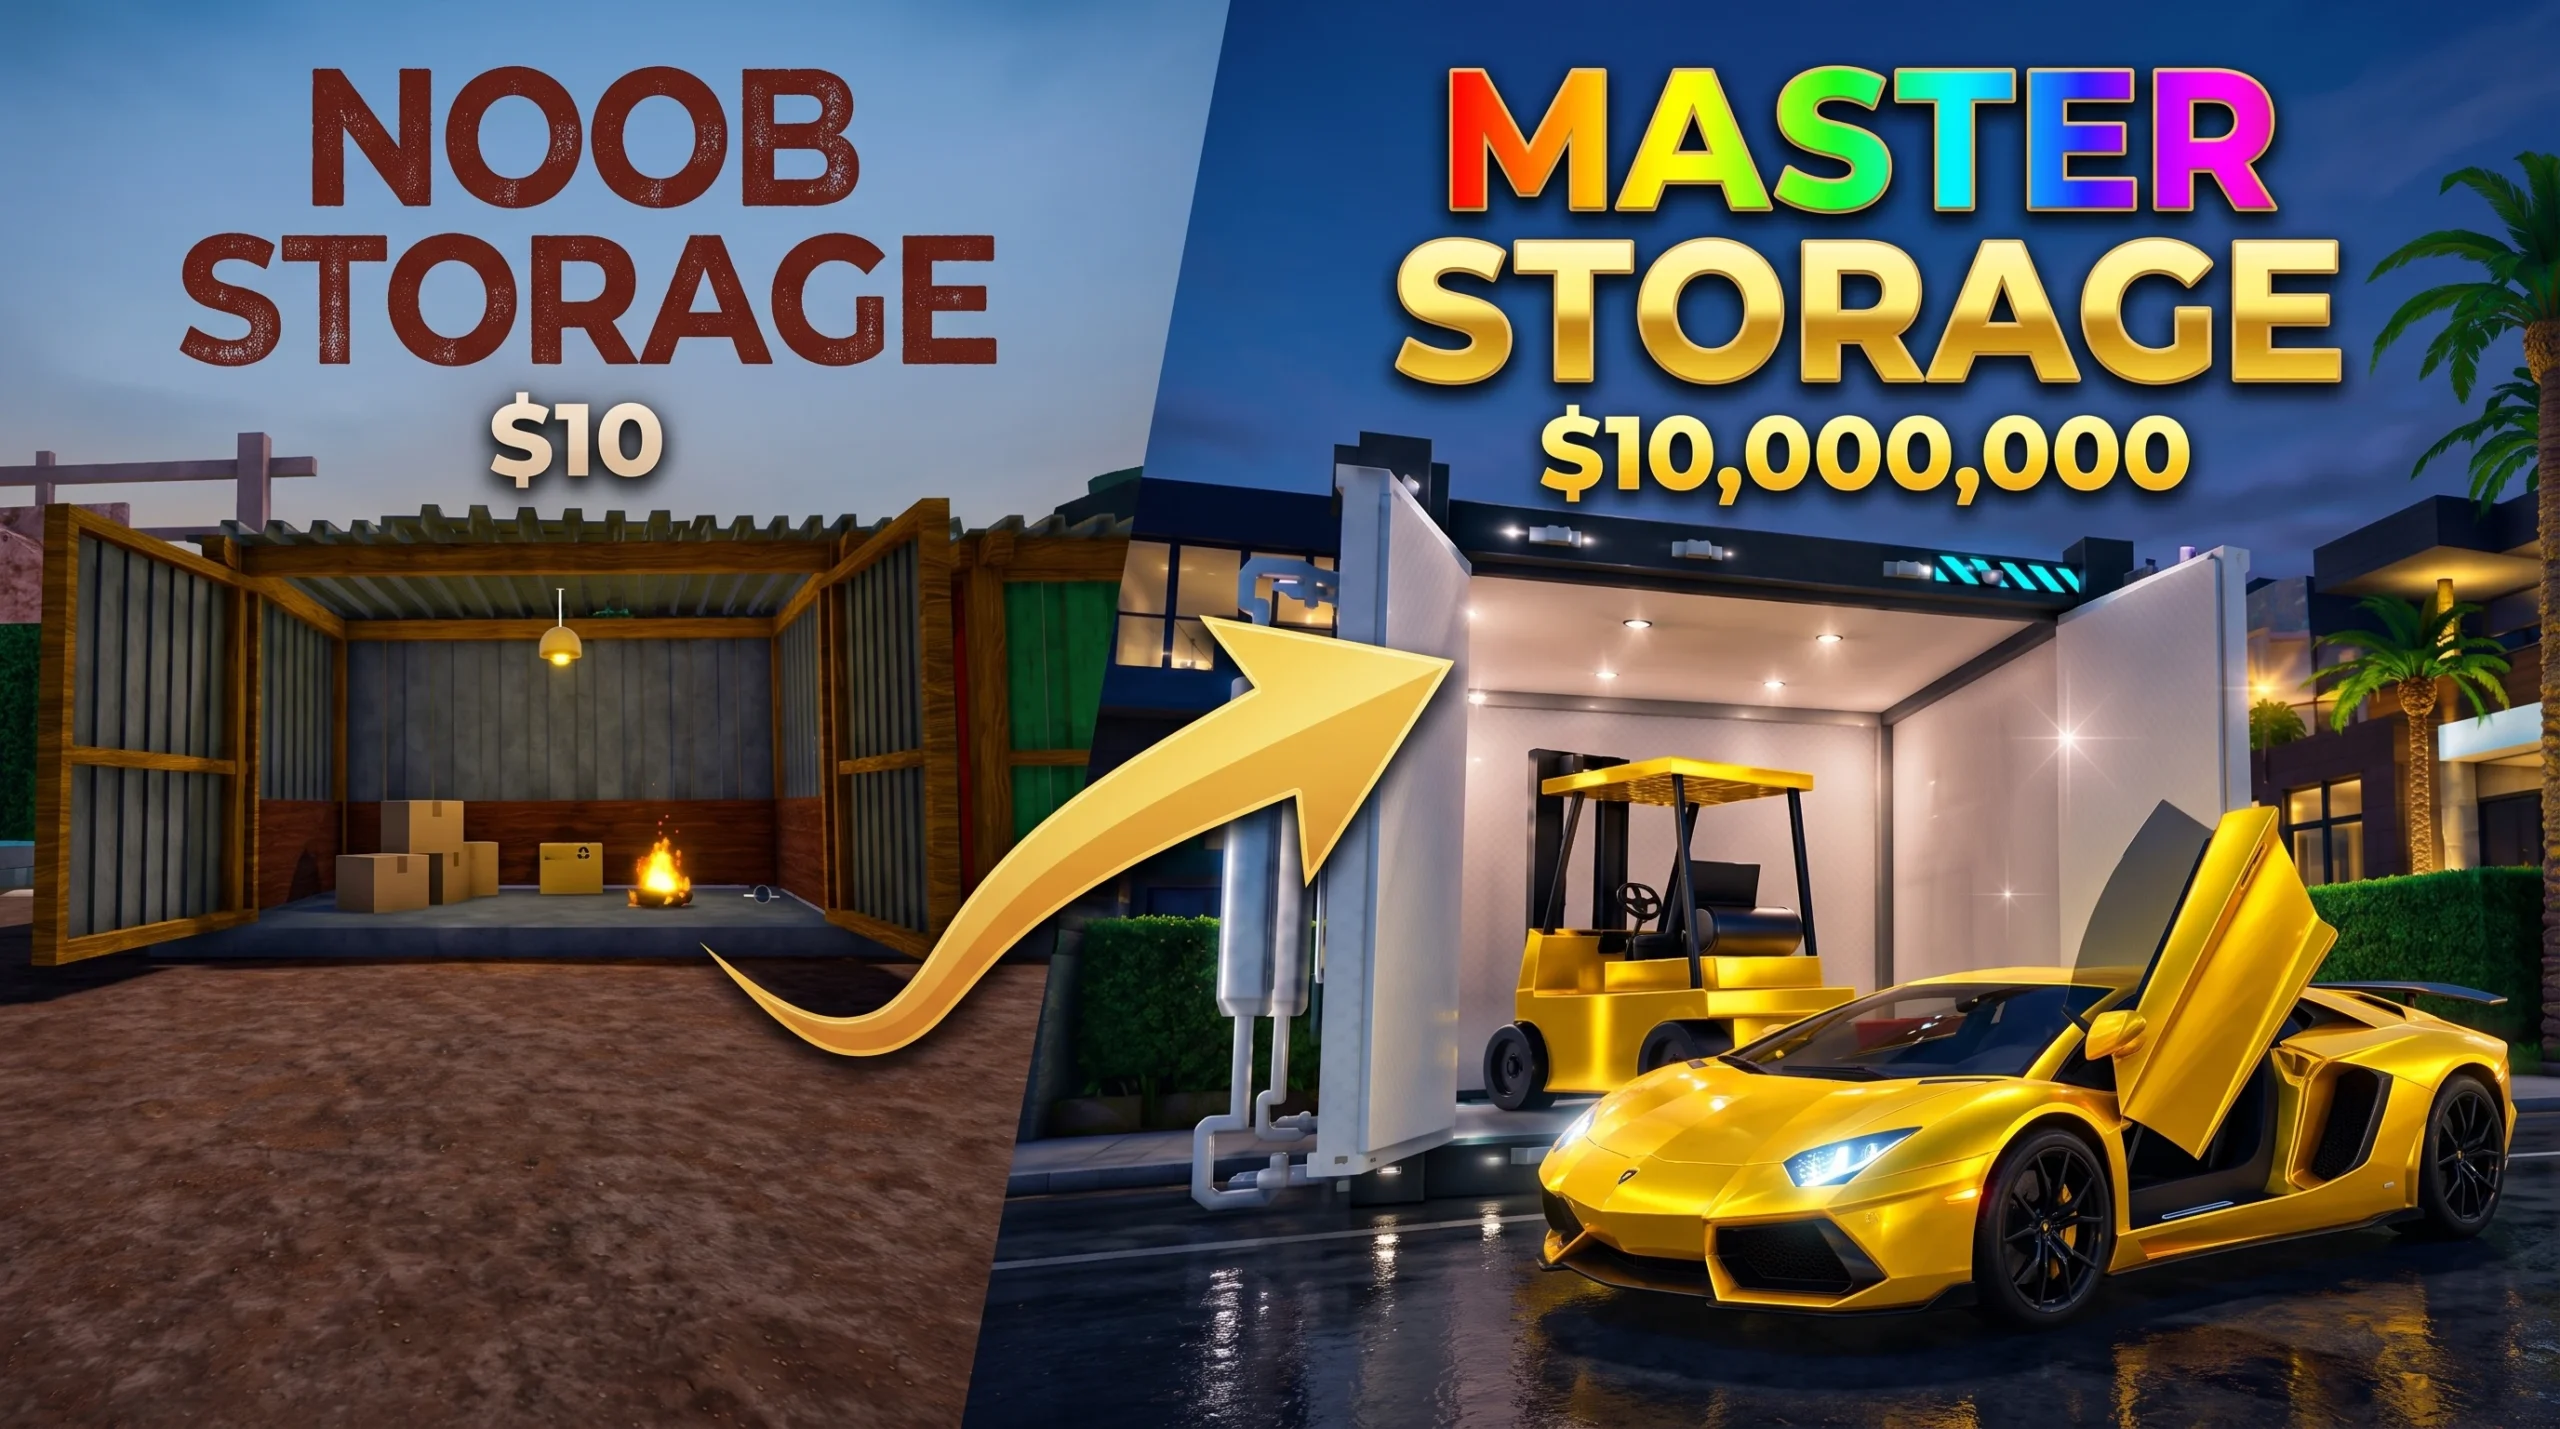
Money in Storage Hunters Open World comes from one repeatable loop: win a storage locker at auction, haul the items back to your plot, and sell them for more than you paid. The trick to reaching a large net worth is running that loop faster and with better lockers, not simply buying everything you see. Mutations, value-boosting services, and a short travel route do most of the heavy lifting.
Quick answer: Join a small or private server, place your shop next to the auction zone you are farming, skip low-value lockers, bid only on units with visible or high-value contents, and sell fast using grouped outdoor shelves plus a Shop Assistant set to about 15% Auto Accept. Prioritize Inventory and Selling Space upgrades so each run turns into cash quicker.
The core money loop
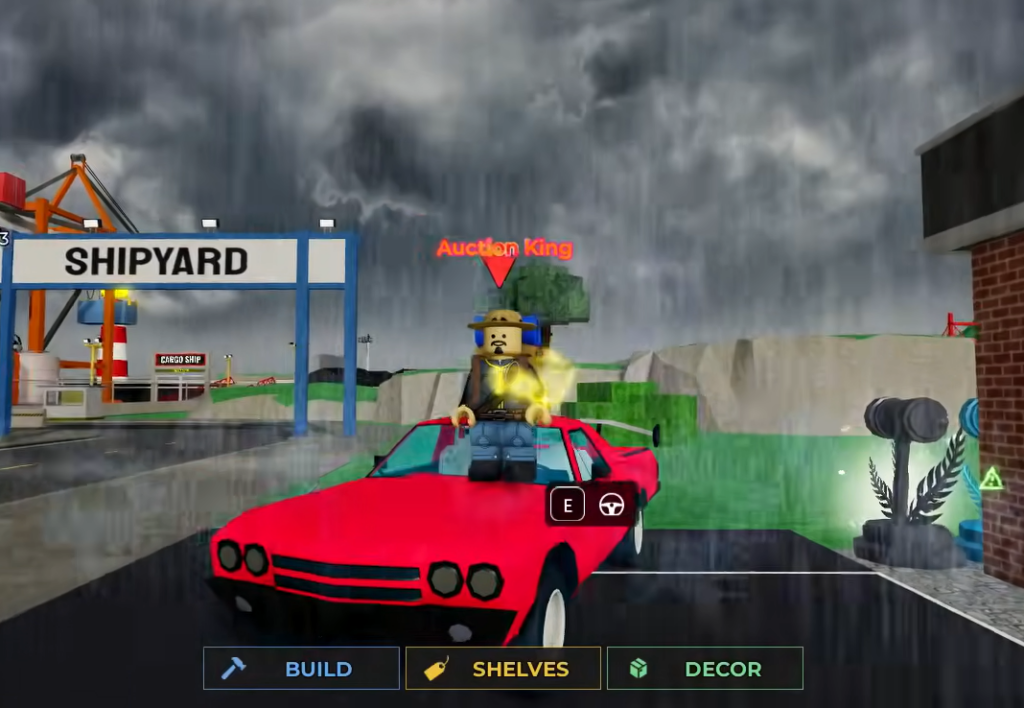
Every dollar you earn flows through the same cycle. Understanding each stage tells you exactly where you are losing time.
- Head to a container location and interact with an available storage unit.
- Pay the entry fee, inspect the open container, and decide whether to bid.
- Win the auction. Your items load automatically into your vehicle.
- Drive back to your plot and unload everything with a single click.
- Place items on your display slots and accept customer offers, or let an assistant sell for you.
- Reinvest the profit into upgrades and better zones.
The game rewards speed. Less walking means more auctions per session, better auctions mean better items, and faster selling means the cash returns sooner to fund your next bid.
Cut your travel time with server and shop placement
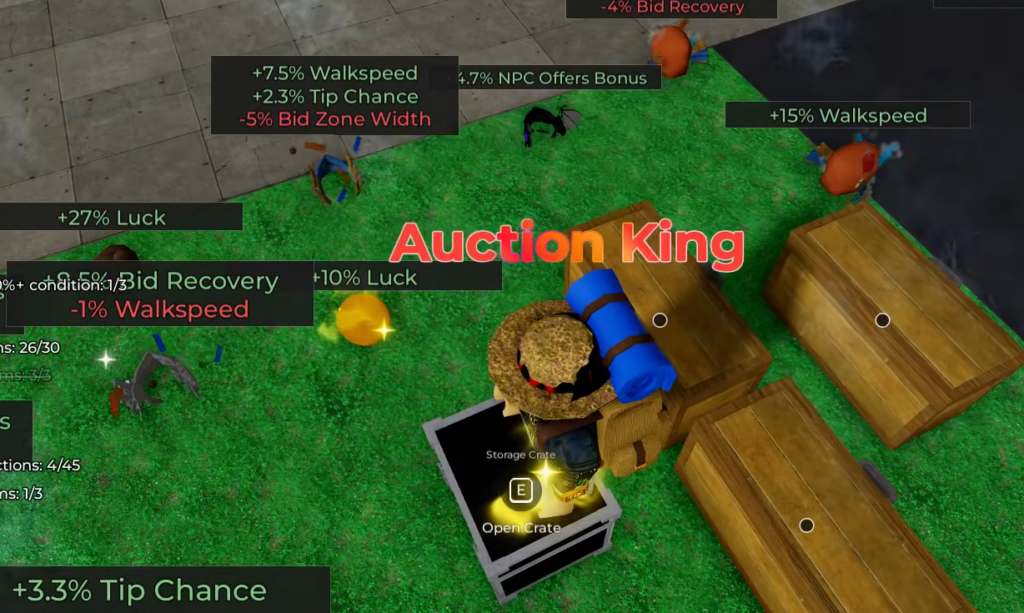
Shop location matters more than most new players realize. In a busy public server, the best plots are usually taken, so you end up placing far from the auctions you actually run. A small or private server lets you claim a plot right next to your farming zone.
The rule is simple. Your shop should follow your money source. If you are grinding the Junkyard, place near the Junkyard. When you move up to Farmyard or the Shipyard, move your shop with you. Shaving even 30 seconds off each trip adds up to roughly 10 minutes across 20 runs, which is another full auction cycle or two.
Bid on the right lockers, not every locker
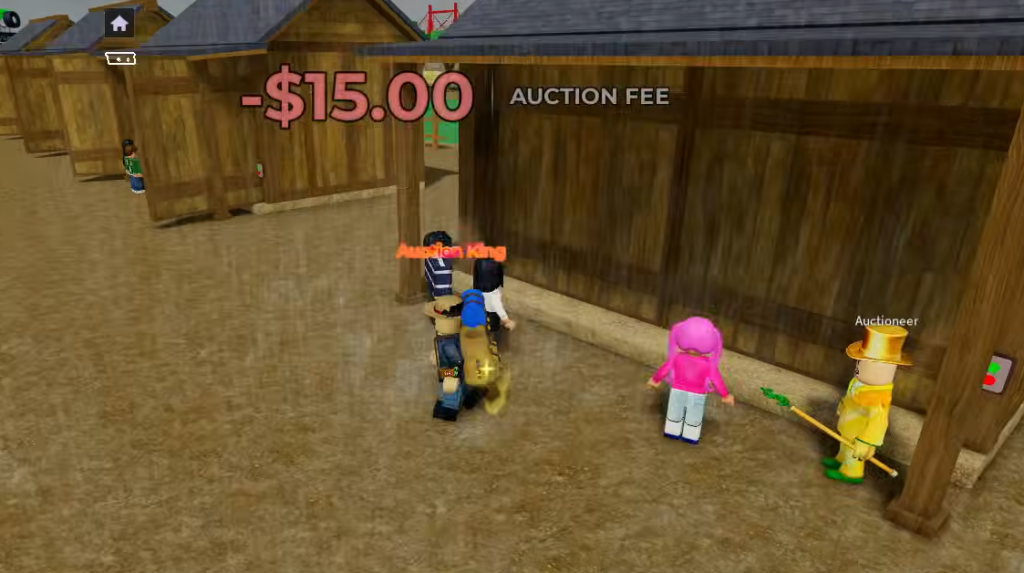
Cheap lockers feel safe, but many are full of low-value junk that clogs your inventory and shelves. Buying five weak units is worse than buying two strong ones, because every bad item still costs you carrying time, shelf space, and selling time. Watch the starting price and the visible contents before committing.
| What you see | Best move |
|---|---|
| Very low start price, junk items | Skip unless there is visible value |
| Higher start price, valuable items | Bid |
| Rare item clearly visible | Push harder |
| Price climbing too high | Stop and let it go |
| Unsure of the value | Walk away |
Bidding itself is a small timing minigame. A marker slides across a green bar, and you lock in your bid when the marker sits inside the highlighted zone. Miss the green area and the bid fails. Do not ego-bid against another player who is overpaying, because a locker is only good if you can resell it for more than you spent.
You can also stack advantages during an auction. A calculator estimates a unit’s total value, X-Ray Vision reveals what is inside a container, and kicking rival NPC bidders thins out the competition before you commit.
Mutations are the biggest value multiplier
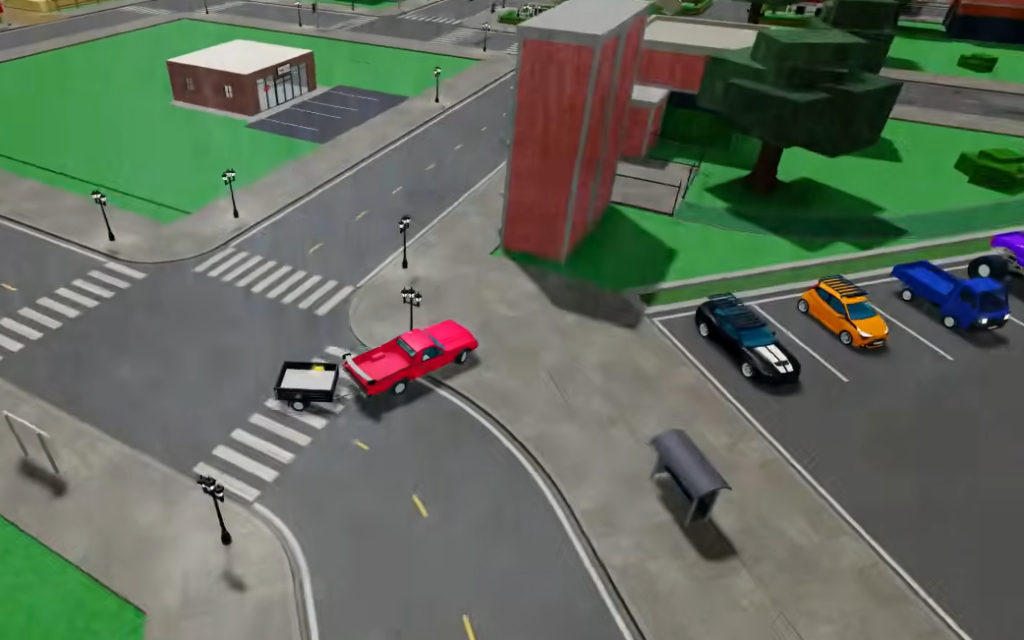
The fastest way to a large payout is landing items with mutations. Mutations are special effects that raise an item’s selling price, and the rarest ones multiply value dozens of times over. Gold, Diamond, Void, and Rainbow are among the sought-after types.
Mutations also stack. A single item can carry several effects at once, and their multipliers combine, which is how one find can be worth more than an entire ordinary haul. Some mutations are tied to weather events, while others can be applied later through features such as the Time Capsule.
Raising your luck before an auction improves your odds of finding valuable or mutated items. Consumables from the Energy Café can boost luck by up to 50%, which is worth using before a run into a high-value zone.
Raise item value with Shopping Mall services
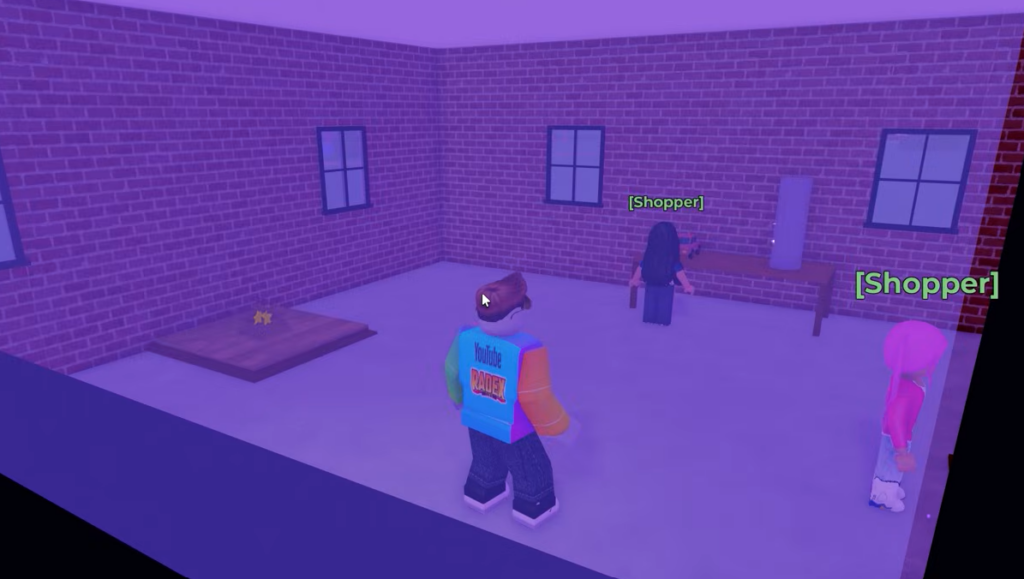
Before you sell, several services can turn a mediocre item into a much better one. Most are free and only cost you a short wait, which you can skip with Gems.
| Service | What it does |
|---|---|
| Grading Shop | Assigns a grade that can raise or lower value. Free, but rarer items take longer. |
| Cleaning Service | Removes the Dirty mutation for free in seconds to minutes. |
| Locksmith | Opens safes to reveal the valuable rewards inside. |
| Repair Shop | Restores broken items, which sell for far more repaired. A Wrench item does the same. |
| Quicksell NPC | Sells unwanted items instantly for immediate cash. |
| Energy Café | Sells consumables that temporarily boost stats such as luck. |
Sell faster with shelves and an assistant
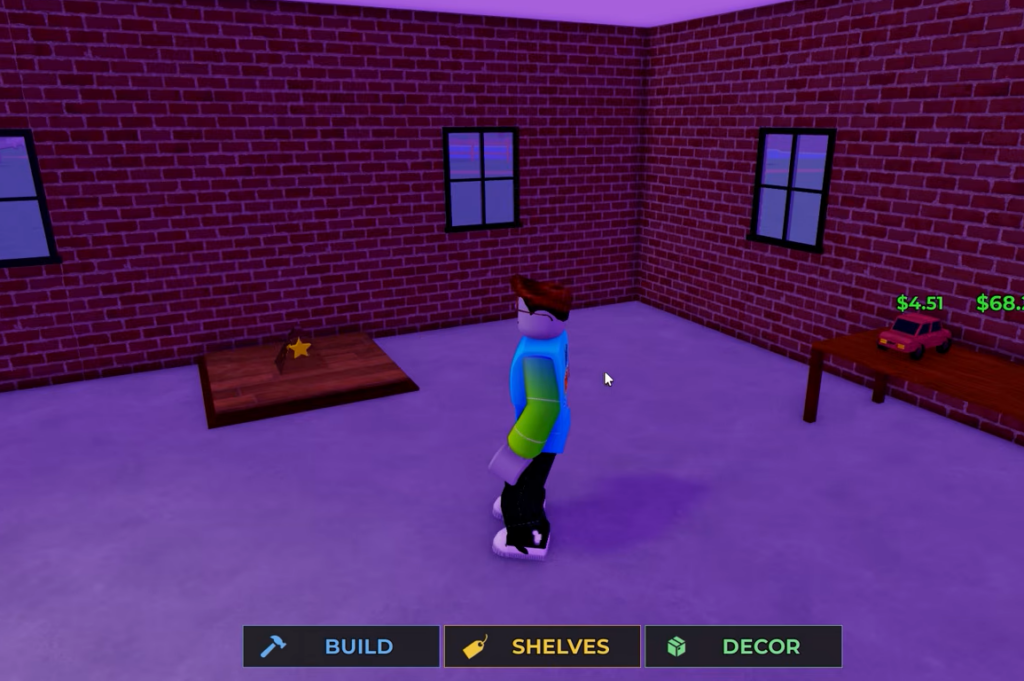
After shop location, shelf layout is the next big speed boost. Keep shelves outside and grouped tightly together so you have a clean drop-off zone instead of a furniture maze. A spread-out or decor-blocked layout costs a few seconds on every single item, which quietly wastes minutes over a full session.
Once your shelves fill up, hire a Shop Assistant for 100 Gems from the upgrades menu. The assistant sells items automatically at the profit margin you set, even while you are away. For general grinding, set Auto Accept to around 15%. That moves items quickly without giving away too much value.
| Auto Accept setting | Selling speed | Profit per item |
|---|---|---|
| Very low discount | Slow | Higher |
| Around 15% | Balanced | Good |
| High discount | Fast | Lower |
Collect Lost Items early for free momentum
New players should grab Lost Items as soon as possible. They hand out early rewards with no bidding risk and no auction losses, which helps your account scale before you can afford strong lockers. Typical payouts include money, diamonds for upgrades, luck boosts, and collection progress. It is one of the safest early power boosts in the game.
Upgrade priority for faster runs
Spend upgrade currency on whatever is slowing you down most, not randomly. Fix the current bottleneck, grind again, then fix the next one.
| Priority | Upgrade | Reason |
|---|---|---|
| 1 | Inventory Space | Carry more per trip and cut return runs |
| 2 | Selling Space / Shelves | Sell more items at once |
| 3 | Assistant Upgrades | Reduce manual selling work |
| 4 | Price Tags | Smoother shop flow |
| 5 | Luck Boosts | Better item quality |
| 6 | Decor Bonuses | Useful once the basics are handled |
Zones and net worth requirements
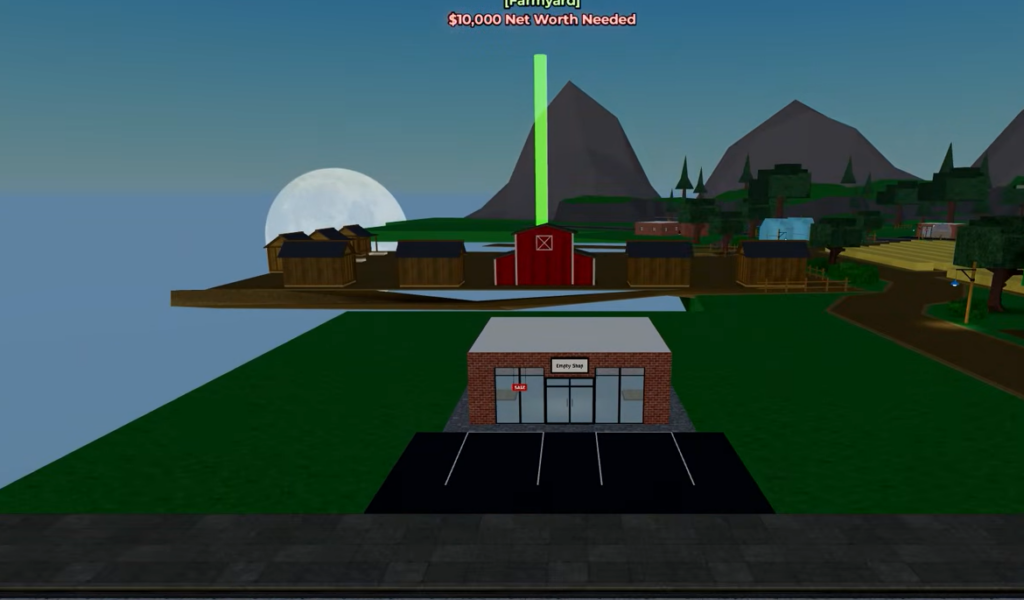
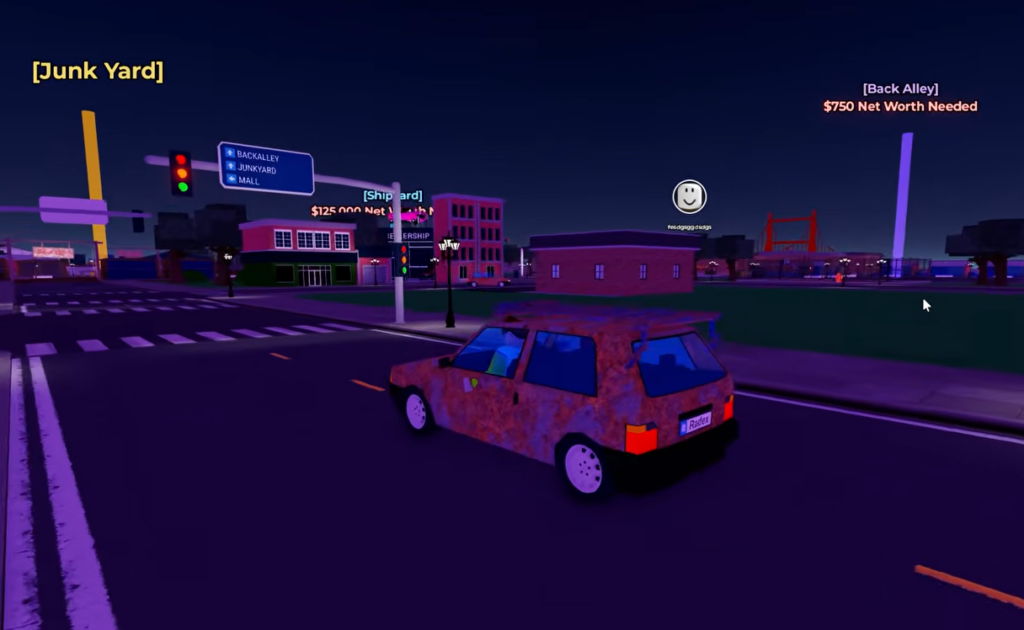
New container locations unlock as your net worth rises, and later areas generally hold better and more expensive loot. Move up only when your budget can handle higher bids and still keep backup cash. If one bad unit can bankrupt you, you moved too early.
| Location | Net worth to unlock |
|---|---|
| Junkyard | Unlocked by default |
| Back Alley | $750 |
| Cargo Ship | $7,000 |
| Farmyard | $10,000 |
| Shipyard | $125,000 |
Vehicles support both goals here. They move you around the map and carry everything you win. Ten vehicles are available from the Auto Dealership, and newer ones offer more storage and better performance, making it easier to haul large loads from the higher zones.
Mistakes that keep players poor
| Mistake | Fix |
|---|---|
| Shop placed far from the auction zone | Move it next to where you farm |
| Buying every cheap unit | Only bid on visible value |
| Overbidding to win | Set a limit and stick to it |
| Ignoring Lost Items | Collect them early |
| Messy, spread-out shelves | Group them outside |
| Random upgrades | Upgrade your current bottleneck |
| Staying in a weak zone too long | Move up once you profit easily |
Reaching millionaire status comes down to discipline more than luck. Keep your route short, buy fewer but stronger lockers, lean on mutations and repair services to raise value, and let a well-set assistant clear your shelves while you bid. Once that loop is tight, each session compounds into more money, better upgrades, and a steadily higher net worth.