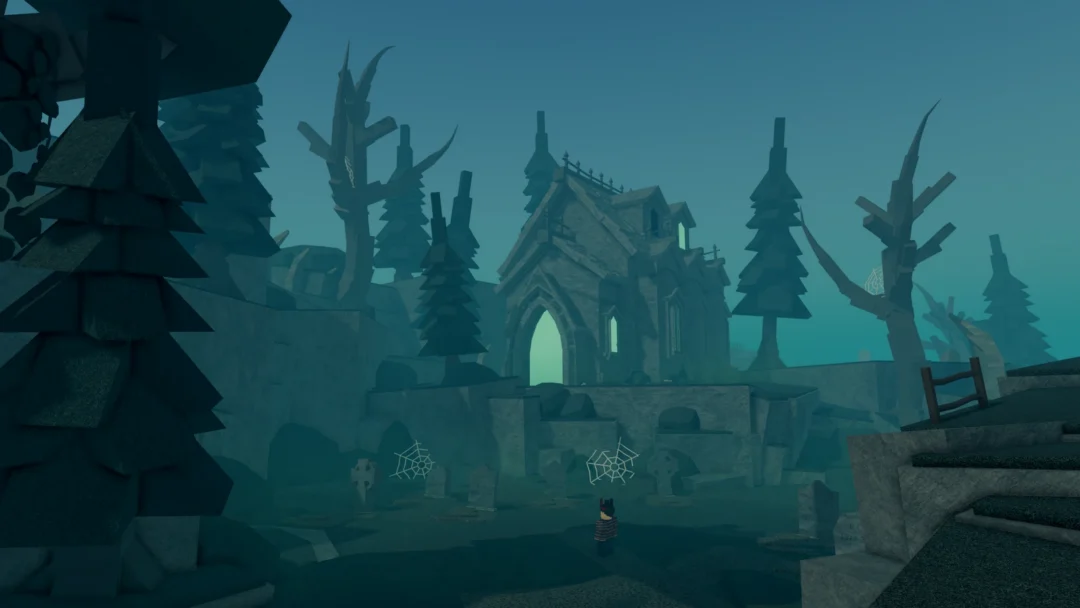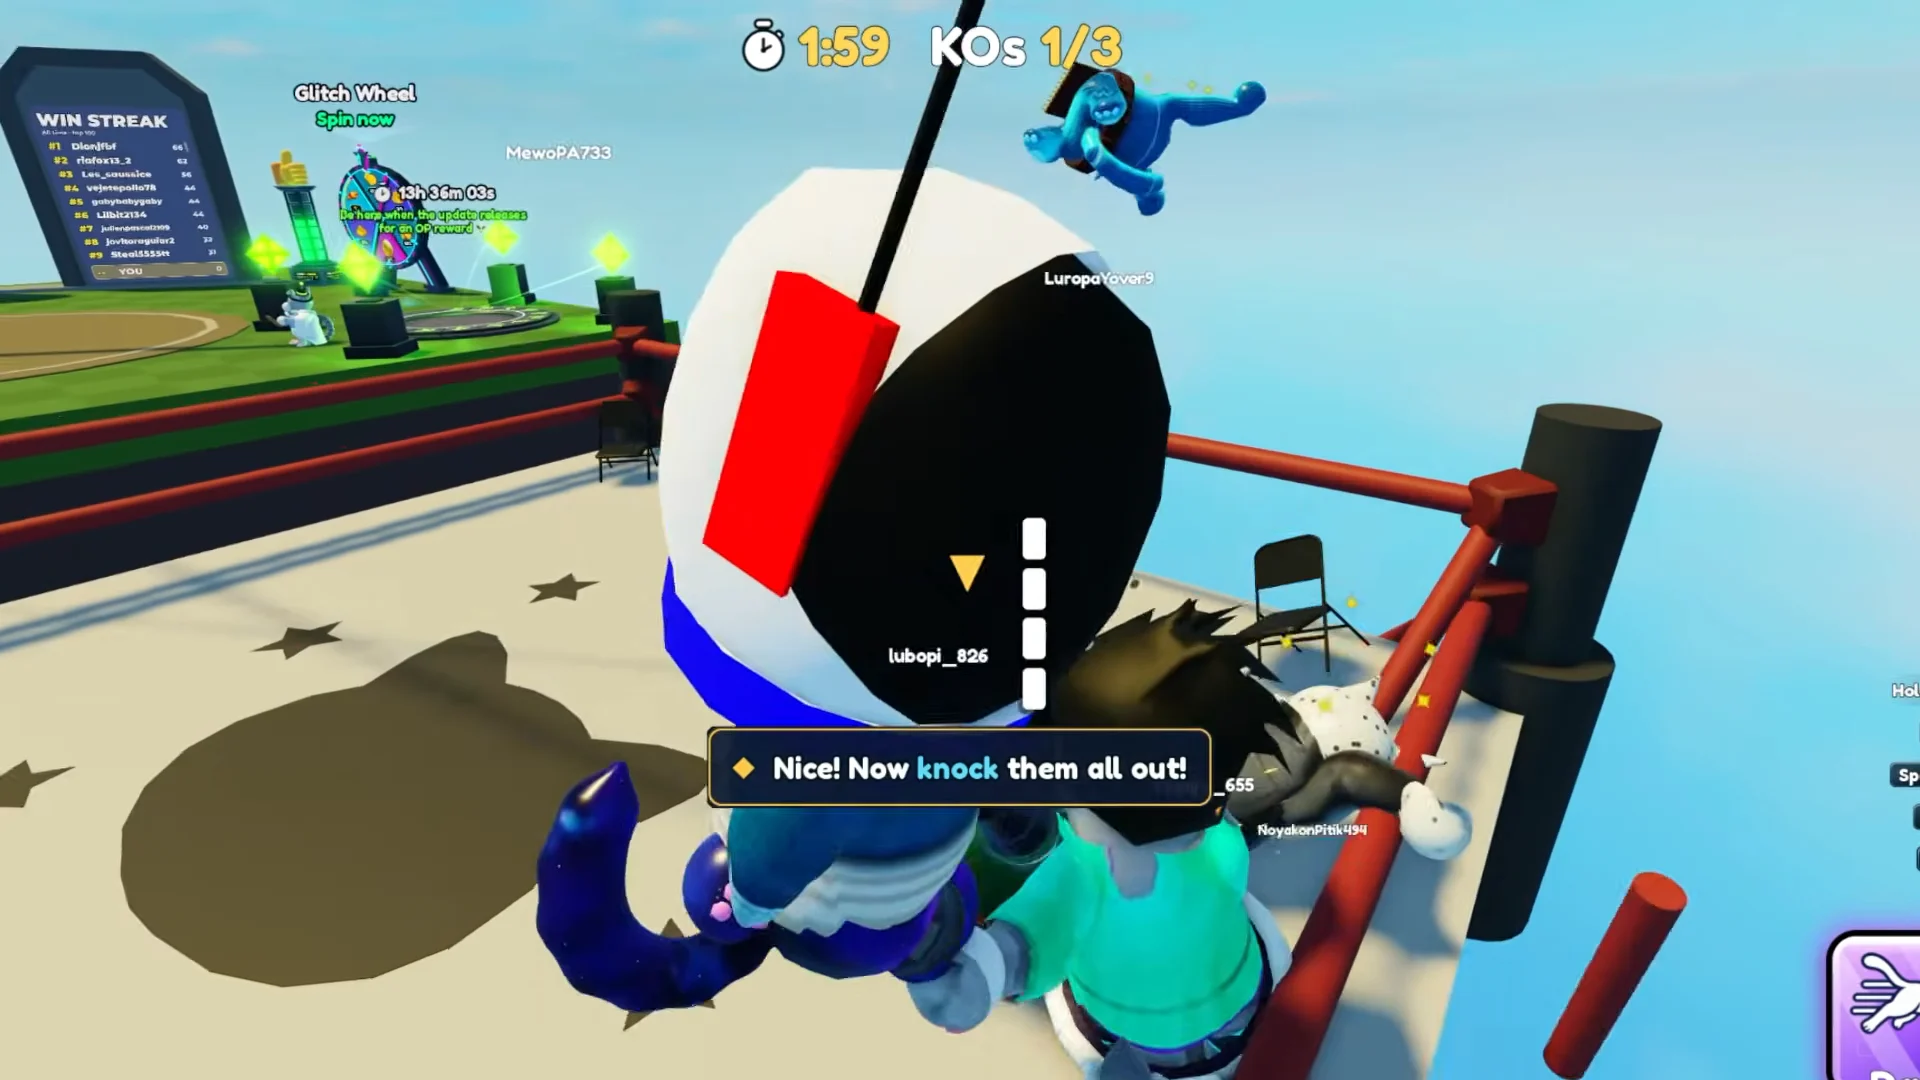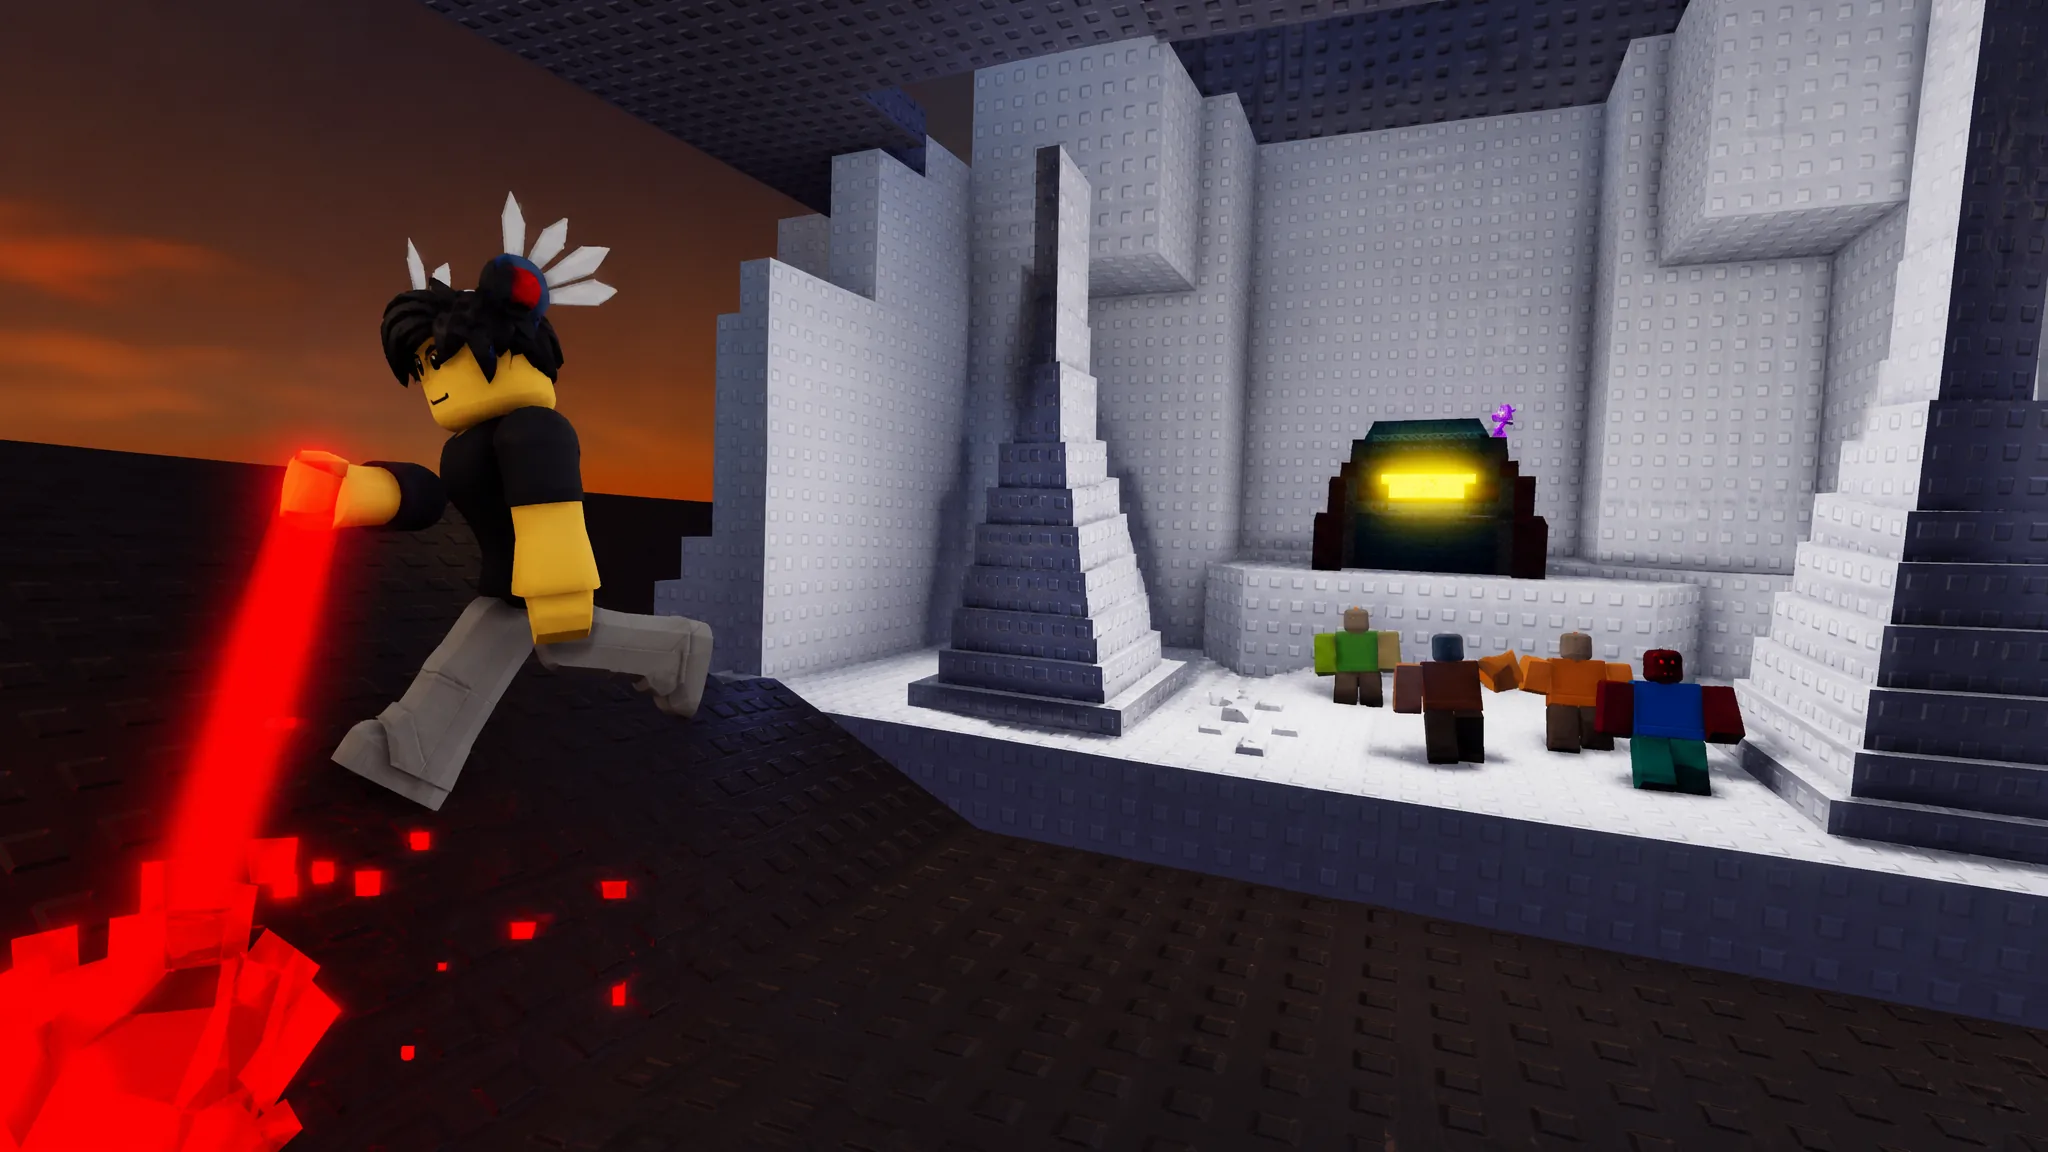
Ground zombies in Survive Zombie Arena cannot attack a player who is standing on a roof, perched on a pillar, or clipped inside the map’s geometry. That single rule is what every working glitch relies on. By reaching one of these positions, you can leave your drones and turrets to farm credits, pirate crates, materials, and wave progress with almost no risk.
Quick answer: Equip the Bastion class, farm 1,000 crystals in a match, buy a Shelter, place it flush against a wall or pillar, then walk in and out of it repeatedly to launch high onto the structure. Once you are on top of it or clipped behind it, zombies below cannot reach you.
What you need before attempting any glitch
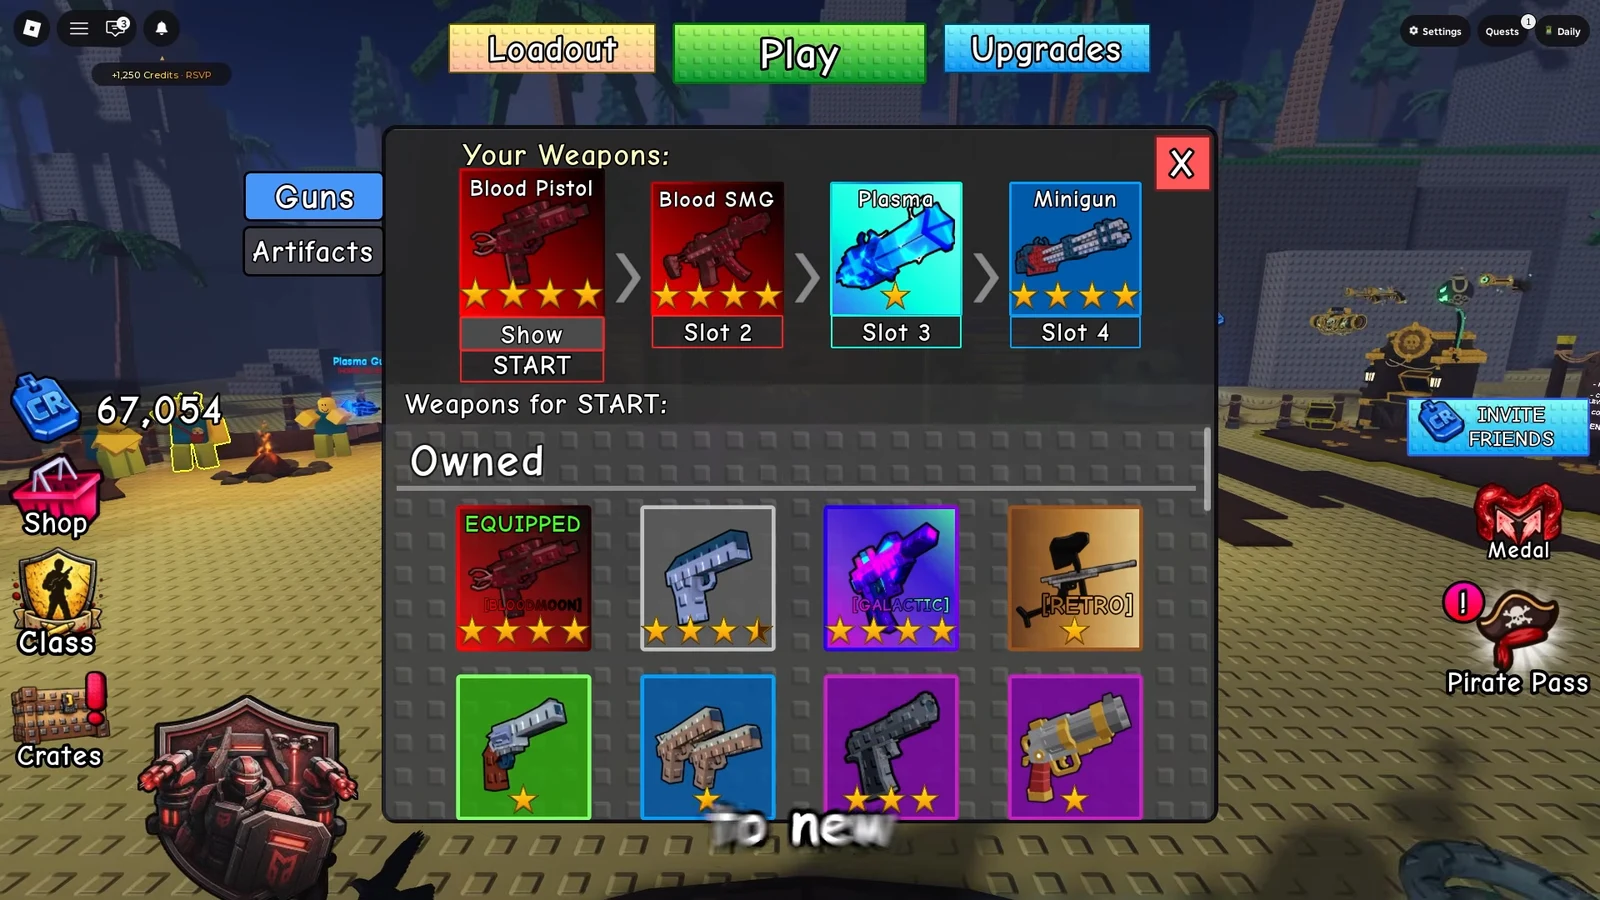
Most of these spots depend on the Bastion class and its Shelter ability. The Shelter is a placeable fortress that makes anyone inside invincible, regenerates health, and grants a damage boost, but its main use for glitching is the physics launch it produces when you enter and exit it fast. A few clips instead use the Void Scythe or Blood Staff, and one requires Shift Lock to be switched on in Roblox settings.
| Requirement | Detail |
|---|---|
| Bastion class | Legendary Defense class, 100,000 credits. Needed for the Shelter launch and wall clips. |
| Shelter | 1,000 crystals from the in-game gear menu. Powers the jump-boost and wall-clip glitches. |
| Laser Turret / Drone | 30 CR and 100 CR. Auto-target zombies while you stay safe. |
| Void Scythe or Blood Staff | Used to clip through certain tunnel and building walls. |
| Shift Lock | Must be enabled in Roblox settings for the underground clip on Abandoned Farm. |
| Weapons | Blood Pistol and Blood SMG work well, but any strong weapon is fine. |
Shelter jump-boost glitch (reach roofs and pillars)
This is the core method and it works on Pirate Cove, Rooftop Siege, Abandoned Farm, and Prison Yard. Rapidly moving into and out of the Shelter’s collision creates a large vertical launch that carries you onto structures you normally cannot reach.
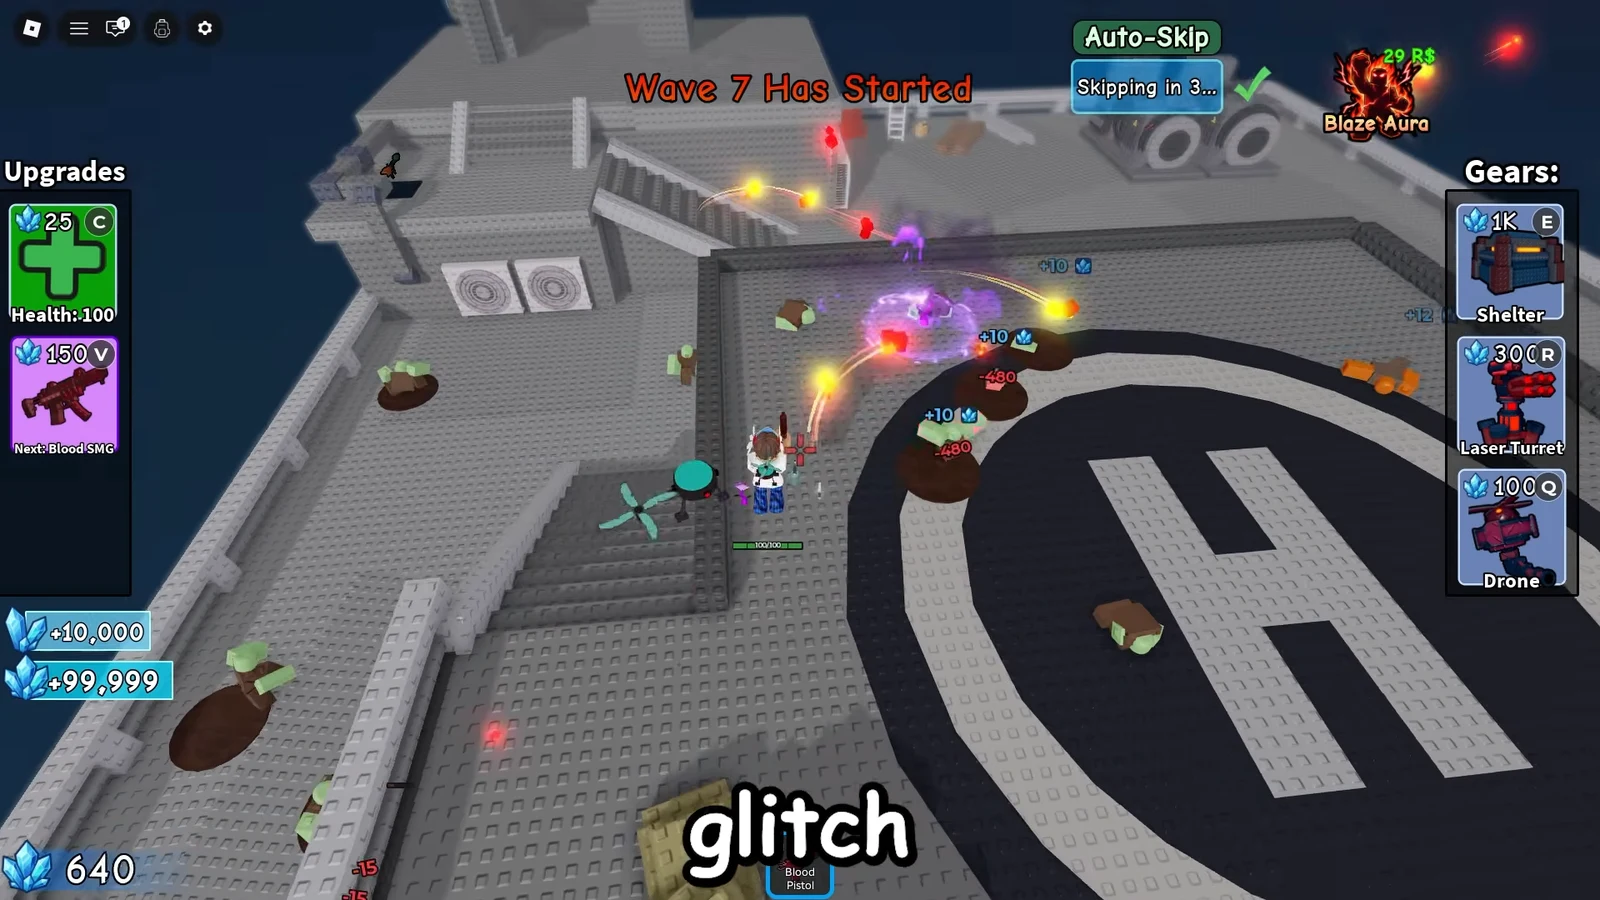
You know it worked when zombies pile up on the ground below and stop landing hits. Leave your drones and turrets active and you can farm hands-free.
Wall and geometry clips (hide inside the map)
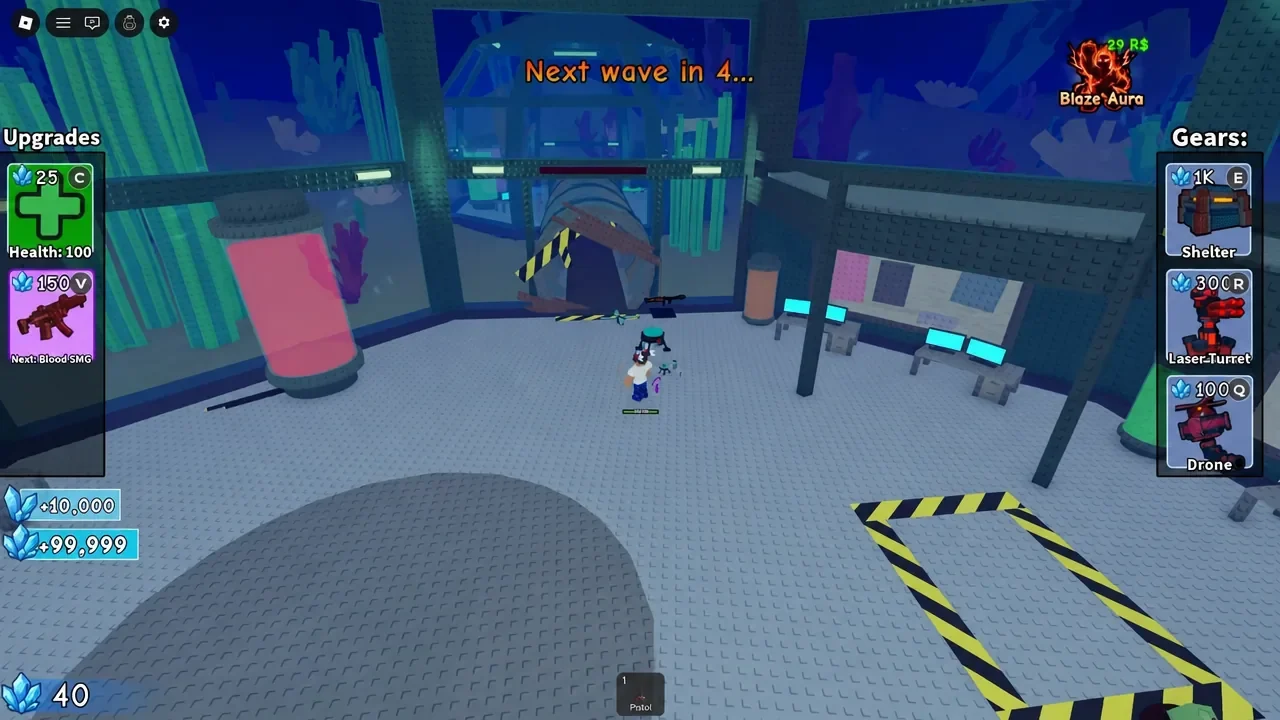
Instead of going up, several spots let you slip behind or inside solid geometry, which makes you completely unreachable. On Pirate Cove, go to the bottom deck and tuck into the corner under the stairs, then jump into the wall to clip behind the ship. From there you can drop Laser Turrets that pick off zombies while nothing can reach you.
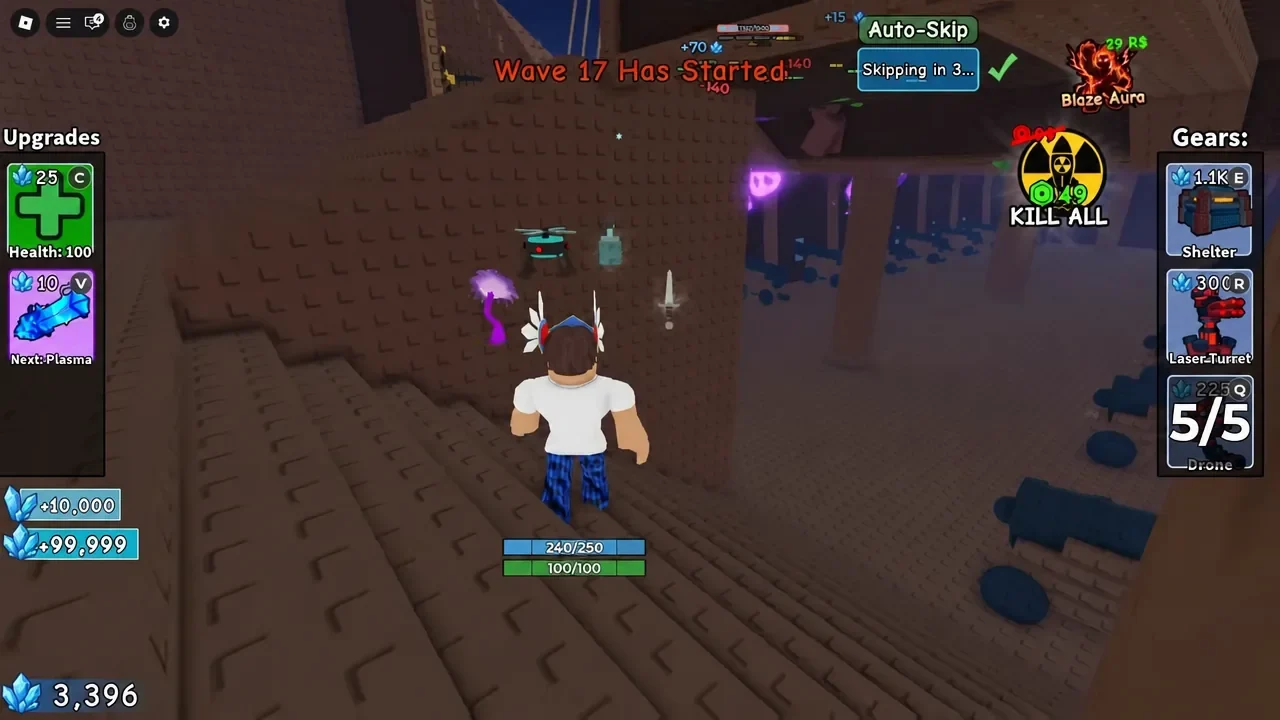
On Tundra, jump against the large grey stone wall and place a Shelter partly inside it to open a safe pocket where zombies cannot climb up. Atlantis has a similar spot next to the green cylindrical tank, where a Shelter set partway into the wall lets you clip inside for safety. Atlantis and the Rooftop Siege maps also have weapon-based clips where spamming the Void Scythe or Blood Staff against a tunnel ceiling or specific building wall phases you out of bounds.
Underground clip on Abandoned Farm (Shift Lock)
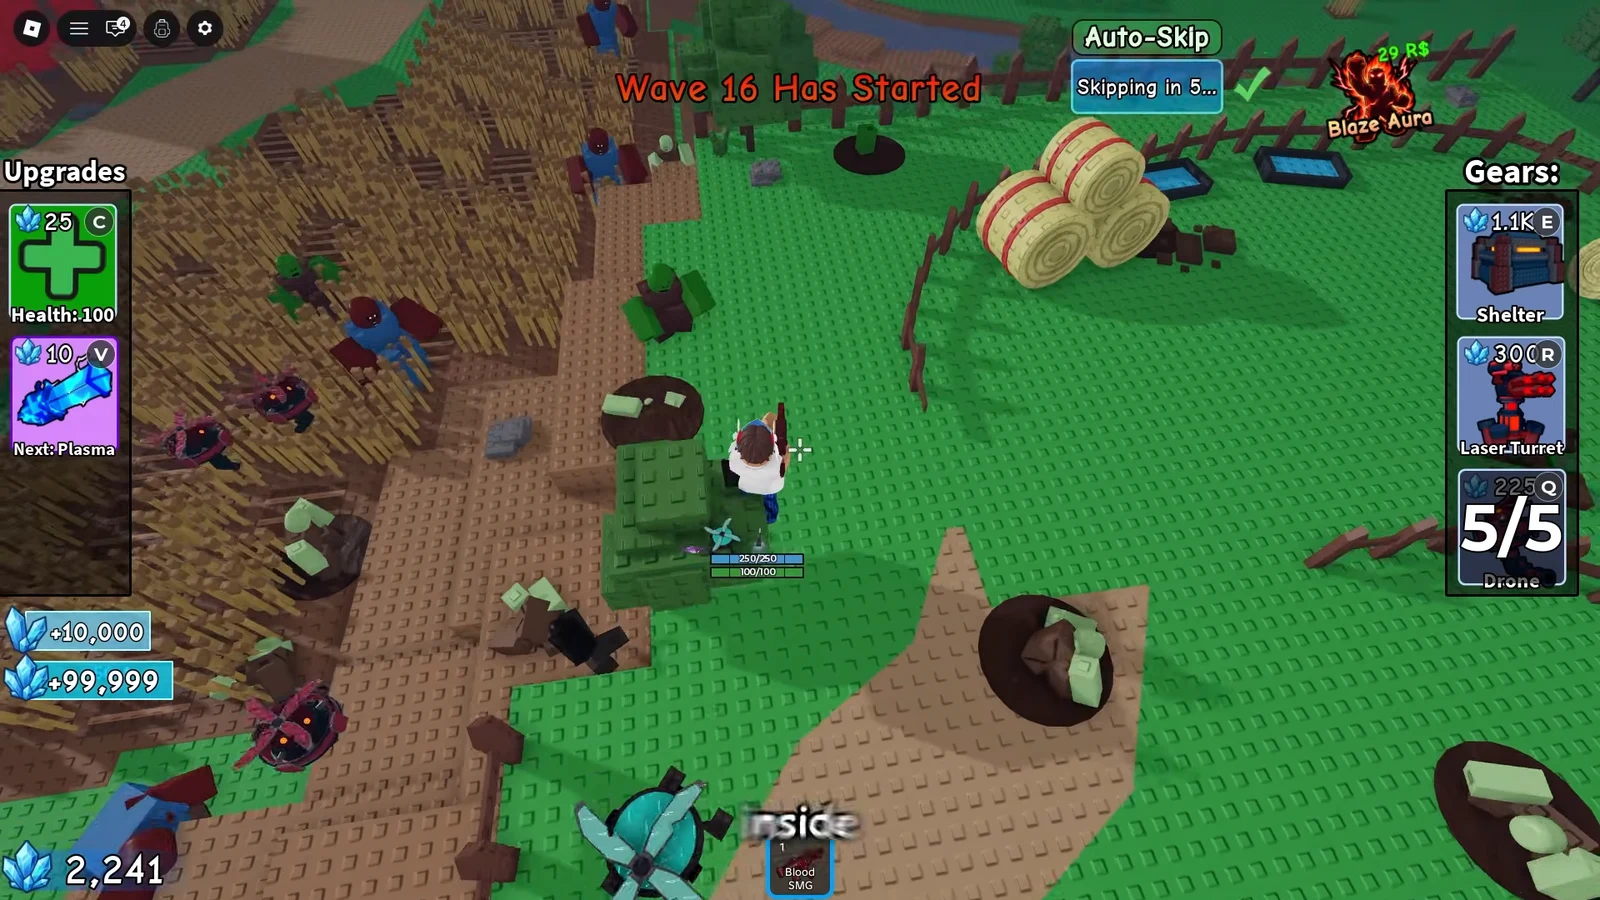
The Abandoned Farm map has the most complete safe spot. You drop underneath the grassy ground and shoot zombies from below, where nothing can reach you. This one needs Shift Lock switched on.
Simple stand-on spots that need no launch
Some positions block zombie attacks without any Shelter trick at all. These are the fastest to set up and good for early waves while you save crystals for a Shelter.
| Map | Spot |
|---|---|
| Pirate Cove | Hop onto the railing at the pointed wooden bow at the front of the ship. |
| Crossroads | Stand on the small barrel near the map center; drop off and you are exposed again. |
| Crossroads | Lure a crowd to the hill edge, then jump onto the fence or brick wall corner to break their aggro. |
| Tundra | Stand on the wooden fence corner by the pine tree, or on the fireplace mantelpiece inside the log cabin. |
| Rooftop Siege | Stand on the outer railing of the main staircase, or inside the sandbag pile on the helipad, to push zombies away. |
| Abandoned Farm | Wedge into the tight space behind the red silo tanks. |
| Prison Yard | Slide under the low building overhang to clip inside; works best with a smaller avatar. |
Why a glitch fails and how to confirm it worked
A spot is working when zombies gather but their hits stop landing, your health holds steady, and wave progress or credits keep ticking up. If you are still taking damage, the clip did not fully complete.
The most common reasons a glitch does not trigger are a Shelter that is not placed flush against the obstacle, Shift Lock left off for the Abandoned Farm underground clip, or moving around too much once you are inside a wall pocket, which can shove you back into range. On some safe spots, standing still while your abilities and drones do the work is what keeps zombies pathing away. If a spot suddenly stops working entirely, the map geometry may have been adjusted in a patch.
Note: These glitches rely on map bugs and are patched from time to time, so try them while they still work and expect some spots to change between updates.