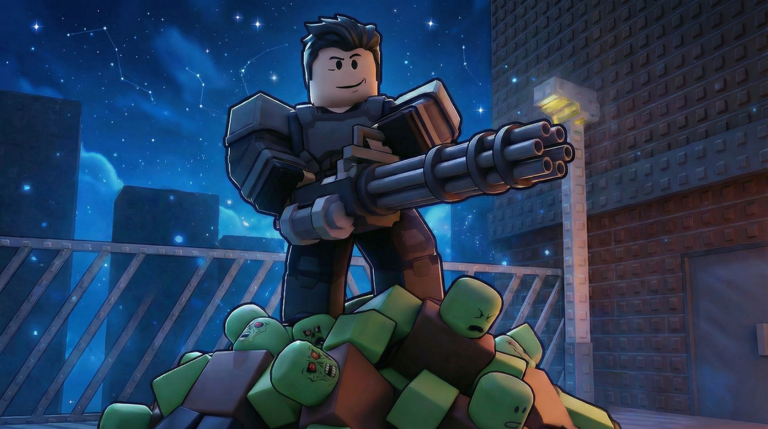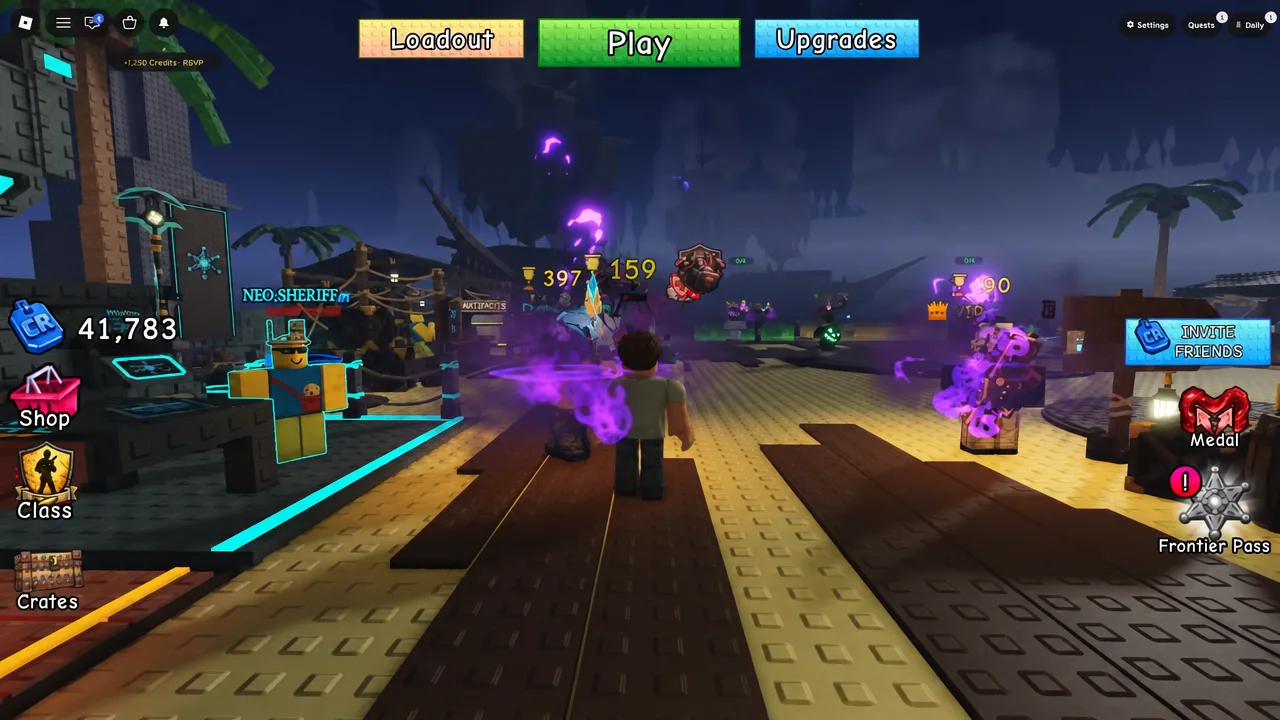
Survive Zombie Arena has swapped its lobby around again, and this time a Faction War splits every player between two sides. Alongside it sit a Frontier Pass, a set of rotating contracts, and a crafting bench that turns raw Wood and Iron into Frontier Chests. The Survive Zombie Arena experience page on Roblox lists its most recent refresh on 9/13/2026.
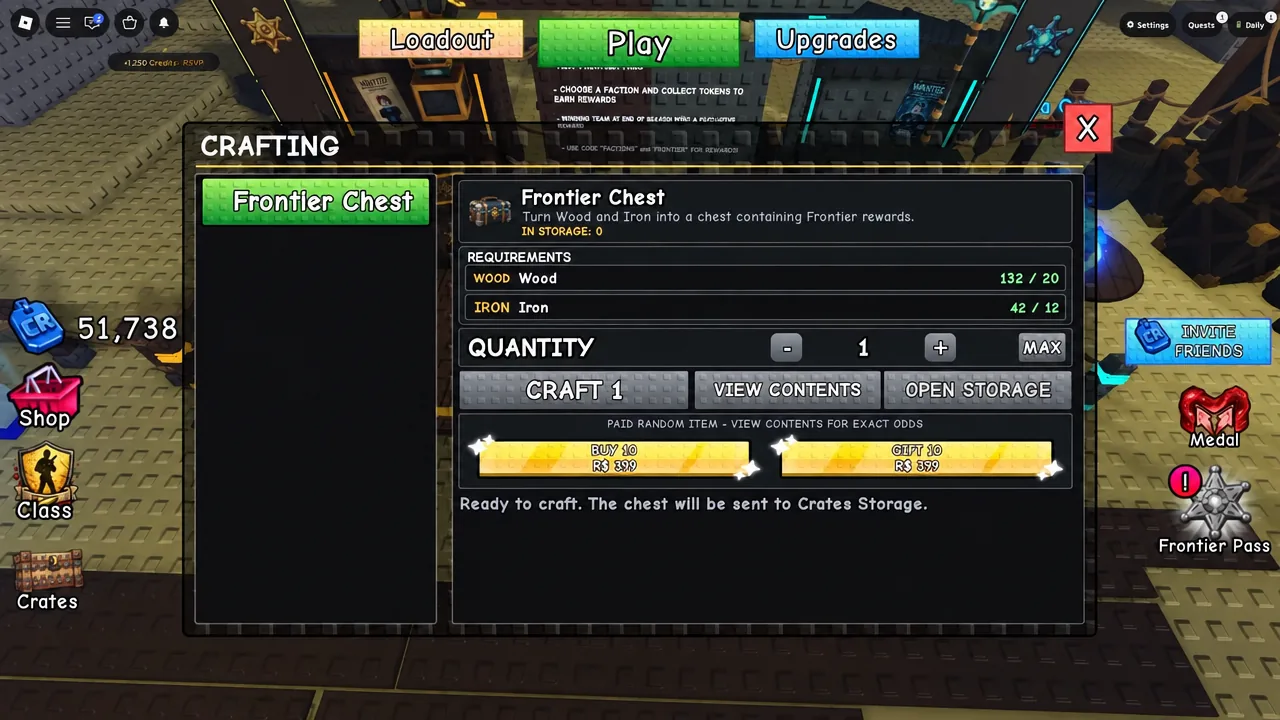
Quick answer: Pick Wild West or Neo Frontier in the Faction War menu, clear the three contracts under My Progress for Faction XP, then spend Wood and Iron on Frontier Chests at the crafting bench.
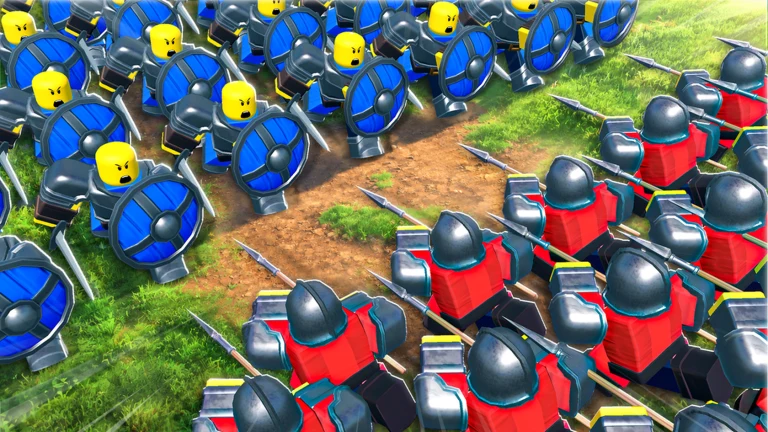
Picking a side in the Faction War
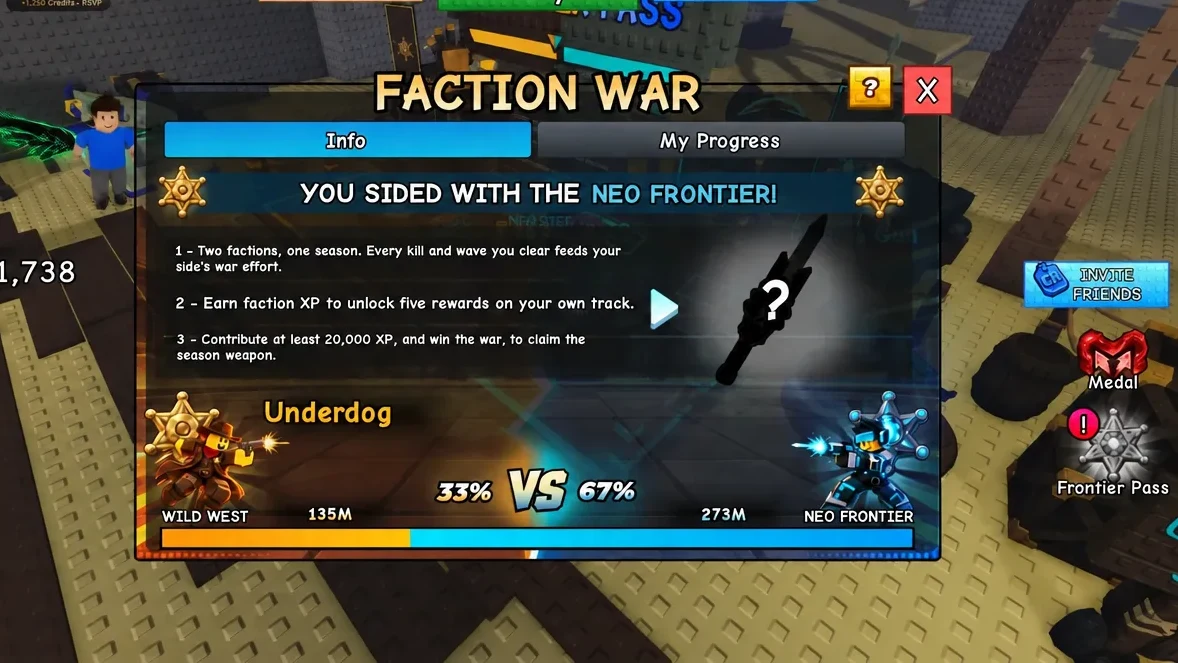
The Faction War menu in the lobby asks you to commit to either Wild West or Neo Frontier. Once you choose, the game confirms it with a banner reading “YOU SIDED WITH THE NEO FRONTIER!” (or the Wild West equivalent) and your pick is reflected everywhere Faction progress is tracked.
The Info tab shows live standings as a percentage split between the two sides. The trailing faction gets an Underdog tag, so the board can sit at a 33% to 67% split with the smaller side flagged as the underdog.
Faction contracts and Faction XP
Contracts are the main way to feed your side. They live under the My Progress tab of the Faction War menu, where a counter tracks how many you have finished out of the three on offer at any time.
- Supply Run
- Sidearm Duty
- Deep Patrol
Completing them pays out Faction XP, which is the currency that unlocks the exclusive rewards tied to the war. Progress updates when you return to the lobby after a run, so it is worth checking the counter between matches rather than mid-wave.
Frontier Pass tiers and missions
The Frontier Pass has its own dedicated area in the reworked lobby. Opening it shows a tiered reward track plus a list of missions that push you toward the next tier, running in parallel to the faction contracts rather than replacing them.
How to craft Frontier Chests from Wood and Iron
What drops from a Frontier Chest
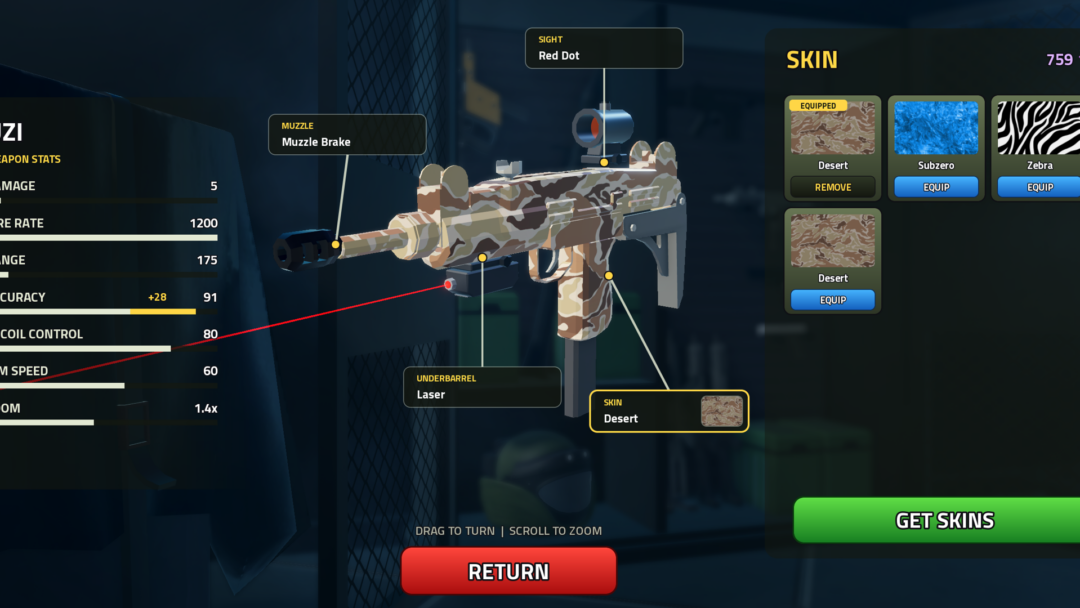
Chest contents cover credits, boosts, and the event’s exclusive gear. The reward preview lists the named items you can pull.
- Neon Undertaker — the mythic headline weapon
- Deadman’s Hand
- Blackstar Brand
- Tumblecutters
- Dustcoil Carbine
- Wanted Beacon
- Jackrabbit Spur
- Lawbringer Class
Farming Wood and Iron safely on Pirate Cove
Pirate Cove is where the material grind happens, and there is a spot on the ship that lets you clear waves without taking hits. It relies on clipping behind a wall on the bottom deck, so zombies can never path to you while your deployables do the work.
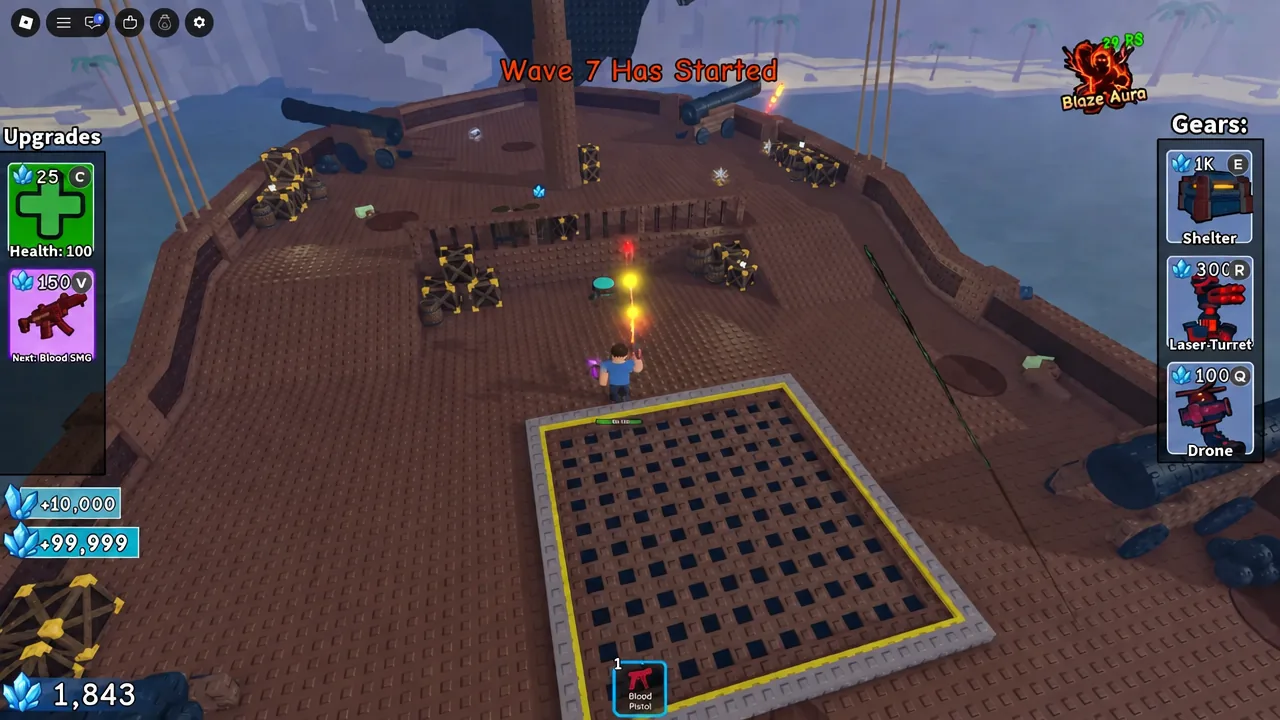
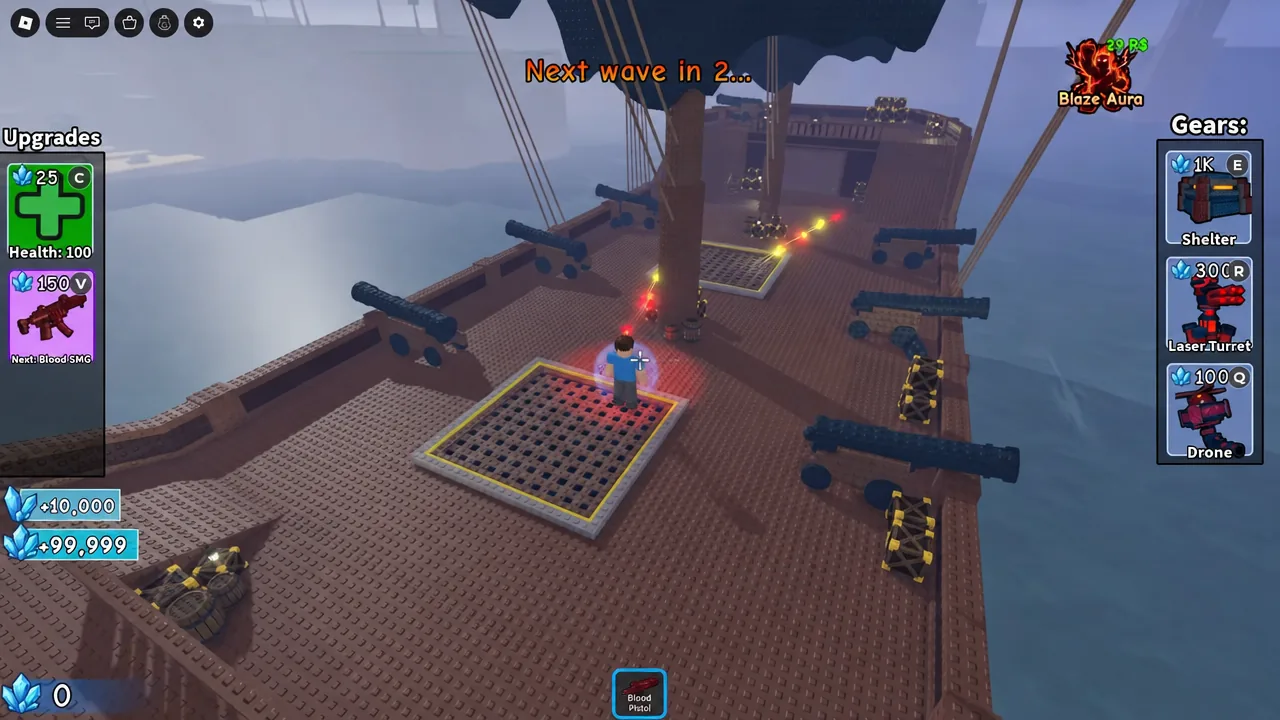
Pirate Cove has edges you can fall off while collecting materials. Dropping out of the map ends the run and costs you everything you were carrying that session.
Confirming the spot is working
You know the clip worked when zombies stop registering hits on you entirely. No red damage indicators appear on screen, your health bar stays untouched, and the wave counter keeps climbing while the turrets fire. If you are still being chipped down, you are standing in front of the wall rather than behind it, so exit and repeat the backward walk with shift lock enabled.
Worth keeping in mind: safe spots in Survive Zombie Arena have a short shelf life. Older wall-jumping positions on the Tundra cabin and fireplace were patched out after they spread, so treat the Pirate Cove pocket as a window to bank Wood and Iron rather than a permanent farming setup.