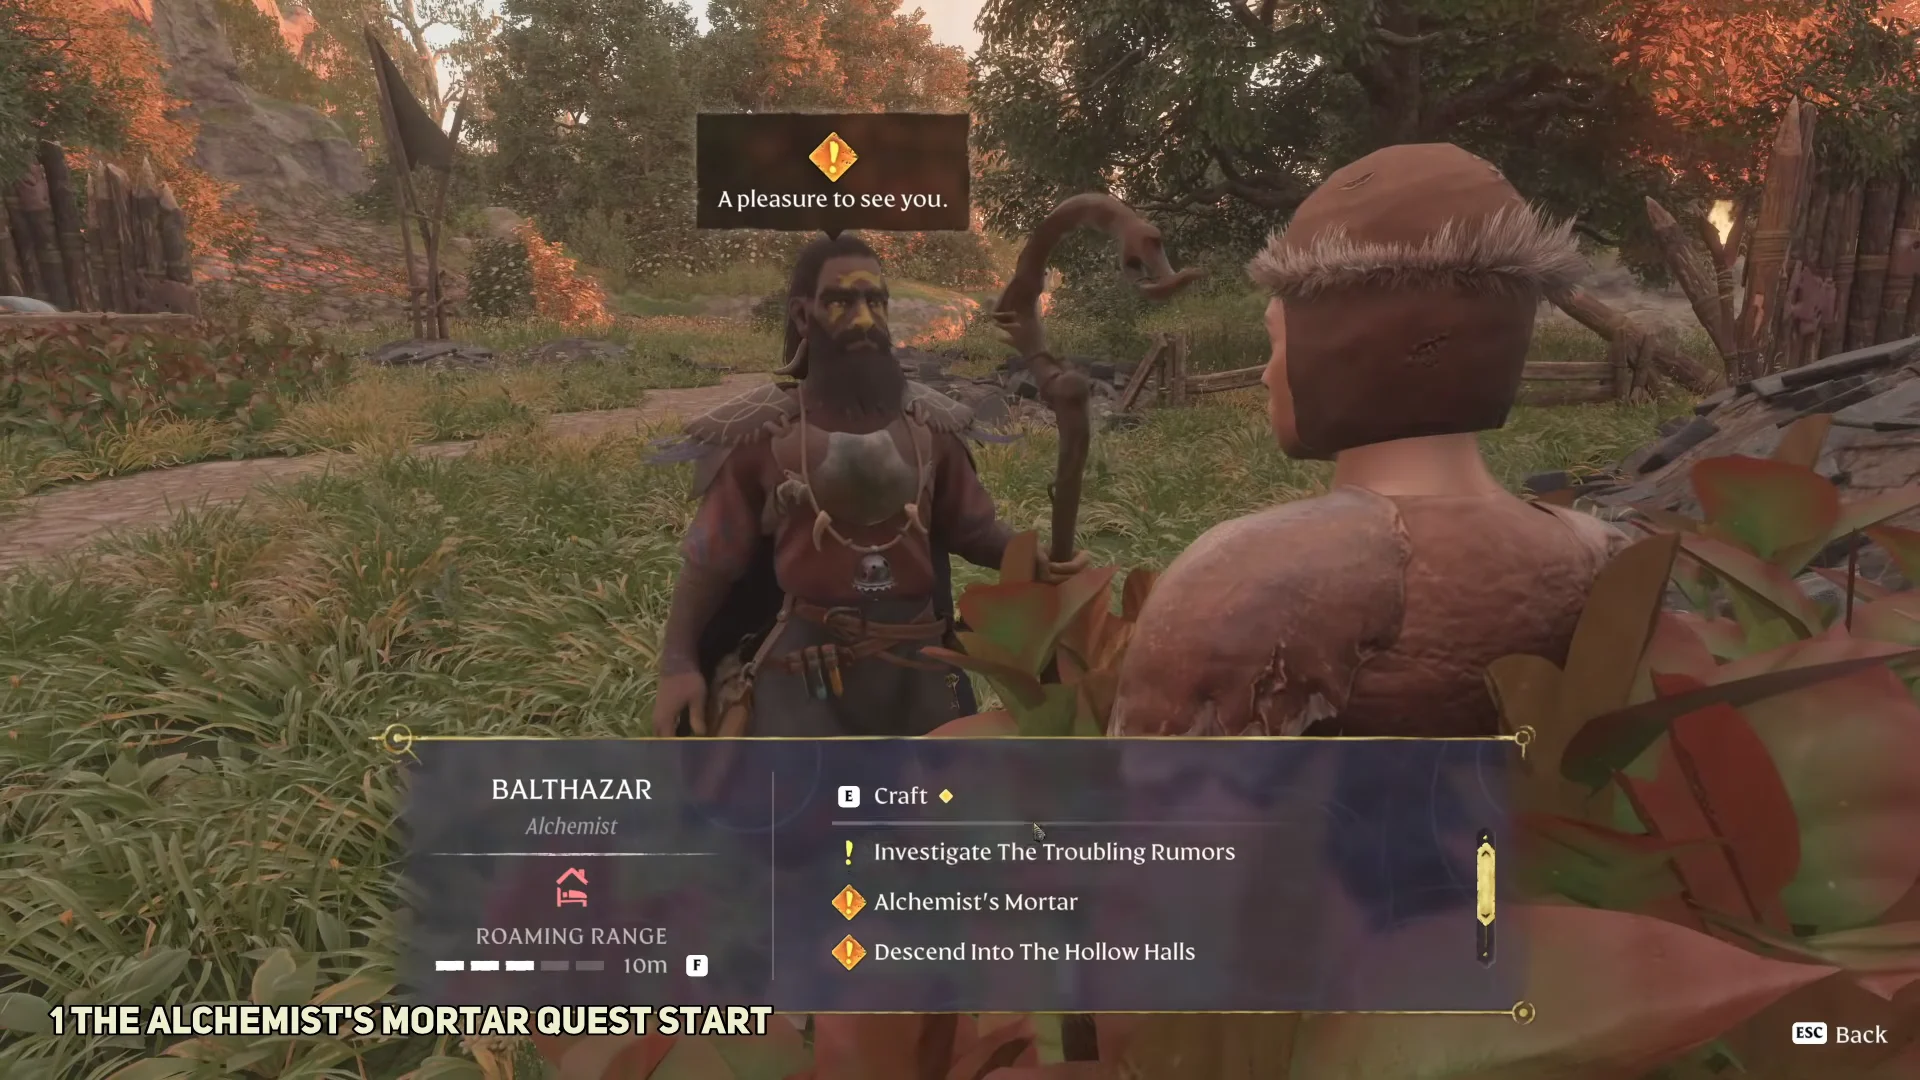
The Mortar is a rare piece of furniture that expands what the Alchemist can craft once you place it near them at your base. You earn it by completing the quest The Alchemist’s Mortar, a short fetch task that sends you into the Shroud at Lone Thistle to recover the item from a sealed laboratory inside the Alchemist Tower.
Quick answer: Talk to the Alchemist to start the quest, travel to the Alchemist Tower in Lone Thistle, press the hidden button on an upper floor to open the basement, grab the Mortar, then place it near the Alchemist at camp.
Before you start: prerequisites and supplies
The quest becomes available from the Alchemist after you finish Carpentry Assistance. Speak to the Alchemist at your flame altar and choose the Alchemist’s Mortar dialogue option to pick it up. Doing so marks the destination on your map, so you will not have to search blind.
Lone Thistle sits well away from the starting area, and the lower part of the settlement is covered in Shroud with enemies around level 11. Pack travel supplies before you set out so the trip does not cut your run short.
- Cooked meats to raise your health pool
- Water and bandages
- Healing potions
- A melee and a ranged weapon
- Powder Balls (optional shortcut, explained below)
Reach the Alchemist Tower in Lone Thistle
Use fast travel to reach the Ancient Spire – Springlands. From its elevated position, you have a clear glide toward the objective; leap off, travel northeast over the landscape, and enter the Shroud at Lone Thistle.
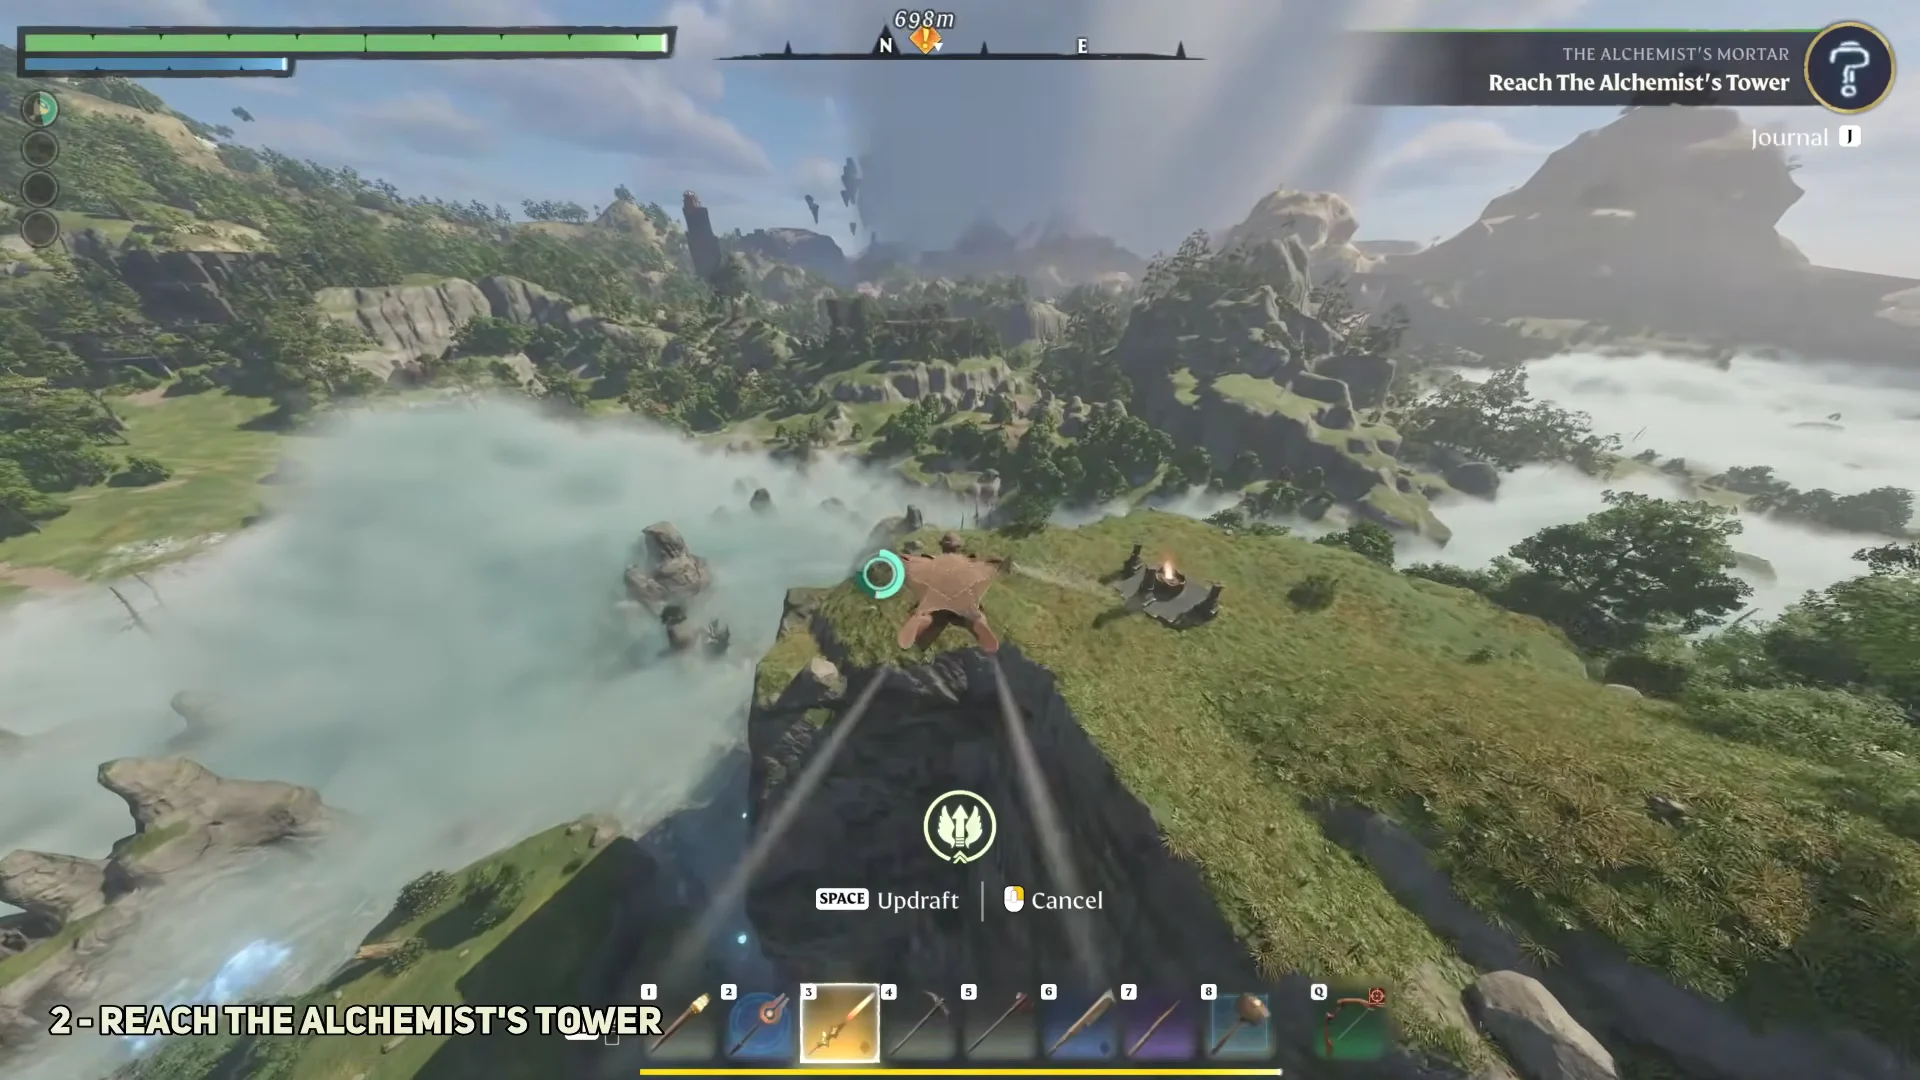
From the spire you can also move north on foot, roughly toward the Farmer’s Vault. One path runs straight through the Shroud and its enemies, while a back route branches right before the vault, loops past the Hill of Scavengers, then turns north again with the Mistbury Catacombs on your left. The back route drops you into the rear of Lone Thistle with fewer fights.
The tower stands out no matter which way you approach: it is Lone Thistle’s highest building, rising above the Shroud from a small hill. On the map, its position is just right of the Lone Thistle icon, not on the quest marker itself.
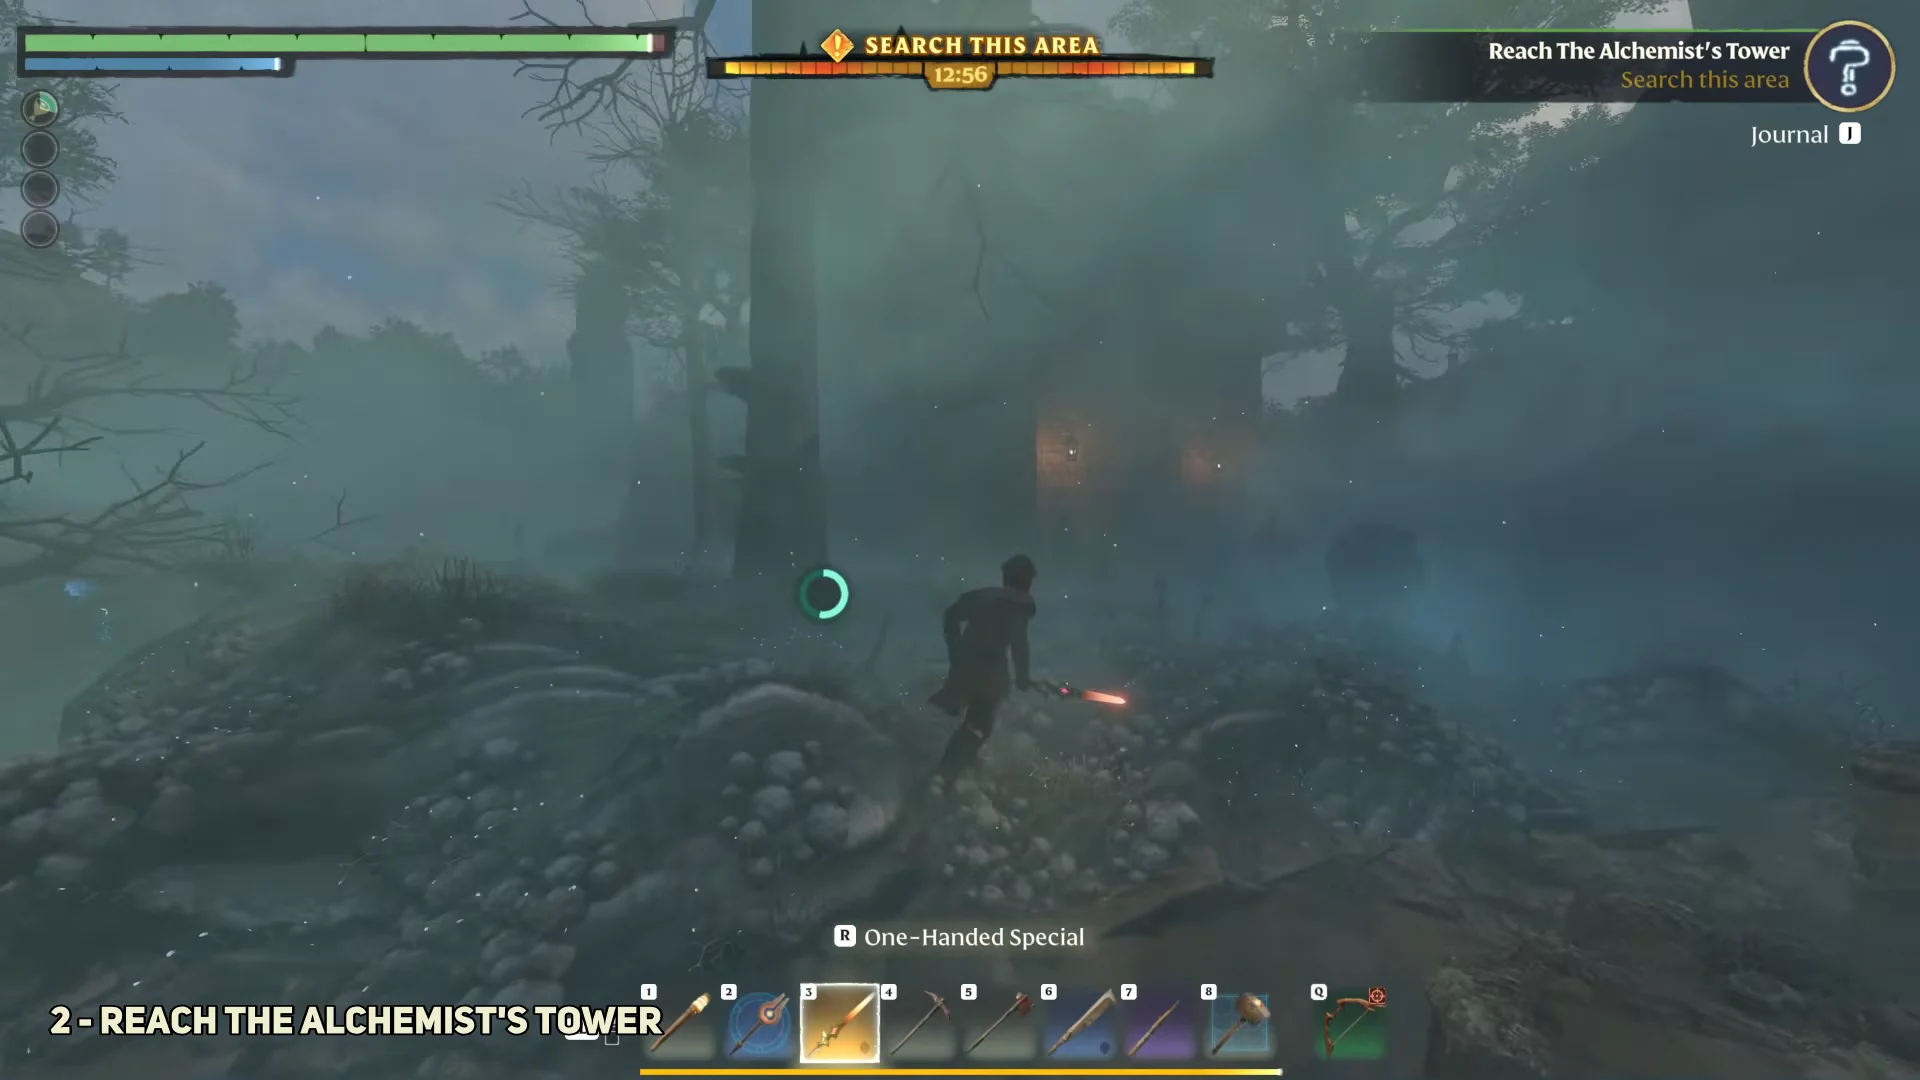
Most of the tower sits in clean air, and there are no enemies inside. Once you reach the entrance you can stop, catch your breath, and loot crates and boxes without being on guard.
Open the sealed laboratory in the basement
First, go inside and descend the stairs to the basement. In a small room filled with Shroud, the Mortar is visible beyond barred doors. You can’t open them manually, and the walls around the room are solid, so you’ll have to activate a mechanism elsewhere in the tower.
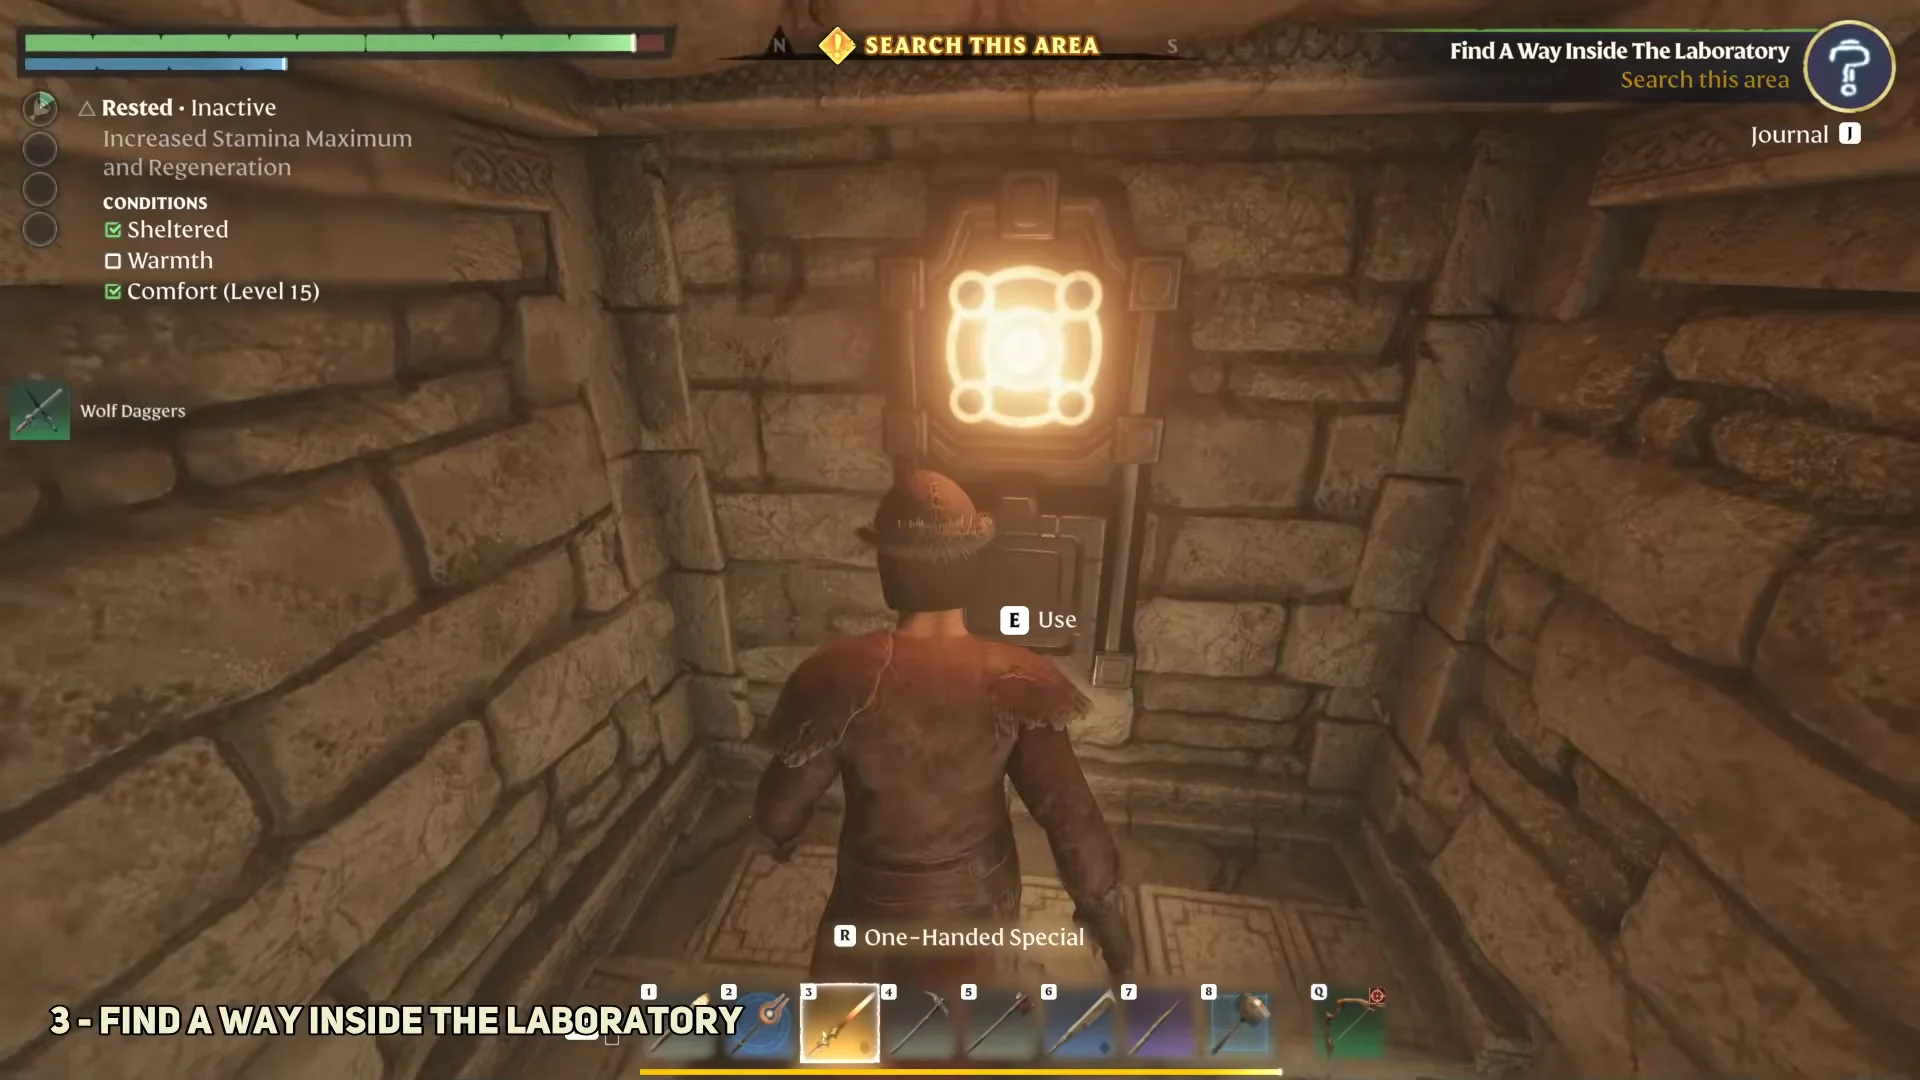
If you brought Powder Balls, you can skip the climb entirely. One or two of them will blow apart the stone around the barred gate in the basement, letting you walk straight in to the Mortar.
Collect the Mortar and place it at camp
Return to the basement, where the door is now open, and grab the Mortar from the alchemy table. The game confirms the pickup with a special item message on screen.
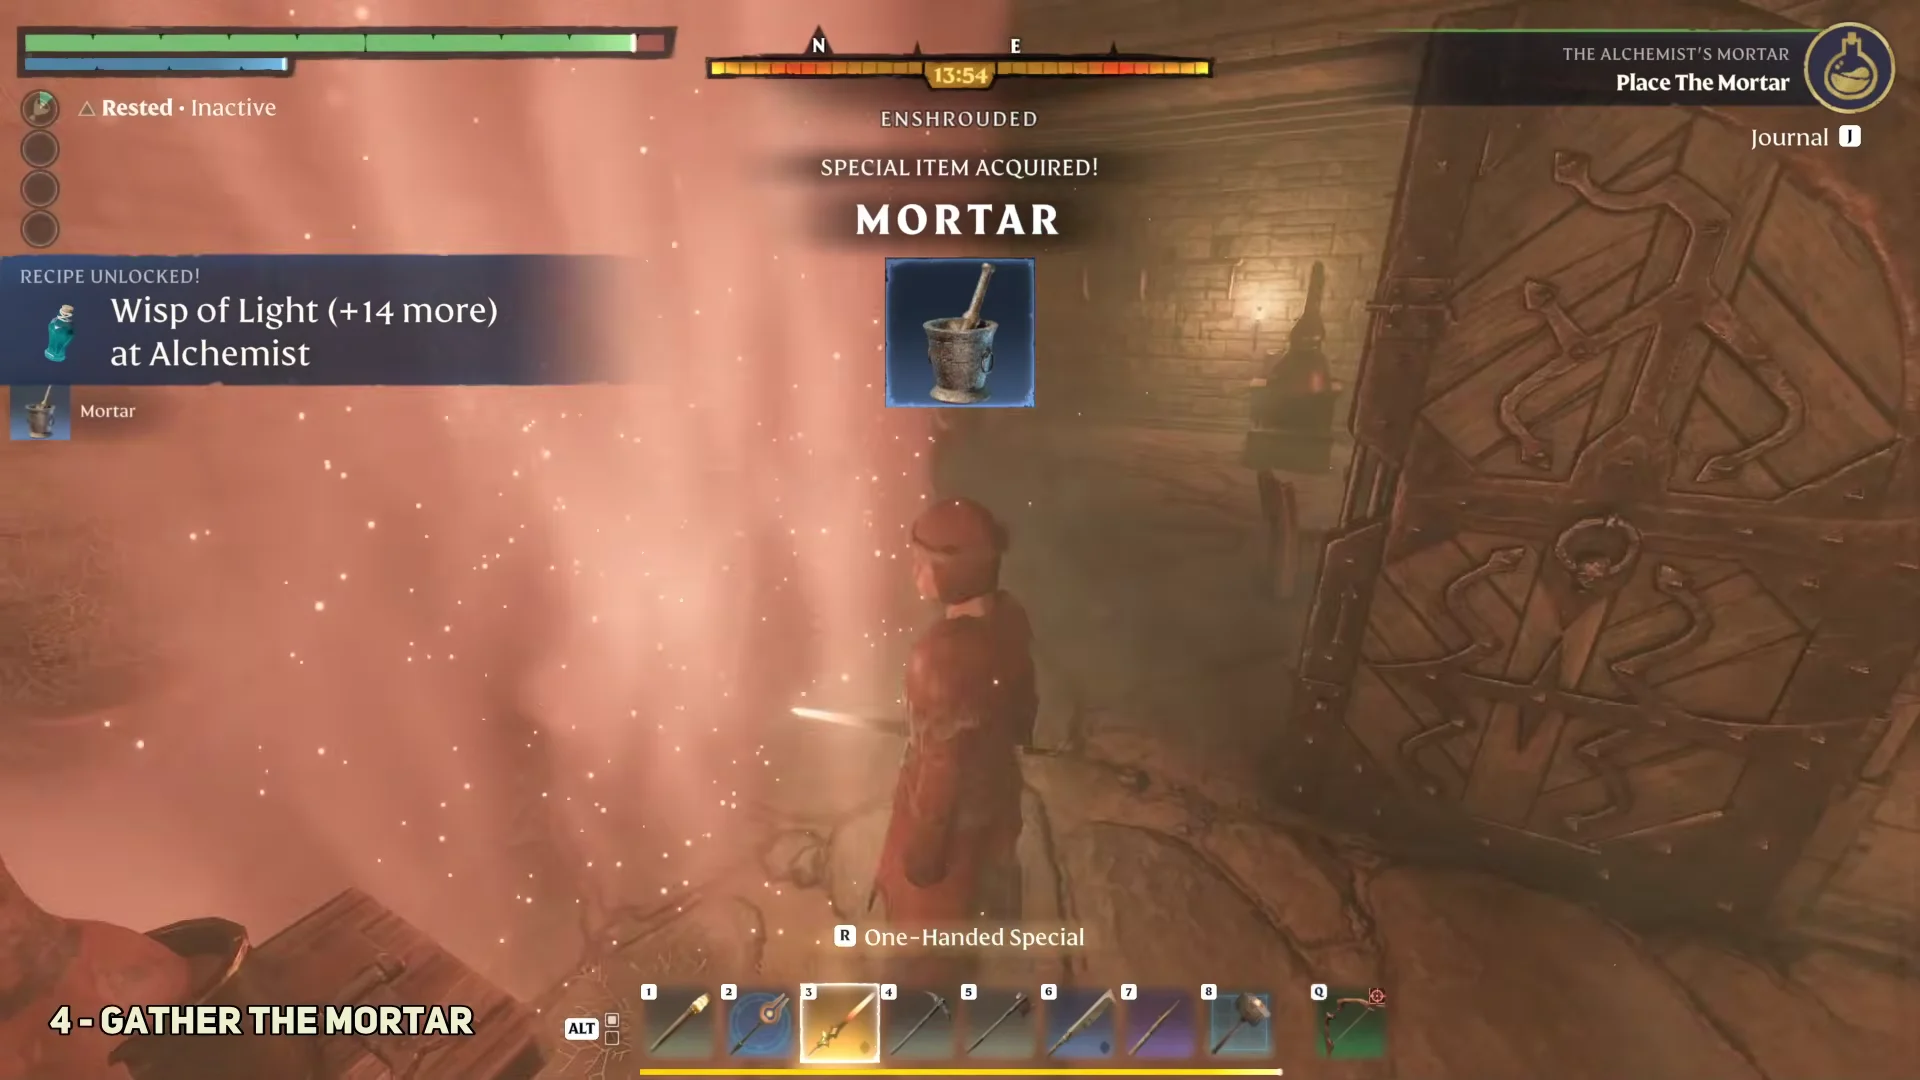
Find a spot of clean air without Shroud, then fast travel back to your base. Place the Mortar from your inventory somewhere inside the flame altar’s building boundary, close enough to the Alchemist to count as within reach. The quest completes the moment it is set down, and you are rewarded with the Mortar itself as a permanent station.
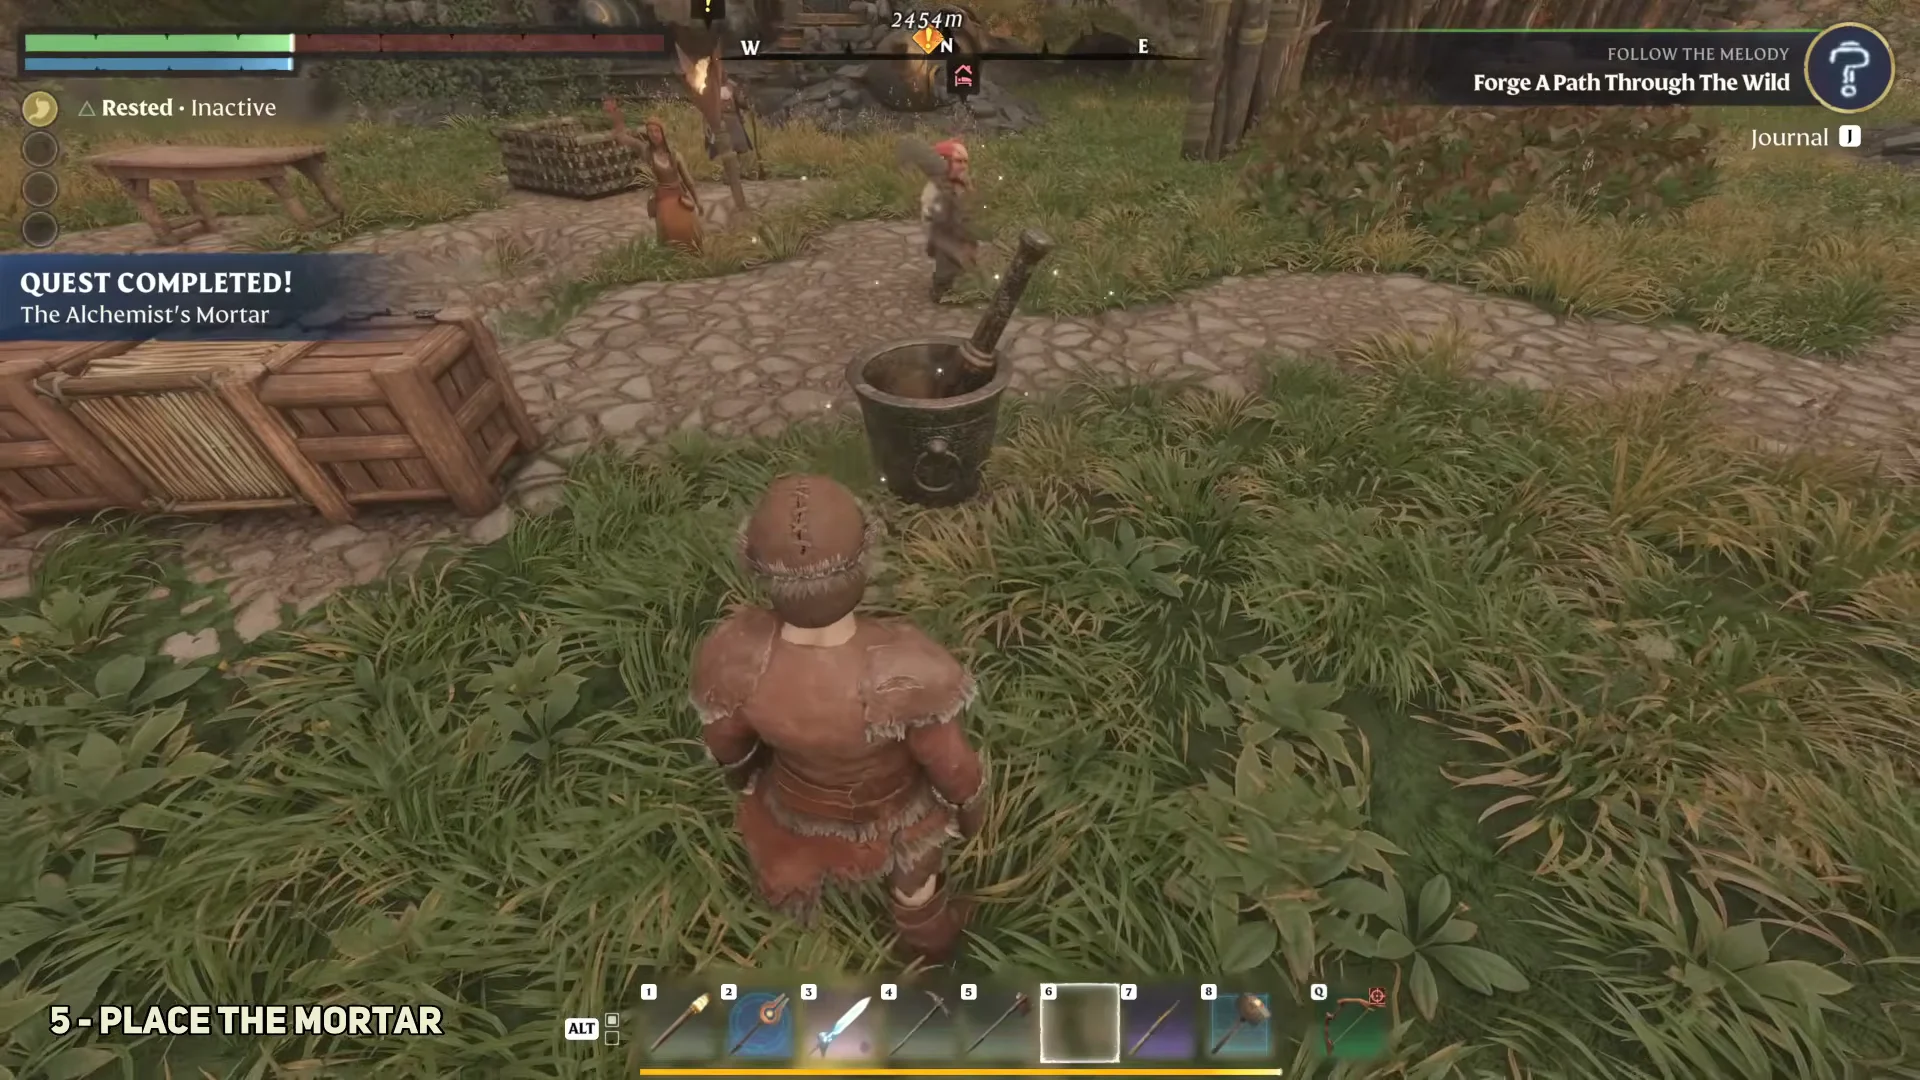
What the Mortar unlocks
Placing the Mortar opens a batch of new recipes at the Alchemist and the Alchemist Assistant, covering spells, potions, and mana-boosting armor. The station must stay physically placed within reach, because some of those recipes only appear while the Mortar is nearby.
Completing the quest also unlocks the recipe to build extra Mortars yourself. The Alchemist crafts each one instantly from the following materials.
| Material | Quantity |
|---|---|
| Lump of Clay | 10 |
| Charcoal | 5 |
| Any Sand | 5 |
| Sulfur | 3 |
| Nitrate | 2 |
Recipes tied to the Mortar include the Antidote, Greater Health Potion, Mana Potion, several Chain Heal and spell scrolls, and both the Healer and Mage armor sets. With the station down and the quest marked complete, those options become available the next time you open the Alchemist’s crafting menu.