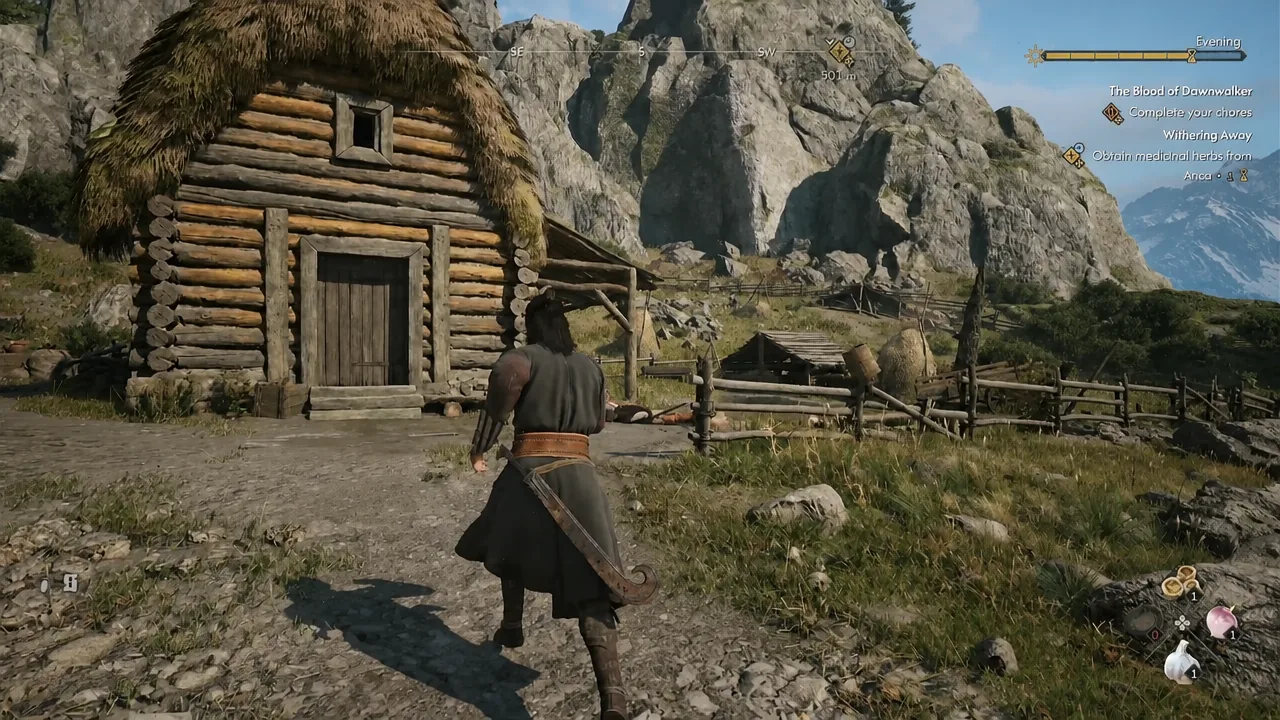
Seven Bandit’s Treasure Maps are scattered across the world of The Blood of Dawnwalker, and none of them place a marker on your map for you. Each one is a hand-drawn sketch you have to match against the world map yourself, and each one ends at a patch of disturbed earth that only opens with a Shovel. The payoff is worth the detour, since the chests hold weapons, rings, armor, crafting recipes, and enough coin to matter early on.
Quick answer: Loot all seven maps from bandit camps and roadside campsites, carry a Shovel, compare each map’s sketch to your world map to pin the dig site, clear the guard standing over it, then dig — every dig costs one time segment.
Shovel requirement and time cost
Every one of the seven treasures needs a Shovel in your inventory. If you have not picked one up yet, the game hands you one at the very first dig site in Laslea Glen — a shovel is lying right next to the disturbed ground inside the cave, so the hunt is never gated behind a purchase.
Digging is not free. Each excavation burns one time segment, which matters given the 30-day clock the game runs on. Travel between a map and its dig site can eat further segments, so it is cheaper to grab a map and clear its treasure in the same trip rather than banking maps for later.
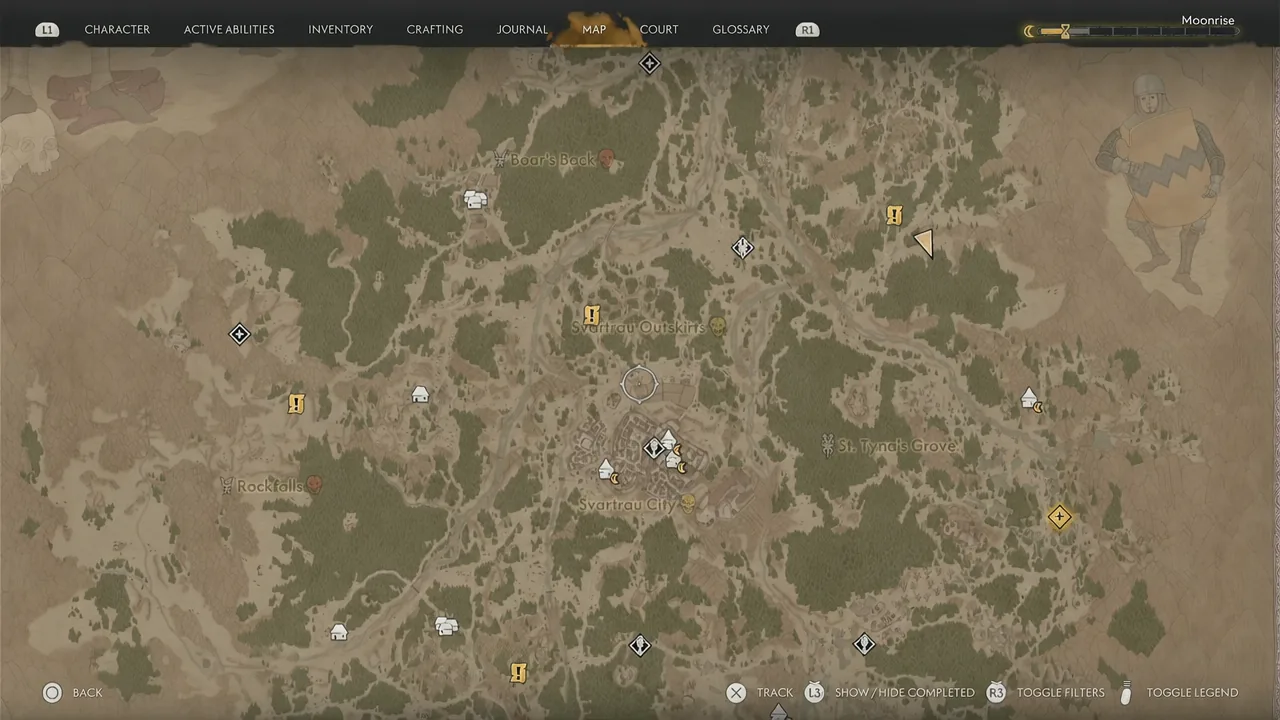
Reading a treasure map does not add a quest marker. Open the map item, look at the landmarks drawn on it, then open your world map and find the matching shape — a church, a bend in a river, a rock formation, a pond. The dig site sits close to that landmark, usually a short walk from where the map itself was stashed.
All seven Bandit’s Treasure Maps and what each chest holds
The maps are named after the region they point to, which makes them easy to track in your inventory. Most are guarded on the way in — bandits sitting on the map itself, and something nastier sitting on the treasure.
| Treasure map | Where the map is | Main chest reward |
|---|---|---|
| Laslea Glen | On a table inside the bandit hut at Outlaw’s Gorge | Polished Long Cleaver |
| Briar Sloughs | In a chest at a bandit camp | Mercenary’s Ring |
| Riverbank | In a barrel at a small campsite | The Kingslayer |
| Rockfall – Split Rock | In a chest at a bandit camp | Coat of Darkened Scales |
| Rockfalls – Pond Islet | In a chest at a bandit camp | Noble’s Scarlet Buskins |
| Tantari Woods | On a wooden bench at a campsite | Knightly Ring |
| Boar’s Back | In barrels at a campsite | Band of Claws |
The camps holding these maps are live encounters, not empty props. Clear the occupants before you start rummaging, then sweep the chests, barrels, benches and bodies — the map is rarely the only thing worth taking, and skill manuals turn up in this loot alongside the treasure itself.
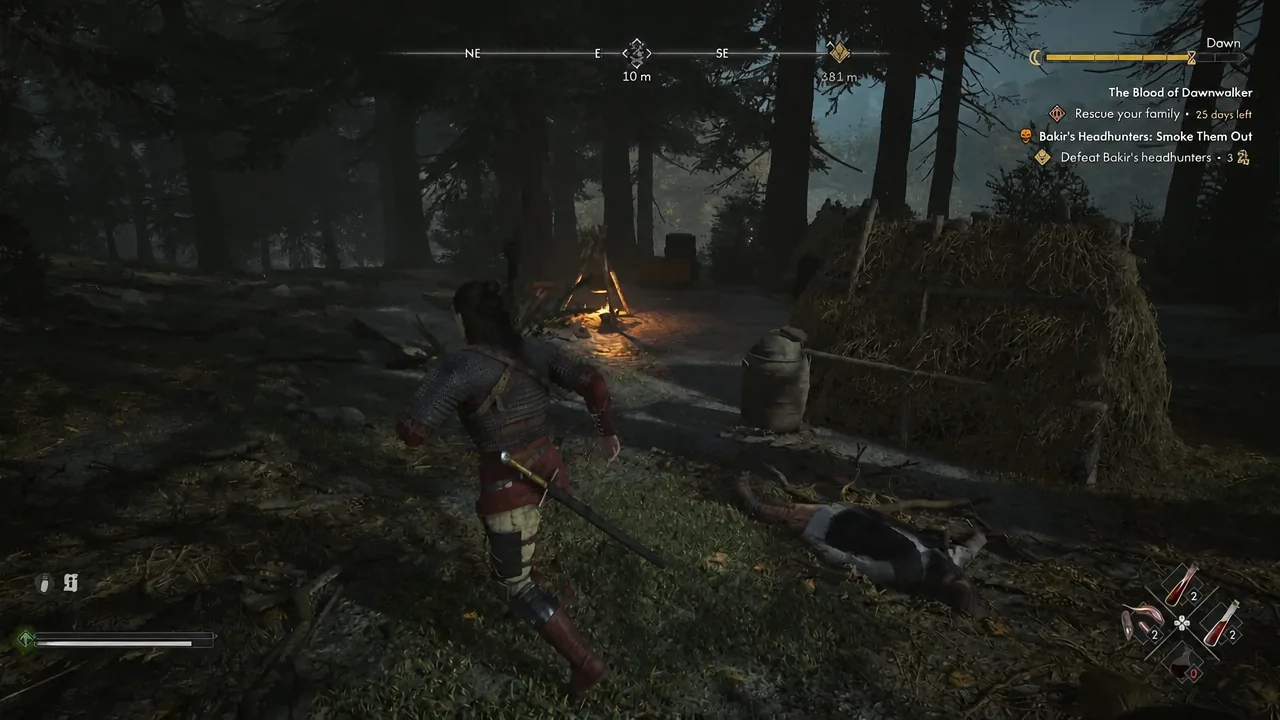
Dig site terrain and what guards each treasure
Knowing the ground ahead of time saves a wasted trip, especially for the two sites that sit in water or deep snow. Approach with the right gear and the right expectations.
| Treasure map | Dig site and threat |
|---|---|
| Laslea Glen | Inside a cave east of the hut, guarded by a mighty bear |
| Briar Sloughs | Out in the swamp, with undead enemies to clear first |
| Riverbank | A rocky stretch near the water, no heavy guard |
| Rockfall – Split Rock | A snowy cleft in the rocks |
| Rockfalls – Pond Islet | A small islet you have to swim out to |
| Tantari Woods | A boggy patch of ground in the woods |
| Boar’s Back | A grove of trees |
The Current Position marker on your world map is the fastest way to line yourself up with a hand-drawn sketch. Drop a mental pin on the landmark from the treasure map, then walk until your marker sits on top of it.
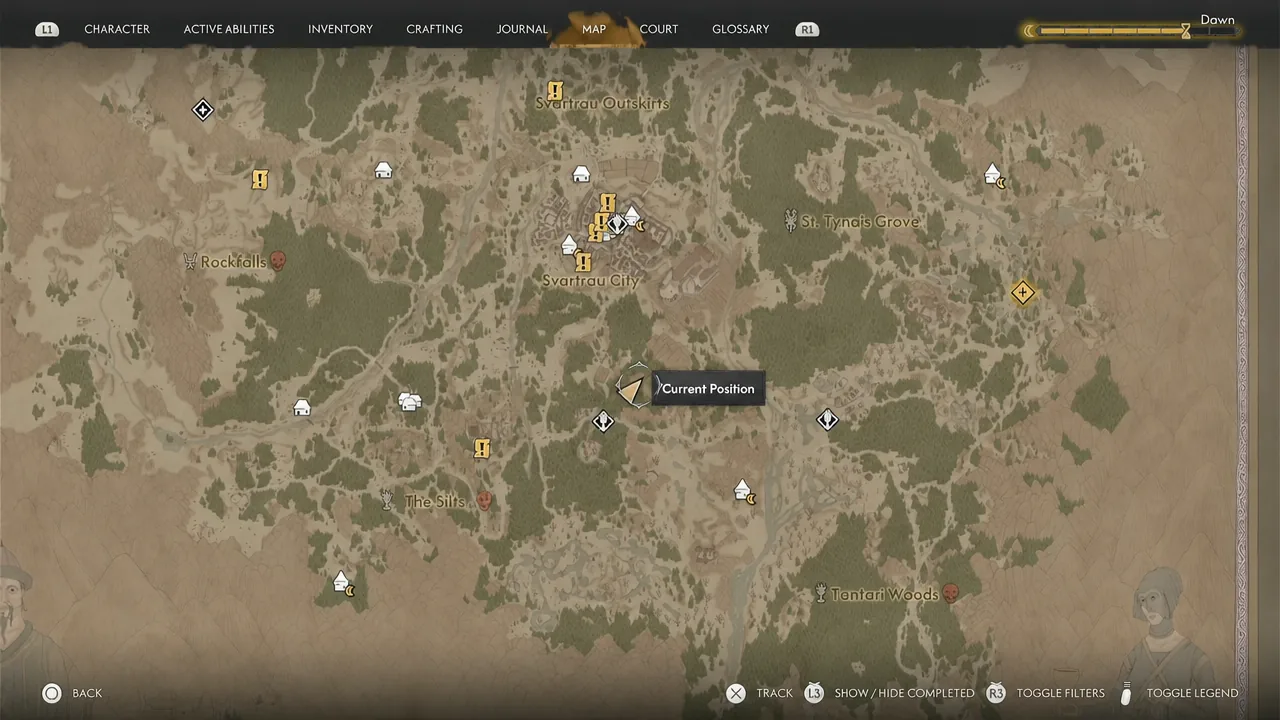
Laslea Glen treasure map: The prologue hunt, start to finish
This is the first hunt you can complete and the only one available during the prologue, so it doubles as the tutorial for the whole system. It also produces an early weapon that outclasses your starting sword.
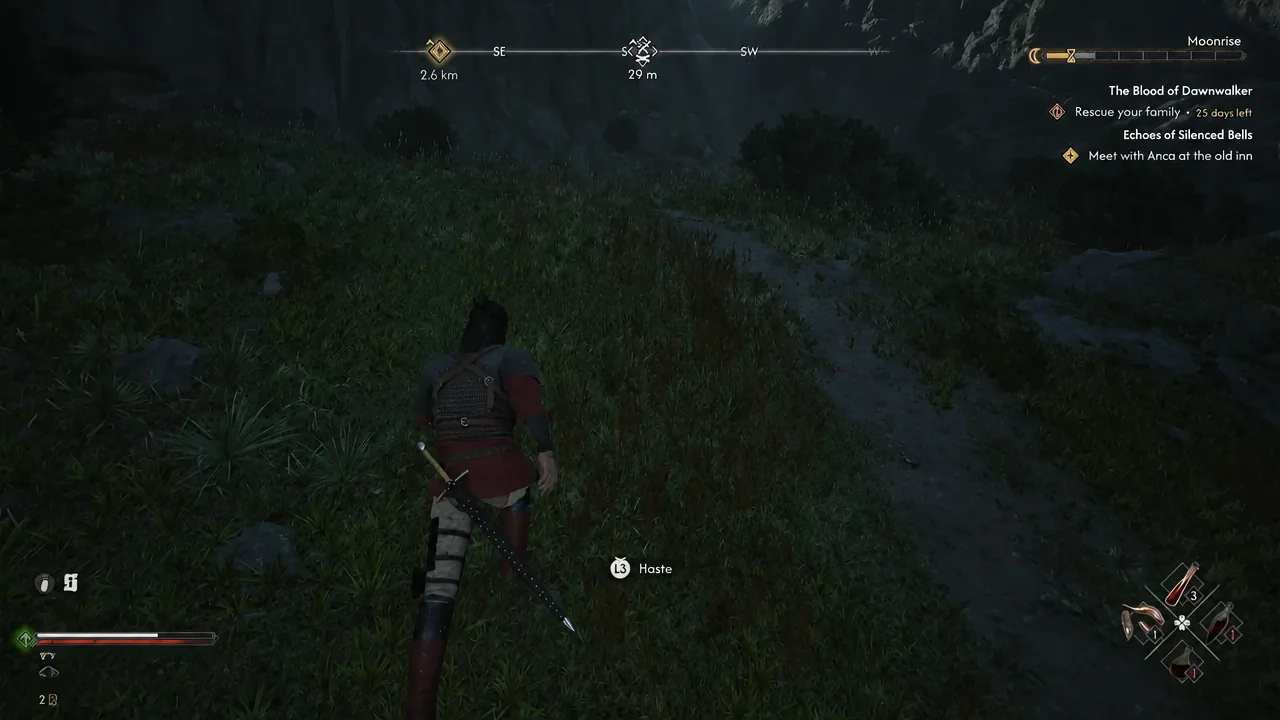
How to tell the treasure hunt completed
The activity closes the moment the chest is looted. For the Laslea Glen hunt you get 100XP on top of the chest contents, and the entry disappears from your active list. If the treasure map is still sitting in your inventory as an unresolved activity, you either have not dug yet or you dug in the wrong spot.
There are only a few reasons a dig fails to trigger. You are not carrying a Shovel. You are standing near the right landmark but not on the loose soil, which needs Focus mode to become visible. Or a guard is still alive and interrupting the prompt — clear the bear, the bandits or the undead first, then interact with the ground.
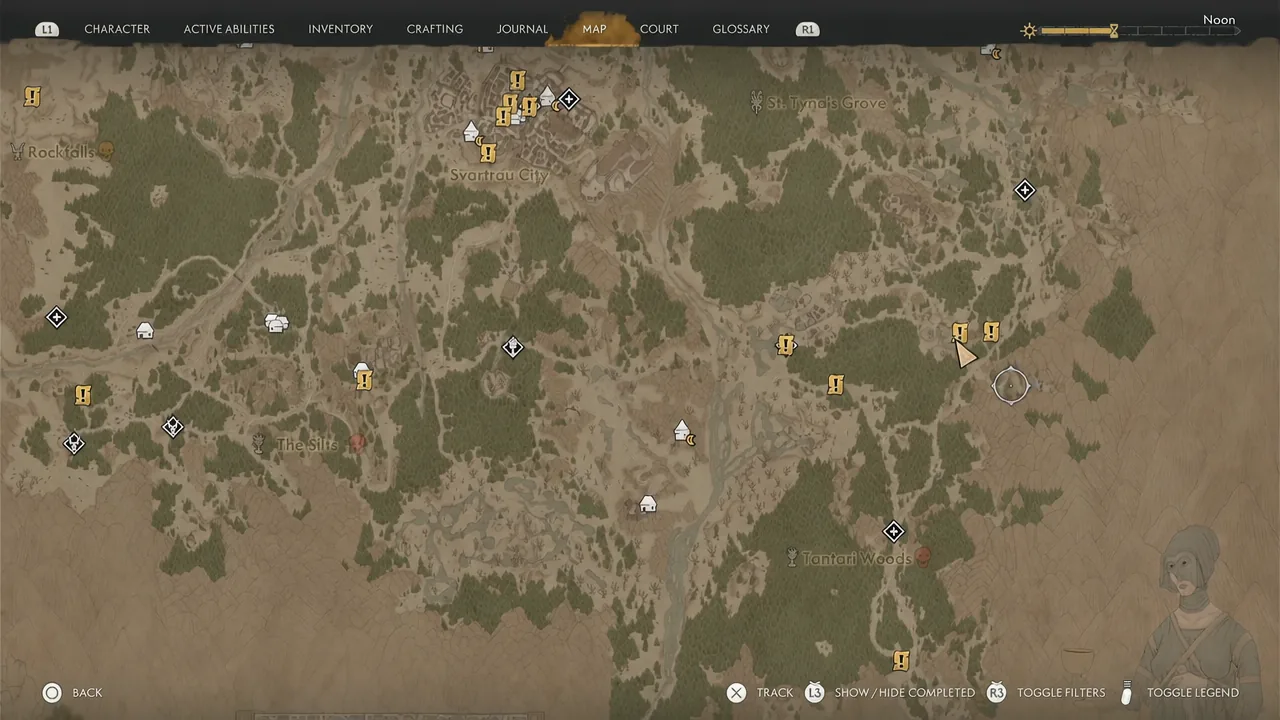
Note: skill manuals show up alongside these hunts as well as inside the chests — the Broad Swing Manual, Adrenaline Rush Manual and Restless Blade Manual all come out of this loop, so search the camps thoroughly rather than grabbing the map and leaving.
Run in order of what you need. The Kingslayer from the Riverbank map and the Polished Long Cleaver from Laslea Glen are the two weapon upgrades; Briar Sloughs, Tantari Woods and Boar’s Back hand over rings; and the Rockfall pair covers armor with the Coat of Darkened Scales and Noble’s Scarlet Buskins. With the clock always running, pairing each map pickup with its dig in a single outing keeps the whole set to a handful of time segments.