

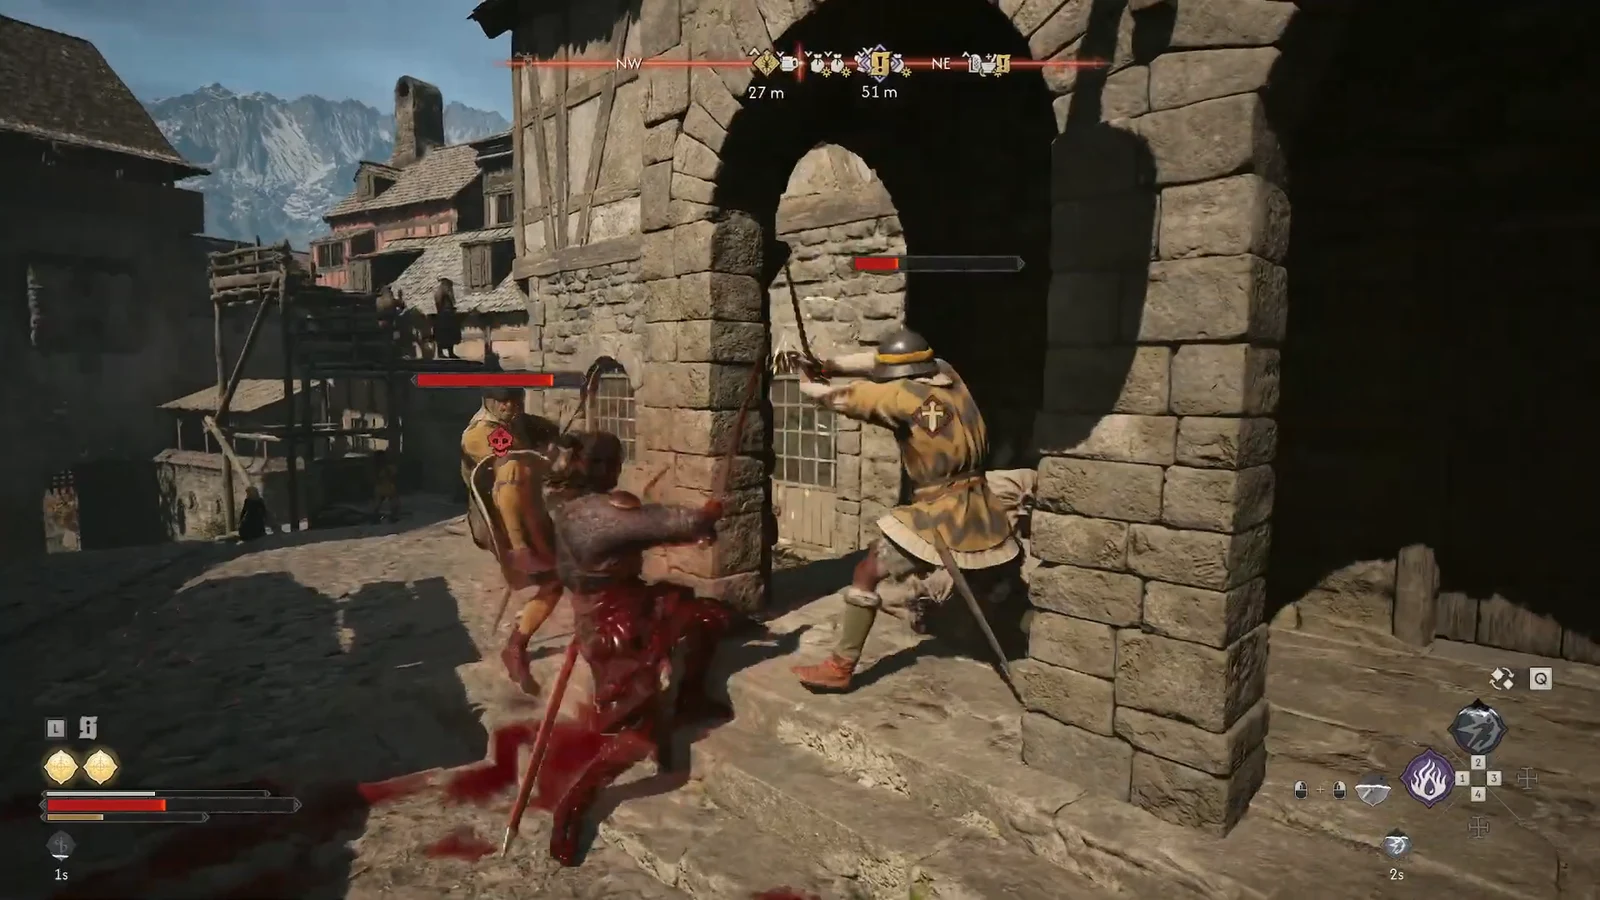
Ambrus’s Cellars: Trouble Brewing is one of three Blood Cellar court activities tied to the vampire lord Ambrus in The Blood of Dawnwalker, and it is the only one that hides its final objective behind a second fight. Players routinely smash every barrel of blood in the cellar, watch nothing happen, and assume the activity has bugged out. It has not. The cellar is only half of it.
Quick answer: Kill the guards in the courtyard, destroy the blood stock in the cellar, then clear the second guard wave outside the house, go inside and head upstairs to the alchemist. Talking him through the interrogation and sparing him ends the activity for 500 XP and 1 Skill Point.
Trouble Brewing location in Svartrau City
The activity sits inside Svartrau City, in a walled courtyard near the Silver Trader. The cellar itself is under a house, so there is no obvious hatch out in the open — you break into the courtyard first, and the entrance is inside.
Court activities are not pinned on your map by default. Every one of them reads as “Unknown Activity” until Coen physically finds it in the world. Synchronising the 11 Towers first is the fastest fix, since it marks nearby activities with white question marks and saves you circling the city on foot.
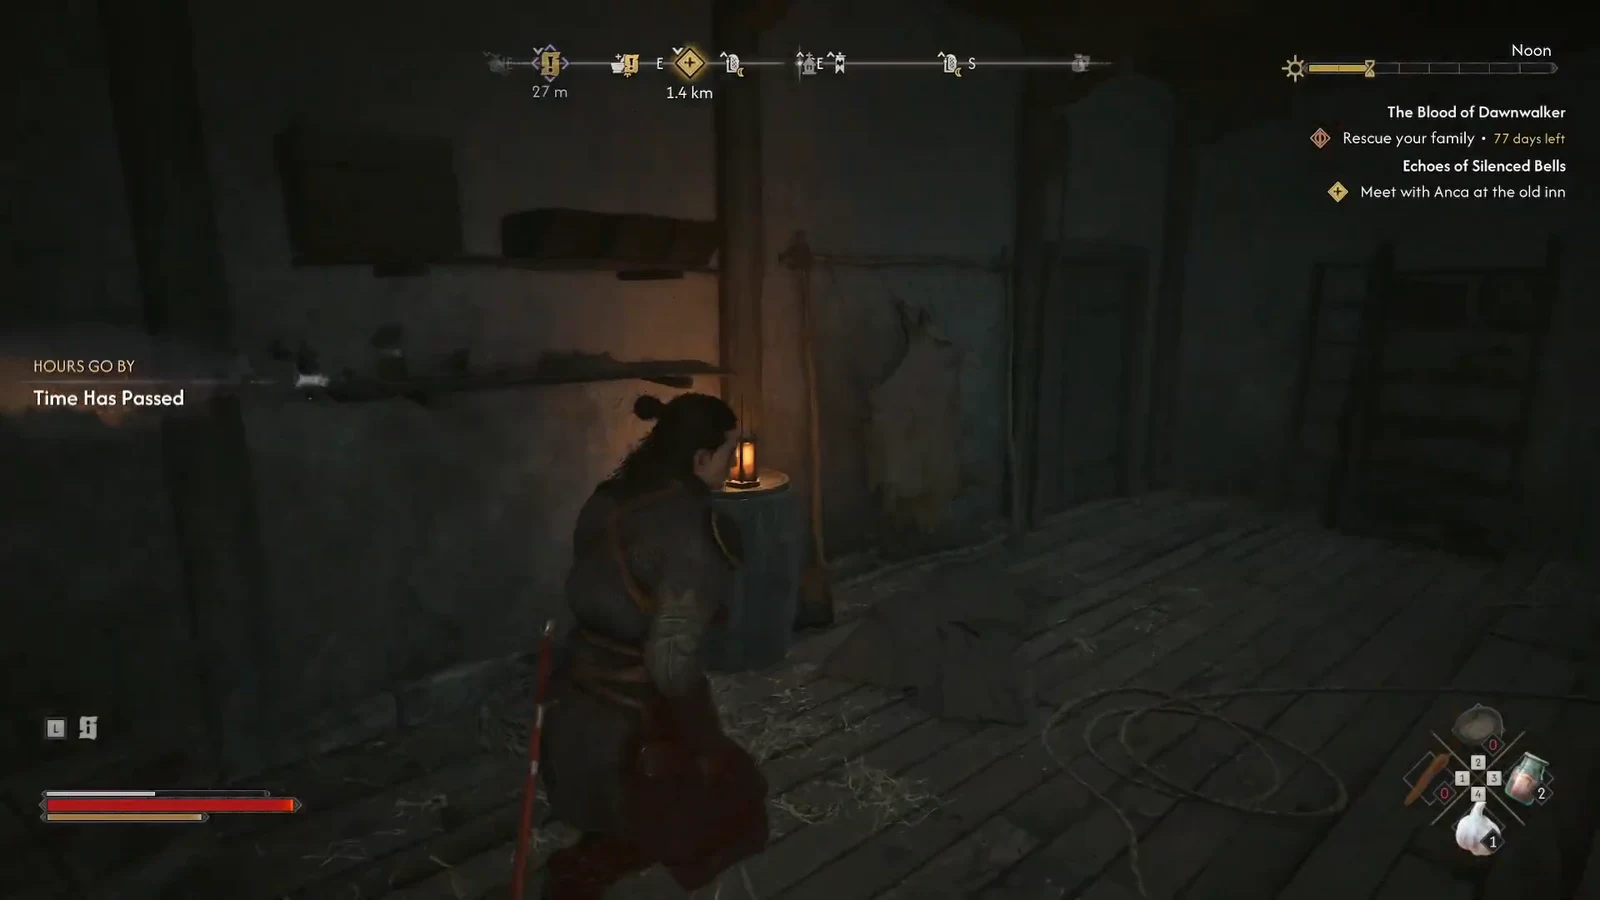
Trouble Brewing costs a single time segment, which makes it one of the cheapest ways to push Ambrus’s Anger meter. That matters when you are working against the 30 in-game day limit before the confrontation with Brencis.
Objective order and what each step needs
The journal only shows one objective at a time, which is why the third step catches people out. Here is the full chain.
| Objective | What actually completes it |
|---|---|
| Defeat the guards | Clear the group patrolling the courtyard outside the cellar entrance |
| Destroy the blood stock | Enter the cellar and interact with the barrels of blood stored there |
| Investigate the house | Beat a second guard wave, search the ground-floor rooms, then reach the alchemist upstairs |
Clearing the courtyard and the cellar
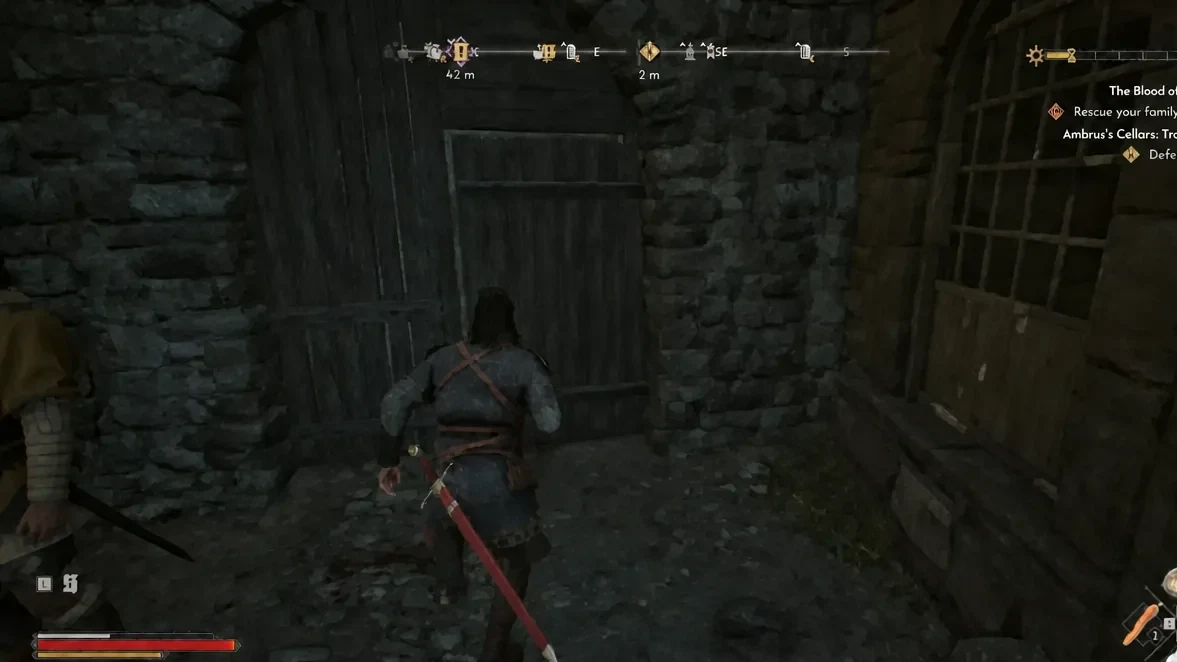
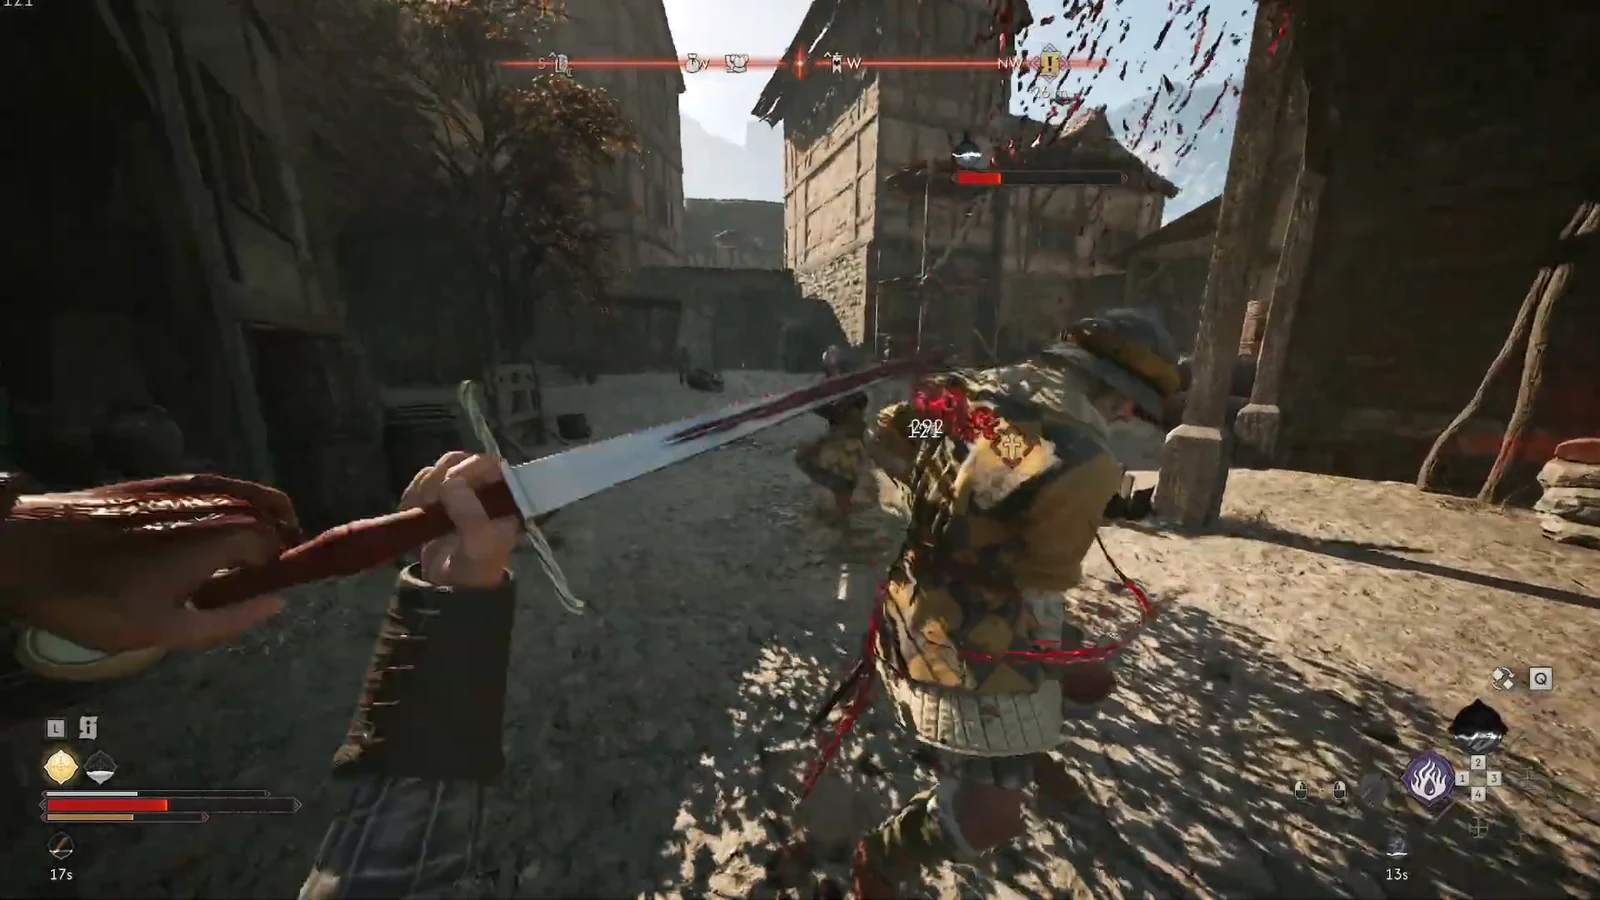
Note: Ambrus’s Blood Cellars generally let you take blood vials for yourself instead of wrecking every barrel. Collecting still destroys most of the stock, but leaves you with vials that heal Coen in combat while in vampire form. No branching consequence has surfaced for either choice, so treat it as a resource decision rather than a story one.
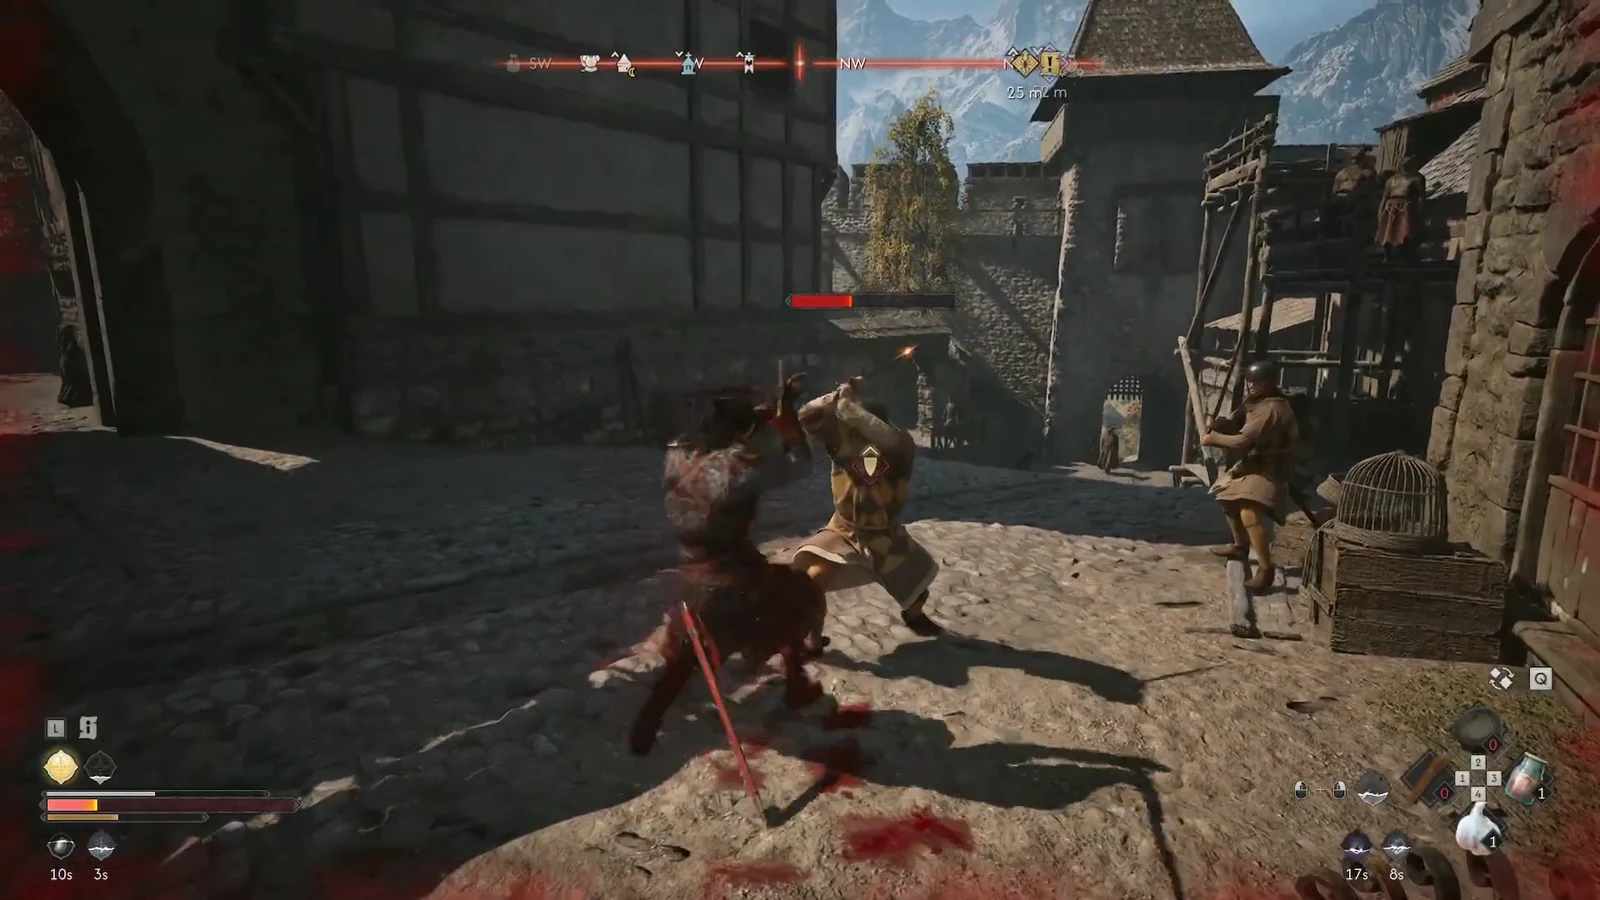
Investigate the house: the second guard wave
Destroying the barrels does not end the activity. Open the journal and the tracker swaps to “Investigate the house”, which is the step most players miss because there is no cutscene or prompt pointing them back up out of the cellar.
The alchemist encounter and how to end the activity
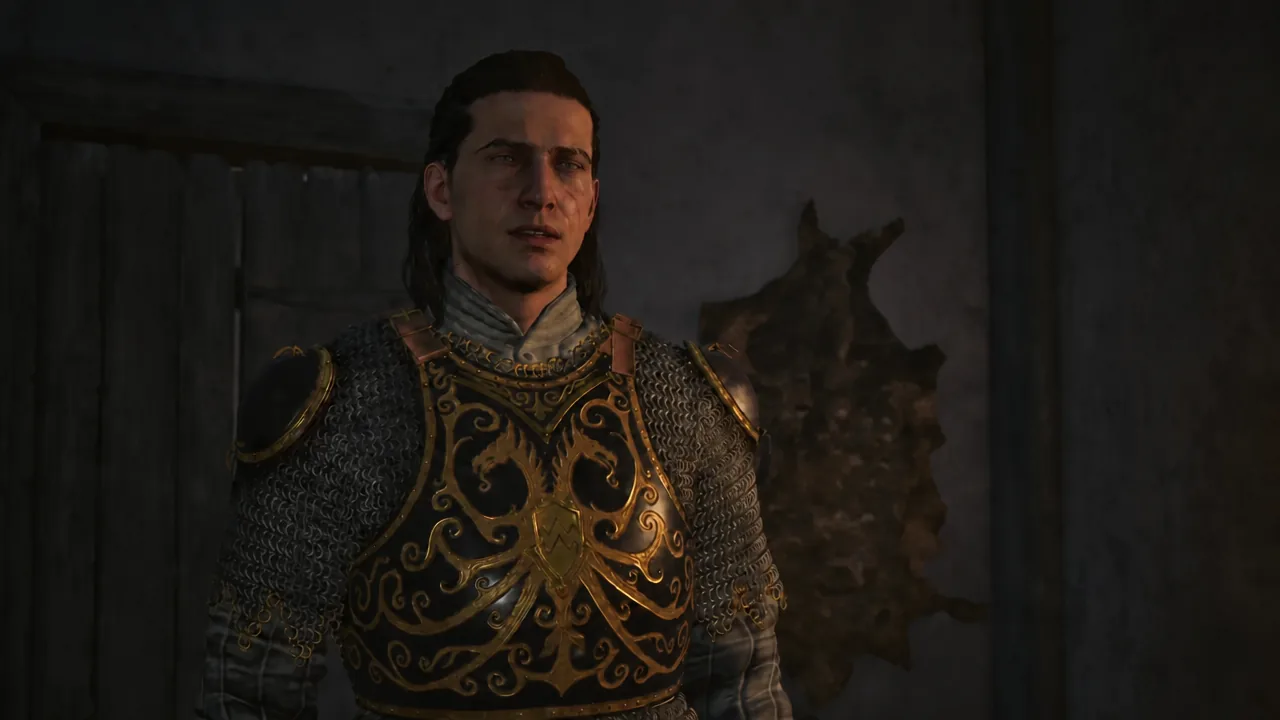
Interact with the alchemist to start the interrogation. Push through the dialogue and he gives up what he knows about the Vrakhiri’s plans, which is the payload of the whole activity — the barrels were only the bait that led Coen to him.
Sparing him closes the activity out. The conversation ends, the journal marks Trouble Brewing as complete, and the reward screen appears immediately afterwards.
Trouble Brewing rewards
| Reward | Amount |
|---|---|
| XP | 500 |
| Skill Points | 1 |
| Potent Razor Claw Vial | 1 |
| Lasting Malediction Manual | 1 |
If the completion screen has not appeared, the cause is almost always one of two things. Either the second guard wave outside the house is still alive, or you destroyed the blood stock and left the area without going upstairs. Neither state fails the activity — return to the same house in Svartrau City and pick up where the tracker left off.
Trouble Brewing is one of 14 court activities in Ambrus’s region, and you only need roughly three quarters of them to max his Anger and unlock The Gilded Gauntlet. Because the Blood Cellars each cost a single time segment while most other activities cost three, they are the efficient choice when you are a small amount of Anger short and do not want to burn a chunk of the clock to get there.





