Unsavory Solutions is one of three leech collection activities tied to Ambrus in The Blood of Dawnwalker, and it plays out the same way as the other two. You find a small swamp camp, kill the soldiers stationed there, and decide what to do with the barrels of leeches they have been gathering. It is short, it costs 3 time segments, and it is one of the faster ways to push Ambrus’s anger meter up.
Quick answer: Travel to the camp between Briar Sloughs South and Southern Swampside, kill the four camp guards and the wolves that show up, then interact with the leech barrels and destroy them. If this is your third leech camp and you have wrecked barrels at least once, The Bloodletter spawns — beat him, loot his body, and the quest ends.
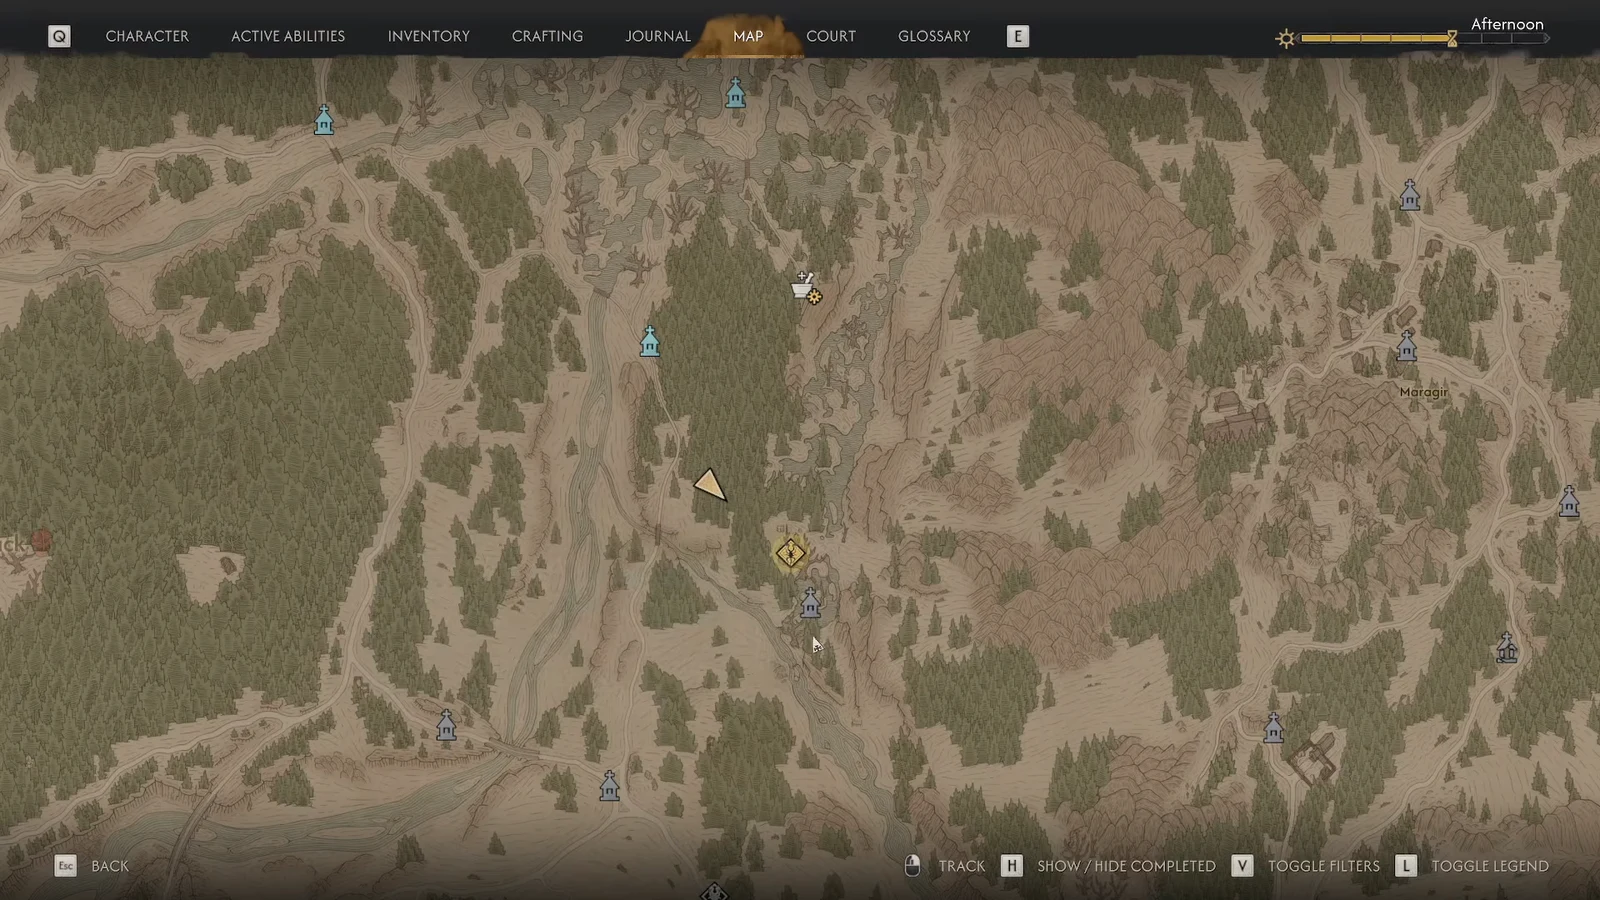
Unsavory Solutions camp location
The camp sits on a small island in the marsh, south of Briar Sloughs South and north of Southern Swampside. Like every Court Activity, it will not appear on your map as a named quest until you stumble across it, so it shows up as an unknown activity marker until you get close enough to trigger it.
Time of day does not matter here. The guards are ordinary soldiers scaled to Ambrus’s level 1+ region, and the fight is manageable in either day or night form, so slot it in whenever your schedule allows.
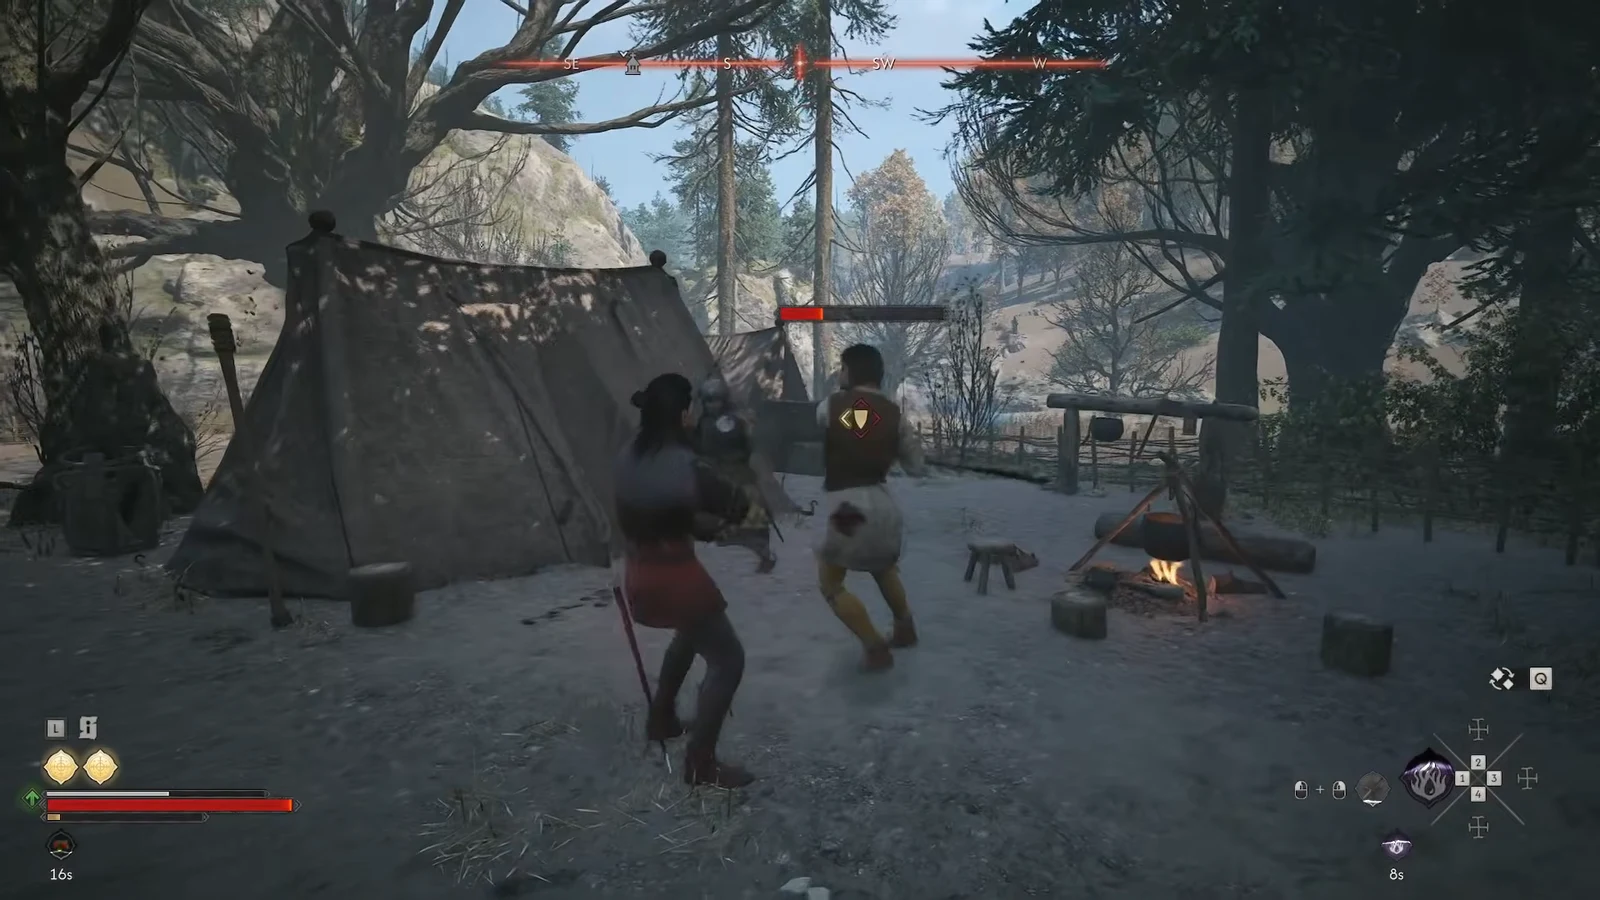
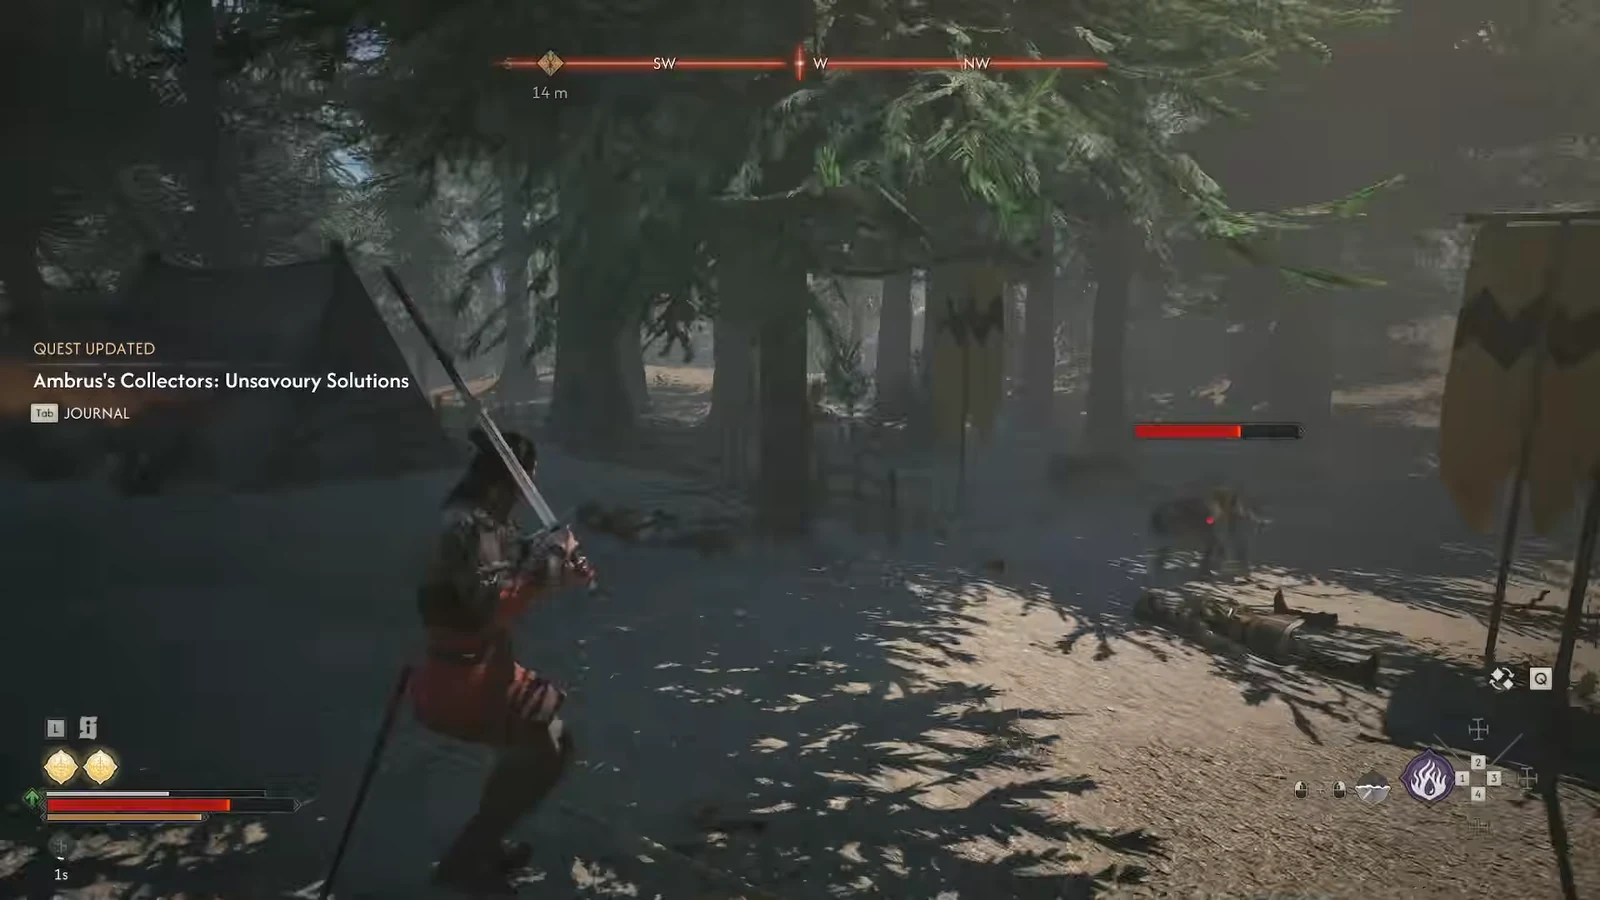
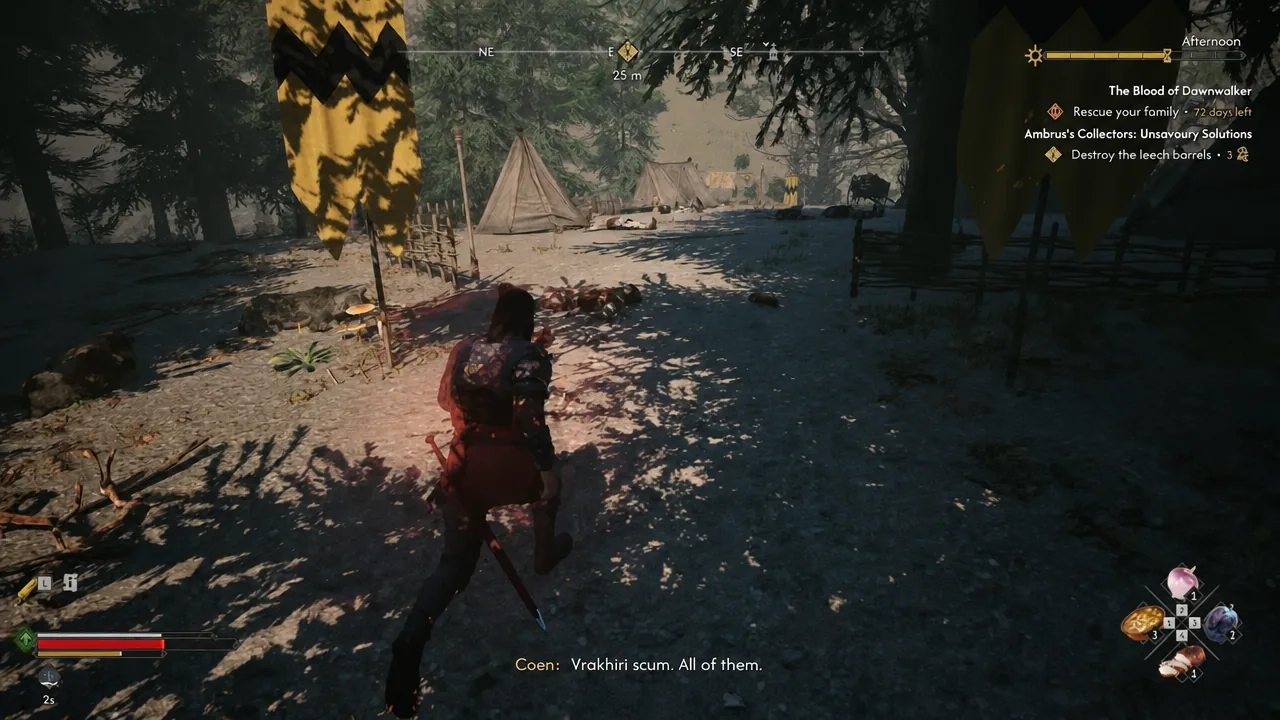
Clearing the camp
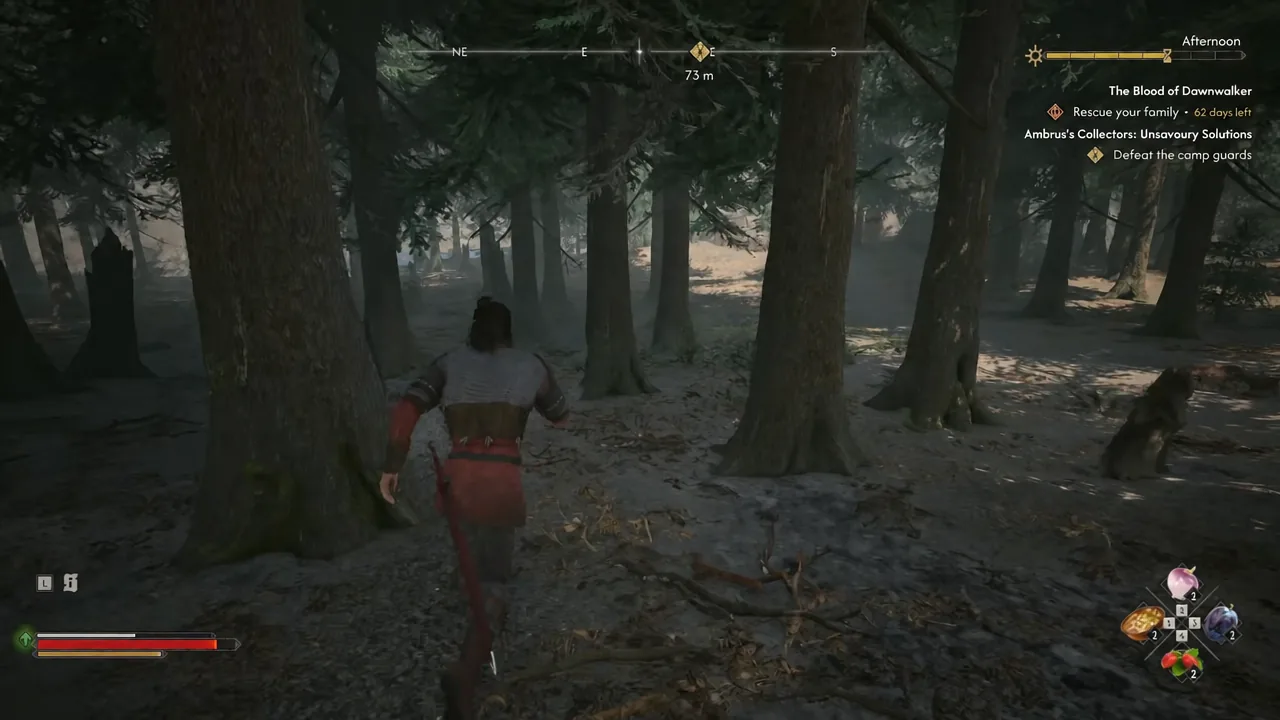
Destroy the barrels or back down
The collectors want to sell what they have gathered and will ask you to walk away. Backing down pays exactly the same as smashing the barrels, so the XP, skill point and Blood Leeches are identical either way. No long-term consequence has surfaced from picking one over the other.
There is one catch worth knowing before you play nice. Sparing the barrels at every single camp leaves the last leech activity you attempt stuck without completing. Time still advances, but the reward and the anger it should add to Ambrus never land. Destroying the barrels at a minimum of one camp avoids that entirely.
Rewards and time cost for all three leech camps
Unsavory Solutions, Bounty of the Mire and Wetland Helpers all pay the same base reward. The only figure that shifts is the Blood Leeches count, which scales with how many of the three you have finished, not with which quest name you are looking at.
| Camp order | Time cost | Reward |
|---|---|---|
| First camp completed | 3 time segments | 250 XP, 1 Skill Point, 5x Blood Leeches |
| Second camp completed | 3 time segments | 250 XP, 1 Skill Point, 12x Blood Leeches |
| Third camp completed | 3 time segments | 250 XP, 1 Skill Point, 18x Blood Leeches |
The Bloodletter boss fight
The Bloodletter is the reason to bother with this questline at all. He only spawns once you have dealt with the barrels at your third leech camp, and only if you destroyed barrels at least once along the way. If Unsavory Solutions is the last of the three you clear, he turns up here after the cutscene.
He is a large, dual sword-wielding enemy and a real jump in difficulty from the guards you just flattened. His unblockable attacks carry a wide area of effect, so a single dodge often is not enough. Roll away twice when you see the wind-up and reset from a distance instead of trying to punish through it.
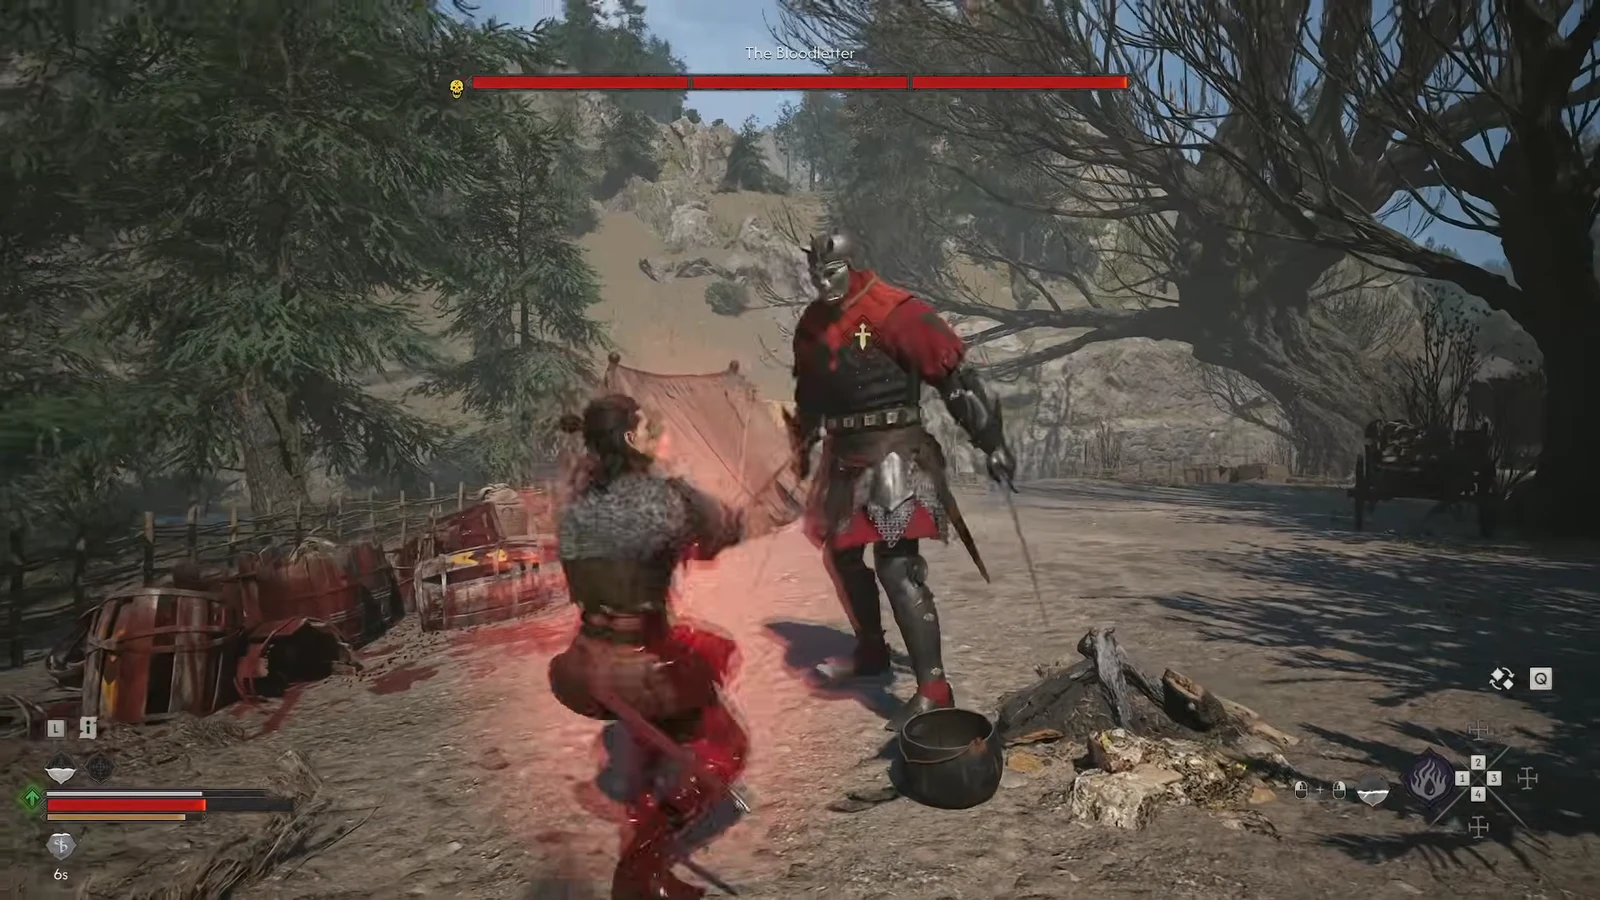
His body is worth searching. A single clear of the fight can hand over 123 Demorius, a Meat Stew, a Minor Balm of Fortitude, Brennus’s Elite Soldier’s Fibula, a Ring of Vakhshir Regeneration, a Loyal Pilgrim’s Messer, a Phial of Bakir’s Blood and a Renewed Focus Manual, on top of the 250 XP and skill point from the activity itself.
Confirming the quest completed
You will know it worked without checking the menu. Time jumps forward, a QUEST ENDED card appears, and the reward summary lists your XP and skill point. Looting the boss also produces a note titled New Orders from Ambrus, which is the clearest sign the activity registered against him.
If you get the time skip but no reward screen, the barrel decision is the thing to look at. That is the failure state described above, and it applies to whichever leech camp you happen to finish last.
Note: the Court tab tracks how much of Ambrus’s operation you have dismantled. His anger meter has to hit maximum before the sidequest that leads to a duel with him unlocks, and each leech camp is a small push in that direction.
With all three barrel sites handled, Unsavory Solutions is done and The Bloodletter’s gear is in your inventory. The rest of Ambrus’s Court Activities — the blood transports, the cellars, the prisoner camps — work the same way, and you only need to clear roughly three quarters of them before he comes looking for you.