The land around Laslea Glen in The Blood of Dawnwalker is packed with gear that punches well above what the opening hours normally hand you. Ruined stone walls, a flooded cavern, a stone glyph, and a swamp circle each hold a fixed reward, and none of them require a long detour from the starting region.
Quick answer: The three strongest early pickups are the Diamond Breastplate in a chest far west of Briar Sloughs, the Mireleaf Bracers inside the ancient ruins cavern northwest of Laslea Glen during “Deep down”, and the Ravenous Flock Witchcraft ability from the stone glyph southwest of the starting village.
Every early game reward and where it sits
| Reward | Location | What it takes |
|---|---|---|
| Mireleaf Bracers, Undead Warrior’s Sword | Cavern northwest of Laslea Glen | “Deep down” quest, open the tomb in the mural room |
| Ravenous Flock (Witchcraft) | Stone glyph southwest of the starting village | Kill the Ravenous Bear, then use the glyph |
| Squire’s Fine Padded Trousers | Cave west of the glyph | Kill the bear outside, loot inside |
| Diamond Breastplate, Amulet of Clawing | Far west of Briar Sloughs | Climb the ruined stone walls to the chest |
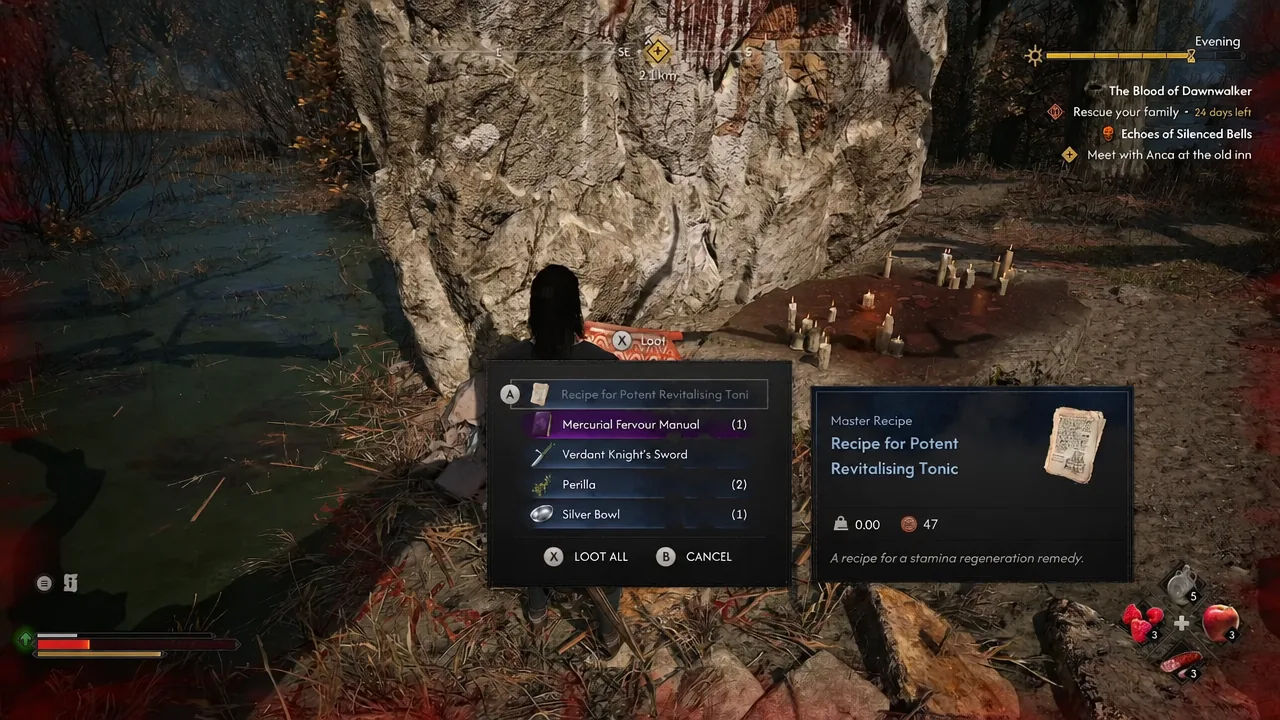
| Recipe for Patent Revitalising Tonic, Verdant Knight’s Sword | Ancient Circle: Northern Swamps | Activate the orb, clear the undead, loot the chest |
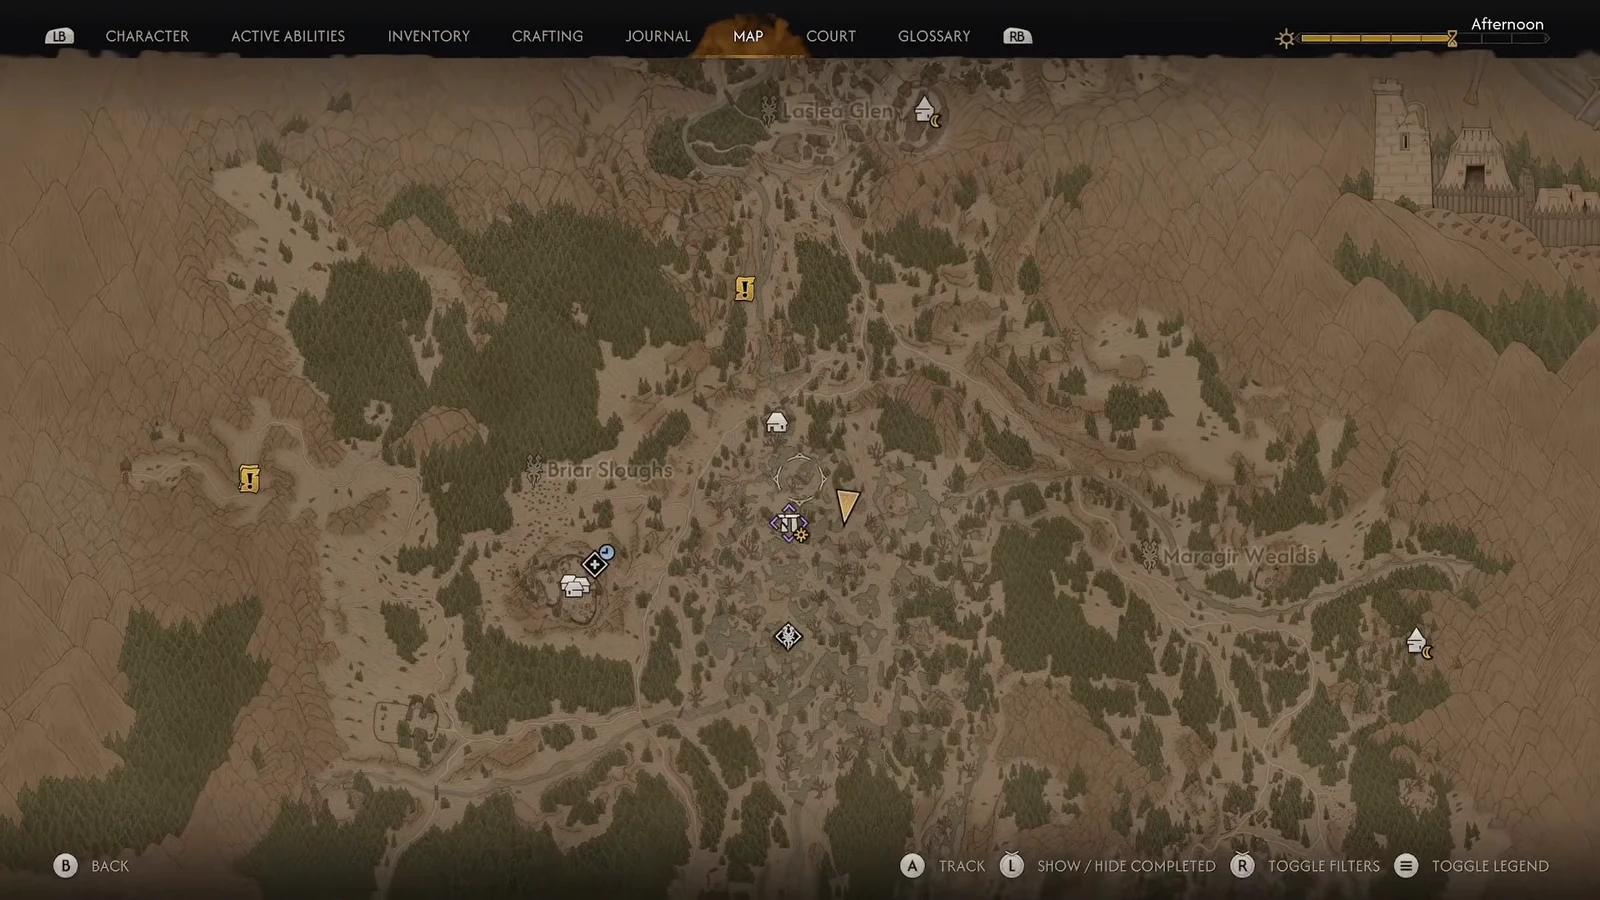
| Recipe for Minor Fortitude Paste, Polished Long Cleaver | Dig site marked by Treasure Map: Laslea Glen | Take the map from the bandit camp east of the glen |
| Second Skin II Manual | Rocky ledge near the bandit camp | Climb the rocky path, open the loot pouch |
| Band of Persistence | Shallow cave northeast of Laslea Glen | Climb in and loot the skeleton |
Armor and weapons: bracers, breastplate, and trousers
Three separate pieces cover most of your loadout before you ever leave the region. The bracers come from the ruins, the breastplate is a heavy armor upgrade sitting in a chest, and the trousers are a straight bear fight.
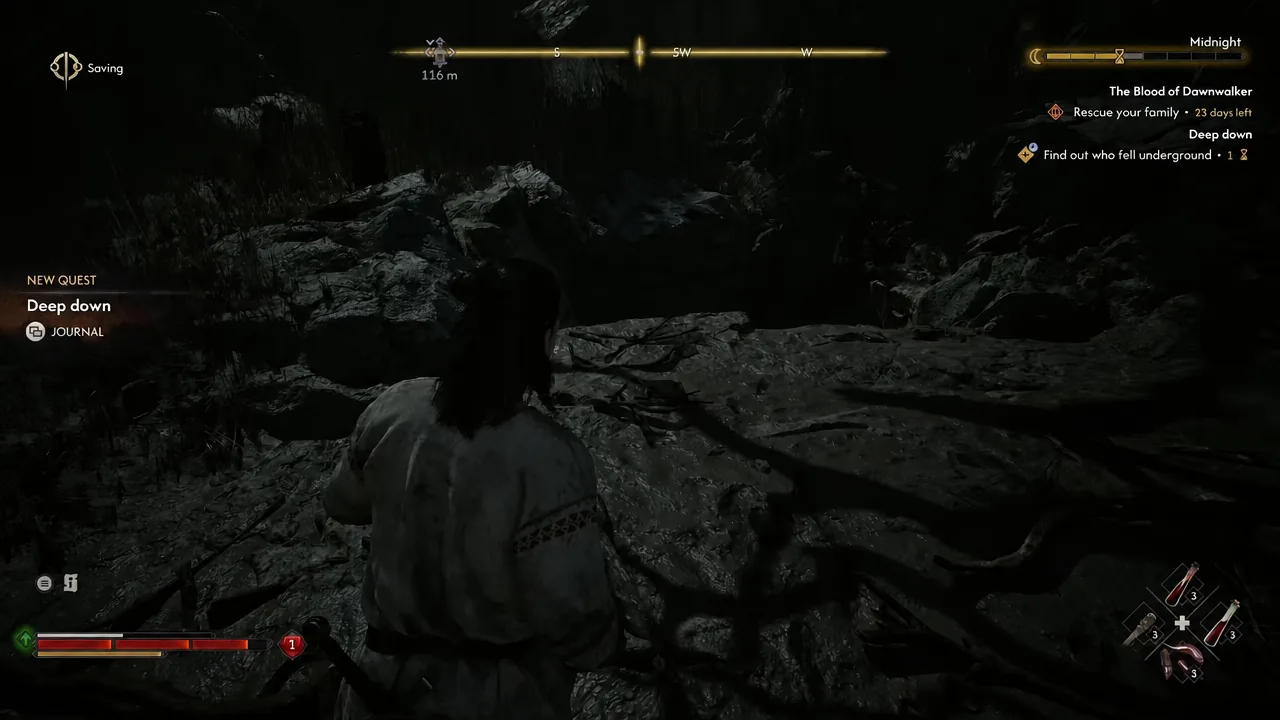
Mireleaf Bracers and the Undead Warrior’s Sword
Diamond Breastplate and Amulet of Clawing
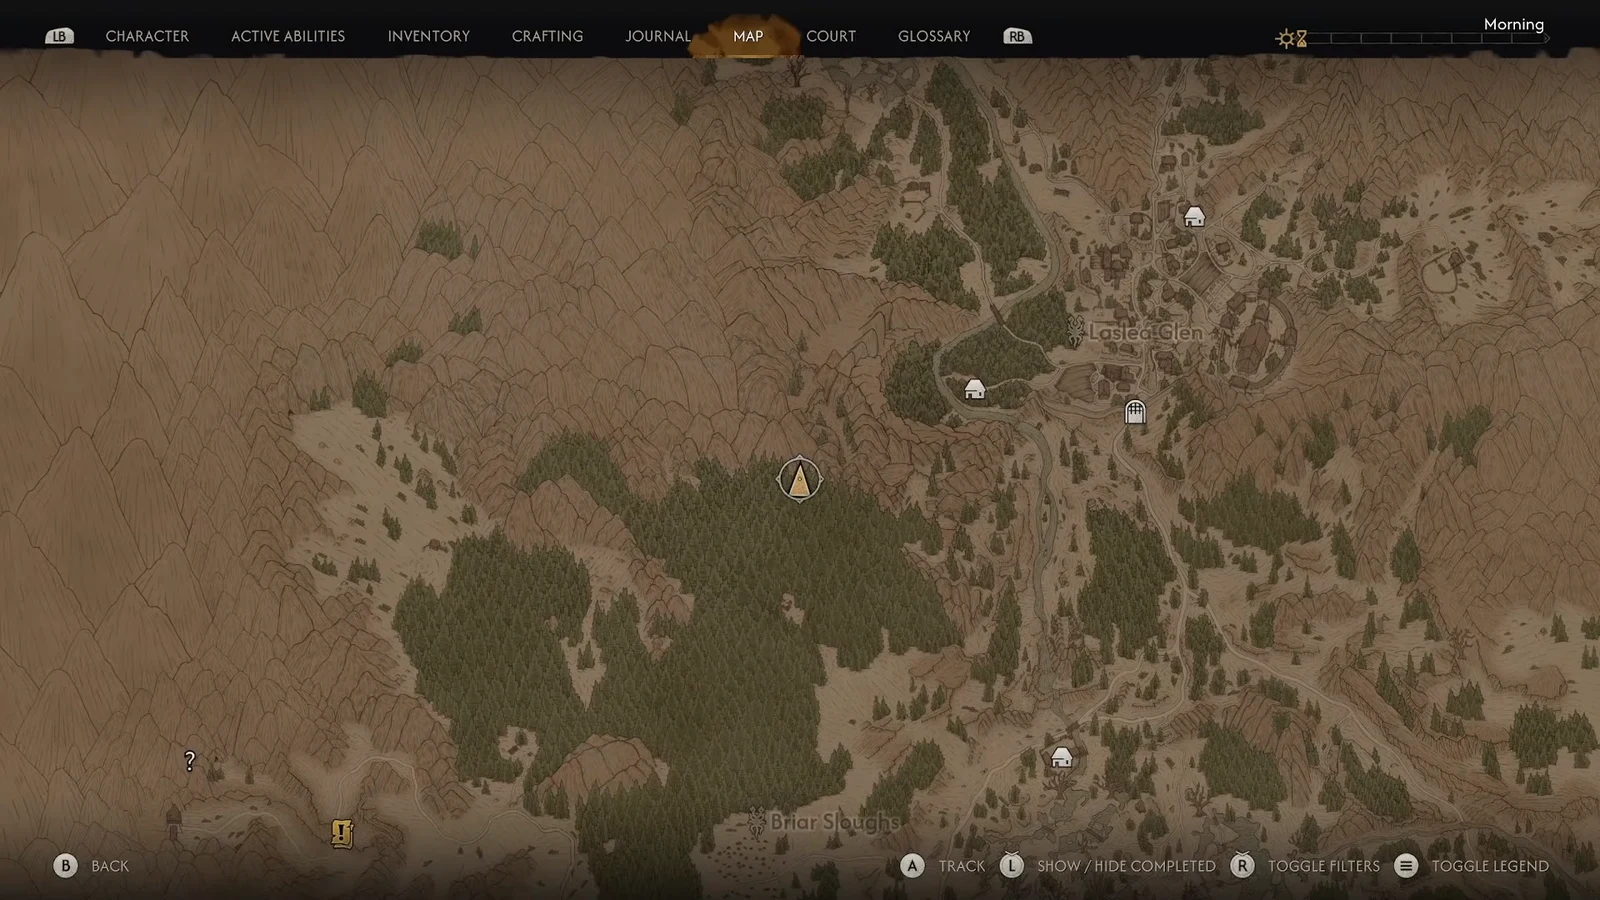
Head far west of Briar Sloughs until you find a stretch of ruined stone walls. The chest is not on the ground, so climb the broken masonry to reach it. Inside you get both the Diamond Breastplate, a piece of heavy armor, and the Amulet of Clawing.
Squire’s Fine Padded Trousers
West of the stone glyph there is a cave with a bear guarding the entrance. Kill it, walk inside, and the Squire’s Fine Padded Trousers are waiting there. Keeping the map open helps here, since the glyph, the cave, and Briar Sloughs all sit close together.
Ravenous Flock: unlocking the area attack from the stone glyph
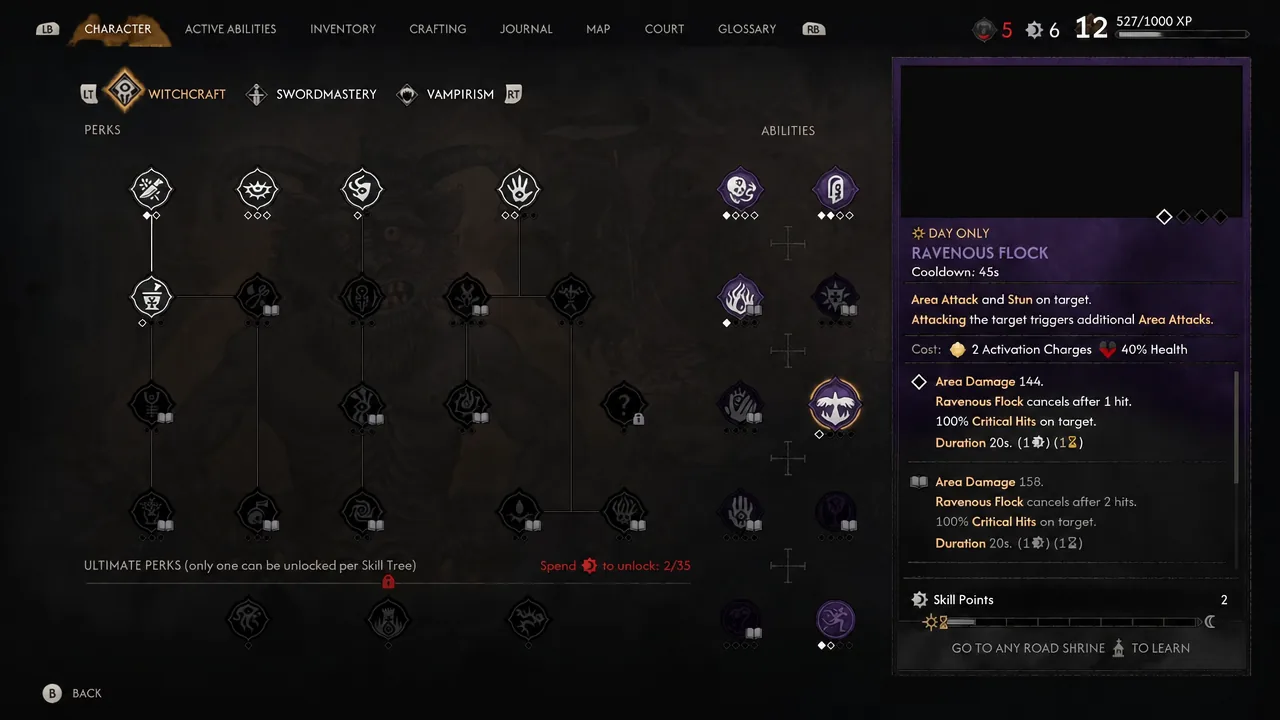
Note: if the glyph does nothing when you approach it, the bear is still alive somewhere nearby. Clear it and try again.
Ancient Circle: Northern Swamps and the healing recipe
The Ancient Circle in the Northern Swamps is a combat event rather than a puzzle. Activating the orb at the centre starts it, undead enemies spawn around you, and the chest only becomes worth opening once they are dealt with.
Clearing the encounter gives you the Recipe for Patent Revitalising Tonic along with the Verdant Knight’s Sword. The tonic recipe is the reason to bother early, since a reliable healing option matters far more than raw damage at this stage.
Bandit camp east of Laslea Glen: treasure map and the Second Skin II Manual
Band of Persistence: the master ring northeast of Laslea Glen
Northeast of Laslea Glen there is a shallow cave set into the rock that you have to climb into rather than walk into. A skeleton lies inside, and looting it hands over the Band of Persistence, a master ring. There is no fight attached, so it is the fastest of these pickups if you are short on time.
Run the whole loop in one trip and you come out of the starting region with heavy armor, a master ring, an area attack, two swords, an armor manual, and two crafting recipes. The only piece that is time-gated is the cavern jump for the Mireleaf Bracers, so plan that one for midnight and slot the rest around it.