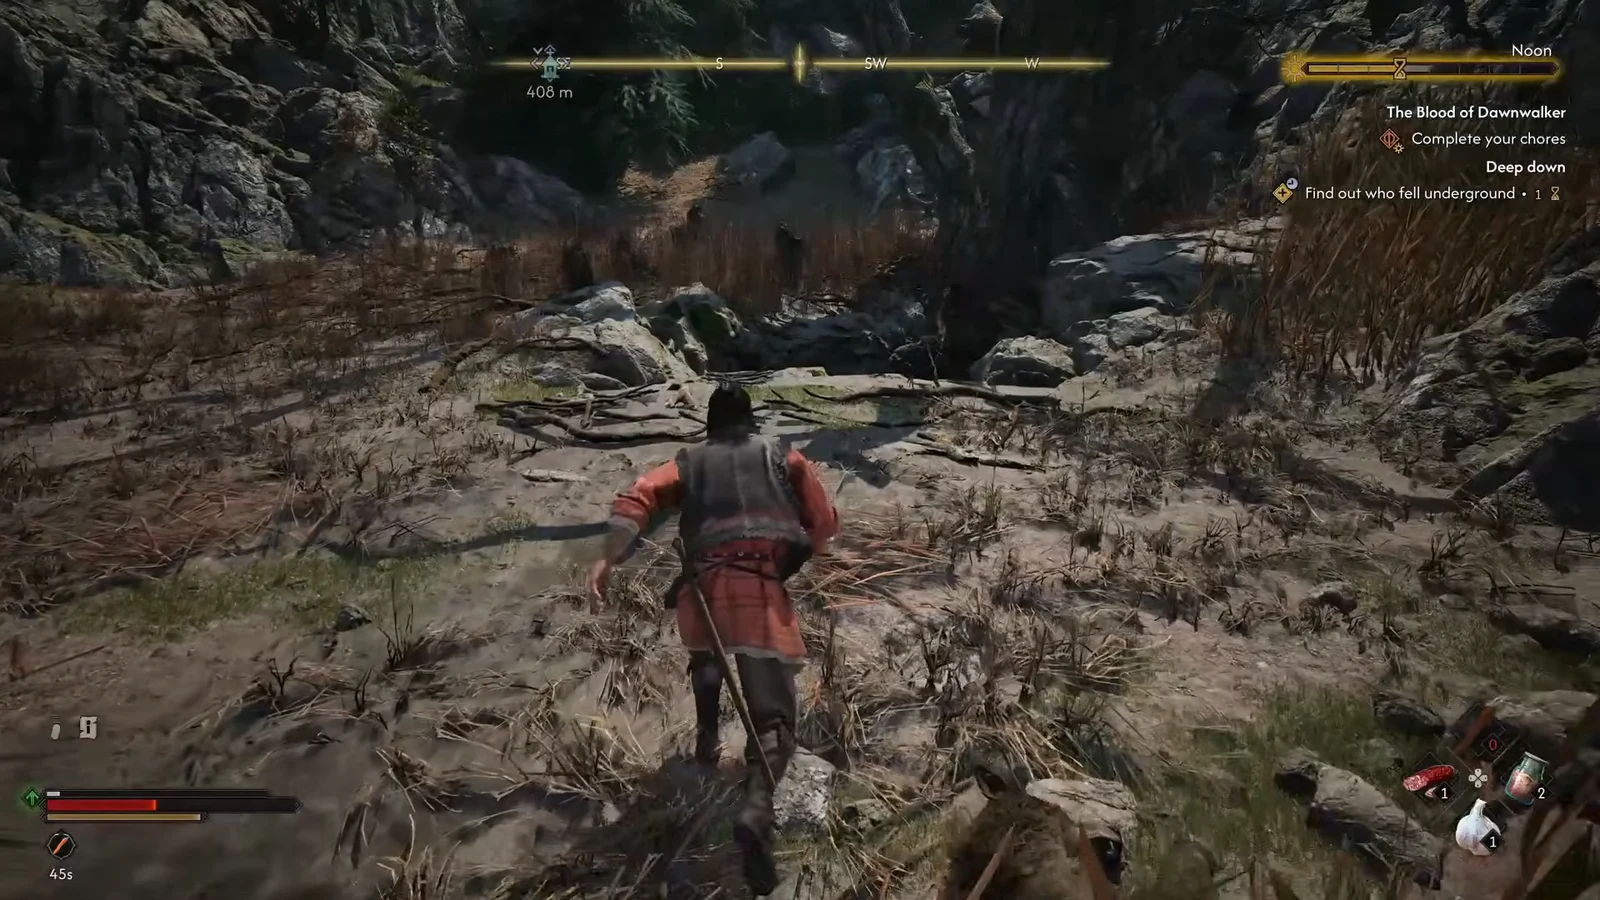
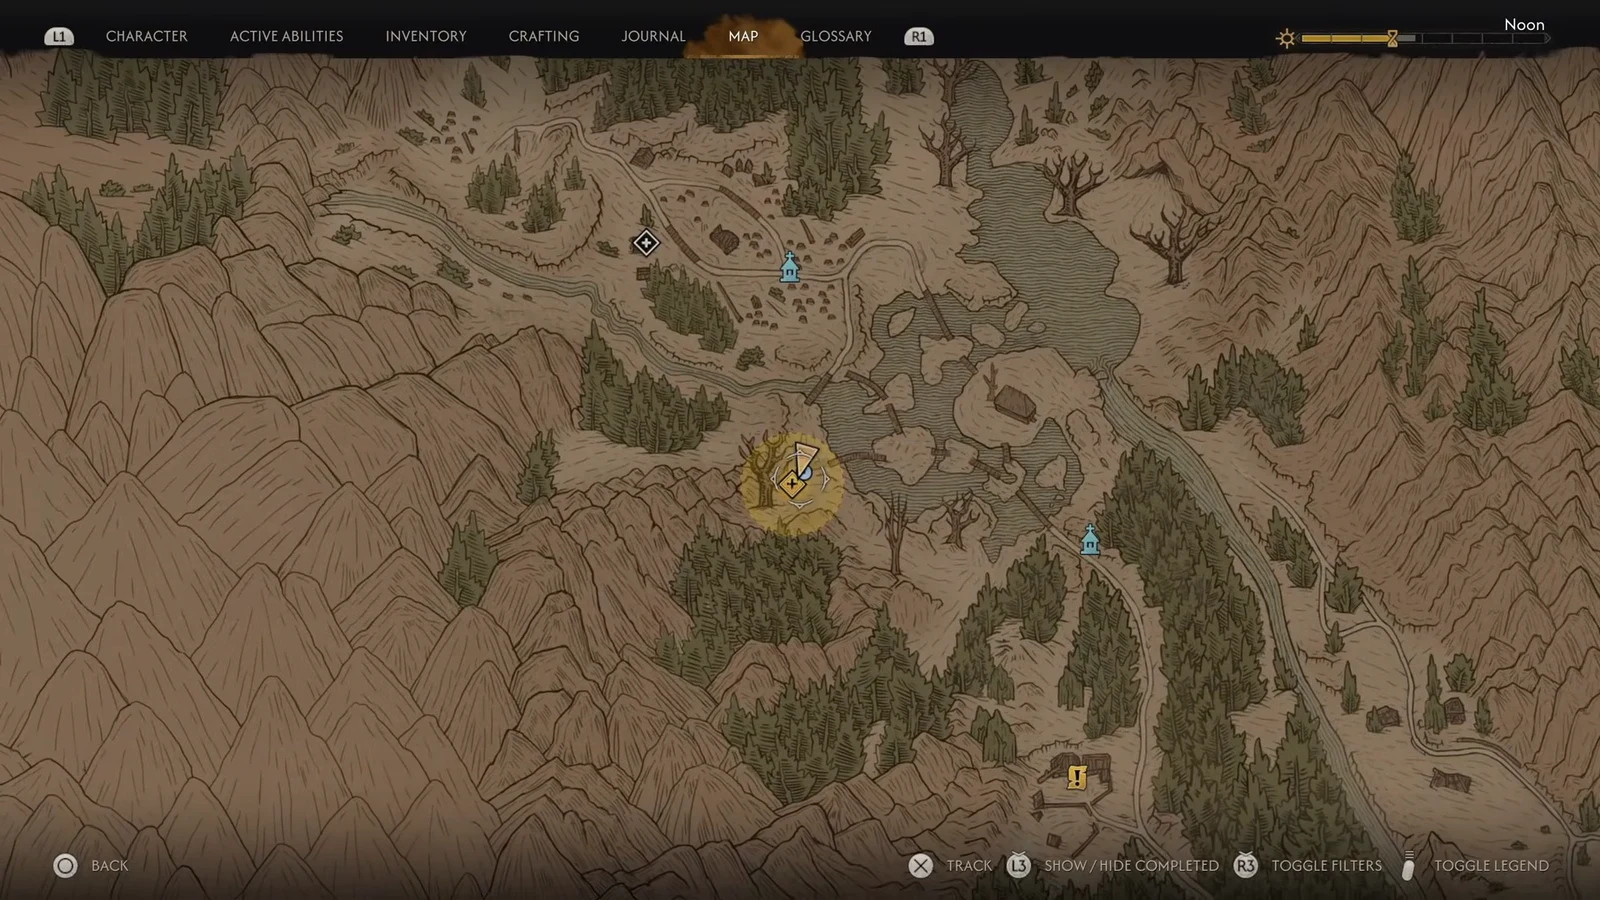
The Mireleaf Bracers are the strongest piece of arm armor you can wear during the opening hours of The Blood of Dawnwalker, and most players walk past them because the tomb that holds them is buried under a hole in the peat bogs. They come from the Deep Down side quest, which is time-sensitive, so grabbing them early means planning your day around it rather than stumbling into it.
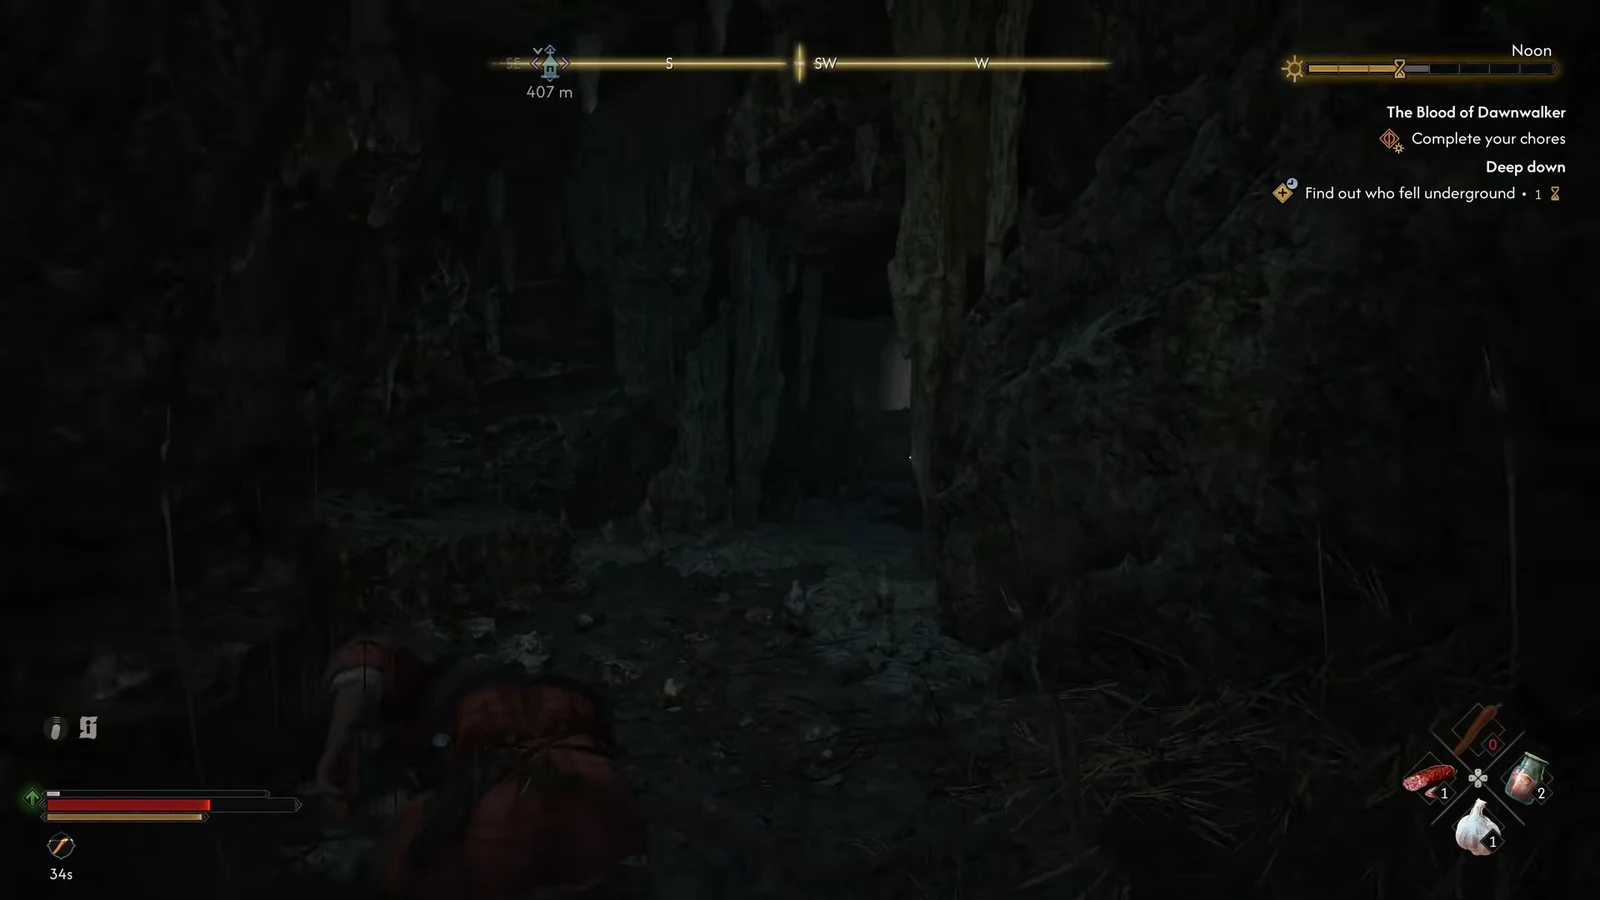
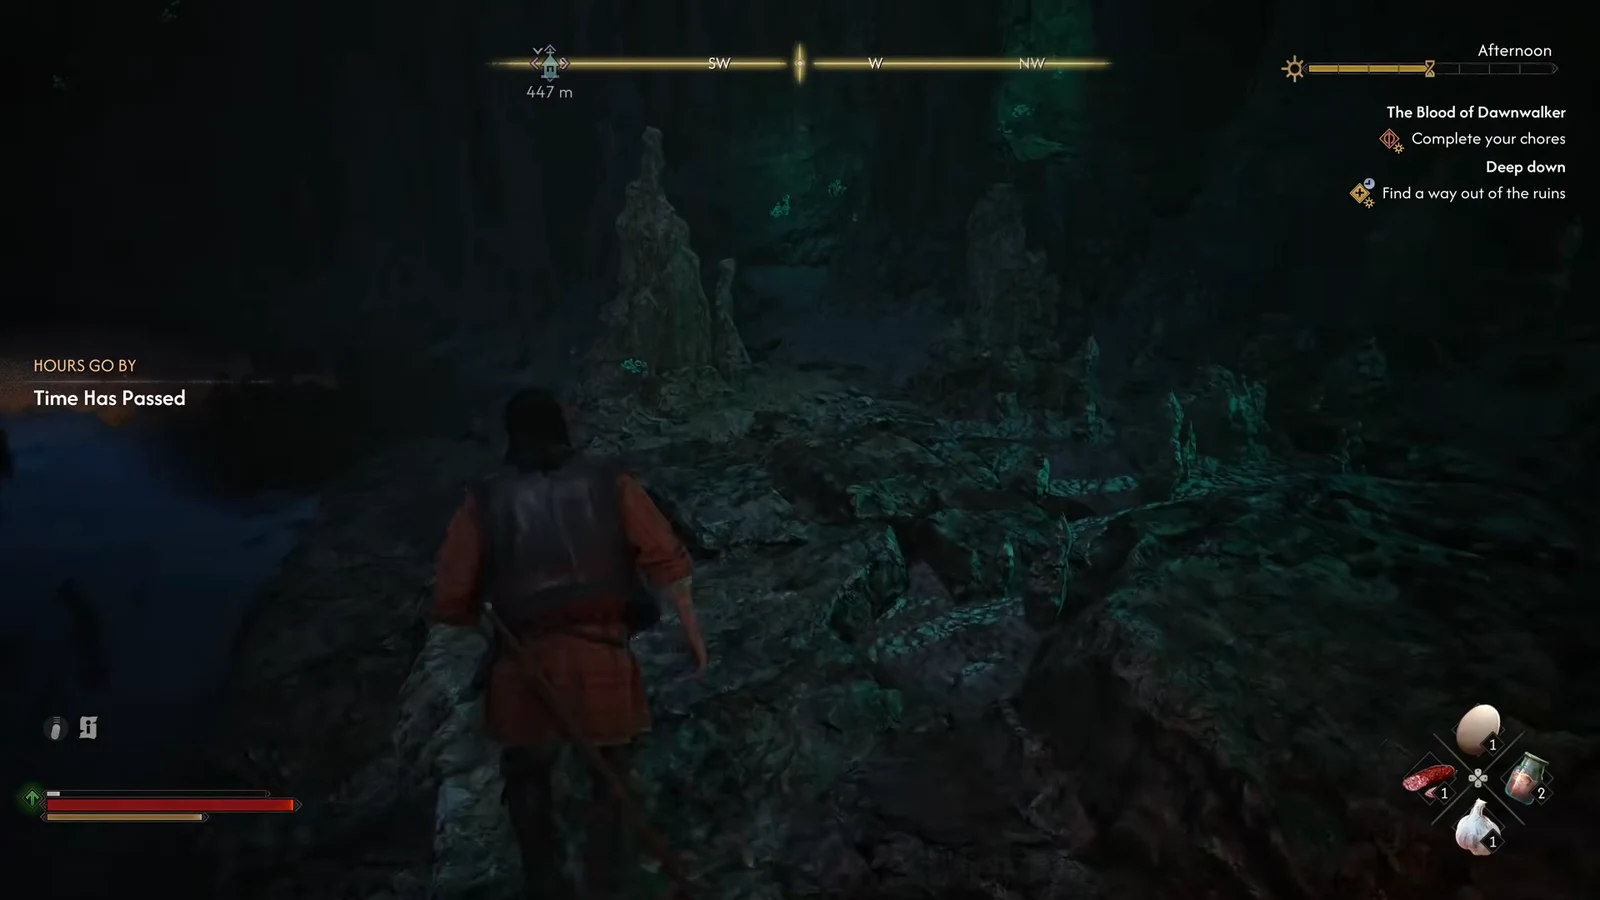
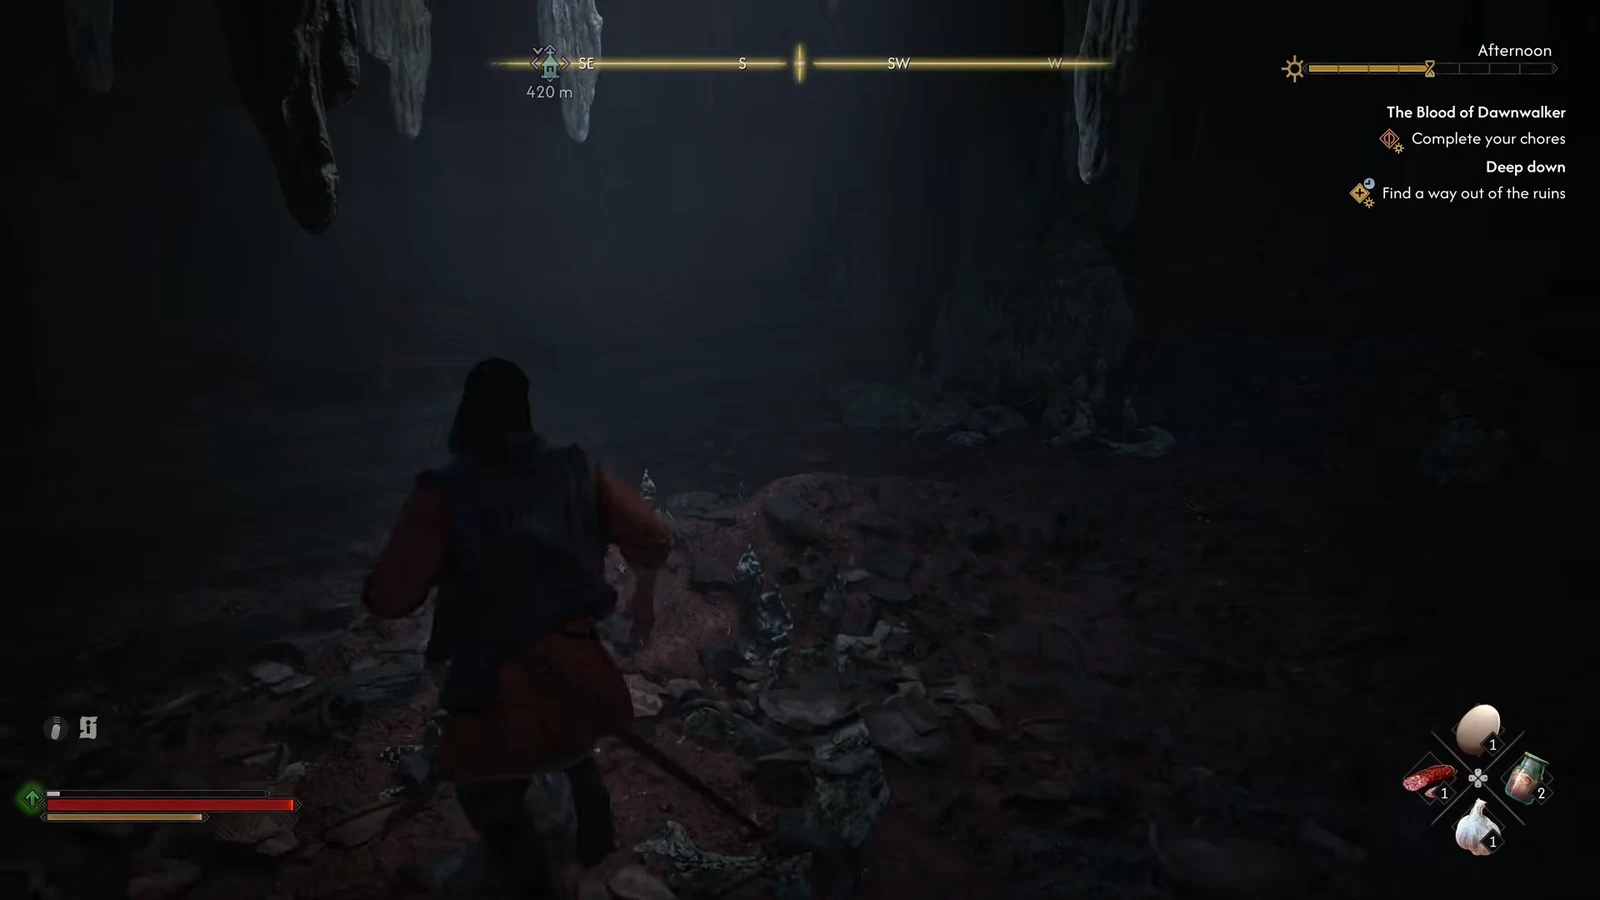
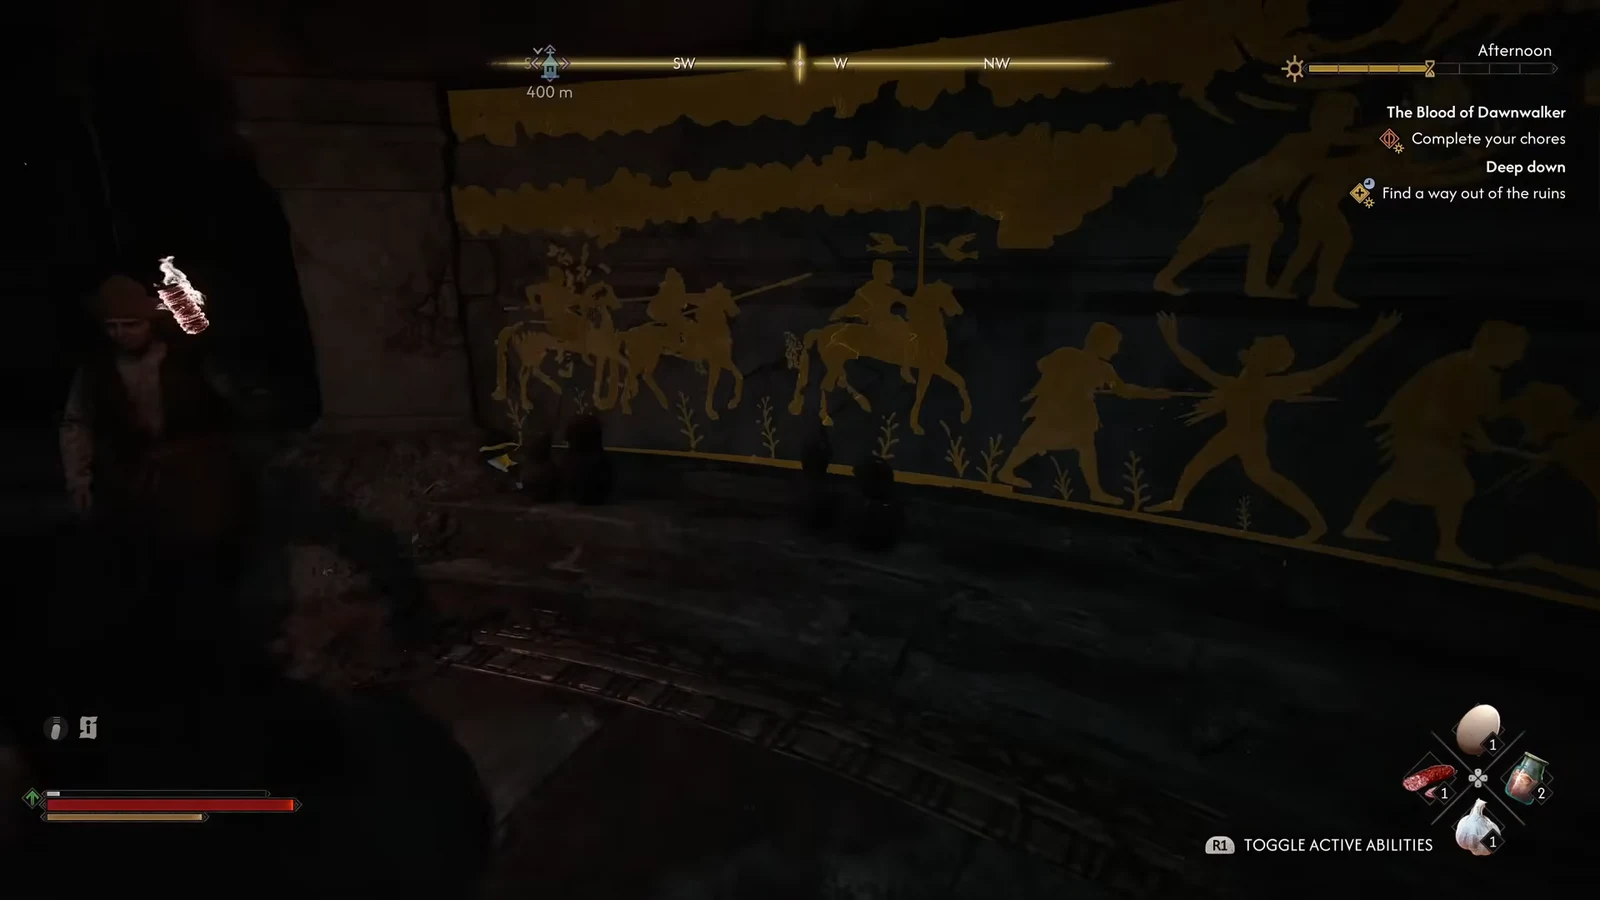
Quick answer: Drop into the pit in the bogs northwest of the village, follow the caves into the underground ruins, inspect every mural in the circular chamber and then the sarcophagus at its center, and loot the sarcophagus to receive the Mireleaf Bracers.
Mireleaf Bracers stats and effects
These are rare light bracers that most characters will be wearing with an empty arm slot, so the armor value is a straight upgrade. The Claw Art bonus is the standout, since it feeds Coen a special attack combination that becomes available once the icon fills during a fight.
| Property | Value |
|---|---|
| Type | Master Light Bracers (arms) |
| Item level | 5 |
| Armour | 36 |
| Claw Art | +1 (15s cooldown) |
| Block stamina cost | -7% |
| Weapon critical hit chance | +2% |
| Weight / Value | 1.20 / 32 |
When to run Deep Down before it locks out
Deep Down is handed out by Gavril, whose farm sits east of the Anca’s Hut shrine, and it can also start on its own the moment you find the Ancient Ruin. Finding Lazar underground burns a time segment on the Time Bar, so leave at least one pip of daylight spare before you set out.
Two things change depending on how long you wait. If you head down before the Time Bar drops to its last three segments in the prologue, Lazar is still alive and you can walk him back to his brother. Go later, or come back after the prologue is over, and you find his body instead, killed by a blade rather than the fall or the wolves. The quest itself has to be finished before Sacred Covenant, the mission that follows the Blood Mass at nightfall, or it fails outright.
Note: the bracers themselves are not tied to Lazar’s fate. The sarcophagus is still lootable whichever version of the quest you run.
Route to the sarcophagus in Blackwater Hollow
How to confirm the bracers are yours
Open the inventory and check the arms slot. The tooltip reads Master Light Bracers, Mireleaf Bracers, Level 5, with 36 armour and the Claw Art line, plus the description that calls them “oddly nice and soft.” If the slot is still empty, you looted the surrounding urns but not the sarcophagus itself.
Two things stop the pickup. The sarcophagus only becomes interactive after the mural points have been inspected, so a wall panel you skipped is the usual culprit. The other is timing, since letting the day run out before you reach the pit fails the quest along with every other clock-marked objective in the prologue.
Getting out past the Forgotten Guardian
Equip the bracers before you leave the chamber, because the eastern hallway leads to the Forgotten Guardian, an undead swordsman who takes exception to grave robbing. His twin unblockable strike is telegraphed by a glow on both blades, so dodge the moment you see it. Chipping him down with combos rarely works. Perfect block, land one hit, then reset to your guard.
Loot the Undead Warrior’s sword after the fight, climb the ramp back to the surface, and return to Gavril for 250 XP and coin. Telling the elderman about what happened is optional and does not affect the reward, which means the bracers are already banked on your arms before the prologue clock runs out.