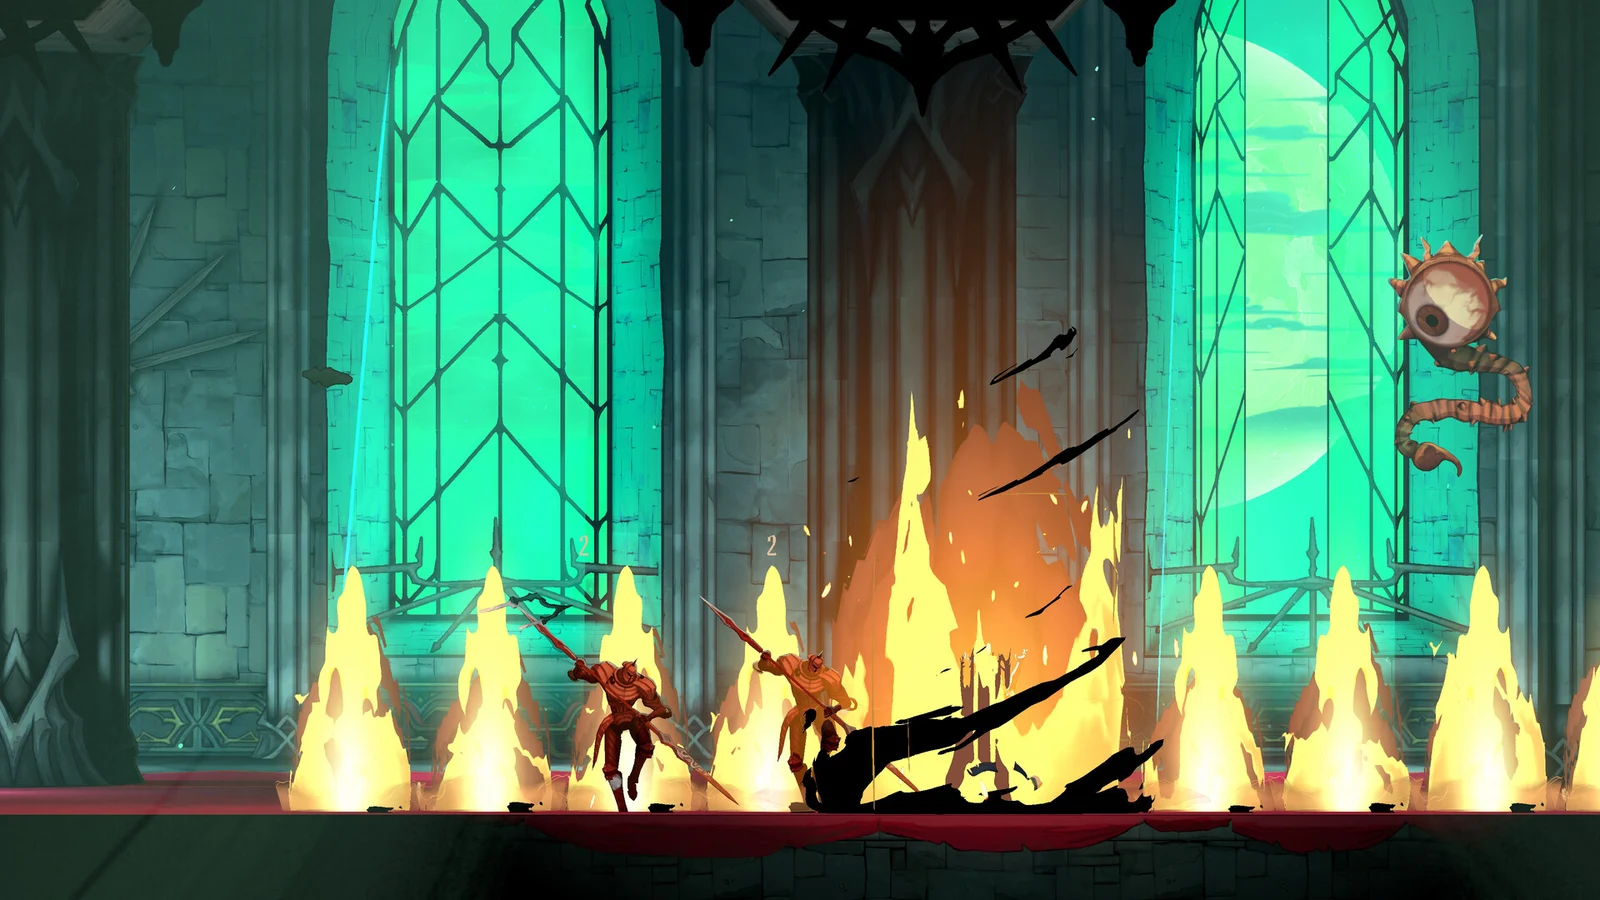
Murohn, Malformed Monstrosity is an optional mini-boss in The Blood of Dawnwalker, a failed vampire transformation that ended up as something faster and meaner than a normal enemy. It is a short fight, but an unforgiving one, because Murohn attacks in bursts and punishes anyone who tries to trade hits.
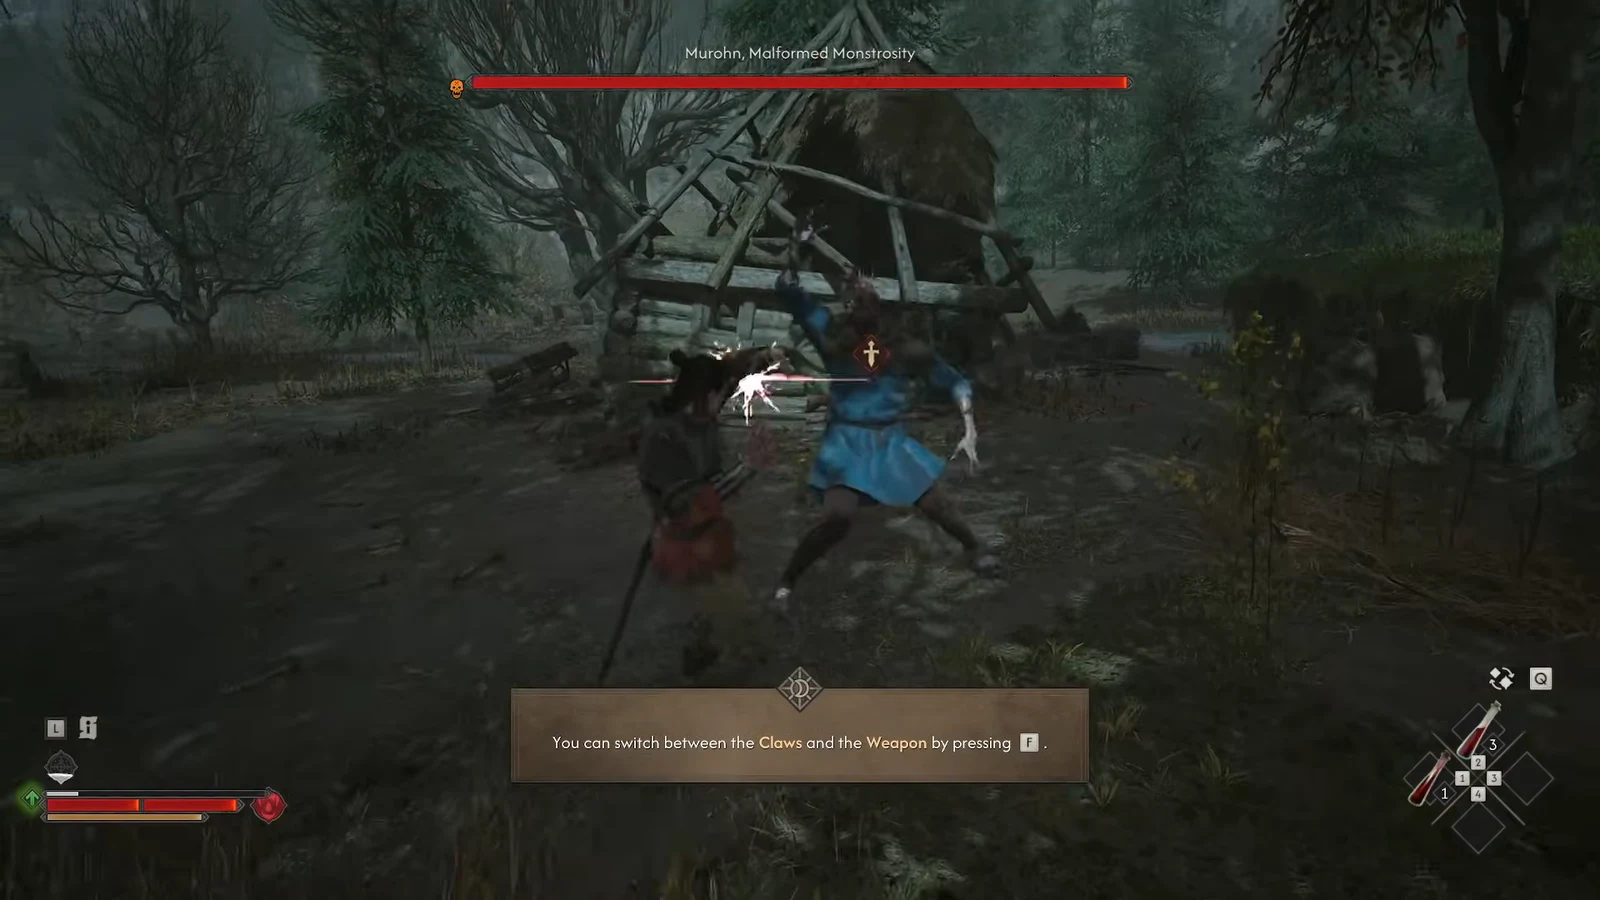
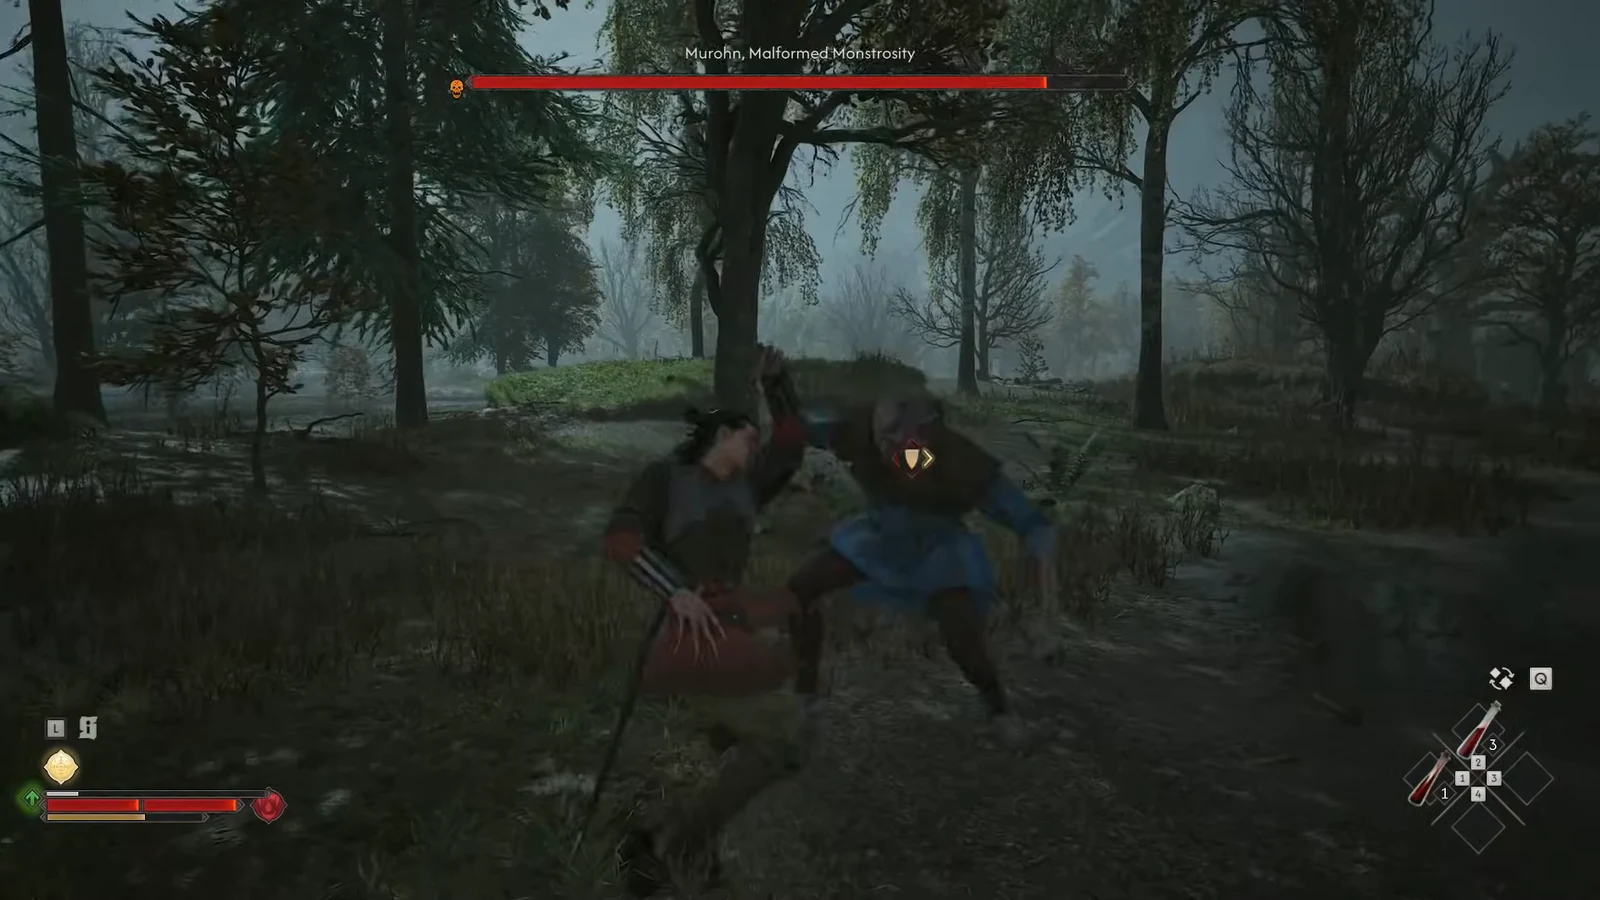
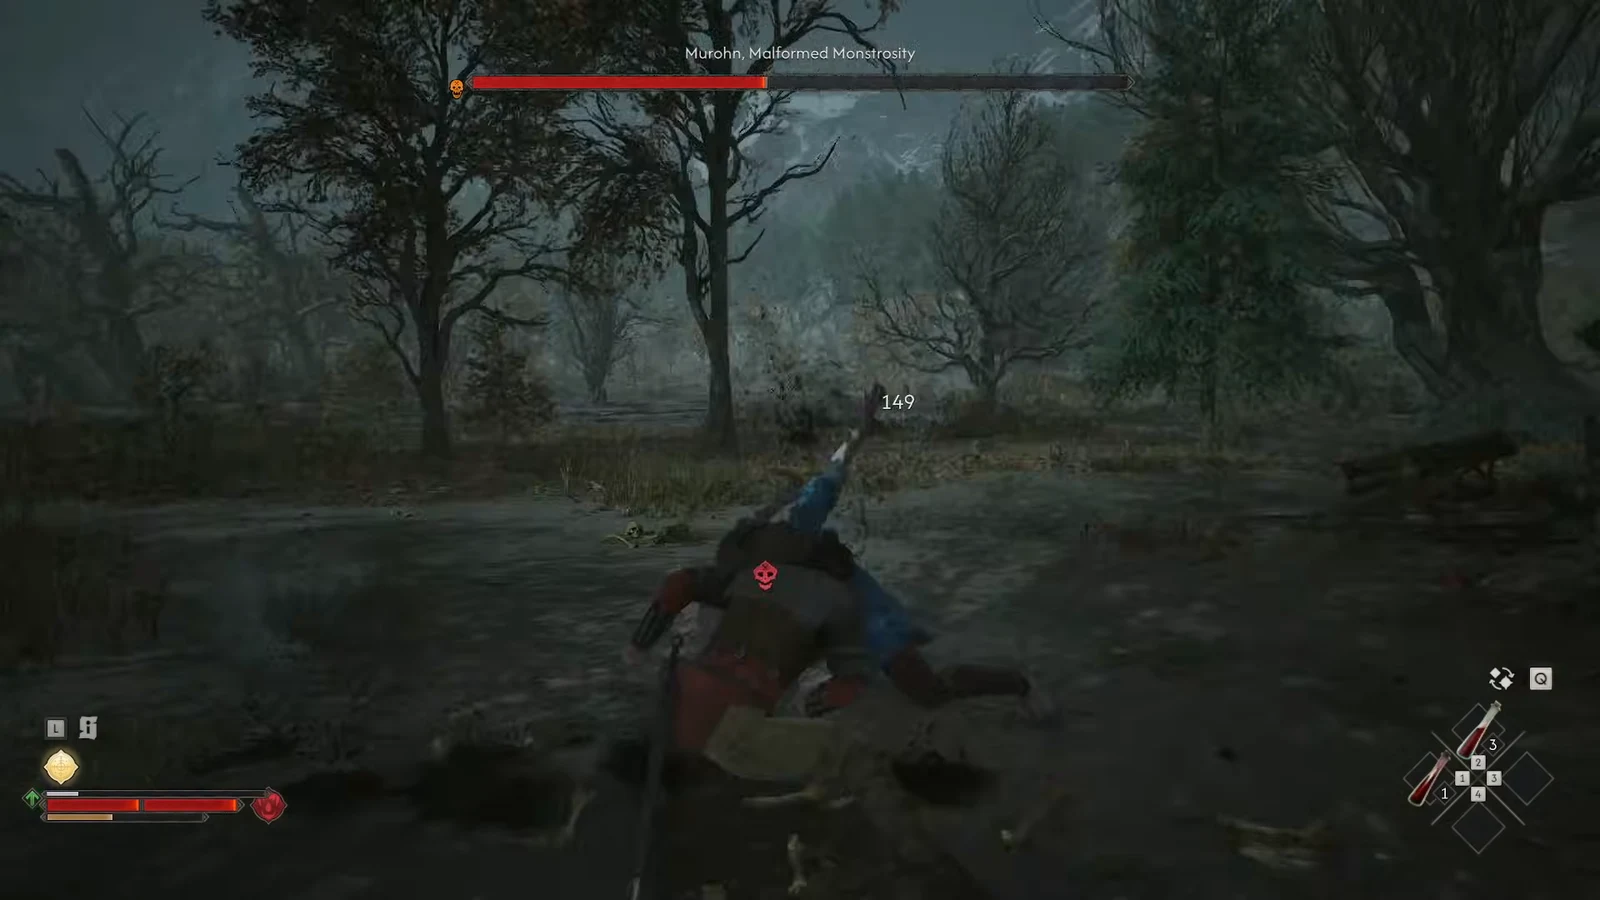
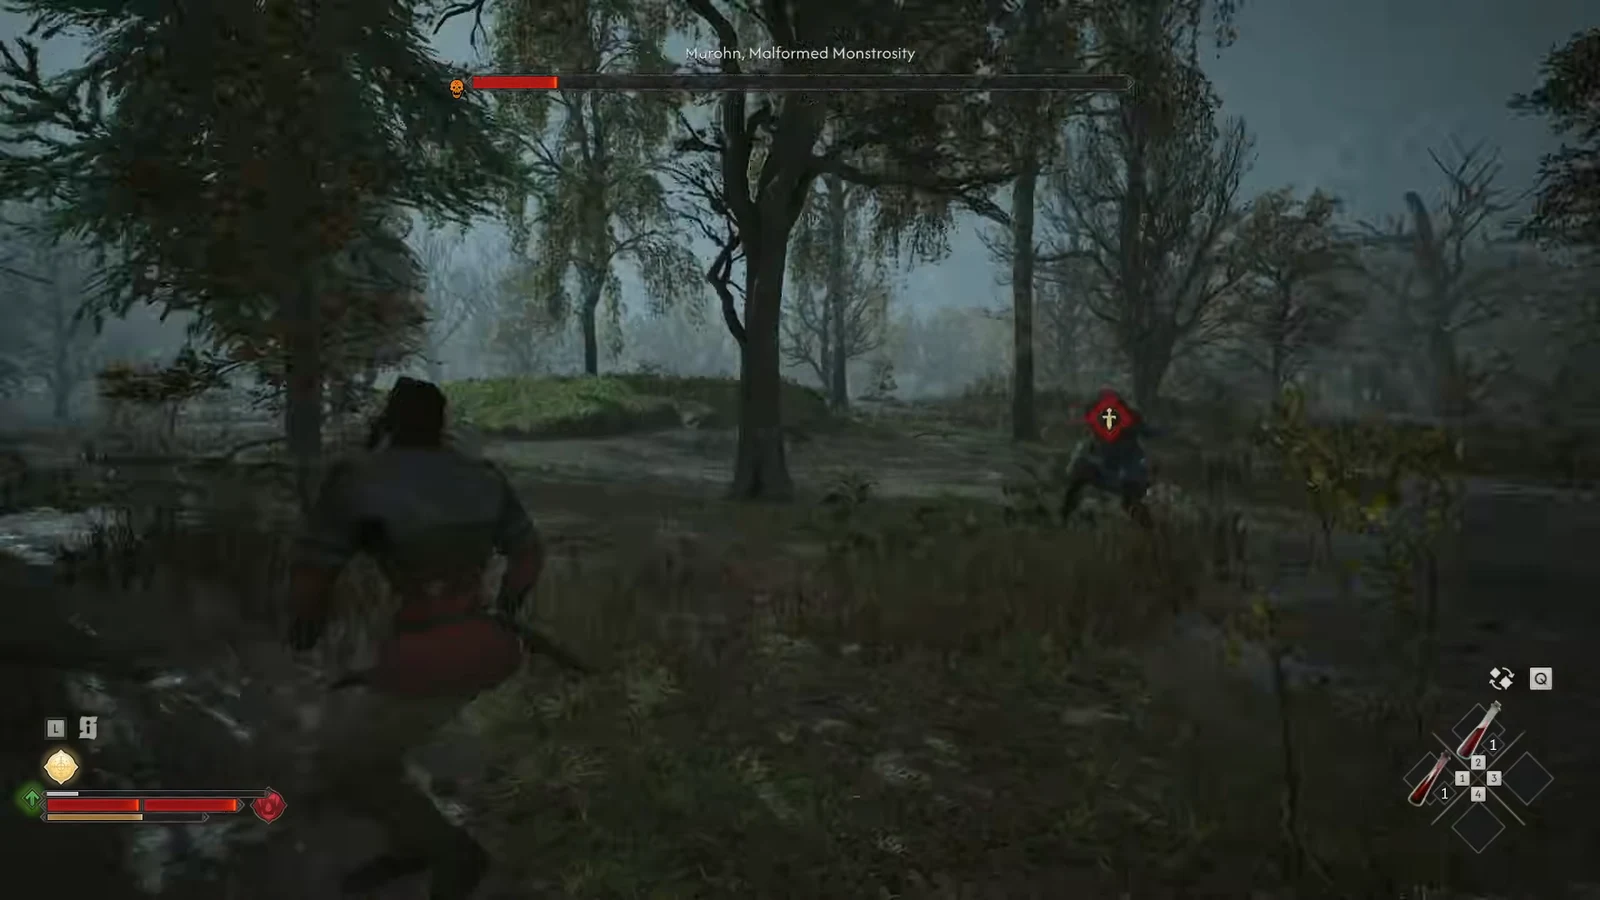
Quick answer: Fight defensively. Dodge or strafe away from any attack marked with the red skull icon, perfect-block the rest to stagger Murohn, then land a short melee combo and back off before it recovers. Repeat until the health bar empties and the “Corruption Rises” prompt appears.
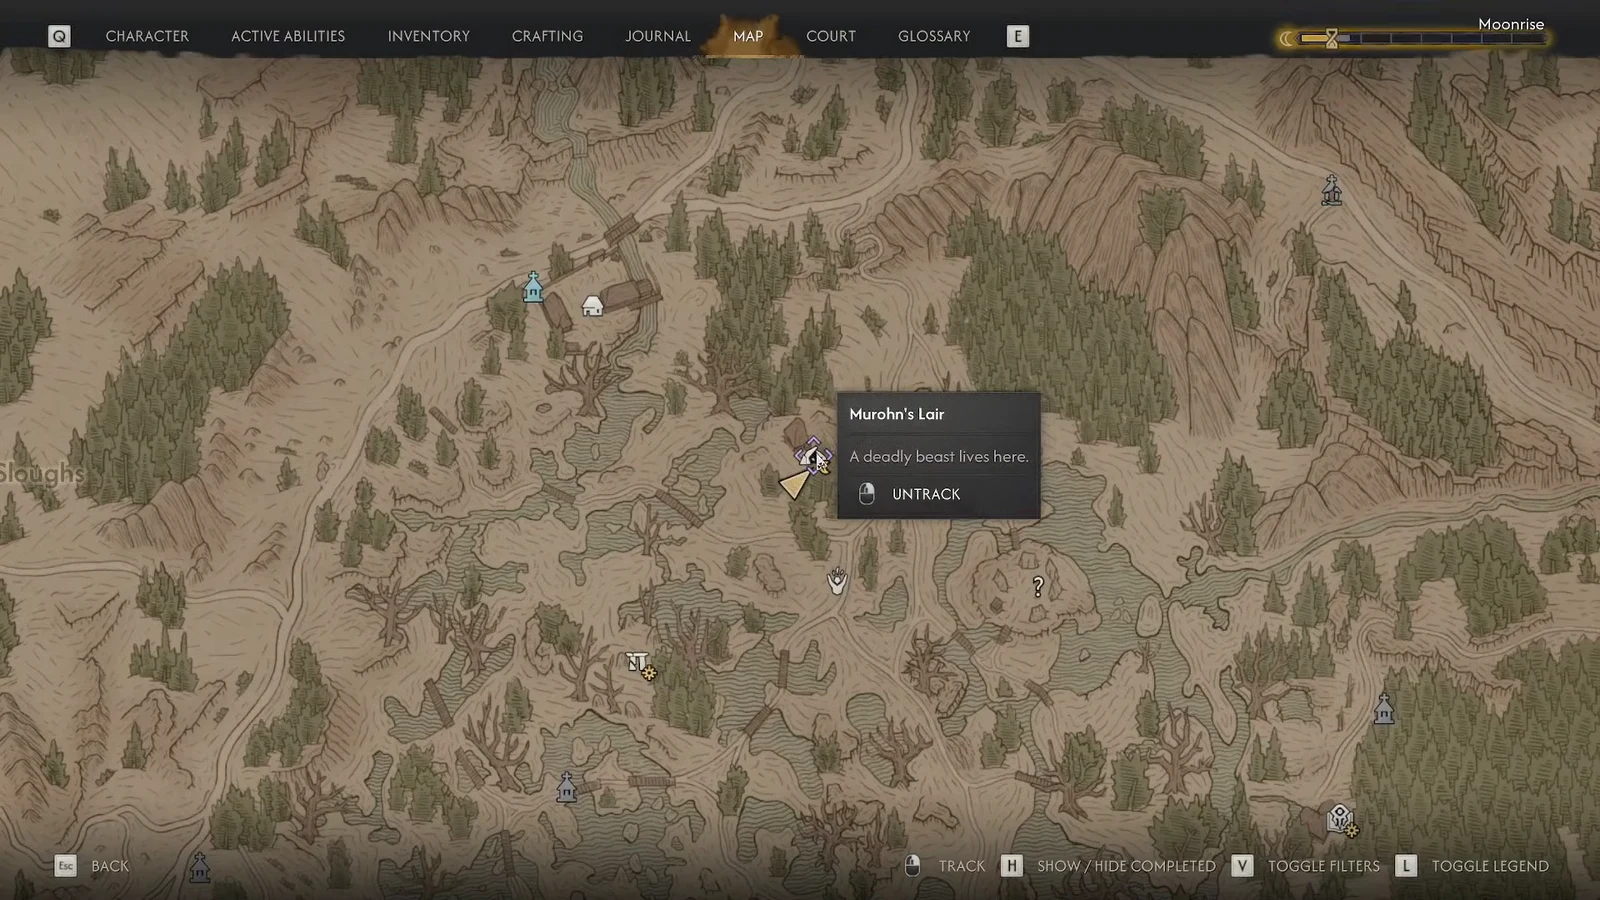
Murohn’s Lair location in Vale Sangora
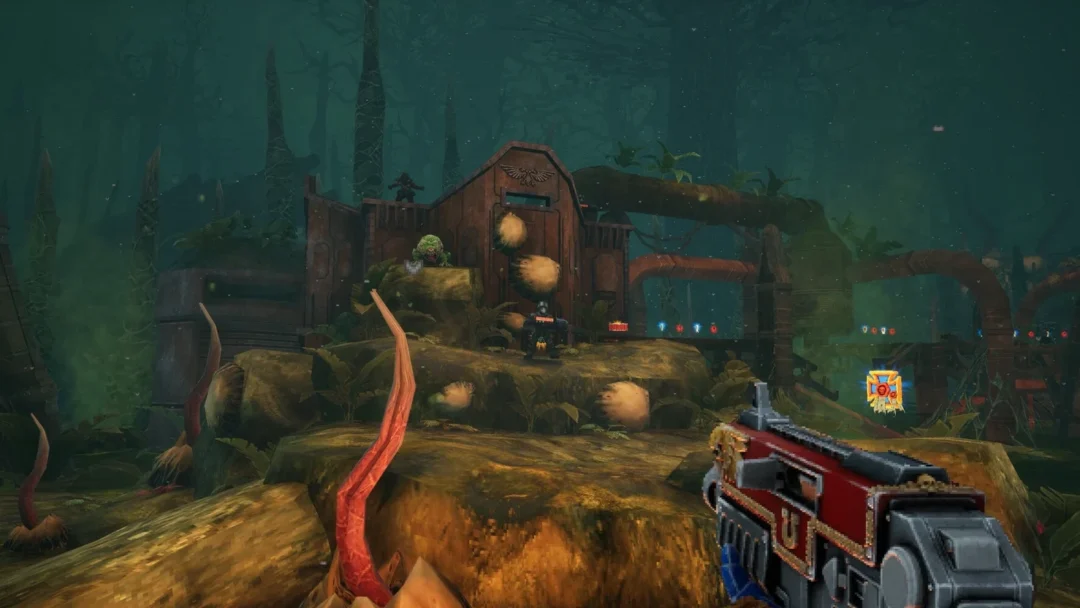
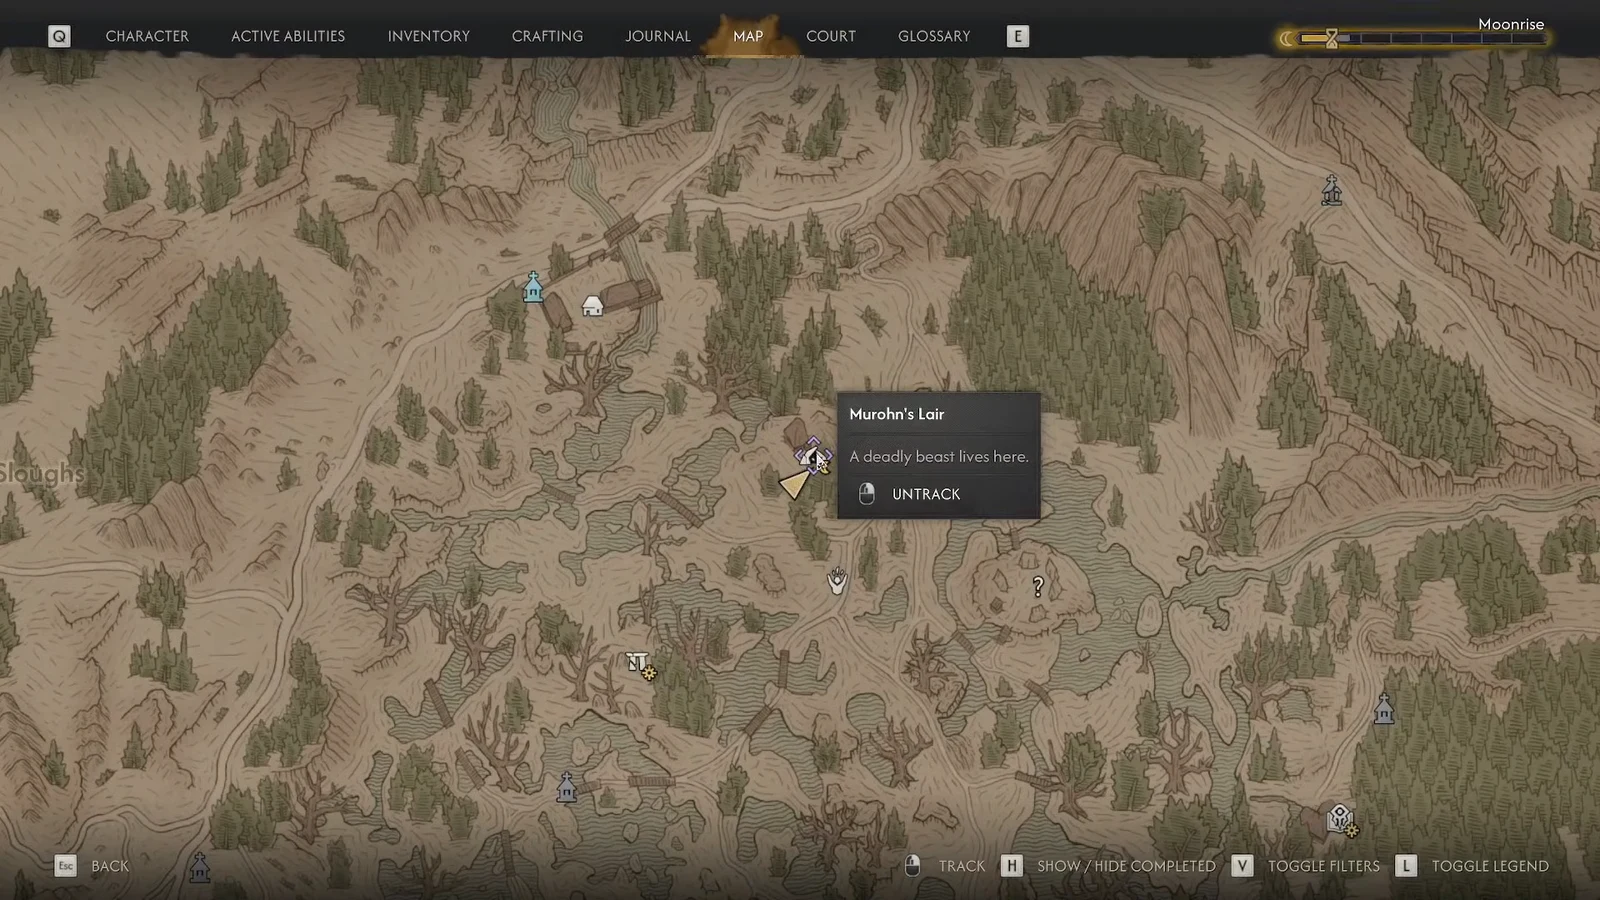
A Murohn can be found inside a destroyed hut northeast of the Briar Sloughs Crossing shrine, in the swampy woodland surrounding it. The spot is marked on your map as “Murohn’s Lair” with the tooltip “A deadly beast lives here,” so you can set it as a tracked objective and follow the marker in.
Murohn is not a single unique creature. These malformed vampires appear across the regions of Vale Sangora, and one also shows up as a required kill inside the sanzhani burrow during the Come Hither side quest. The fight plays out the same way wherever you meet one.
Walking up to the ruined hut is enough to trigger the encounter. There is no dialogue and no preamble, so approach with full health and your consumables ready.
Murohn attack patterns and the correct counter
Murohn is a Vrakhiri and fights almost entirely with its claws. Its whole threat comes from speed. Attacks arrive in flurries designed to catch you mid-swing, and if you commit to a long aggressive string, Murohn will dodge out of it and counter immediately.
Read the icon above the boss before you react. A shield icon means the attack can be blocked or parried. A red skull icon means the attack is unblockable and must be avoided with movement.
| Attack | What it looks like | Response |
|---|---|---|
| Leaping Slash | Murohn jumps forward and finishes with a left claw swipe | Dodge backwards or parry for a counter window |
| Overhead Claw Slash | Claws raised above the head, then brought straight down | Unblockable — strafe sideways or move out of range |
| Upward Claw Slash | A fast rising swipe with the left claw | Dodge away; the timing is too tight to parry reliably |
| Claw flurry | Several rapid swipes in a row | Hold the block and wait for the string to end before countering |
Because Murohn reacts to your aggression, you can bait it. Step in, threaten an attack, then retreat and let it commit to its own swing. That turns an erratic boss into a predictable one.
How to beat Murohn, Malformed Monstrosity
Note: if the directional indicators are making the fight harder to read, remember they can be hidden or made more forgiving in the game’s difficulty and accessibility options. The hardest setting turns the icons off entirely and forces you to read animations.
Confirming the kill and the corruption cost
You know the fight is over when Murohn drops and a “CORRUPTION RISES” notification appears on screen, followed by a “New Vampiric Powers Available” prompt. Killing Murohn pushes your corruption level up and unlocks further vampiric abilities as a direct result.
Treat that as the trade-off rather than a bug. If you are managing corruption carefully for a particular playthrough, this is an optional fight you can leave alone — unless a Murohn is blocking a quest objective, such as the one lurking in the sanzhani burrow.
Murohn drops and loot
Loot the body once the fight ends. The corpse holds a mix of story material, currency, and gear, and the exact contents vary between the individual Murohn you kill.
| Drop | Details |
|---|---|
| Second Letter from Rozalia | Readable document picked up from the body |
| Murohn’s Blood | Epic Consumable — 100% Vampiric Health Segment Restoration, and it increases Corruption |
| Amulet of Fortitude | Accessory drop |
| Human Slayer’s Pendant | Accessory drop |
| Rags | Common material |
| Denarius | Currency, in small amounts |
Murohn’s Blood is worth holding on to for a night when you have burned through a vampiric health segment, but its description is a warning as much as a flavour line. The blood is diseased, and drinking it adds to your corruption on top of whatever the kill already cost you.