Coen starts The Blood of Dawnwalker with borrowed swords and no armor worth the name, but the first stretch of Vale Sangora is unusually generous if you know where the chests are. Four legendary pieces sit in the world from the moment free roam opens, and none of them require you to win a fight you are not leveled for. The prologue, meanwhile, hands out enough XP to reach Level 4 before you ever see the open map.
Quick answer: Side with Premysl during “Blasphemy,” then immediately betray him to Gremla for 825 XP and Level 3, finish “Deep Down” for Level 4, and once free roam opens, unlock Shapeshift and loot Durandal, the Arbiter’s Medallion, Isbrand’s Greaves and the Knightly Ring from chests you can reach by dropping, sneaking or digging instead of fighting.
Four early legendary items and where they are
All four are chest or dig-site loot rather than boss drops, which is why they are reachable so early. Only Durandal carries a level requirement, so the other three can be equipped immediately.
| Item | Location | Stat / requirement |
|---|---|---|
| Durandal (longsword) | Bottom of the chasm by the collapsed bridge, southwest of the starting area | 234 DPS, Level 11 required |
| Arbiter’s Medallion | Cave behind the rightmost waterfall, east of Parlita | +21% Max Stamina, no level requirement |
| Isbrand’s Greaves | Chest at the Cobold’s Nest, near Rockfalls | 107 Armor (medium) |
| Knightly Ring | Buried treasure on the small island beside the main bridge at the Tatzelwurm Lair | No level requirement |
Prologue XP route to Level 4
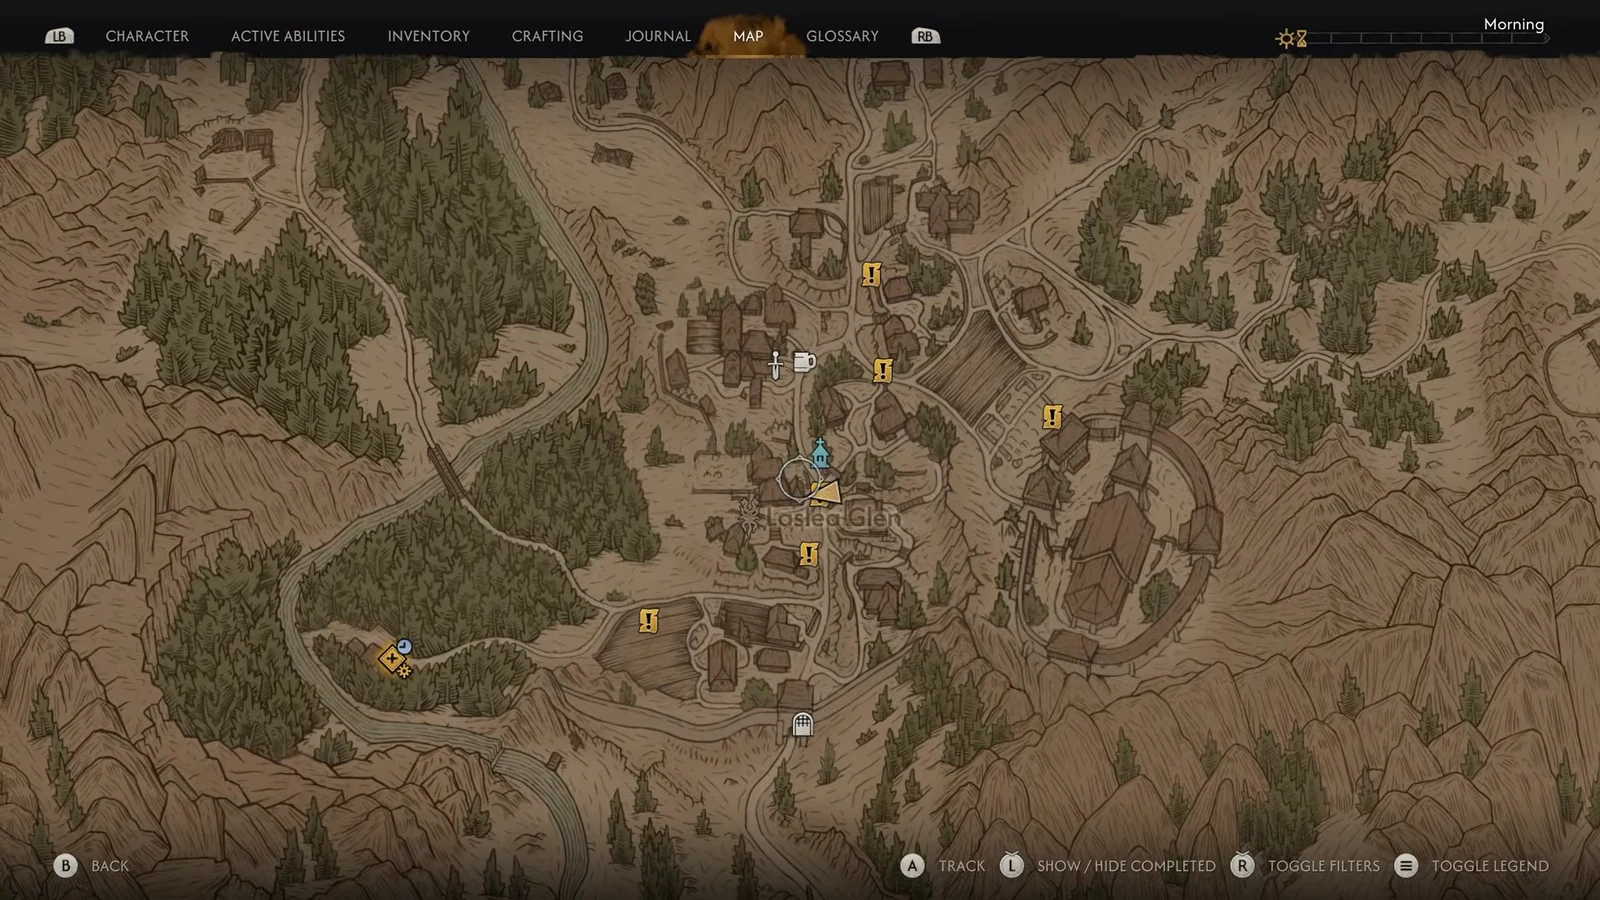
Skip past the family conversations at the start and head beyond the first fast travel point to Gremla’s house. Her quest, “Blasphemy,” is the single biggest XP swing available before the open world, and it pays twice if you play both sides.
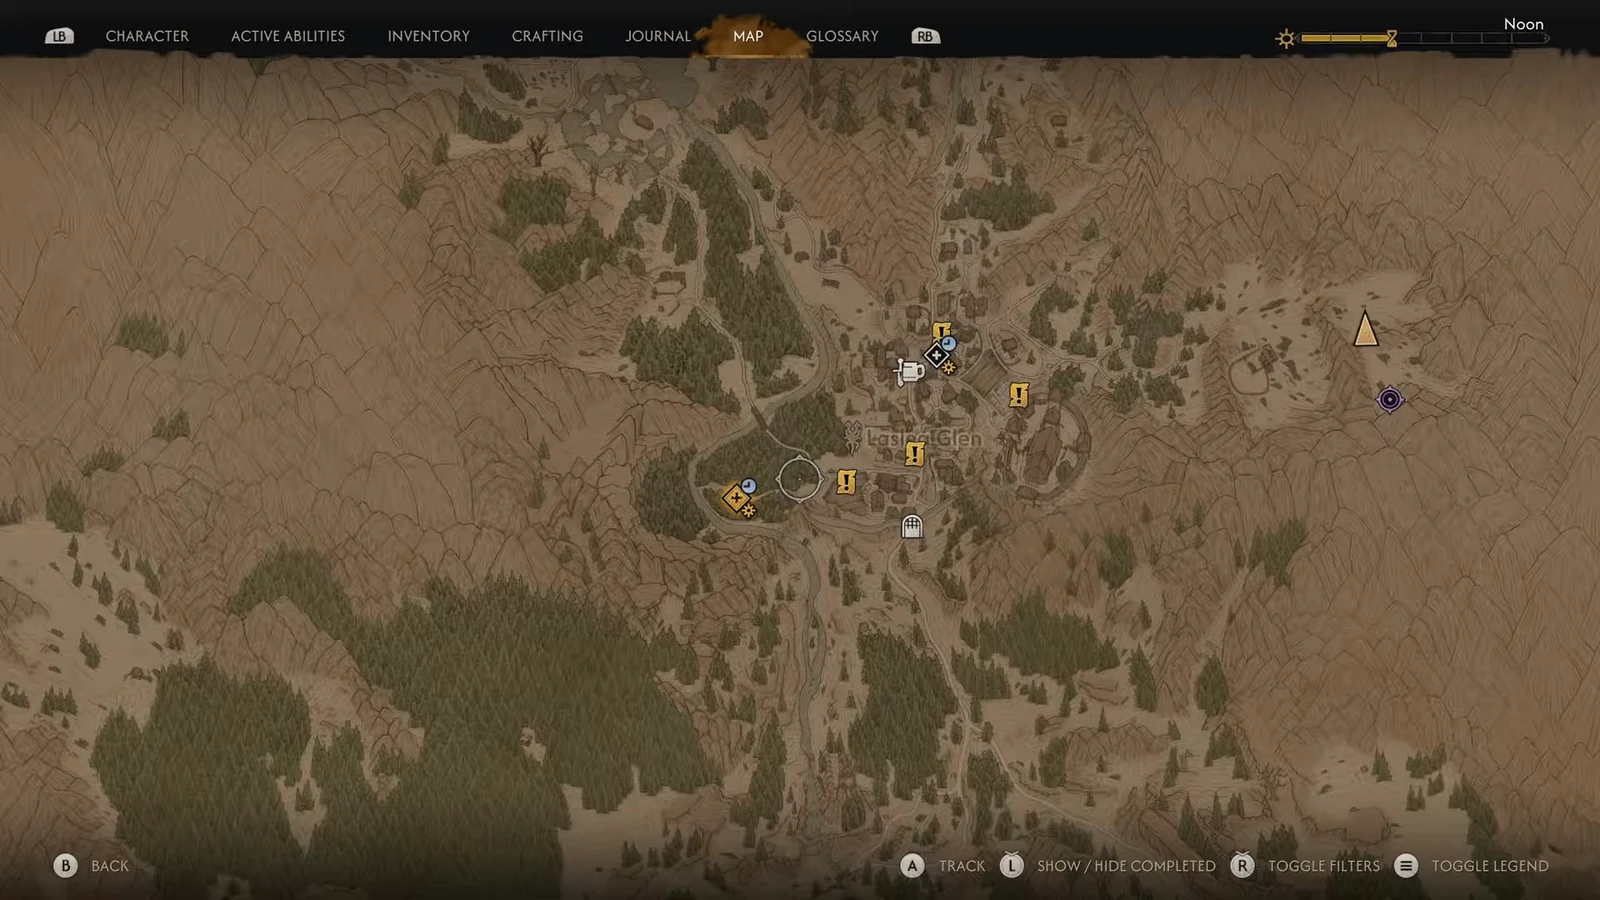
Prologue weapon upgrades: Solid Battleword and Polished Long Cleaver
Two side detours around the cemetery and Outlaw’s Gorge more than double your damage before the prologue ends. Take the first one before you touch the bandits.
| Weapon | How to get it | DPS |
|---|---|---|
| Solid Battleword | Climb the hidden ledge behind the bushes at the eastern cemetery and open the cave chest | 69 |
| Polished Long Cleaver | Take the Laslea Glen Treasure Map from the table in the bandit cabin, then dig at the marked spot | 73 |
Save before you enter the bandit camp at Outlaw’s Gorge. With the Battleword equipped the fight is manageable, and the Renegade Bruiser drops Hunter’s Trousers along with the Broad Swing Manual. Hold onto that manual rather than reading it, because learning it burns two in-game hours.
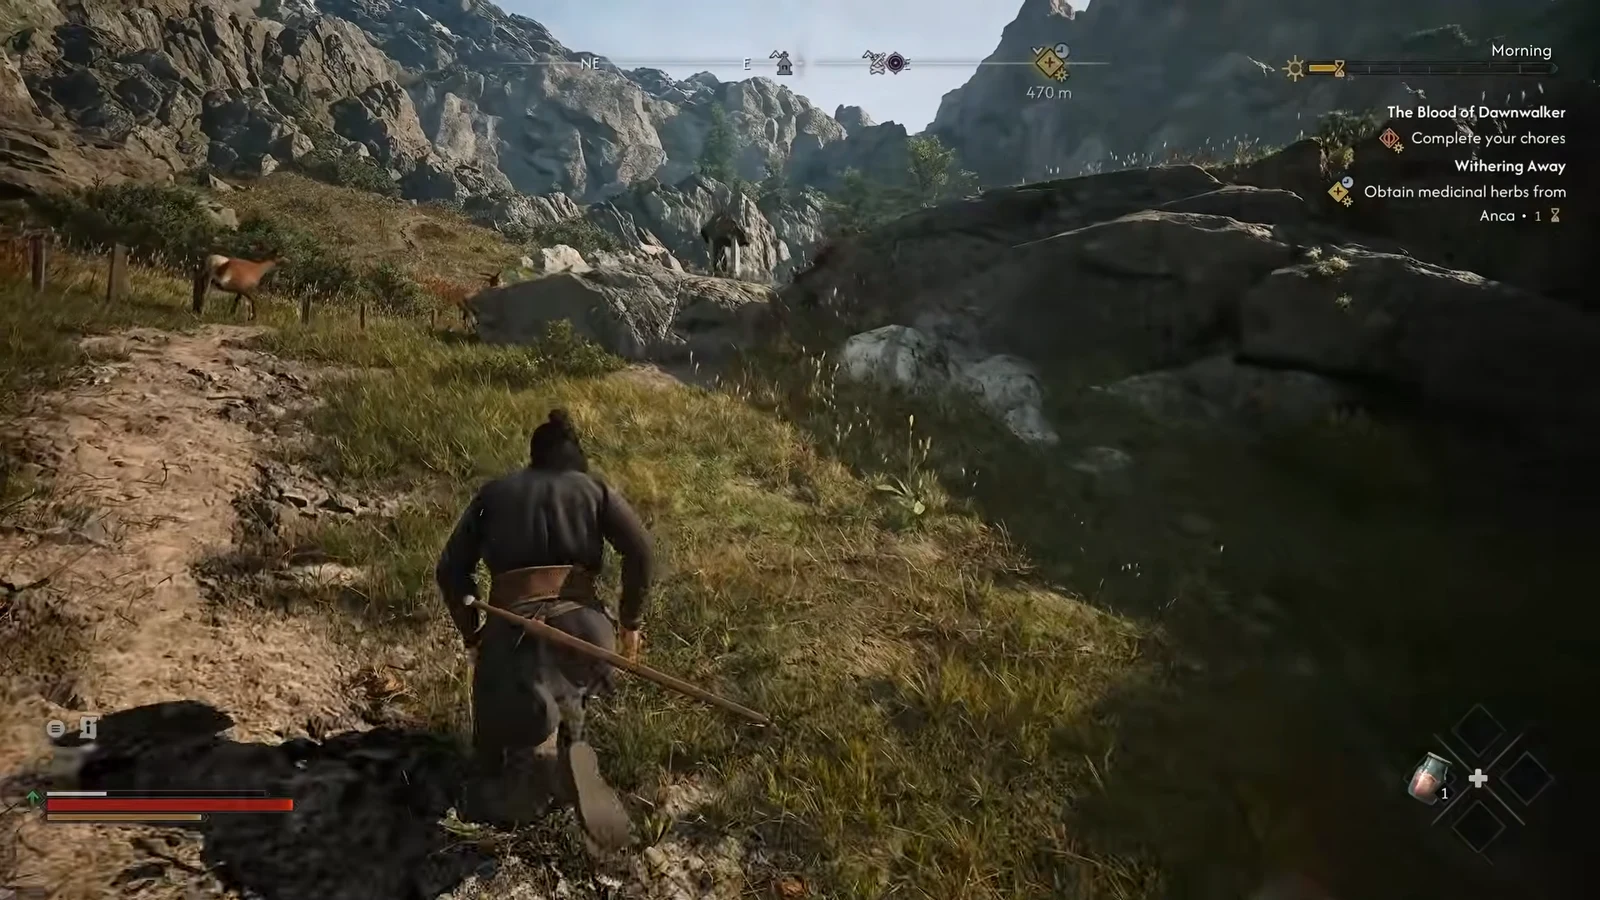
The dig site itself sits behind a Ravenous Bear near a cave entrance. Perfect parries handle it, and there is a corpse nearby carrying the Voyager’s Ruddy Cotehardie. The treasure also includes a Fortitude Paste recipe.
Closing out the prologue: Anca, the escort, and the medicine
Anca’s romance is optional but cheap. Finish her quest, visit Anca’s Hut, pay her 50 Denarius and choose to stay with her through the storm. That consumes two in-game hours and unlocks the romance.
The sibling escort that follows costs an in-game hour, after which you brew medicine at home using Anca’s instructions to end the prologue.
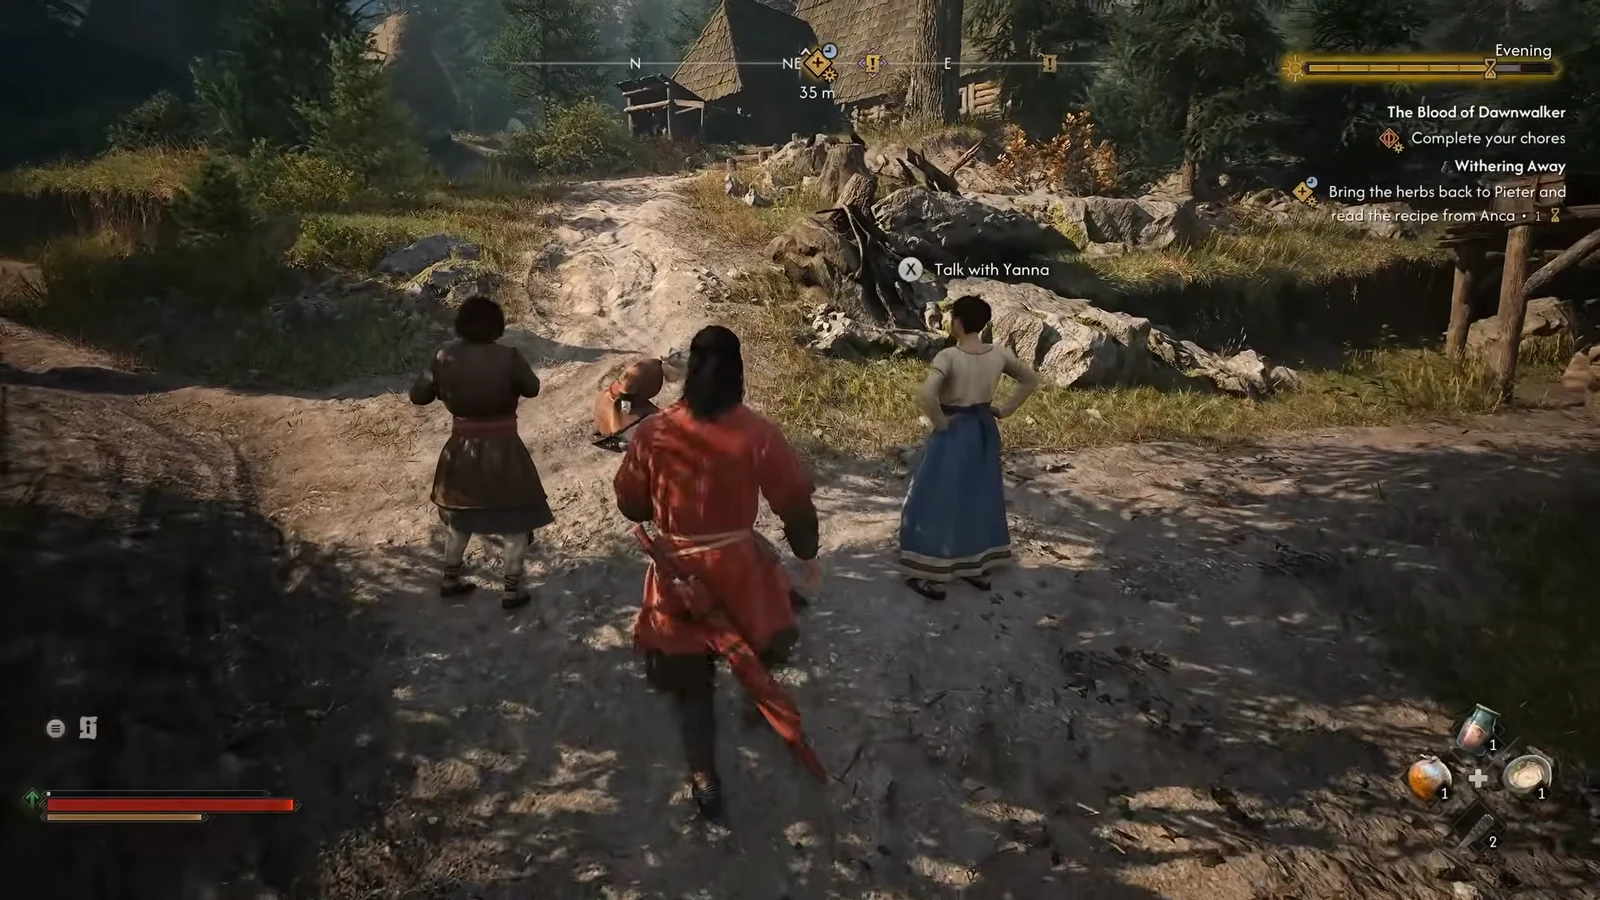
Brew the correct medicine and save Esme before the prologue runs out. Losing her permanently removes ending variations later, and it is the easiest thing to get wrong in the opening hours.
Set up before the legendary run: Shapeshift, Second Skin I and towers
The moment the open world opens, spend points on Shapeshift in the Vampirism tree. It turns Coen into a wolf and gives you a large night-time movement boost, which matters because the four chest locations are spread across the map. Skill points can only be spent at a Shrine, so plan the visit rather than trying to level on the road.
Second Skin I is the other priority. Buy the manual from the armorer at Maragr Crossroads, sell your junk there while you are at it, and learn the perk. It removes the stat penalty for wearing medium armor, which is exactly what Isbrand’s Greaves are.
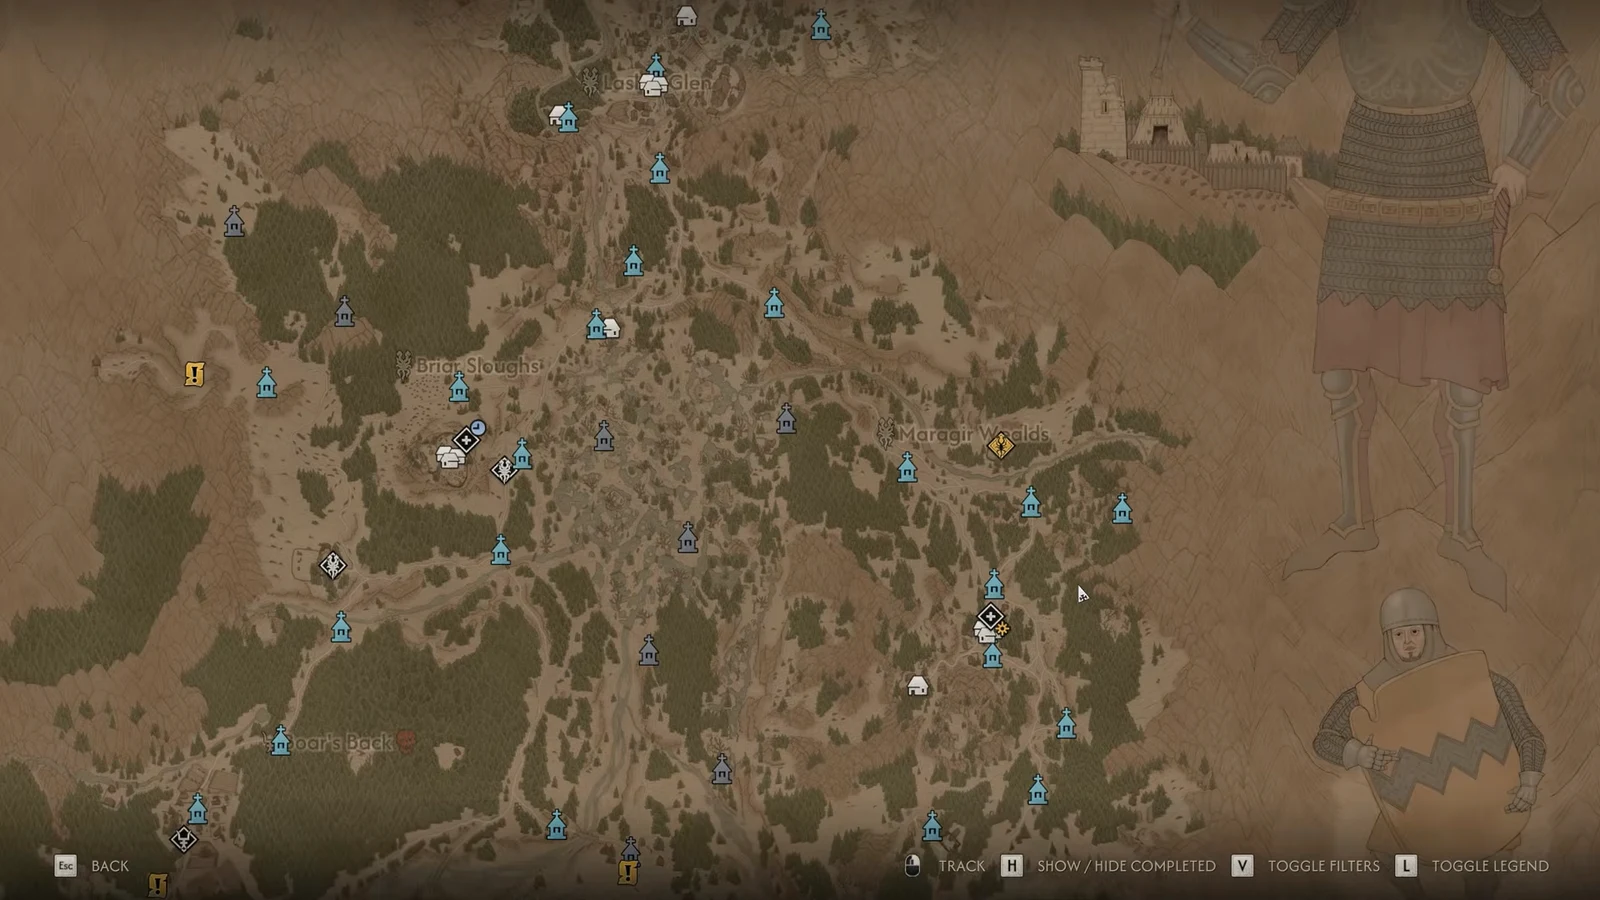
Unlocking towers such as Boar’s Back Tower and St. Tyna’s Grove Tower gives you both fast travel points and a meaningful XP payout with no fighting attached. Restoring destroyed shrines is a different matter, since each restoration costs an in-game hour and the standard shrines already cover you well enough early on.
Durandal: how to skip the chasm fight
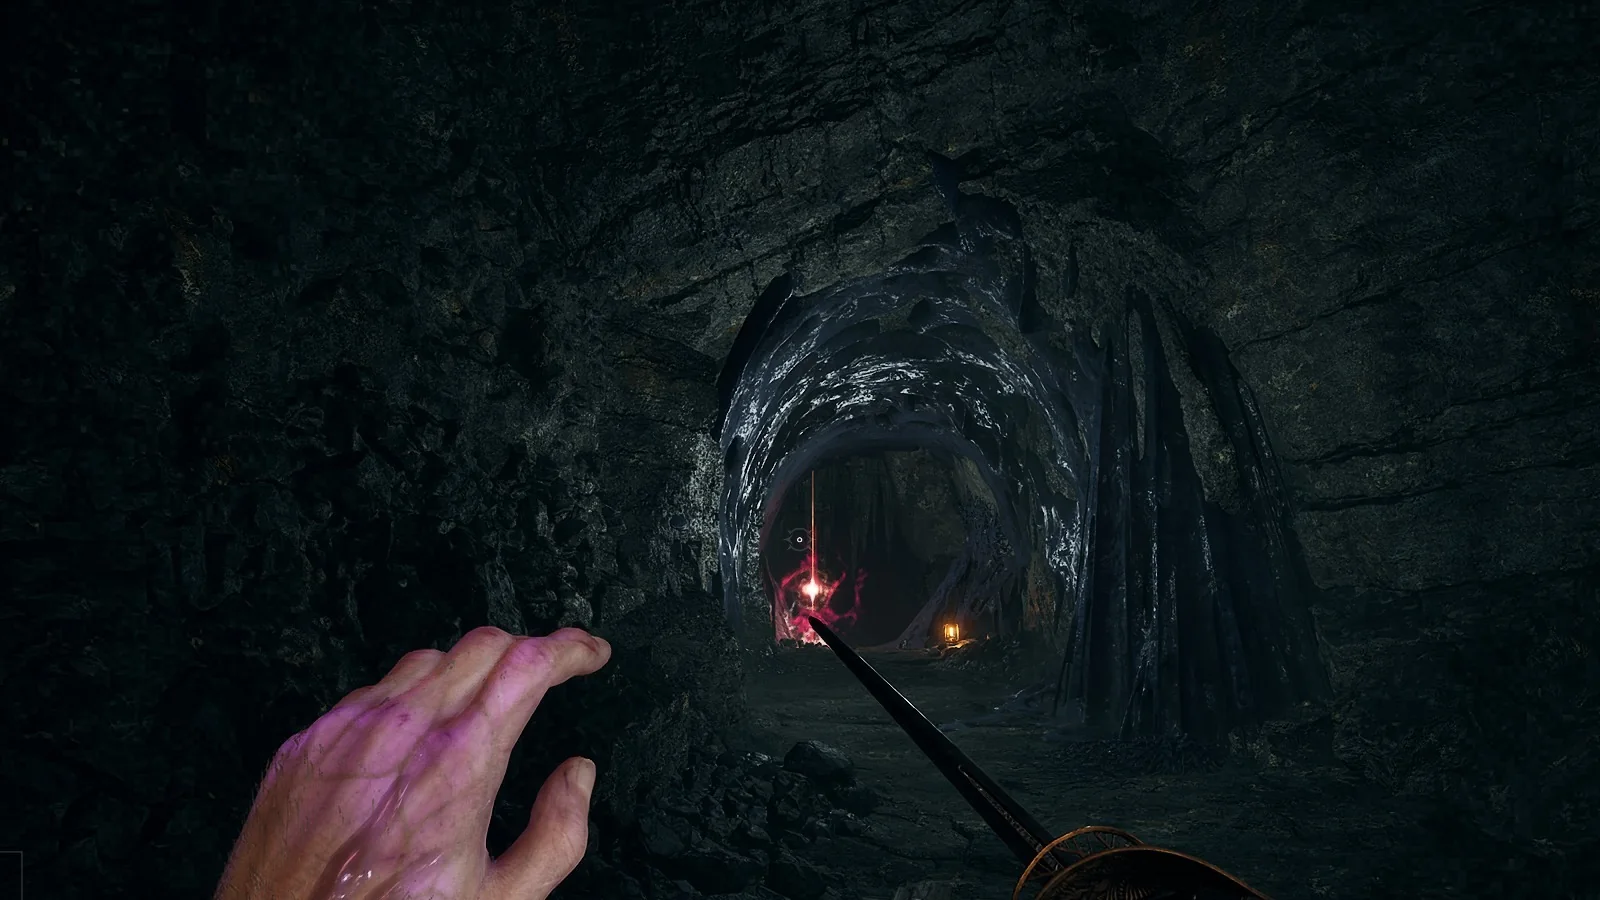
Durandal is a former Niyaz’s blade, transported by a treasure convoy that never arrived. The wreck sits at the bottom of the chasm southwest of the starting area, and the intended route down puts you against wolves and two ghostly Vidmo bosses. You do not have to fight any of them.
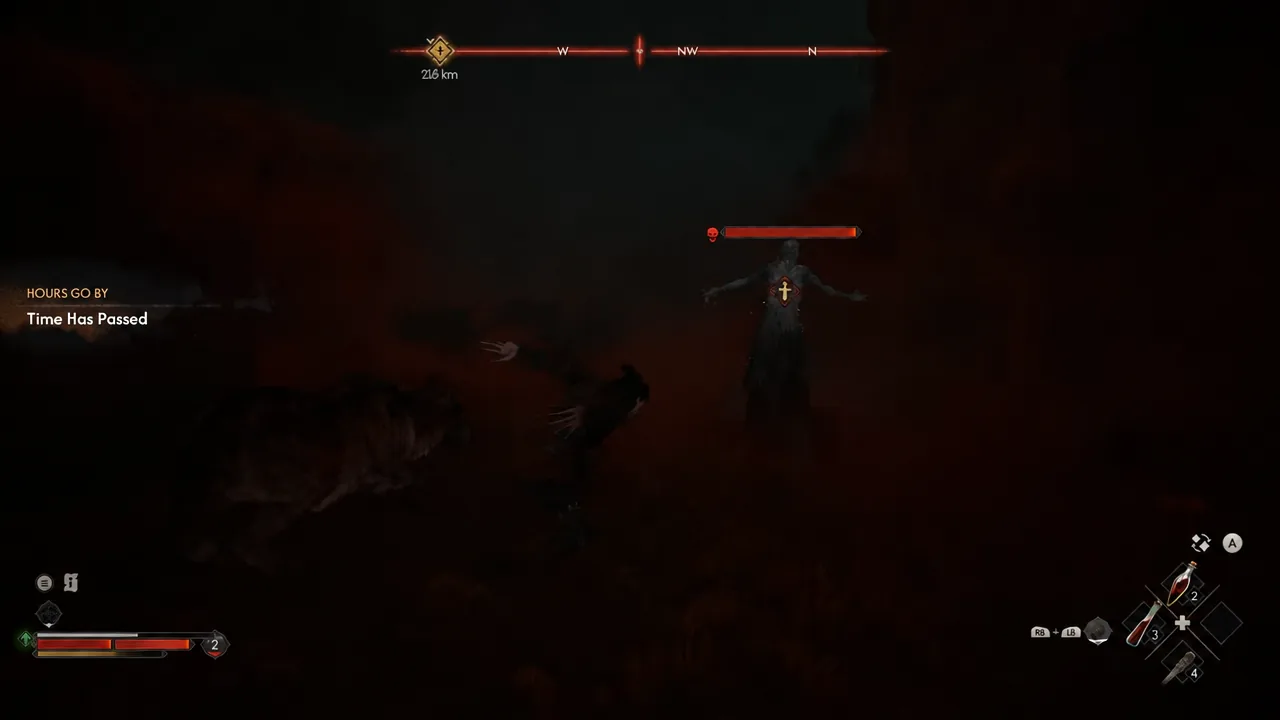
At 234 DPS, Durandal outclasses anything else available this early, but it needs Level 11 before you can equip it. Grabbing it now and growing into it is the point.
The three no-combat pickups
Arbiter’s Medallion at the Parlita waterfall
Fast travel to Parlita and head east until you reach the waterfalls. The rightmost one is hollow, and the cave behind it holds a chest containing the Arbiter’s Medallion. It grants +21% Max Stamina with no level requirement, so it goes on immediately and stays useful through the early boss fights.
Isbrand’s Greaves at the Cobold’s Nest
Travel to Rockfalls and make for the Cobold’s Nest. A handful of weak enemies guard the chest, and you can either clear them or slip past and open it. The 107 Armor greaves are the single cheapest legendary in the opening hours, costing roughly one day segment of travel.
Knightly Ring at the Tatzelwurm Lair
Go south to the Tatzelwurm Lair and look at the small island next to the main bridge. There is a buried treasure there rather than a visible chest, so dig at the spot to pull up the Knightly Ring. Nothing on the island contests you for it.
What this run costs you on the 30-day clock
Time in Vale Sangora is spent, not counted down. Wandering the map, exploring and unlocking towers do not move the clock, while quests, story beats and leveling up do. Each day and night splits into eight segments, and you have 30 days before Brencis’s ceremony.
| Action | Time cost |
|---|---|
| Picking up Durandal | 2 day segments |
| Isbrand’s Greaves run | 1 day segment |
| Staying with Anca during the storm | 2 in-game hours |
| Learning the Broad Swing Manual | 2 in-game hours |
| Sibling escort quest | 1 in-game hour |
| Restoring a destroyed shrine | 1 in-game hour |
| Main story overall | Up to 10 days |
Three legendary pieces for roughly three day segments is a good trade, and it leaves the bulk of your budget for the main story and side content. Full completion in a single run is not possible, since the side content alone runs to about 30 days on its own.
You will know the route worked when the character sheet reads Level 4 as you leave the prologue, the Arbiter’s Medallion and Knightly Ring are equipped with no level gate, and Isbrand’s Greaves show their full 107 Armor rather than a reduced figure once Second Skin I is learned. Durandal will sit greyed out in your inventory until Level 11, which is expected rather than a mistake. From there, Ambrus’s questline and the legendary Ambrus’s Cuirass are the natural next target once free roam has properly opened up.