The Tatzelwurm Gland is a Legendary ingredient in The Blood of Dawnwalker, and it only enters your inventory one reliable way: you kill the beast that carries it. The item description is blunt about what it is — “Venomous gland extracted from a dead lizard. Still deadly.” It weighs 0.14, sells for 45 denarii, and is used to craft the Razkovniche Elixir.
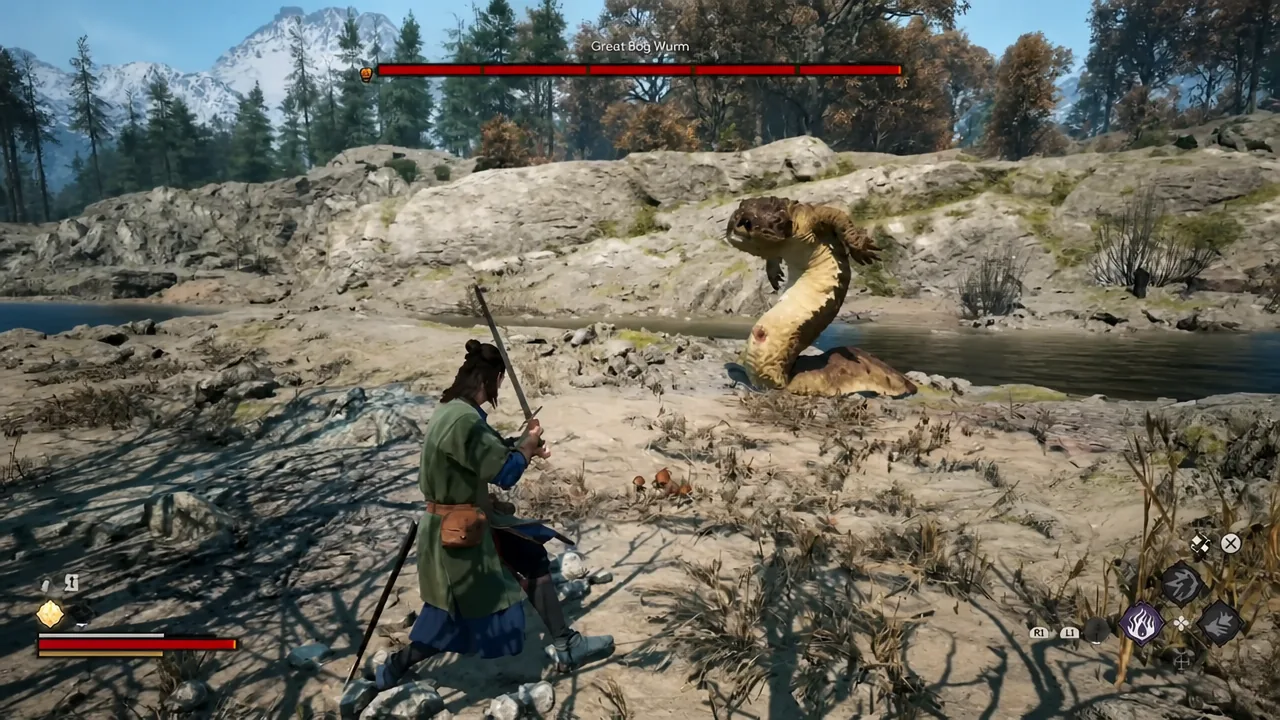
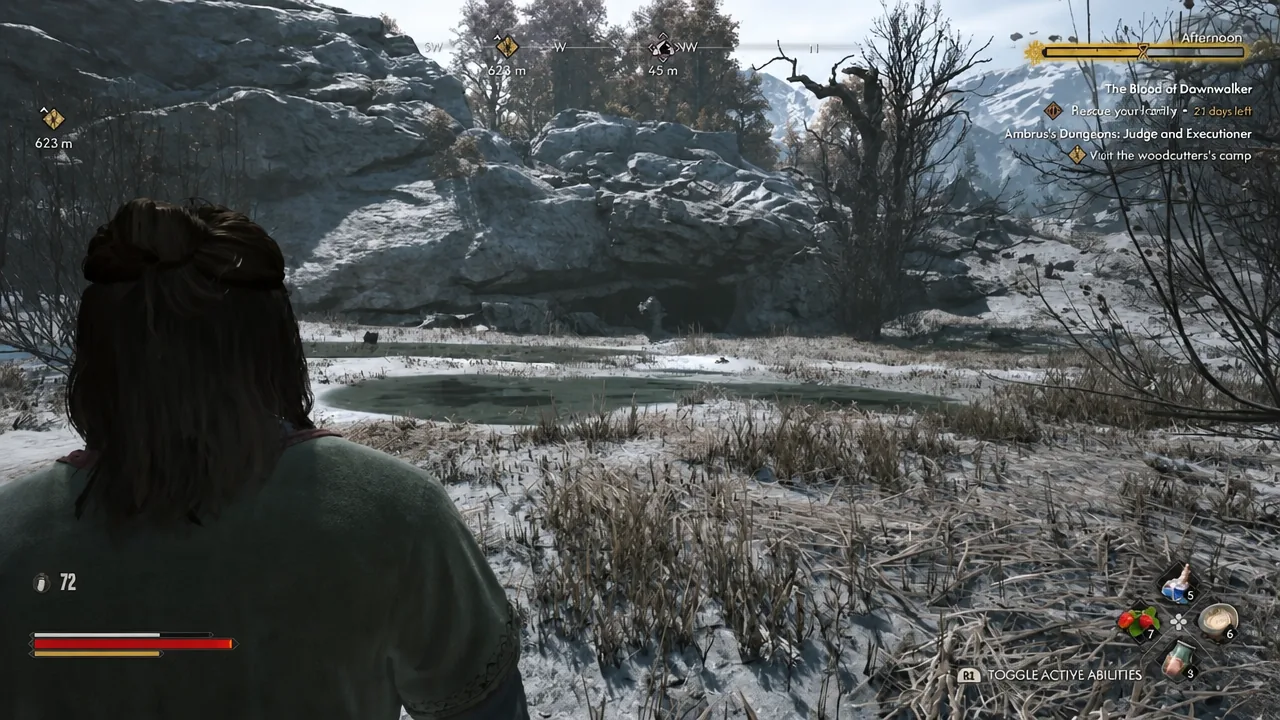
Quick answer: Travel to Tatzelwurm’s Lair, across the river northwest of Rock-Hollow, kill the Great Bog Wurm waiting along the riverbank, and loot its corpse. The gland drops directly from the body.
Tatzelwurm Gland stats and crafting use
Before you spend the travel time, here is what the ingredient is worth once you have it.
| Property | Value |
|---|---|
| Category | Ingredient (Material) |
| Rarity | Legendary |
| Weight | 0.14 |
| Sell value | 45 denarii |
| Buy cost | 278 denarii |
| Used to craft | Razkovniche Elixir |
| Primary source | Tatzelwurm enemy drop |
Merchants do stock it. General stores and alchemists in Rockfalls and Svartrau City carry a unit or two at roughly 278 denarii, and Vera sells it in the Briar Sloughs. Buying is the fallback if you have coin but no time. Killing a Tatzelwurm is the cheaper route, and Tatzelwurm spawns are scattered widely across the valley — Boar’s Back, Briar Sloughs, Maragir Wealds, Rockfalls, St. Tyna’s Grove, Svartrau City, Tantari Woods and The Silts all have recorded encounters.
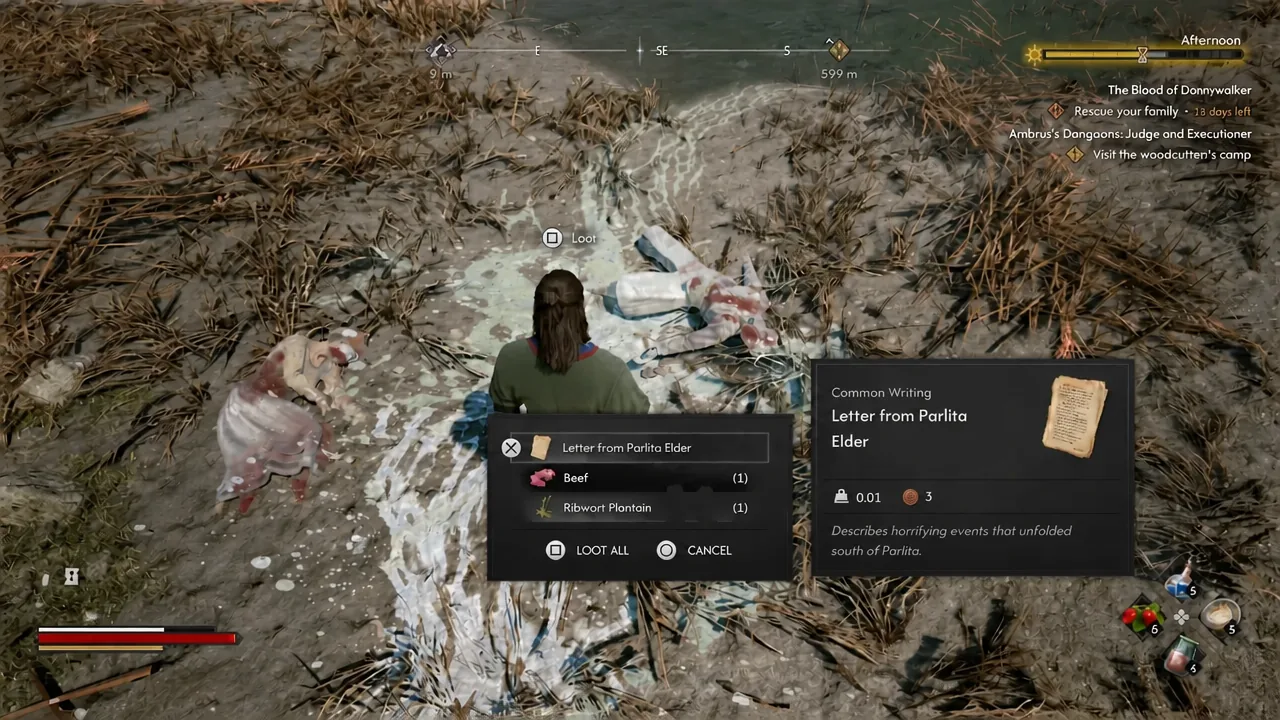
Tatzelwurm’s Lair location and the route in
How the Great Bog Wurm fight works
The wurm is a Supernatural type with Poison on its attack effect, so damage keeps ticking after a hit lands. Its signature move is burrowing — it disappears underground, then resurfaces either in melee range or at distance to spit.
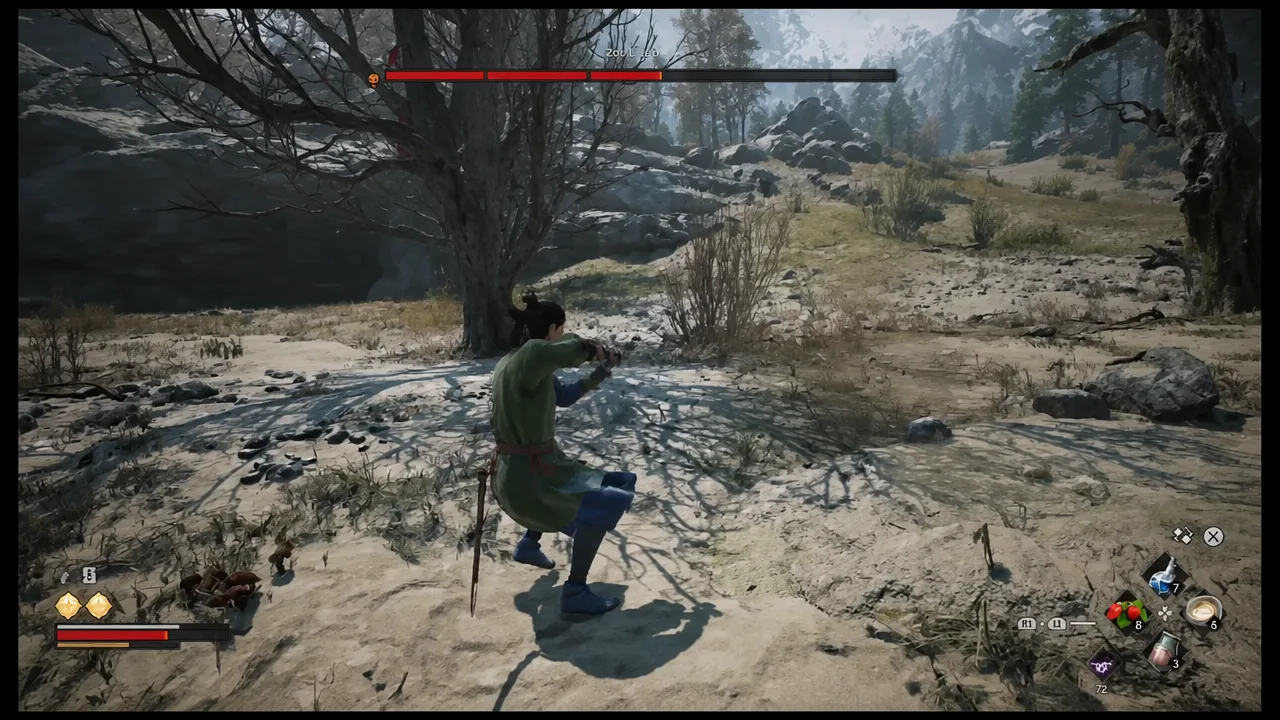
Three patterns cover most of the fight. Dodge sideways through the unblockable spit rather than backwards, since the projectile tracks forward. Back away when it winds up an unblockable ground slam — there is no defensive answer to that one. Its slower bite is the opening you want, because a Perfect Block on the bite buys you a counterattack window.
Sword strikes plus active abilities carry the damage. Charge does 701 damage at Level 1 on a 20-second cooldown, and Dirty Trick does 231 at Level 1 on a 30-second cooldown. Both are worth spending as soon as they refresh, since the burrow phases give you natural gaps to reposition.
Confirming you got the gland
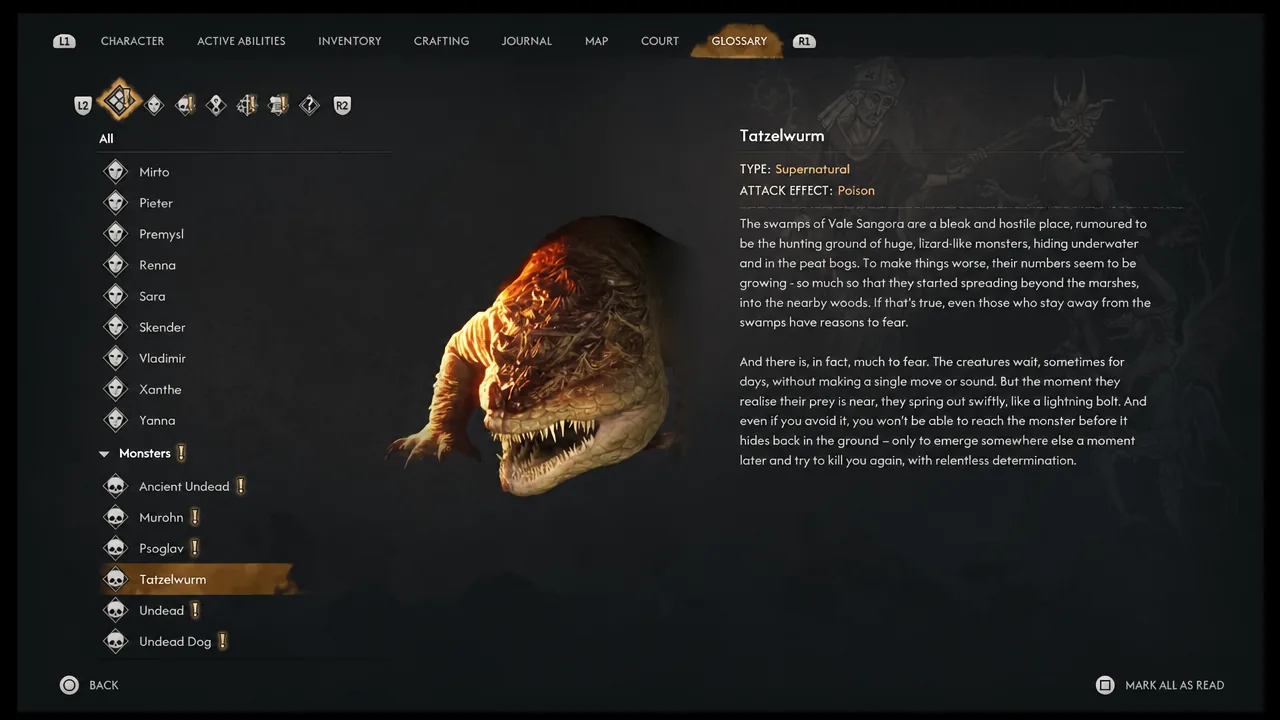
Two things happen when the beast dies. A new Tatzelwurm entry unlocks in your glossary under Monsters, which is the fastest visual confirmation that the kill registered. Then loot the corpse — the Tatzelwurm Gland appears in the loot window alongside Cowhide Loafers, a Witch’s Pendant and Animal Bones.
Note: the corpse loot is the only step that matters. Killing the wurm alone does not put the gland in your bag, and there is no auto-pickup on the drop.
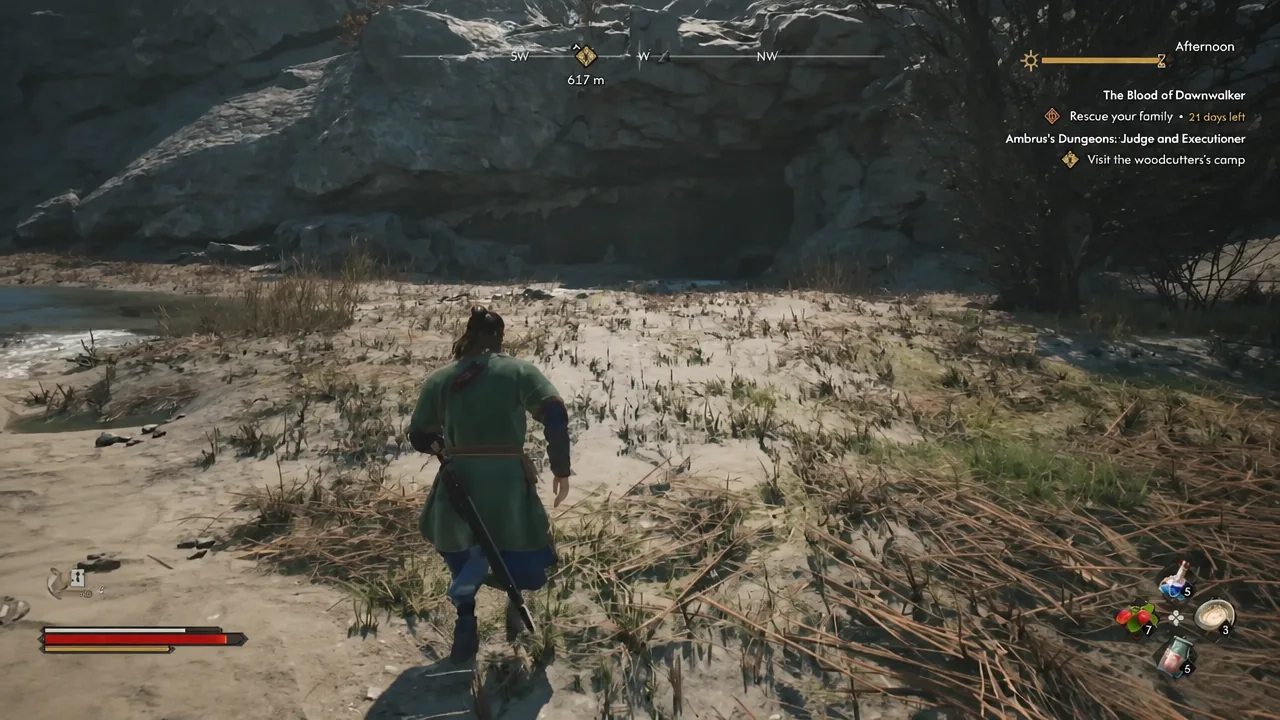
Two more skeletons sit inside the cave with minor loot — a Razor, a Wooden Horse and some Denarius coins. Clear them before you leave rather than making a return trip.
The gland in The Bittersweet Toast and Iulian’s fate
The gland also shows up as an optional ingredient during The Bittersweet Toast, where Coen and Iulian Codrin poison Iulian’s blood so Ambrus weakens himself by feeding before the duel. Vera’s Lizard Note, found near her body along the trail of blood and slime through the bog, explains that the gland could let Iulian’s own body resist the toxin. It has to be mixed in shortly before he drinks.
Following that trail leads to a cave holding the Pale Ravager, a large Tatzelwurm that fights on the same rules as the bog encounter. Killing it awards XP, and recovering the gland costs another Time Segment.
| Choice | What happens |
|---|---|
| Add the Tatzelwurm Gland | Iulian survives the poison and lives through the confrontation with Ambrus. He later questions Coen about whether the mixture was altered. |
| Finish the brew without it | The poison stays fatal to Iulian, matching what he asked Coen to do. |
Neither option decides whether the plan against Ambrus works. As long as the ritual is completed and the pre-duel scene is handled correctly, Iulian’s blood poisons the boyar either way. The gland does not make the toxin stronger and does not make The Gilded Gauntlet fight easier.
It also does not save him permanently. Iulian tells Coen directly not to use the ingredient — he sees the poisoning as a suicide mission and wants his death to count against Ambrus. Add the gland and he survives the duel, then returns home and takes his own life afterwards. There is no branch where he lives past the storyline. What the gland buys you is the Pale Ravager encounter, the XP, more context for Vera’s death, and the extra post-duel dialogue.