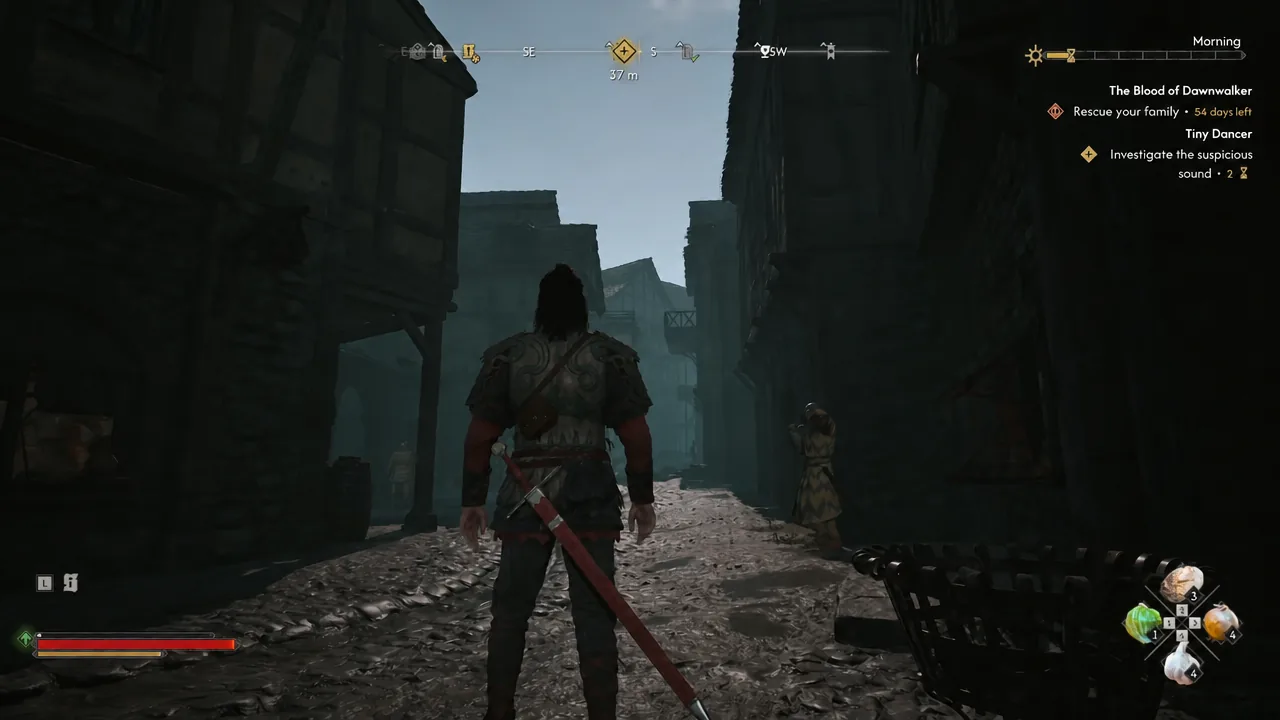
Tiny Dancer starts with a noise you can hear but not place — something scratching around on the upper floor of a shop in Svartrau City. The source is a caged sanzhana, one of the moth-like creatures a merchant has been keeping for entertainment, and freeing her feeds directly into the letters you send to Lunka from the Yawning Burrow. The whole thing runs about two time segments, and the route you take depends entirely on whether the sun is up.
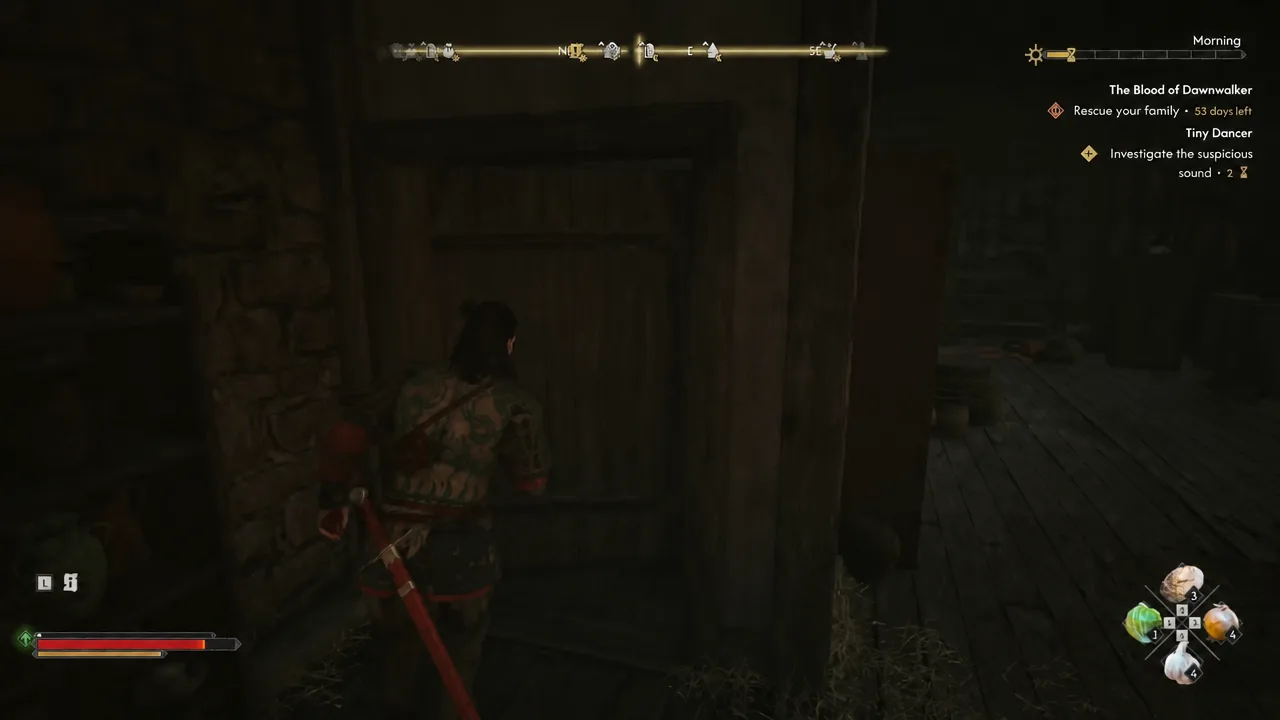
Quick answer: Head to the merchant shop across from the Curious House on the southern side of Altenmarkt in Svartrau City and stand by the locked door until the sound triggers the quest. At night, Shadowstep up to the rear balcony and walk straight into the attic room. During the day, you have to fight the merchant, read the Storekeep’s Letter by the barrels, and pull the Merchant’s Key out of the lute on the table.
Tiny Dancer quest location in Svartrau City
The shop sits near the southern end of the market in Altenmarkt, directly in front of the Curious House. Coming down the street from the market, it is the second house on the right. You do not need a quest giver or a prior conversation — walking up to the locked door and listening is what puts Tiny Dancer in your journal.
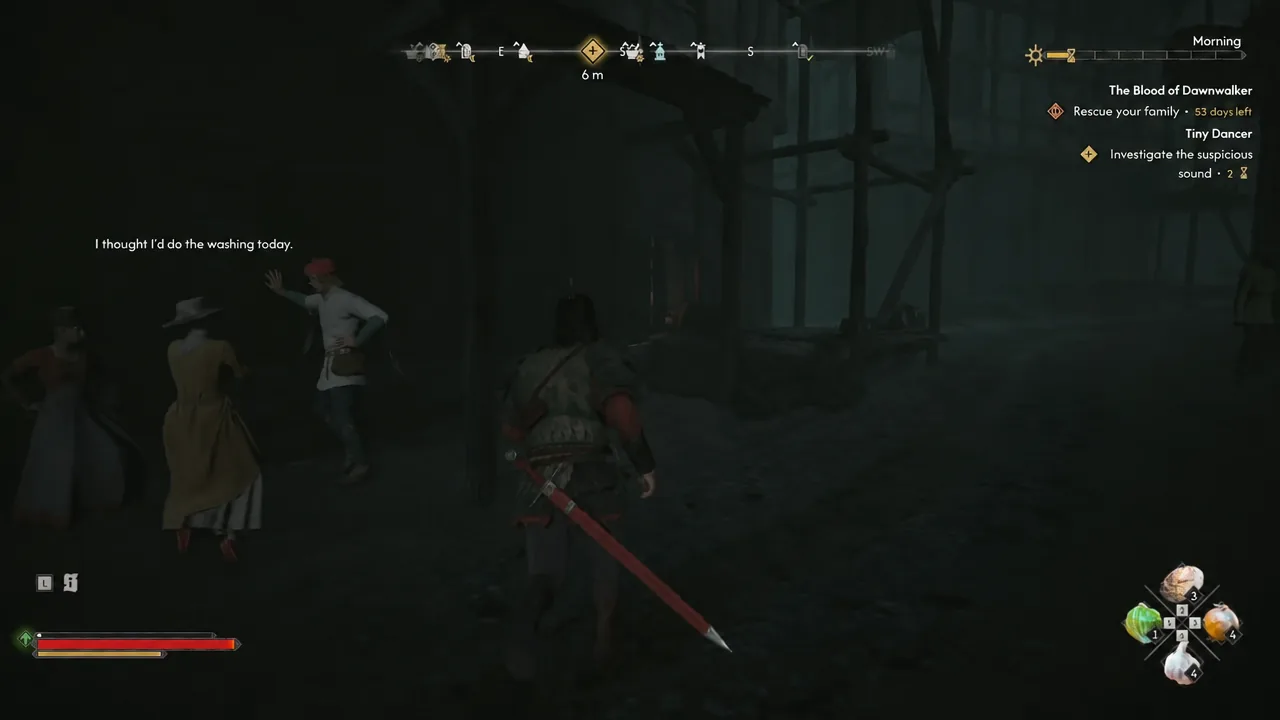
Once it triggers, the journal walks you through four objectives in order. They are short and they overlap, so it is worth knowing what each one actually points at.
| Objective | What it points at |
|---|---|
| Investigate the suspicious sound | Stand by the shop’s locked door until the noise registers |
| Find a way to get to the upper floor | Either the Merchant’s Key by day or the rear balcony by night |
| Find the key to the cage | The cage key on the desk in the attic room |
| Find the hidden treasure using Focus Mode | Loose floorboards in the room next door, after the sanzhana tips you off |
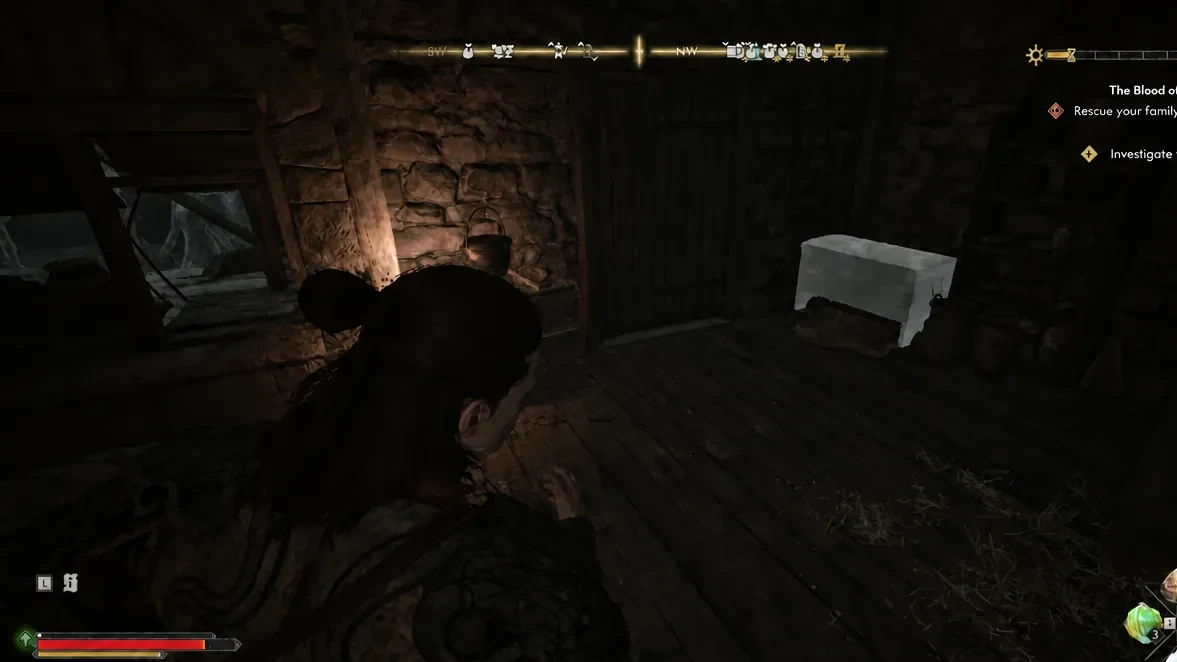
Night route: Shadowstep to the rear balcony
This is the quiet version, and it skips the entire ground floor. The front door is not the way in after dark — the balcony at the back of the building is the only opening.
Day route: the merchant fight and the Merchant’s Key
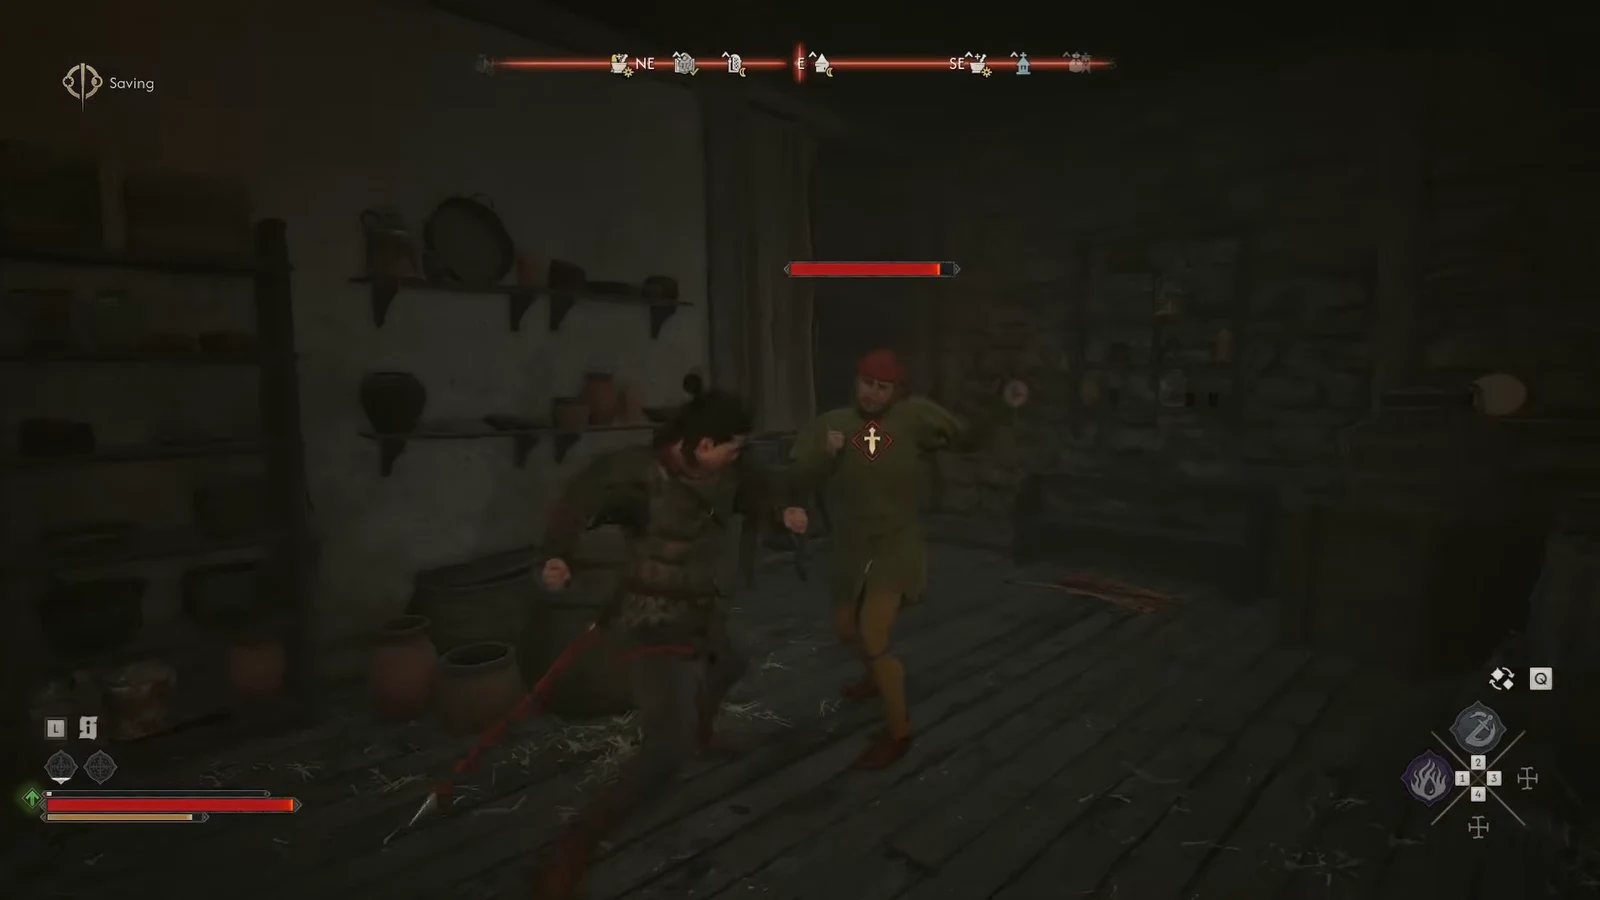
During daylight there is no stealth option. The shop is open, the merchant is standing right there, and pushing past him toward the stairs is what starts the fight.
Free Sanzhana with the cage key
Both routes converge here. The cage key is not hidden — it sits on top of the desk in the same room as the cage, on the left as you come in. Take it and open the cage.
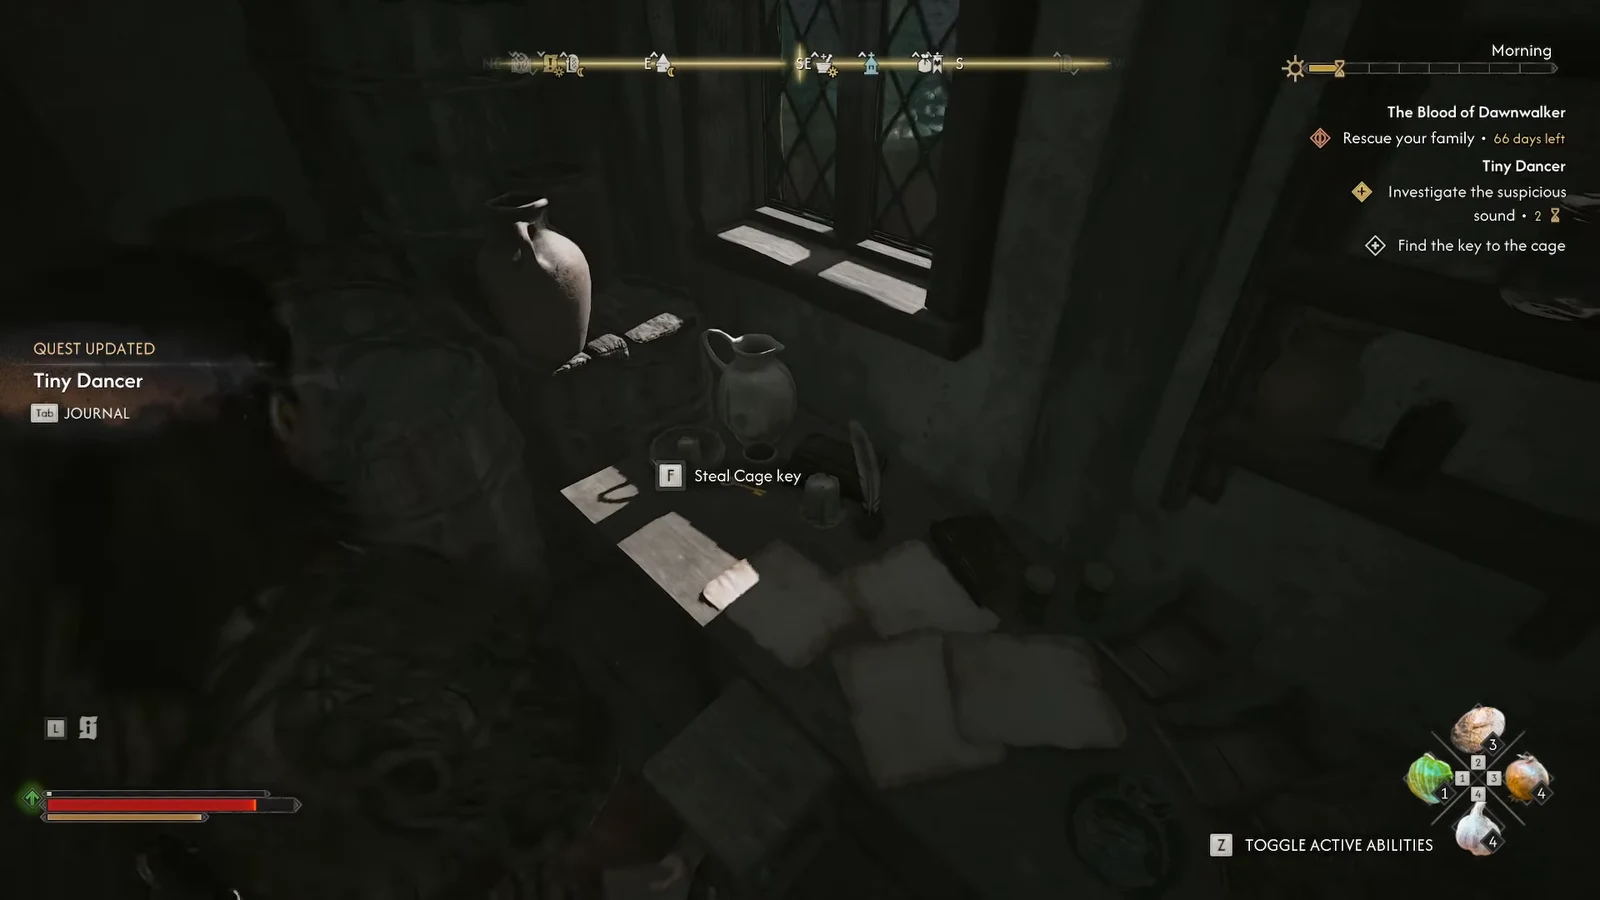
You will know it worked when Sanzhana speaks up after being released, thanks you, and mentions a hidden treasure elsewhere in the house. That dialogue is the completion trigger, and the journal outcome records that the merchant had been keeping one of the sanzhani for his own amusement.
Note: if the sound never triggers the quest, you are not close enough to the locked shop door. And at night, the ground-floor entrance will not get you upstairs at all — the rear balcony is the only way in without a fight.
The hidden treasure under the floorboards
Sanzhana points you to the next room. Use Focus Mode to scan it, find the loose floorboard, and take what is underneath. What you actually collect depends on when you did the quest and how the merchant situation resolved.
| Route | What happens at the stash |
|---|---|
| Daytime | The merchant is already dead, so you walk in and loot the floorboards uncontested |
| Nighttime | The merchant is guarding the room; entering starts a fight that ends with him dead |
| Either route | Silver is the only guaranteed item; armor and crafting materials are randomized |
The randomized portion can roll legendary armor if you are lucky, but superior or mastercrafted chest pieces and leggings are the more common outcome. The Amulet of the Lizard, an epic amulet, can also turn up alongside the silver.
Completing Tiny Dancer without killing the merchant
If you take the night route and want him alive, ignore the treasure entirely and leave the house after opening the cage. The quest still closes out and you still get the completion XP — you simply forfeit the floorboard stash, since the merchant is standing between you and it.
Killing him carries no story consequence either way. There is no faction penalty, no locked content, and no change to how the main plot with Brencis plays out. It is purely a roleplaying decision about whether the silver is worth the body.
What freeing the sanzhana unlocks
Return to the Yawning Burrow and speak with the Sanzhani Tsarina. She rewards you for saving her sister by carrying another letter to Lunka at the castle, and you pick the question it asks. The reply arrives the next time the day-night cycle flips.
Tiny Dancer is one of five sanzhana quests scattered across Vale Sangora, alongside Good Home, Burrow Sorrows, Pearly and Precious, and Come Hither. Finish all five and the Tsarina hands back a full day of time — which, on a thirty-day clock, is the real payout here.