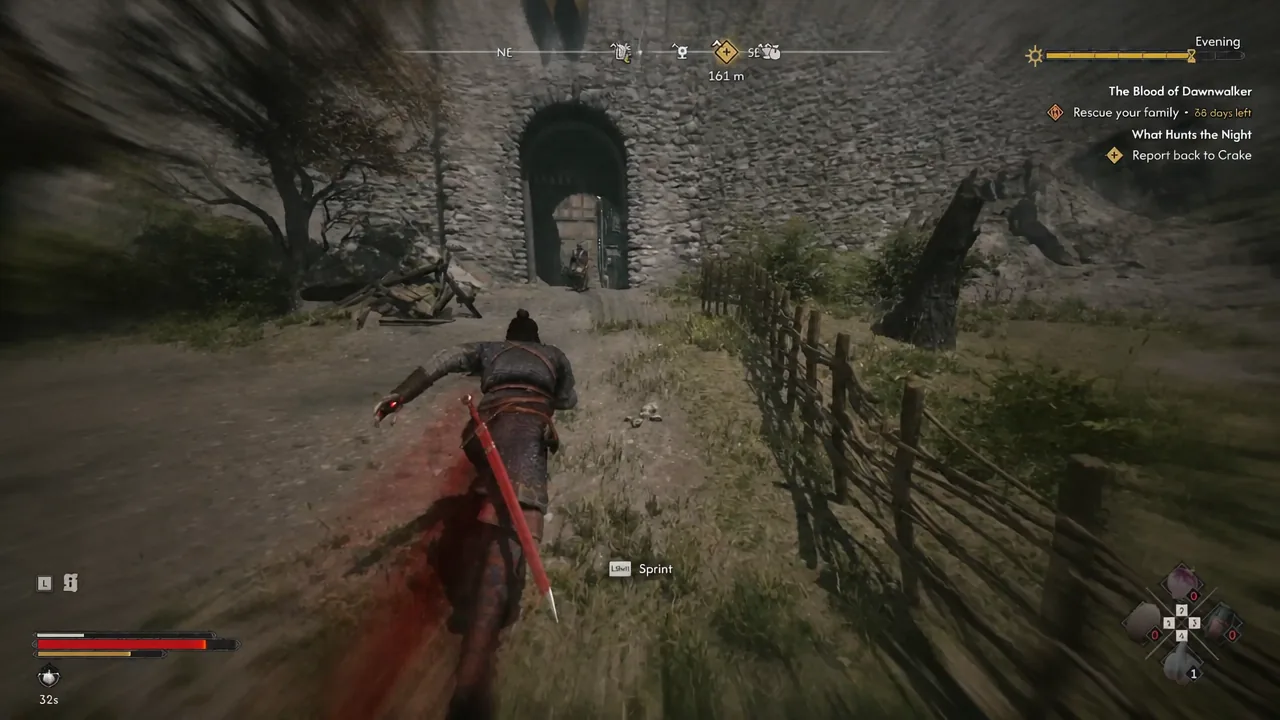
What Hunts the Night opens the moment you finish Where Loyalty Lies, and its first objective drops you outside a ruined warehouse with a single instruction: report back to Crake. The marker points into town, but the path there runs uphill past patrolling guards, and Crake himself is tucked away underground rather than standing out in the open.
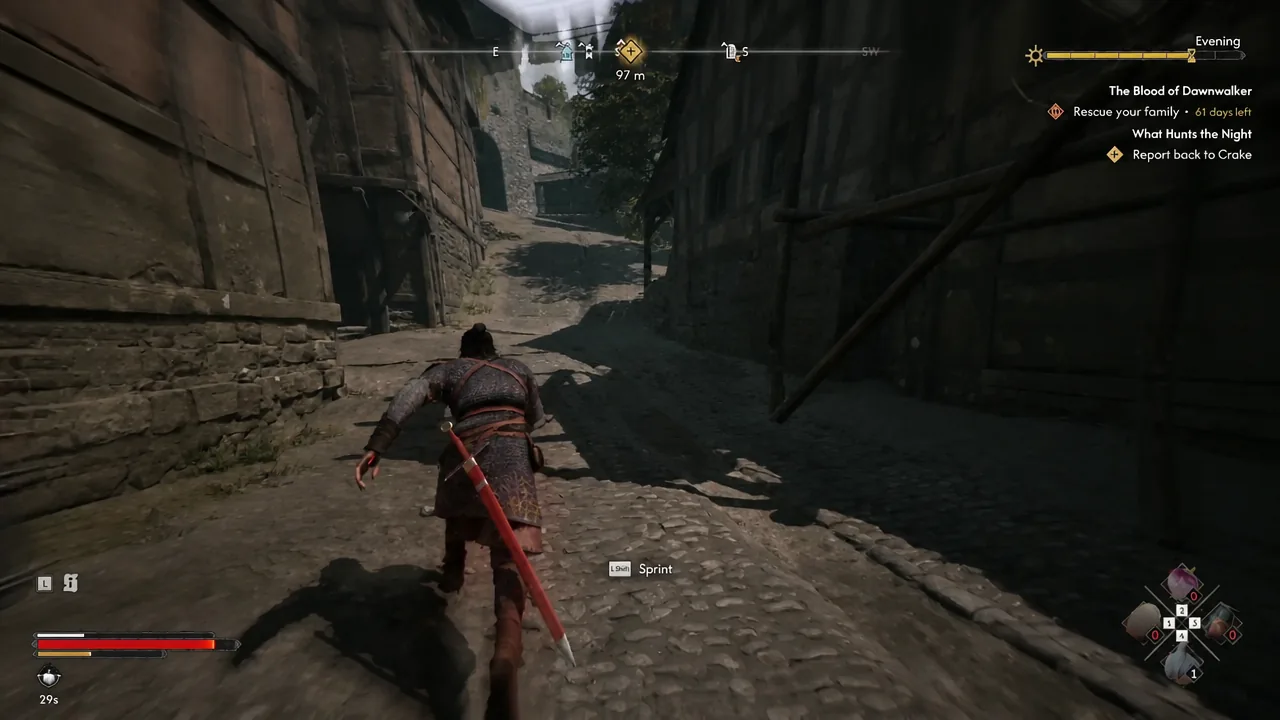
Quick answer: Leave the ruined warehouse, sprint up the winding path toward the stone archway, turn right into the town streets, then enter the building that houses the Silberstein General Trader. Take the door on the right, head down to the cellar, and talk to Crake in the back room.
Where Crake is during Report back to Crake
Crake is not waiting at street level. He sits in a back room in the cellar underneath the shop run by the Silberstein General Trader, working on something when you walk in. The compass indicator and the map marker both point at the building, so the part people get stuck on is the last few meters inside, not the trip across town.
| Detail | Value |
|---|---|
| Quest | What Hunts the Night |
| Objective | Report back to Crake |
| Unlocked by | Completing Where Loyalty Lies |
| Starting point | The ruined warehouse |
| Landmark to aim for | Silberstein General Trader |
| Exact spot | Back room of the cellar, one floor down |
Route from the ruined warehouse to Crake’s cellar
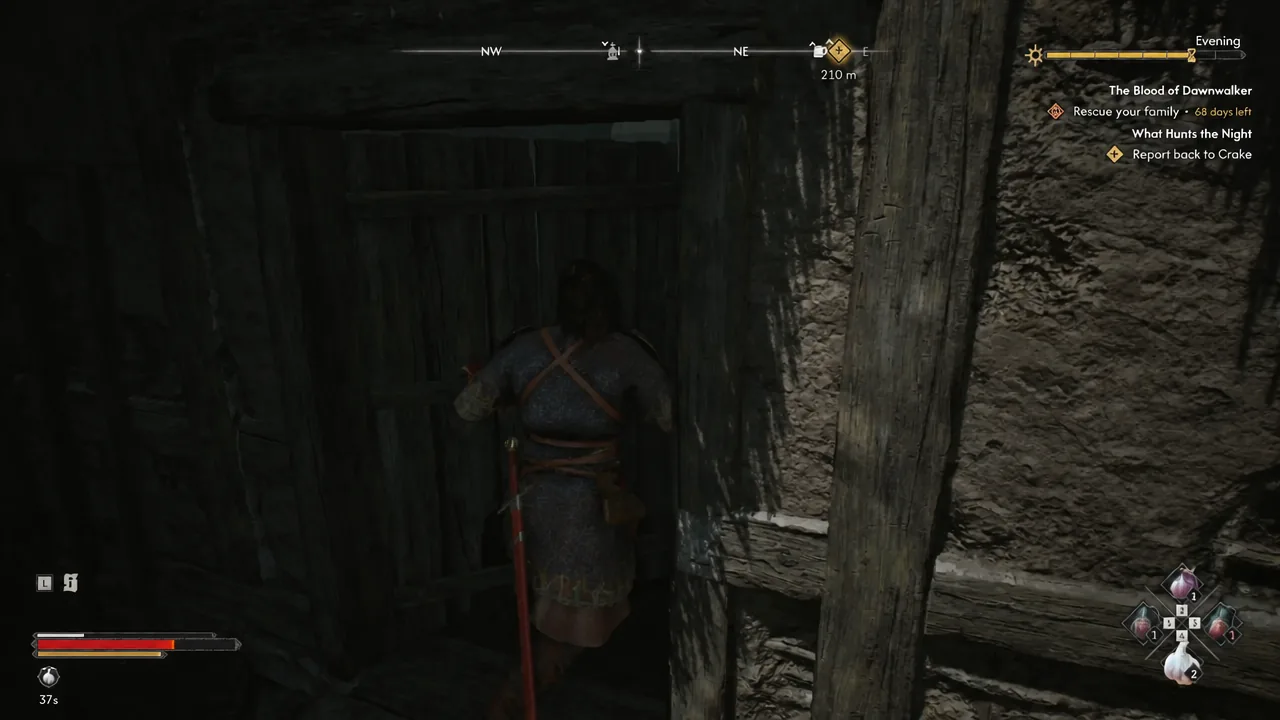
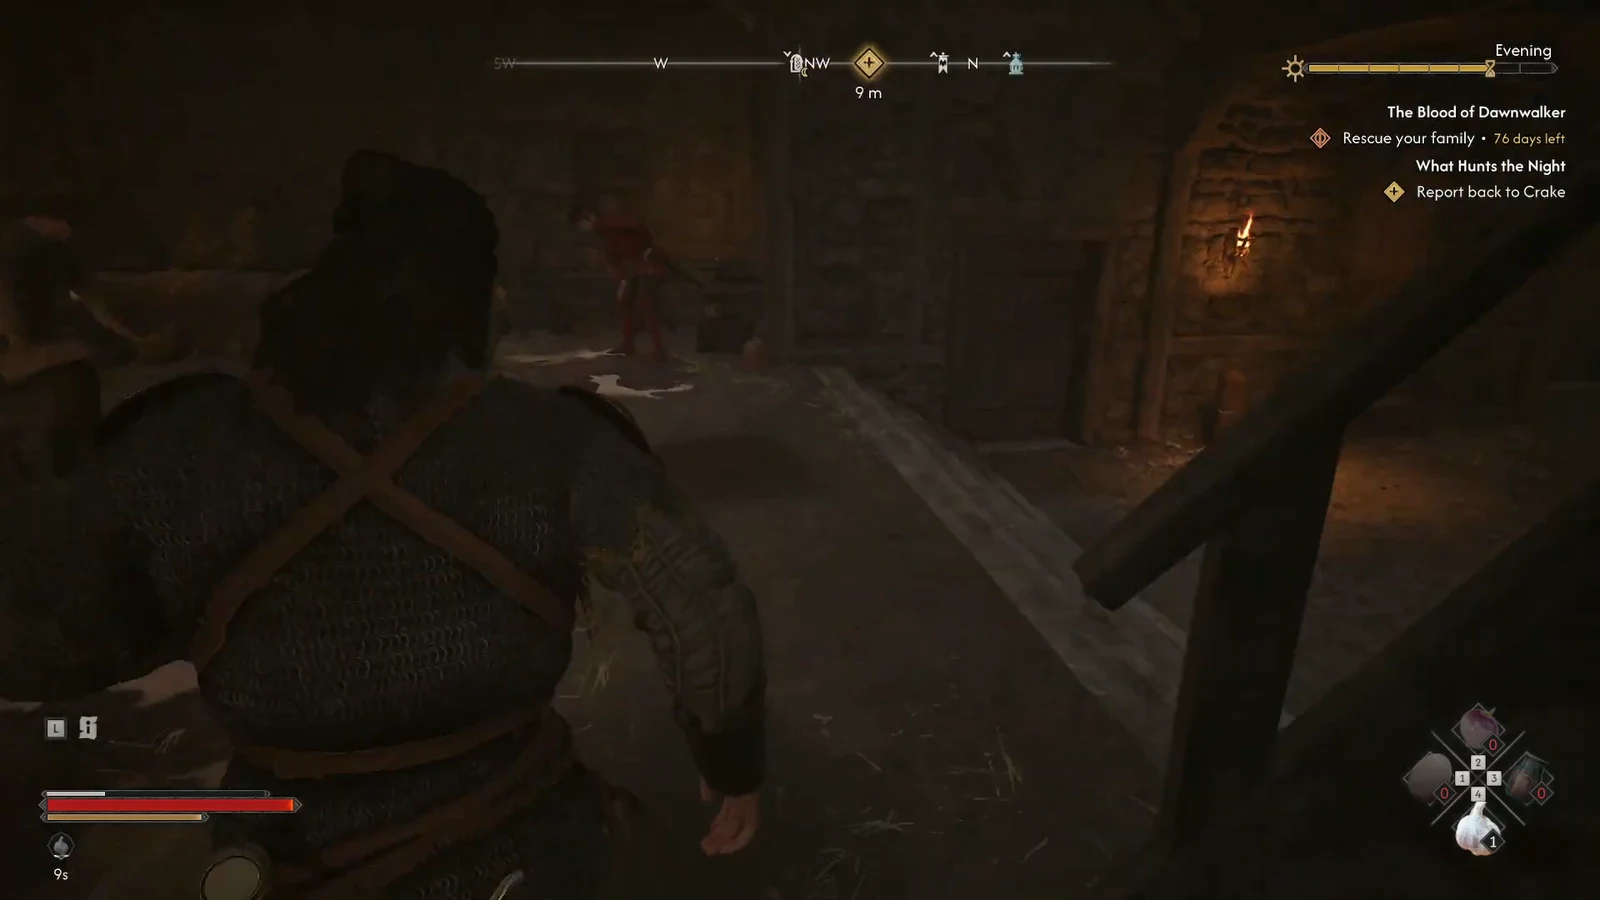
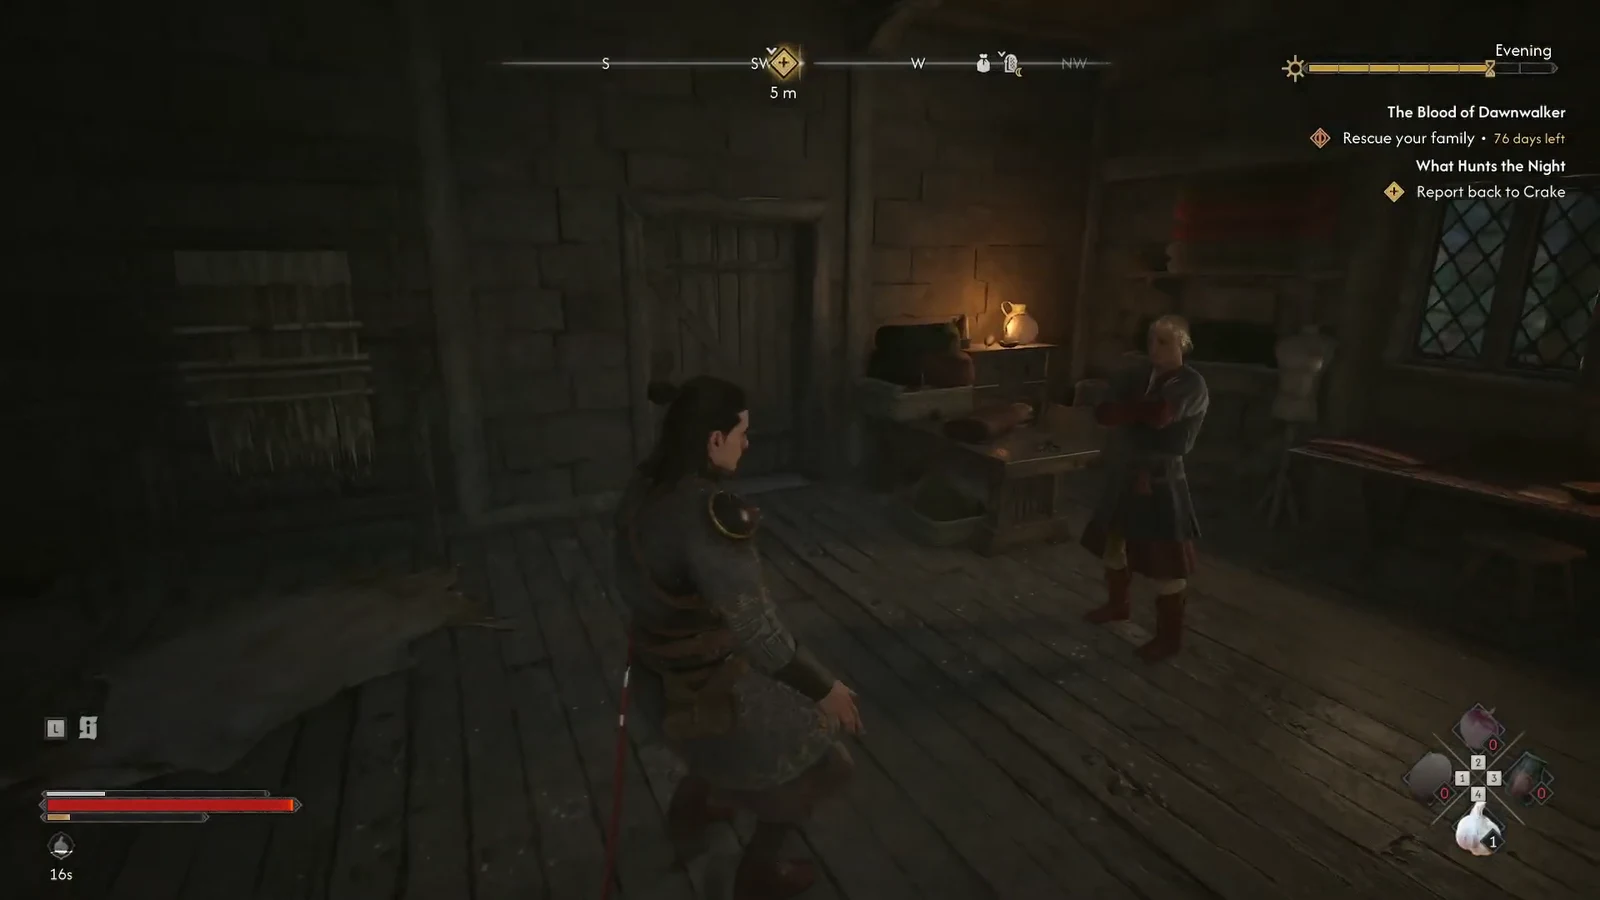
How to confirm the objective is done
The tracker clears “Report back to Crake” as soon as the conversation ends, and the quest moves into a waiting phase. From there you need nightfall — once night arrives, Sara joins you, and the three of you head out to look into the deaths of the scouts at the churchyard. If the quest still shows the old objective, the conversation was not finished, so return to the cellar and speak to Crake again.
Common reasons players lose the trail
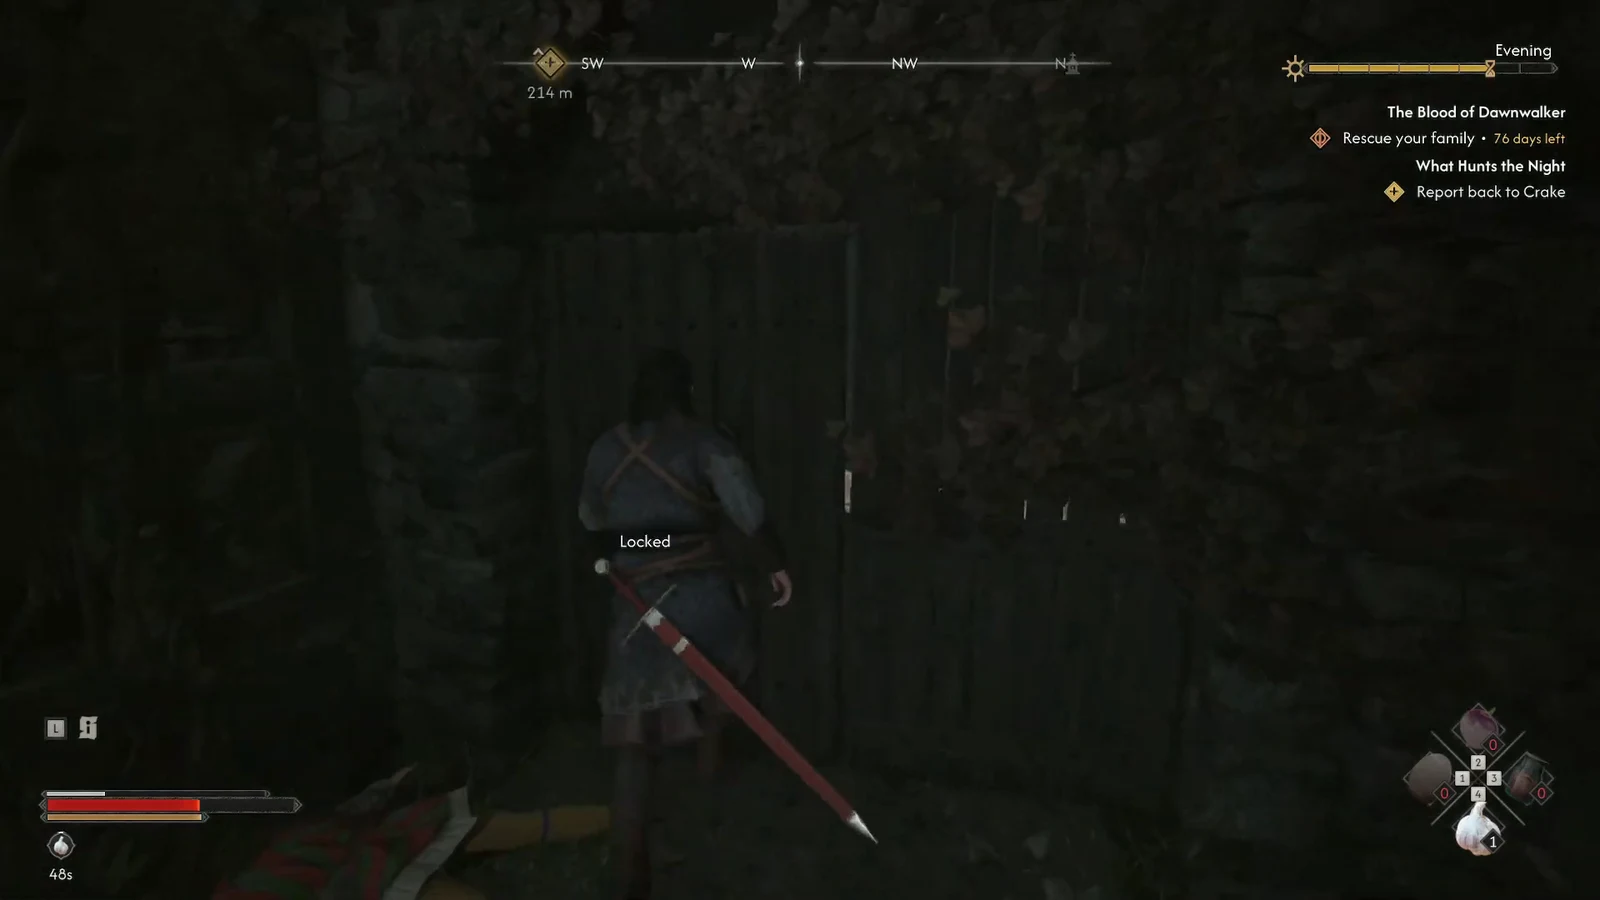
Two things trip people up on the way. Several doors around the warehouse and the town are simply marked Locked and will never open on this objective, so a door that refuses to budge is not a puzzle — it is the wrong door. And because Crake is one floor below the shop, standing on the ground floor next to the trader leaves the marker hovering over your head with nothing to interact with.
Running across the map does not spend any of your 30-day clock. Only marked actions with an hourglass prompt cost time, so backtracking through town to find the right building is free.
Once Crake has heard you out, What Hunts the Night settles into its night half — the churchyard investigation, the stains that lead to the belltower doors, and the Beast of St. Teotim’s waiting behind them. Getting to the cellar is the quiet part of the quest, and it is worth doing quickly so you reach nightfall with your health and supplies intact.