

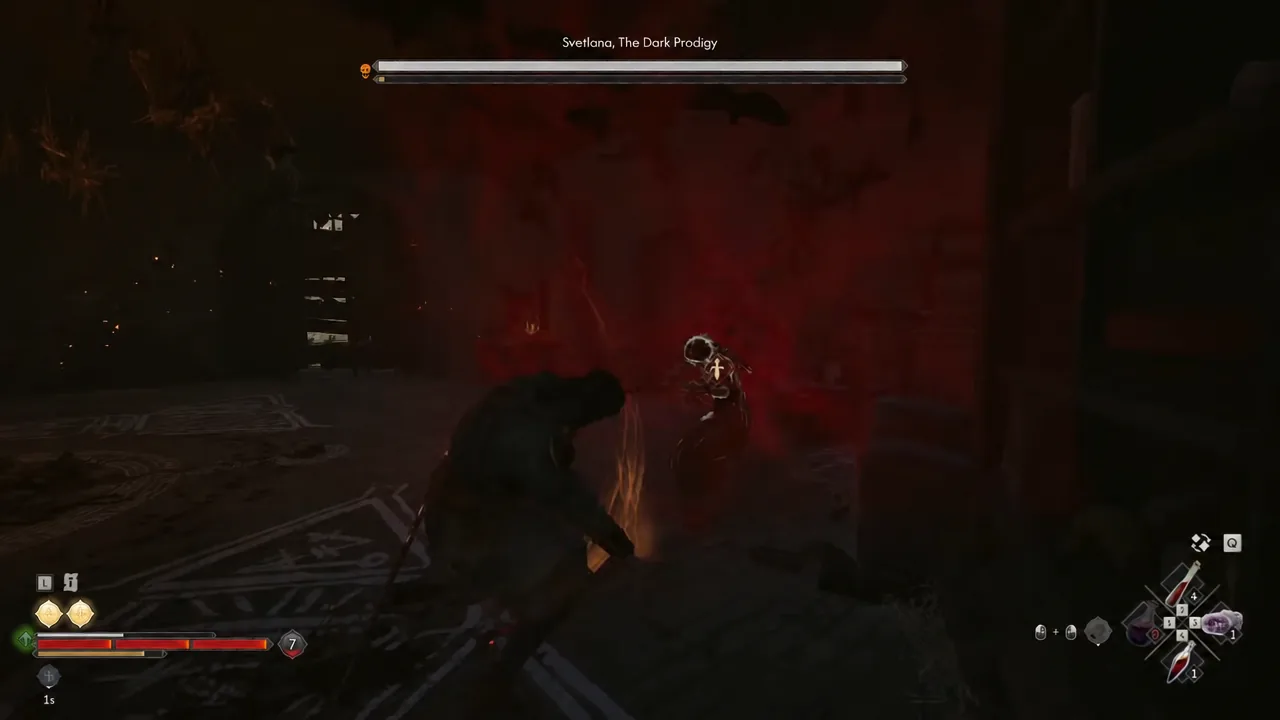
Aurelius’s Tower in The Silts is the only place the “Search the tower” objective can be finished, and it is short enough to clear in a single climb. The tower has three levels, two guarded checkpoints, and one item that actually matters to the quest.
Quick answer: Climb to the top floor of Aurelius’s Tower, kill Svetlana, The Dark Prodigy, then interact with Silas’s Book on the desk beside her. The objective flips to “Show Morat the book” the moment the cutscene plays.
Who Pulls the Strings: Quest details and time cost
Marat at the Manumit Hideout hands you this one after What Moves the Dead wraps up, and he has already told Coen where the tower stands. The quest is missable and can fail outright, so do not leave it sitting once you have started it.
| Detail | Value |
|---|---|
| Region | The Silts |
| Quest giver | Marat, at the Manumit Hideout |
| Time of day | Day or night, both work |
| Total time cost | 5 time units |
| “Search the tower” cost | 3 time units |
| “Show Morat the book” cost | 2 time units |
| Reward | 1000 XP and the Life Lock Witchcraft ability |
| Missable | Yes |
Note: The quest carries two failure endings. One triggers if you fall out with the manumits, the other if you never confront Aurelius in his tower before the clock runs out.
Getting inside Aurelius’s Tower
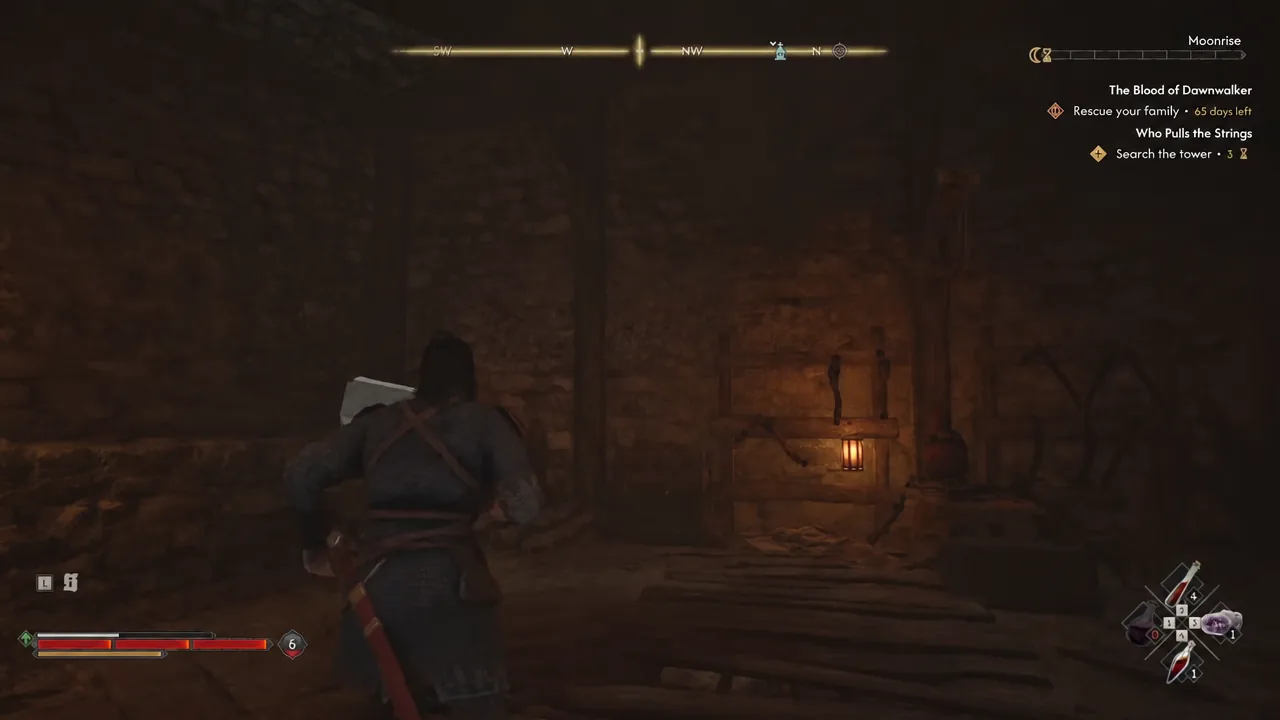
Clearing the second floor guards
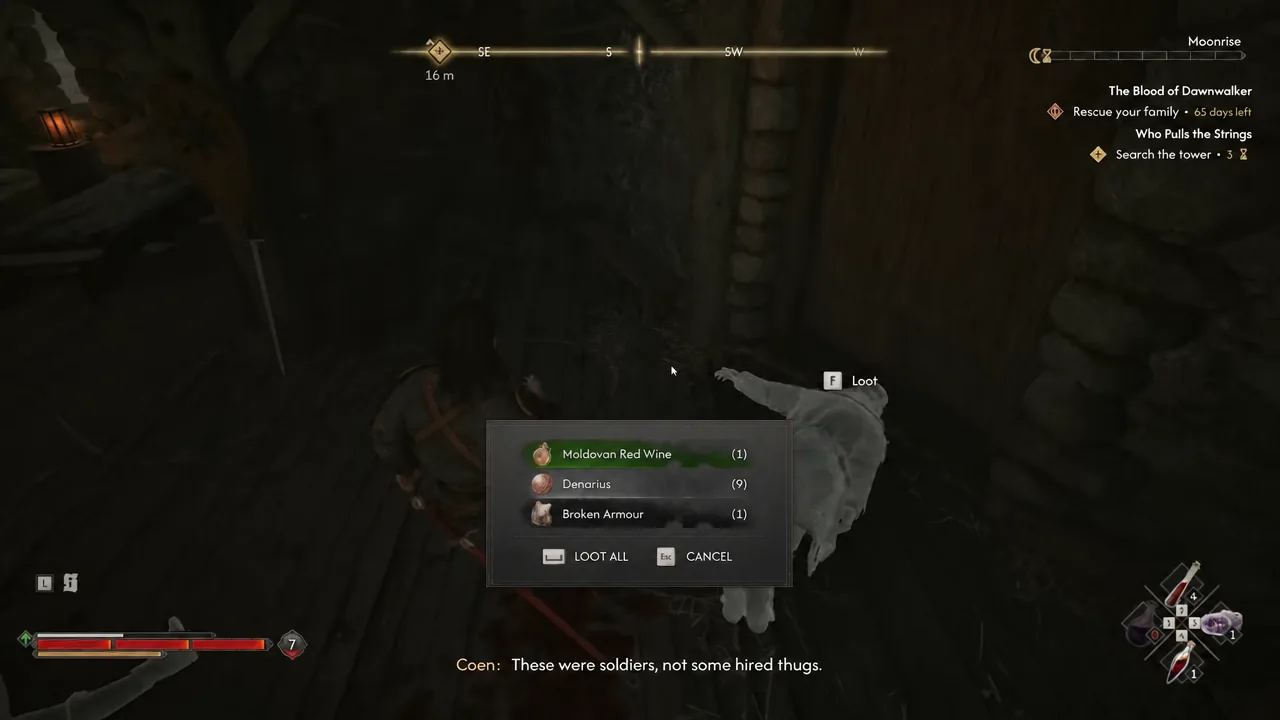
Beating Svetlana, The Dark Prodigy
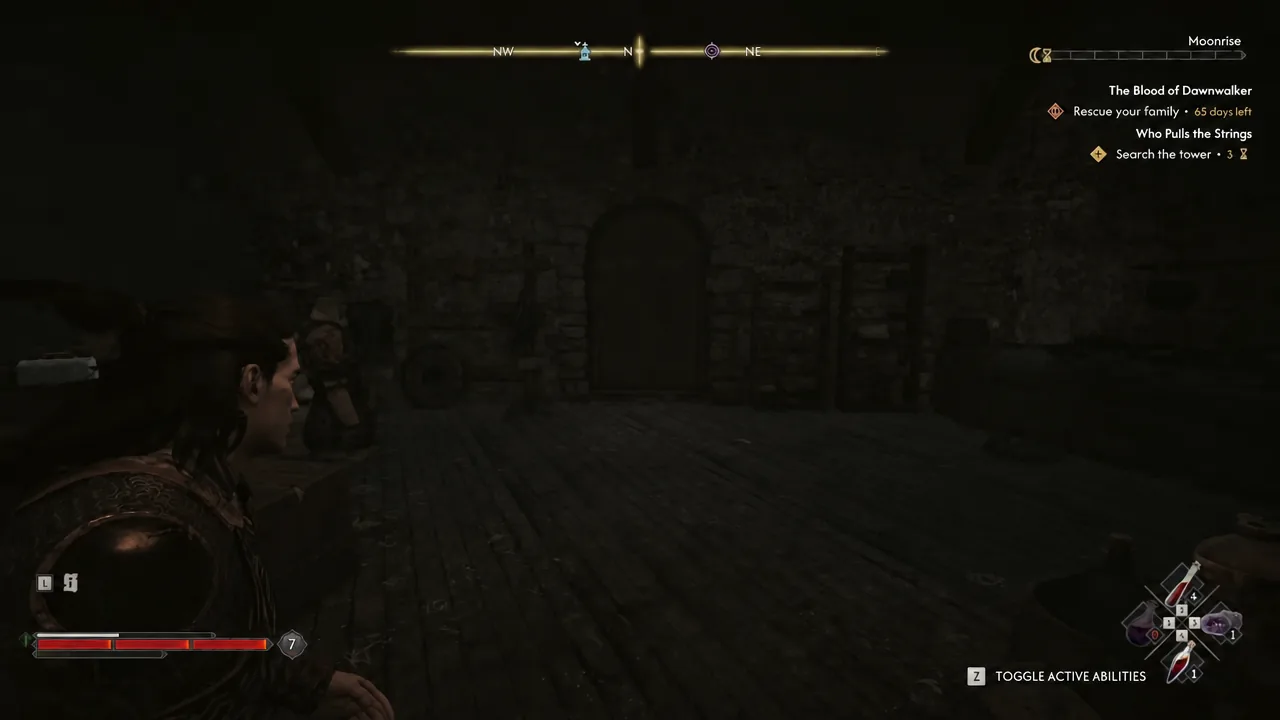
The top floor holds the only real fight in the tower. Svetlana, The Dark Prodigy gets her own boss bar, and she has to go down before the objective will move on. Coen hits harder with claws at night, so if you are struggling on a higher difficulty, arriving after dark is the easier version of this fight.
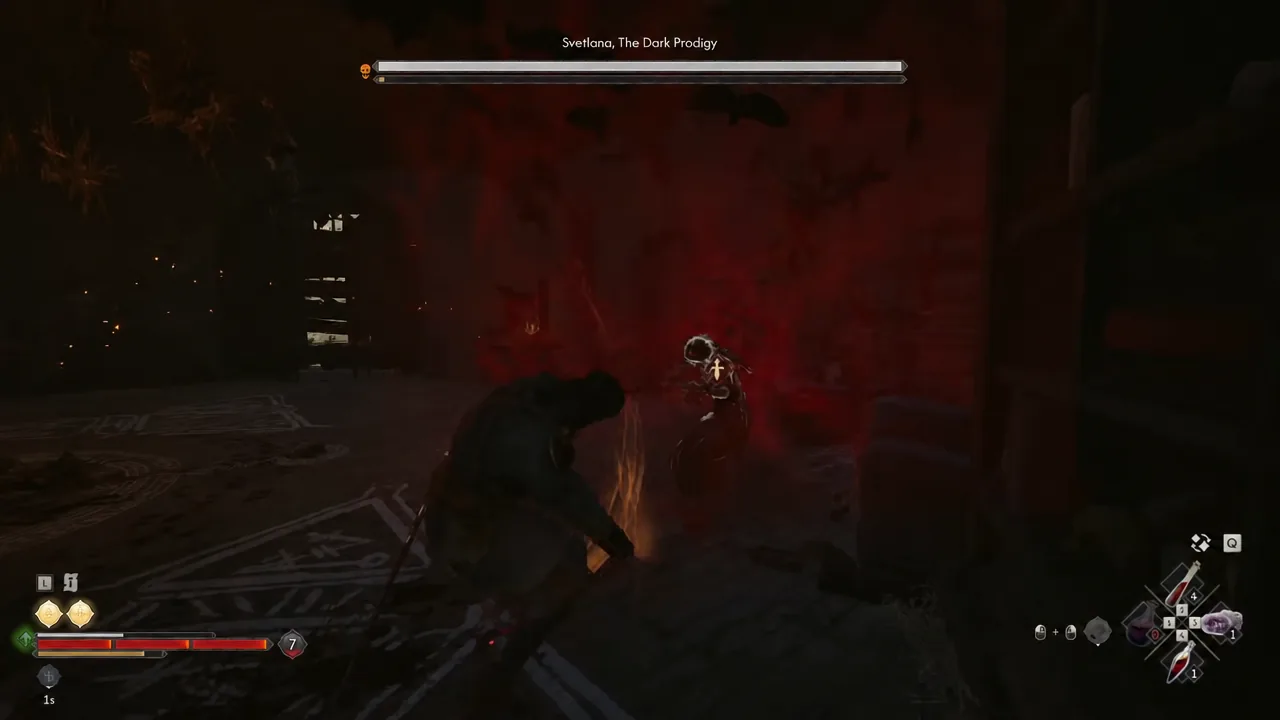
Her body carries the Vault Key along with a spread of items, so loot her before you move on. Toggling your active abilities mid-fight is worth doing here if you have not settled on a loadout, since the tower is enclosed and leaves little room to reposition.
Silas’s Book location and how the objective completes
Silas’s Book is the thing the objective is actually asking for. It sits on the desk on the top floor, in the same room where you fought Svetlana. Walk up to it and interact with the book itself — picking it up as loot is not the same as reading it.
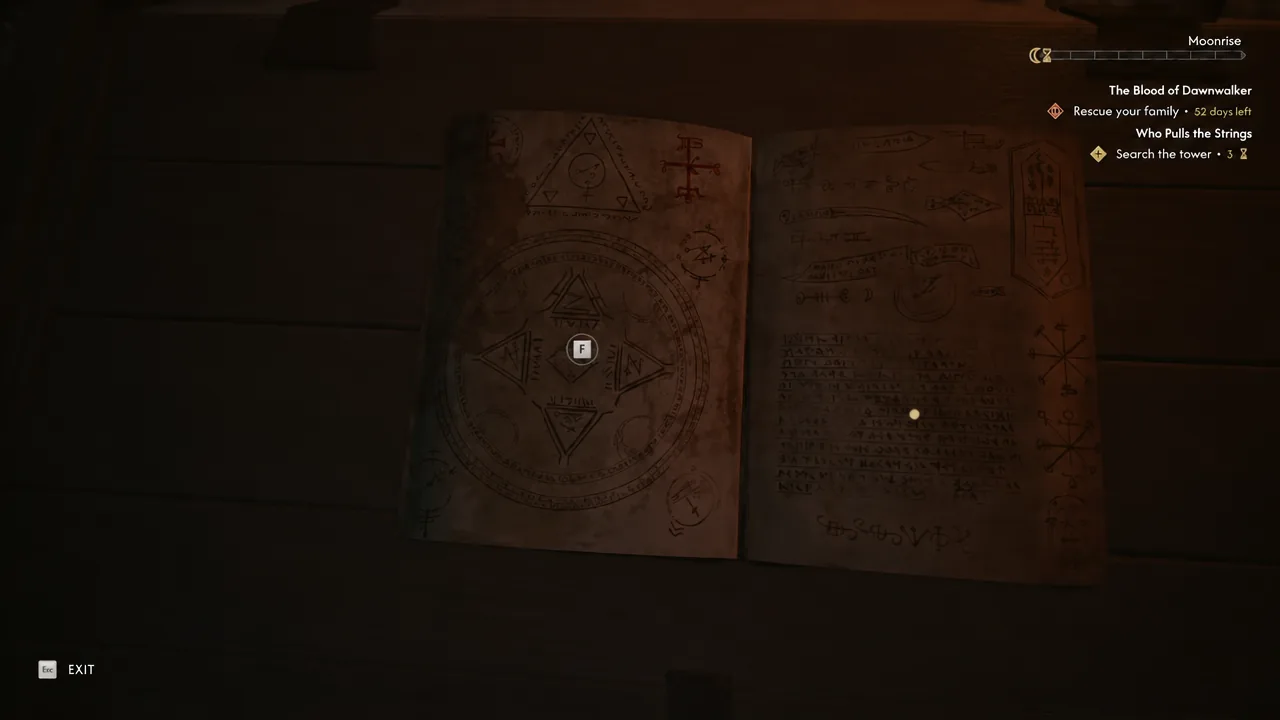
A short cutscene plays, Coen reads the hex that weakens the gargoyles at Greifberg Castle, and the tracker updates to “Show Morat the book.” That tracker change is your confirmation the tower is done.
Before you leave, use the Vault Key on the locked chest behind the metal gate on the top floor. Inside is the Life Lock Manual, which triggers the NEW ABILITY UNLOCKED prompt for Life Lock. You still have to learn the hex from your ability screen for it to be usable.
If the objective will not clear after taking the book
Some players hit a display bug where the journal keeps pointing at the tower even after Silas’s Book has been read, with the “Show Morat the book” step already greyed out. It appears to be tied to looting the book and reading it before passing through the final door on the top floor.
The fix is to ignore the journal. Head back to Marat at the Manumit Hideout and talk to him — the dialogue that closes the quest is still there, so there is no need to replay the tower. If Marat is not in his room at the hideout, leave, fast travel somewhere else, then return and check again.
Handing the book over costs another 2 time units and pays out 1000 XP once Marat has heard about the hex. Keep talking to him afterwards and ask how the manumits’ preparations are going, then ask what else he wanted to discuss to open Distant Shadows, which carries on Crake’s romance line.





