Bandit’s Treasure Map: Laslea Glen is one of the small optional activities you can pick up in the opening area of The Blood of Dawnwalker, and it hides a Level 5 sword behind a bear and one hour of your clock. The map itself is easy to miss because it sits on a table inside a bandit hut you have to clear first, and the drawing it gives you does not line up neatly with the world map.
Quick answer: Clear the bandit camp east of Laslea Glen near Outlaw’s Gorge Shrine, take the Treasure Map: Laslea Glen off the table inside the hut, then head east to the cave, kill the Ravenous Bear, grab the shovel leaning nearby, and dig the mound of loose earth. Digging costs one Time Segment.
Bandit’s Treasure Map: Laslea Glen quest details
| Detail | Information |
|---|---|
| Starting location | Bandit hut in the hills east of Laslea Glen, close to Outlaw’s Gorge Shrine and the church |
| Trigger | Picking up Treasure Map: Laslea Glen from the table inside the hut |
| Enemies at the camp | A Renegade Bruiser, two other bandits, and a tamed wolf |
| Treasure site | Cave a short distance east of the hut |
| Guard | One Ravenous Bear |
| Time cost | 1 Time Segment (one hour) to dig |
| Completion reward | 100 XP plus the chest contents |
Note: the activity is available during the Prologue, when your hours are limited. If you would rather not burn a segment early, the dig can also be handled later, during the Smoke and Ashes quest.
Where to find the Laslea Glen Treasure Map
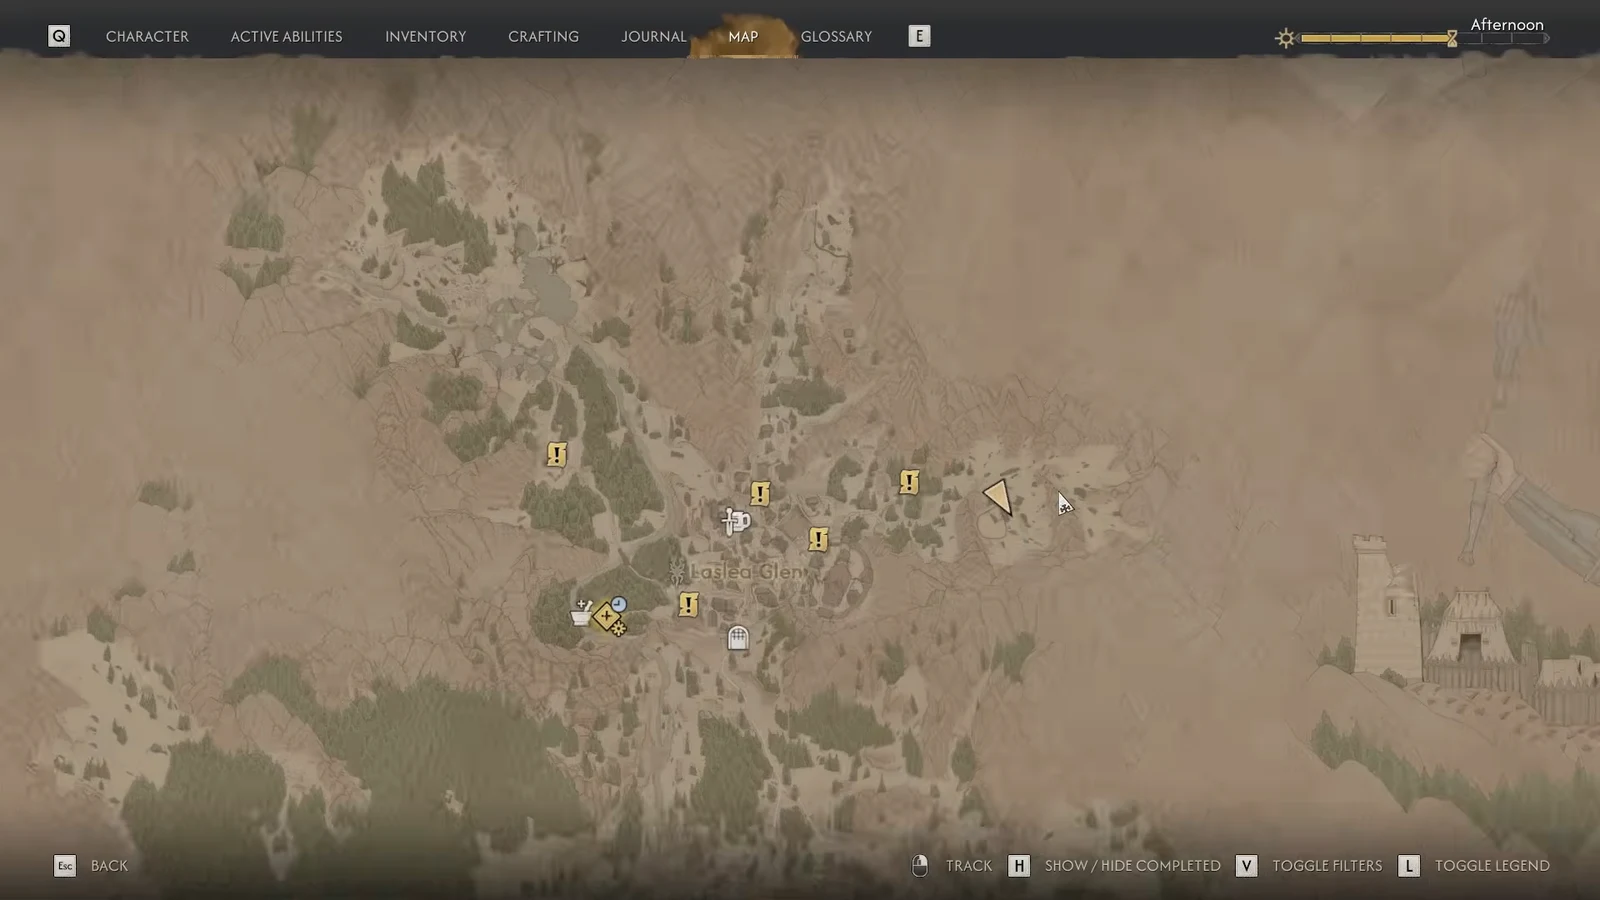
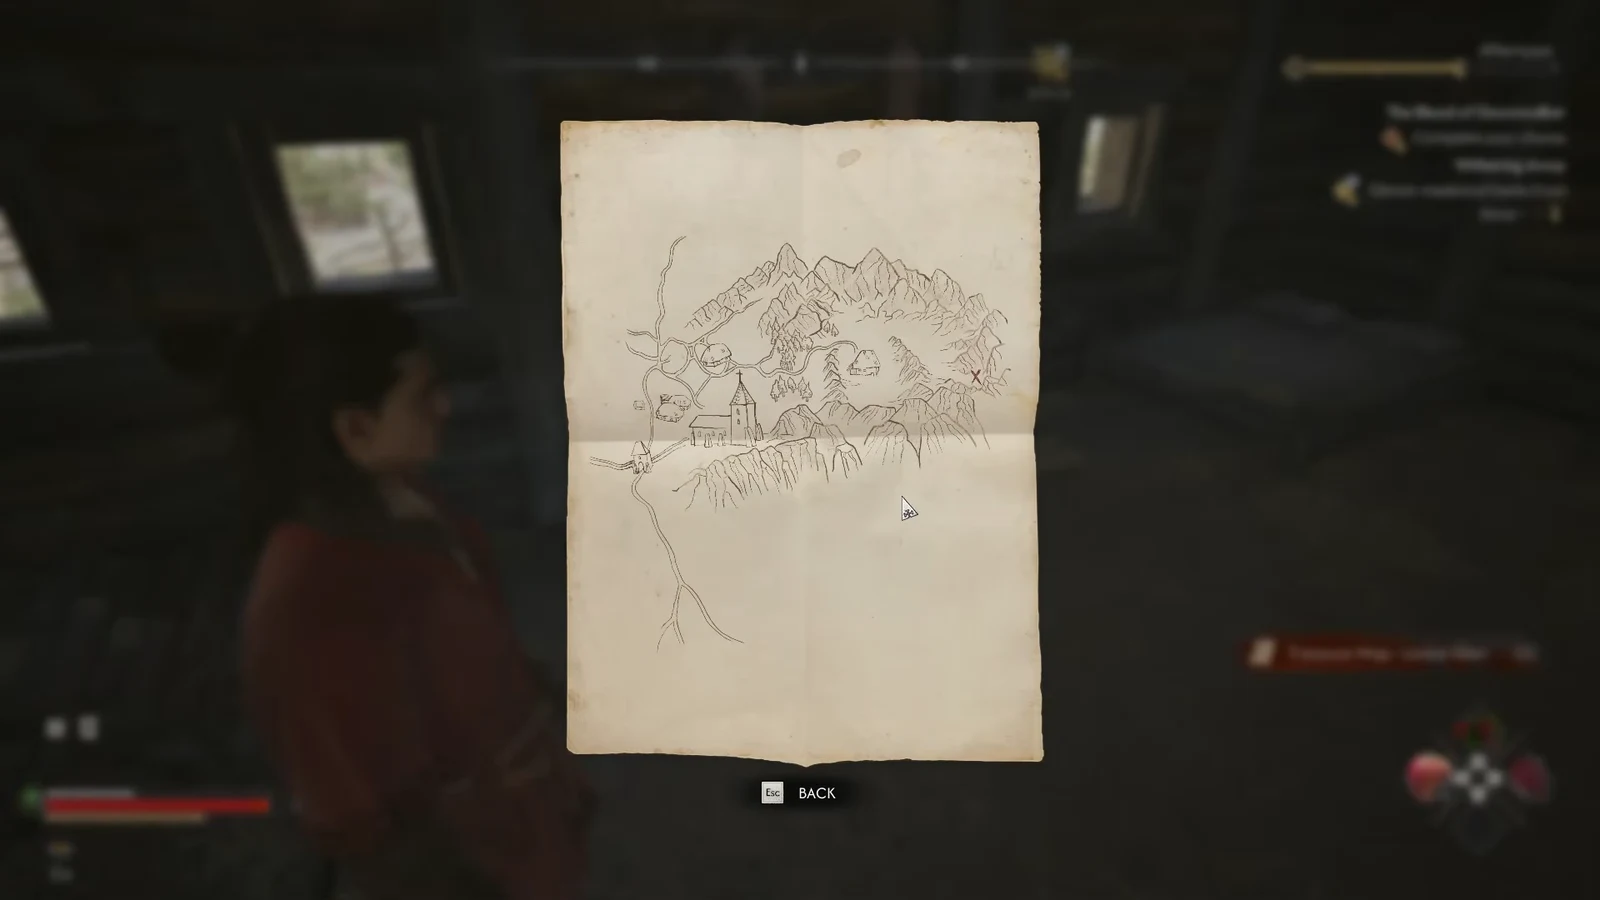
Reading the map and setting a marker
The red X on the parchment is approximate, so do not try to match it pixel for pixel against the world map. What matters is the direction. Open your map, look a short way east of the hut you just cleared, and drop a custom marker on the cave sitting in that pocket of hills. It is close enough that walking there takes under a minute.
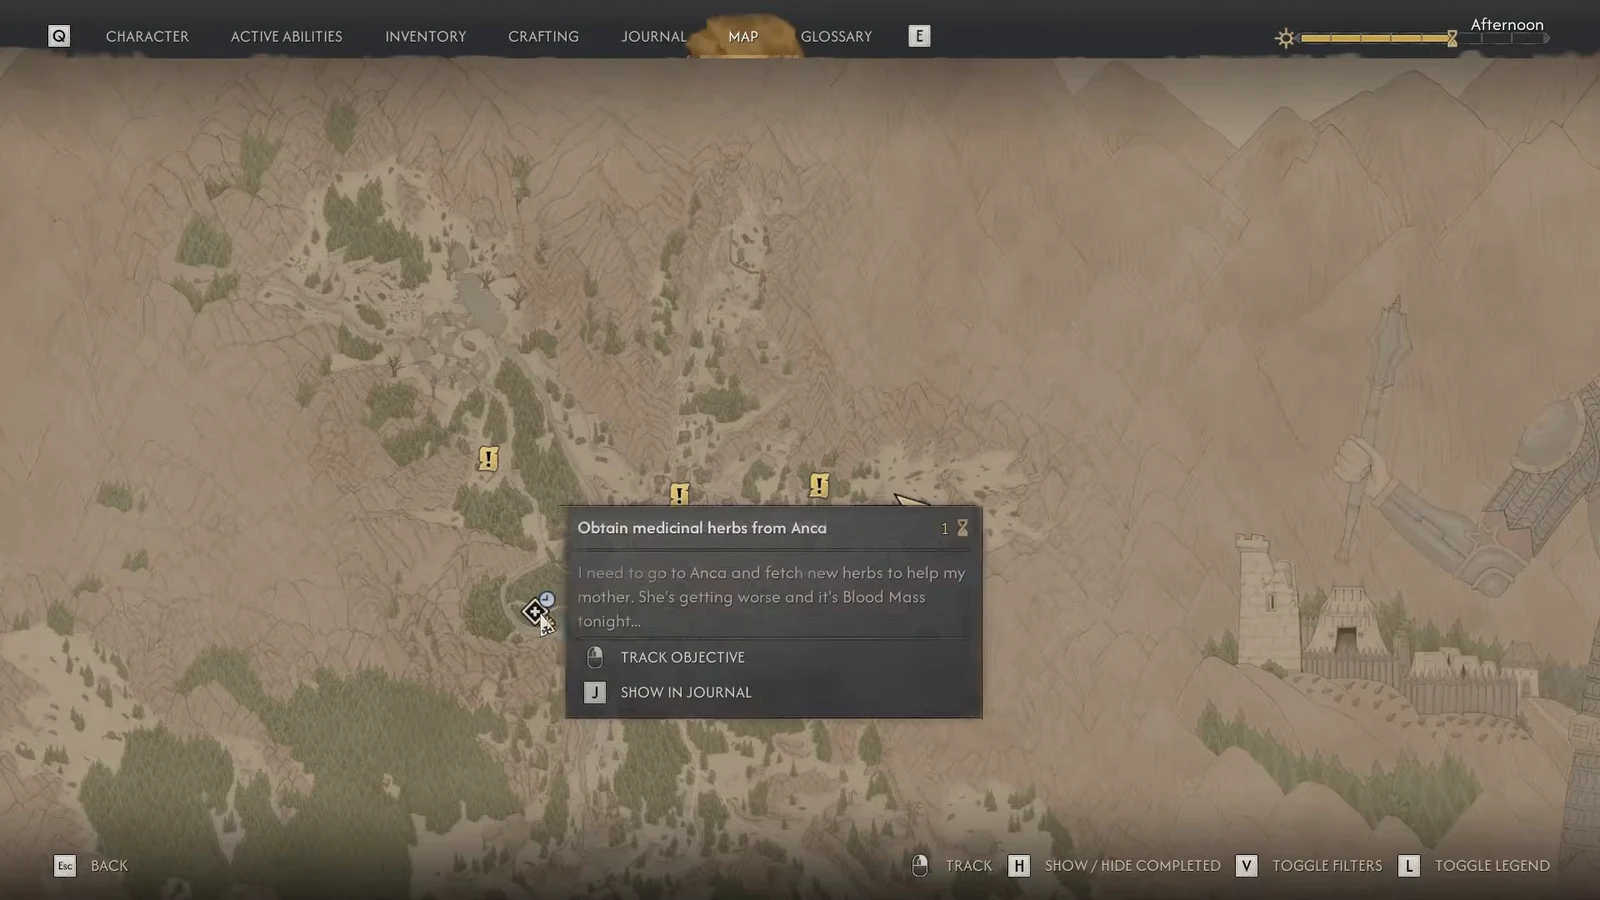
How to beat the Ravenous Bear guarding the treasure
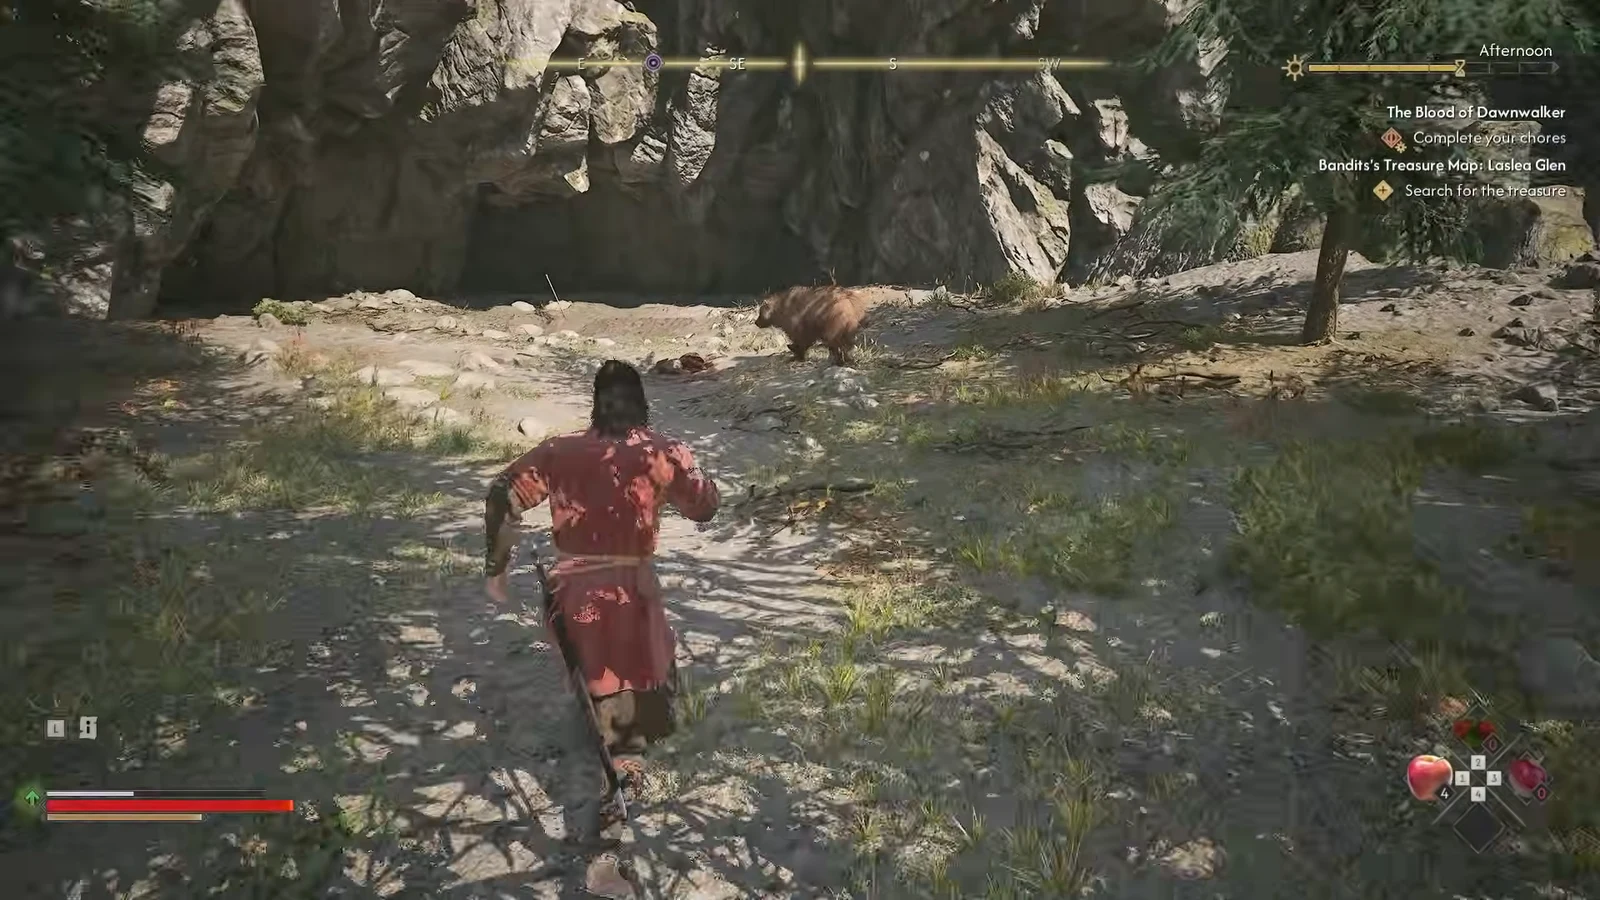
The bandits left the dig site to a Ravenous Bear, and it hits hard enough at this stage of the game to end a careless run. It has two unblockable attacks. The first is a straight charge that knocks you flat. The second starts with the bear rearing onto its back legs before slamming the ground directly in front of it.
Neither can be parried, so dodge sideways instead of backward on both. A perfect dodge opens a window for a counterattack, and stringing those together is the cleanest way to bring it down without trading health. Once it dies, you can loot Bear Meat, Bear Liver, and Animal Bones from the corpse, along with any plants scattered around the cave mouth.
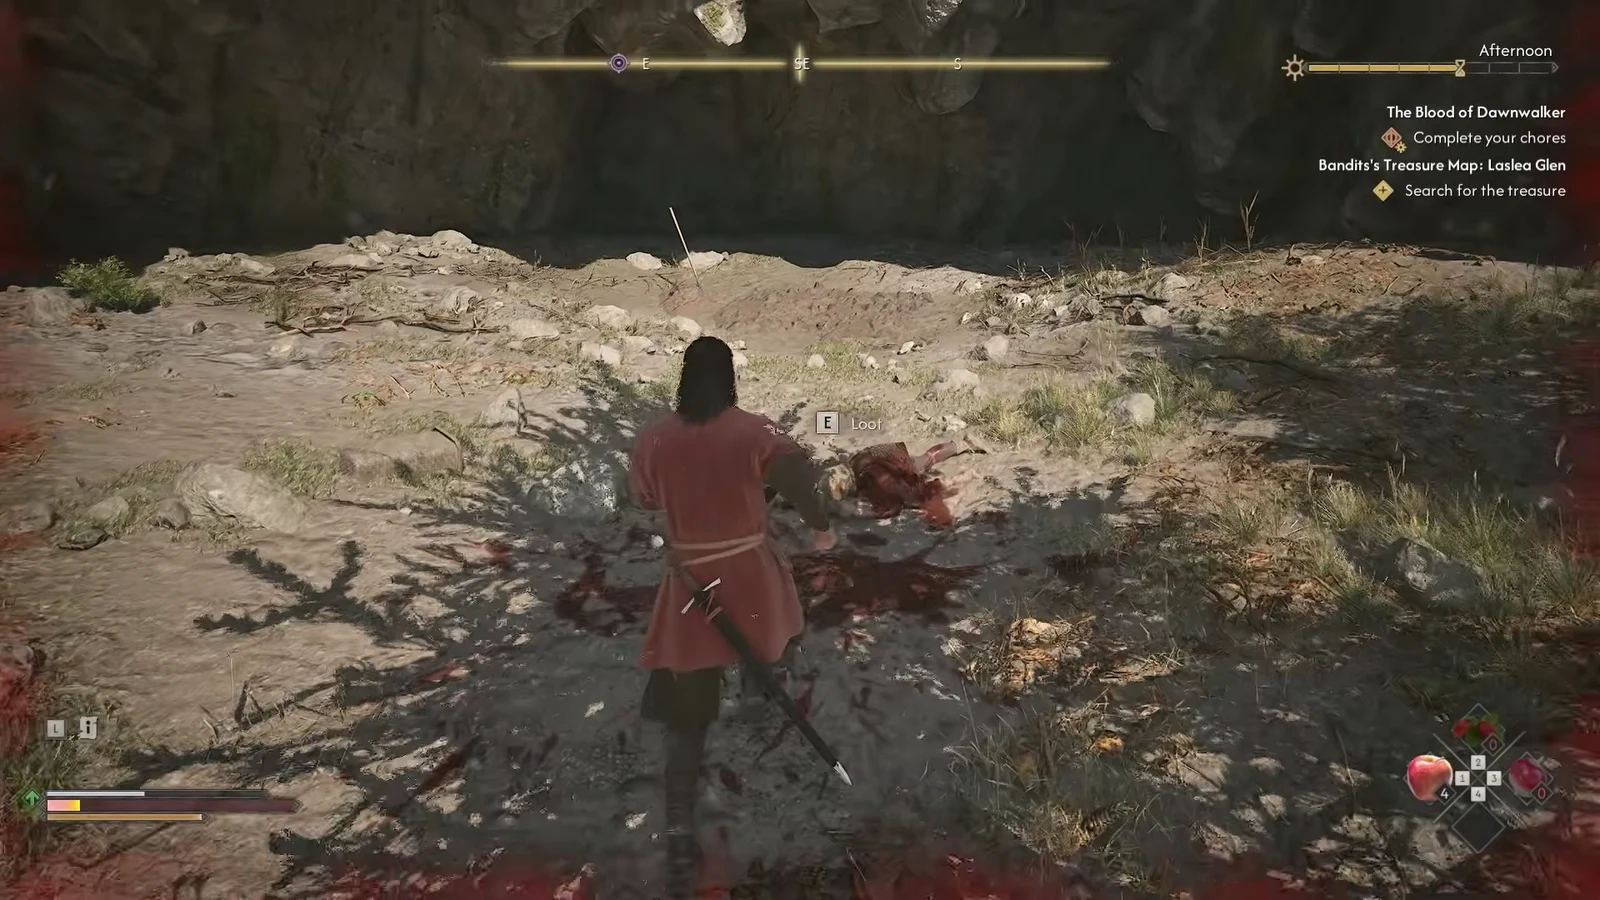
Digging up the Laslea Glen treasure
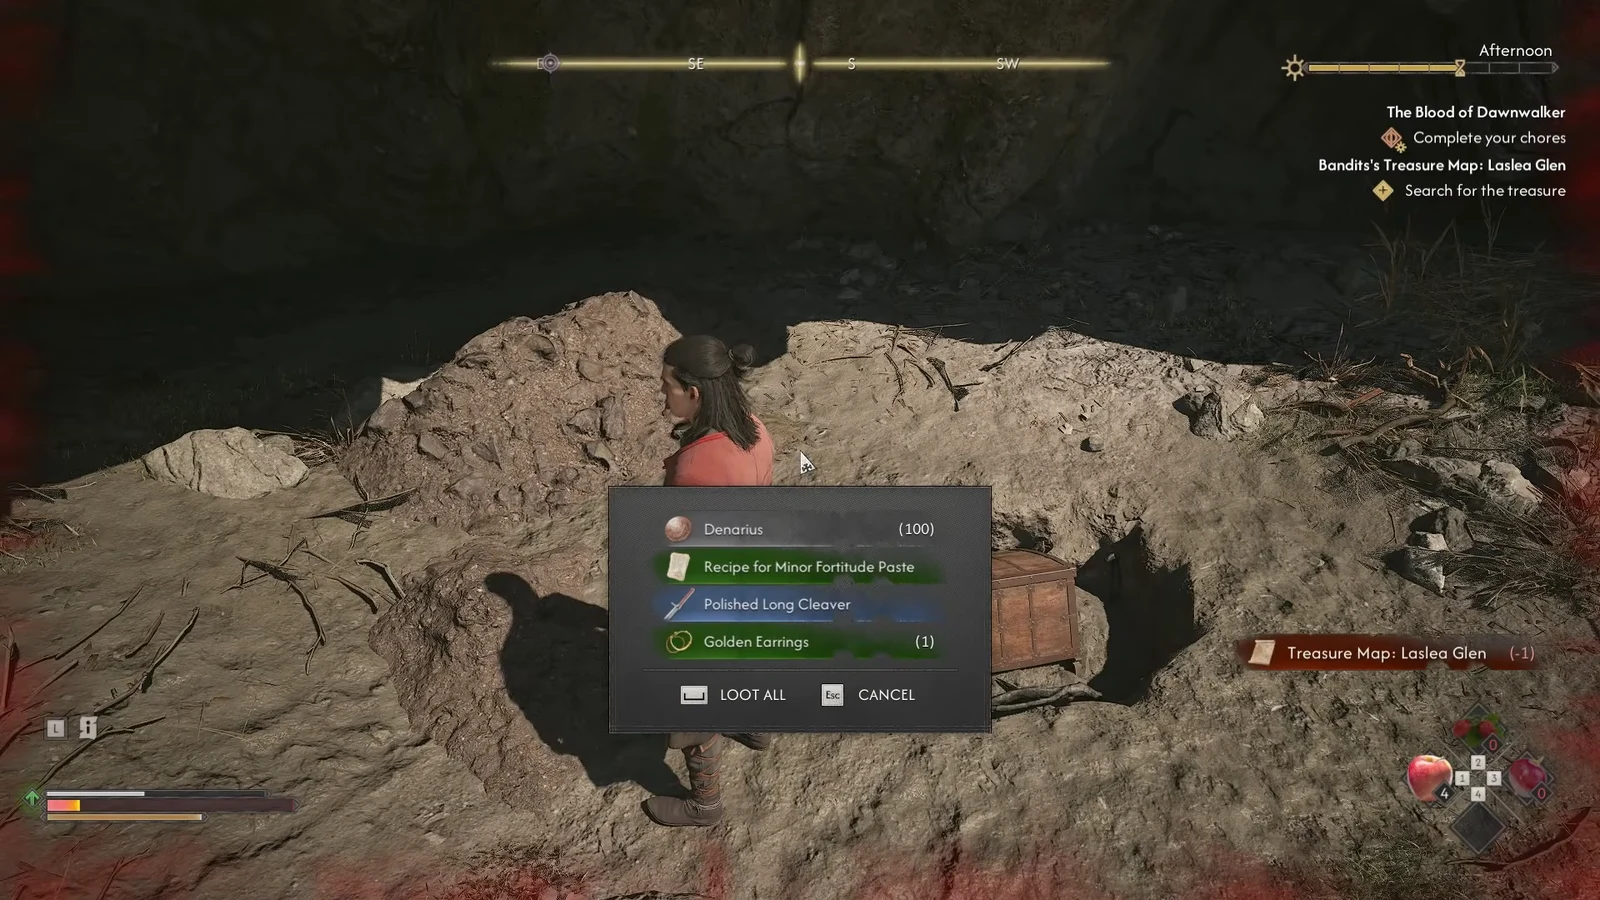
Chest rewards
| Reward | What it does |
|---|---|
| 100 Denarius | Currency for merchants, armourers, innkeepers, and blacksmiths |
| Recipe for Minor Fortitude Paste | Adds the paste to your craftable list |
| Polished Long Cleaver | Level 5 sword around 90 DPS, unlocks a Weapon Art bonus attack for Coen |
| Gold valuable | A sellable trinket such as Golden Earrings, a Golden Mug, or a Ruby Diadem |
| 100 XP | Awarded when the activity closes out |
The Cleaver is the real prize here. It is the reason the detour is worth an hour, and its Weapon Art gives Coen an extra damage burst on a cooldown during fights.
How to confirm the activity is finished
Two on-screen cues tell you where you stand. Picking up the parchment adds Bandit’s Treasure Map: Laslea Glen to your quest tracker with the objective “Search for the treasure.” Looting the buried chest replaces that with the quest-ended notification and pays out the XP.
If the dig will not start, the cause is almost always one of two things. Either you have not picked up the shovel from the cave wall, so the interaction stops at a tool prompt, or you are trying to inspect the wrong patch of ground because the X on the parchment sits slightly off from the real spot. Focus Mode settles both by highlighting the correct mound.
One last scheduling note. Because the dig consumes a full hour, it is worth doing on a run where you have already banked the time-critical Prologue tasks, since some of those fail outright if the day runs out before you report back.